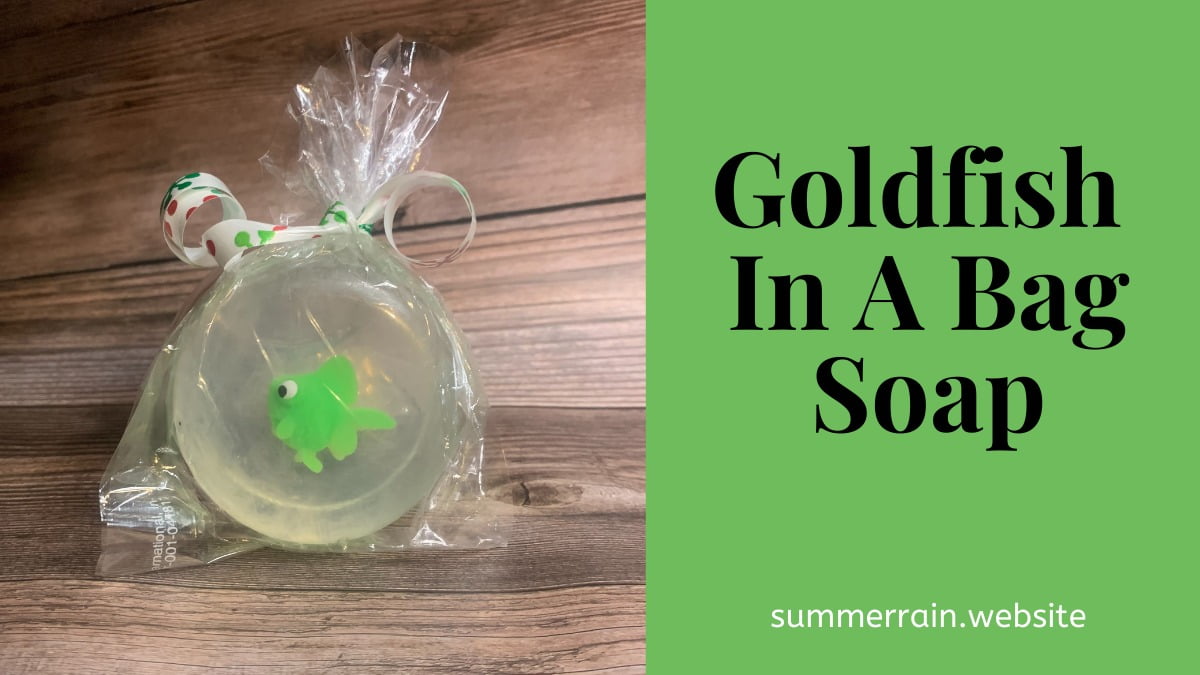
This goldfish melt and pour soap is my little twist on the classic goldfish in a bag soap. I love the idea of the goldfish in a bag, however its a weird shape when you actually use the soap. Like once the fish is outta the bag (ok, that sentence made me laugh way too hard!) It’s not as cute, so I wanted to go with something just a bit more practical and cute for when you use the soap. Because guys, soap is meant to be used.
Table of Contents
Prefer to watch this project instead of reading it?
Some links are affiliate links, because I am an associate and I earn a small commission on them.
What causes discoloration?
The main cause of discoloration in melt and pour soap is from the fragrance oil that you choose. You want to be super careful on the fragrance oil that you chose. You are going to want to look for one that is not going to cloud or change the color of the melt and pour soap. In order to keep our fishy water looking nice, the soap has to stay super clear.
Things to look for in your fragrance oil:
Vanilla Content: Discoloration is often caused by vanilla in the fragrance oil. You are going to want to select a color that does not contain vanilla.
Even if you do not see the discoloration right away, it will appear with time. A stabilizer could buy you more time before discoloration, but you are better off picking a different fragrance oil.
Oil Color: You want to be weary of any fragrance oils that are darkish color out of the bottle. They are more then likely going to discolor your soap. I used a Birds of Paradise fragrance oil and didn’t see much discoloration with it.
Burning Your Soap
When you melt and pour soap starts to boil, odds are it is burnt. This can cause the clear melt and pour to become cloudy. To avoid this, always melt your soap in 10-15 second intervals and stir well in between intervals. Un-melted chunks of soap will melt some more after the base is pulled out of the microwave. You just have to keep stirring it.
Making DIY Fish in a Bag Soap
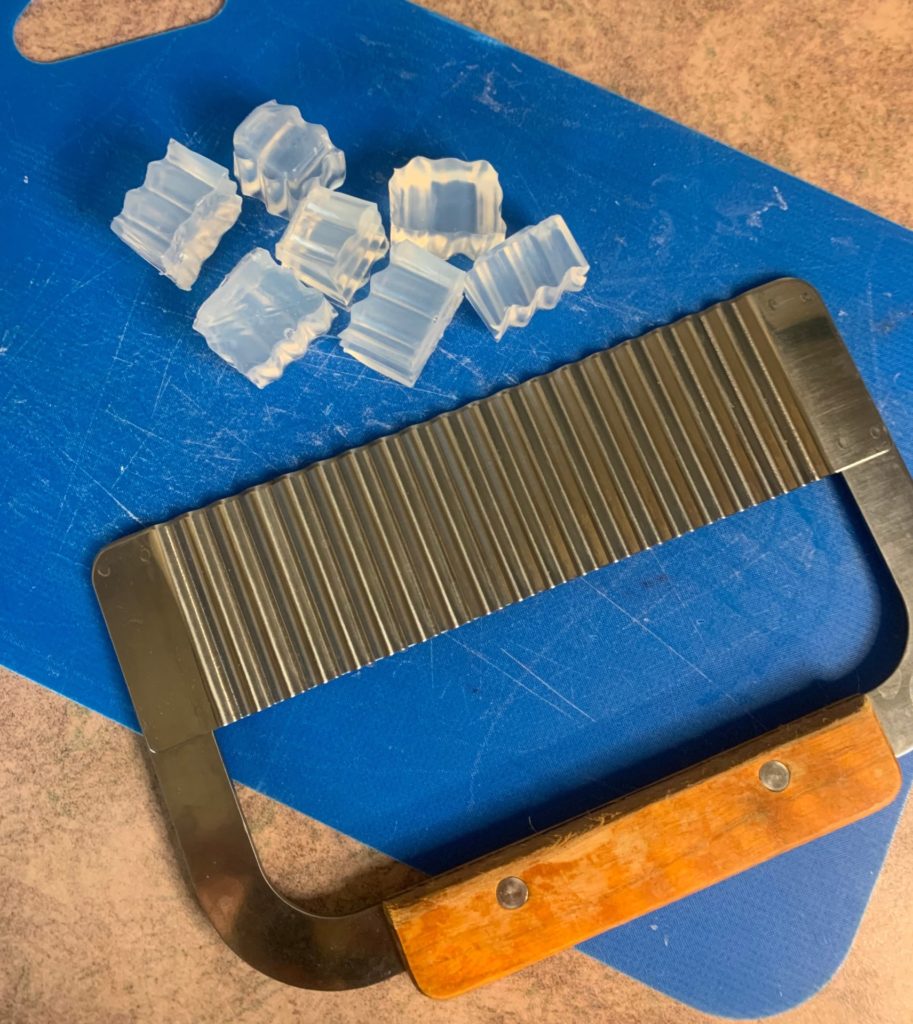
1. Cut your clear melt and pour soap into 1 inch cubes. It’s fine if the chunks are smaller, just try to keep them consistent in size.
2. Place half of the melt and pour into a microwave safe container.
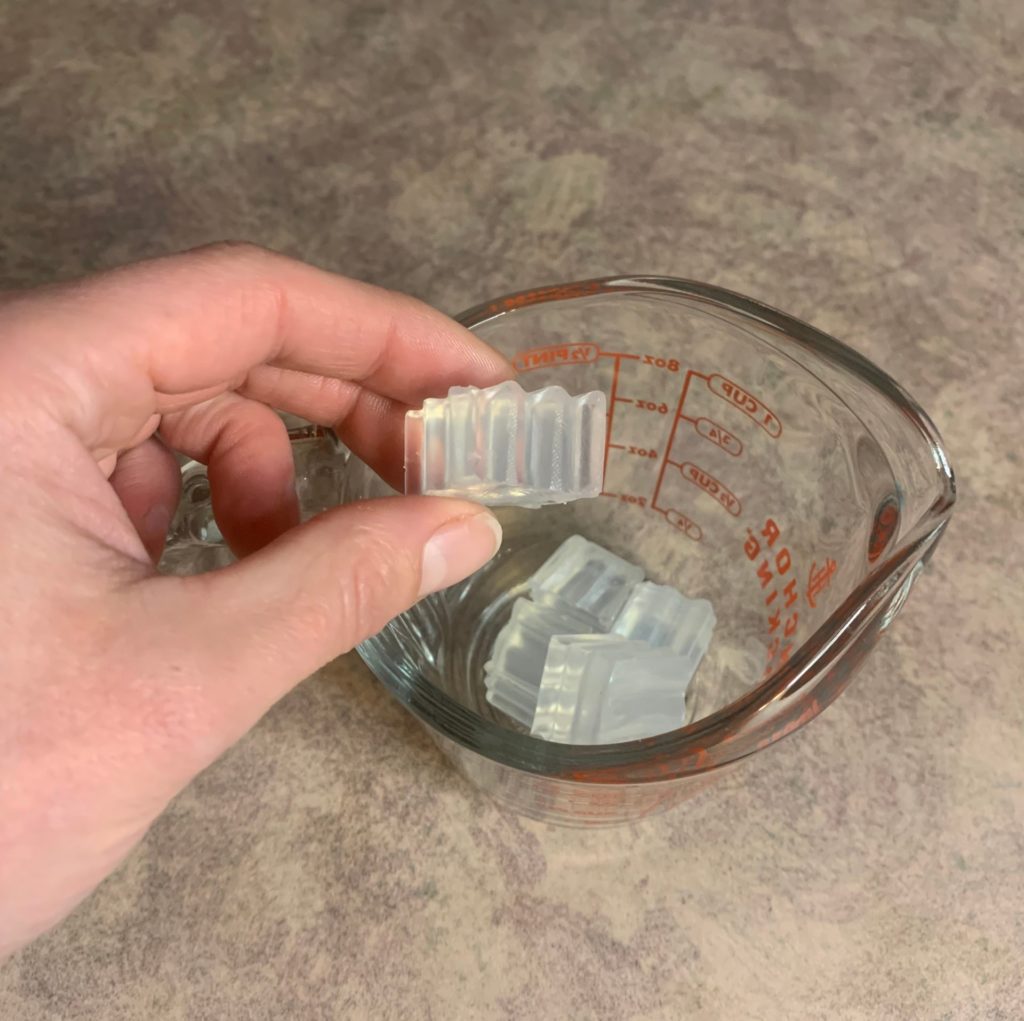
3. Melt in the microwave in 5-10 second intervals, stirring well in between each interval.
4. Add your fragrance oil and mix well.
5. Pour the melt and pour into the silicone mold.
6. Spray the top of the soap with rubbing alcohol to pop any bubbles.

7. Carefully place your fish on the top of the soap.
8. Take the remaining melt and pour soap and melt it.
9. Add fragrance oil and stir.
10. You are going to want to wait until there is a thin “skin” on the soap.
11. Spray the top of the soap in the silicone mold with rubbing alcohol.
12. Slowly (and I mean slowly) pour the melted soap into the mold. I like to try to pour a little more towards the edge of the mold so not to disturb the fish.
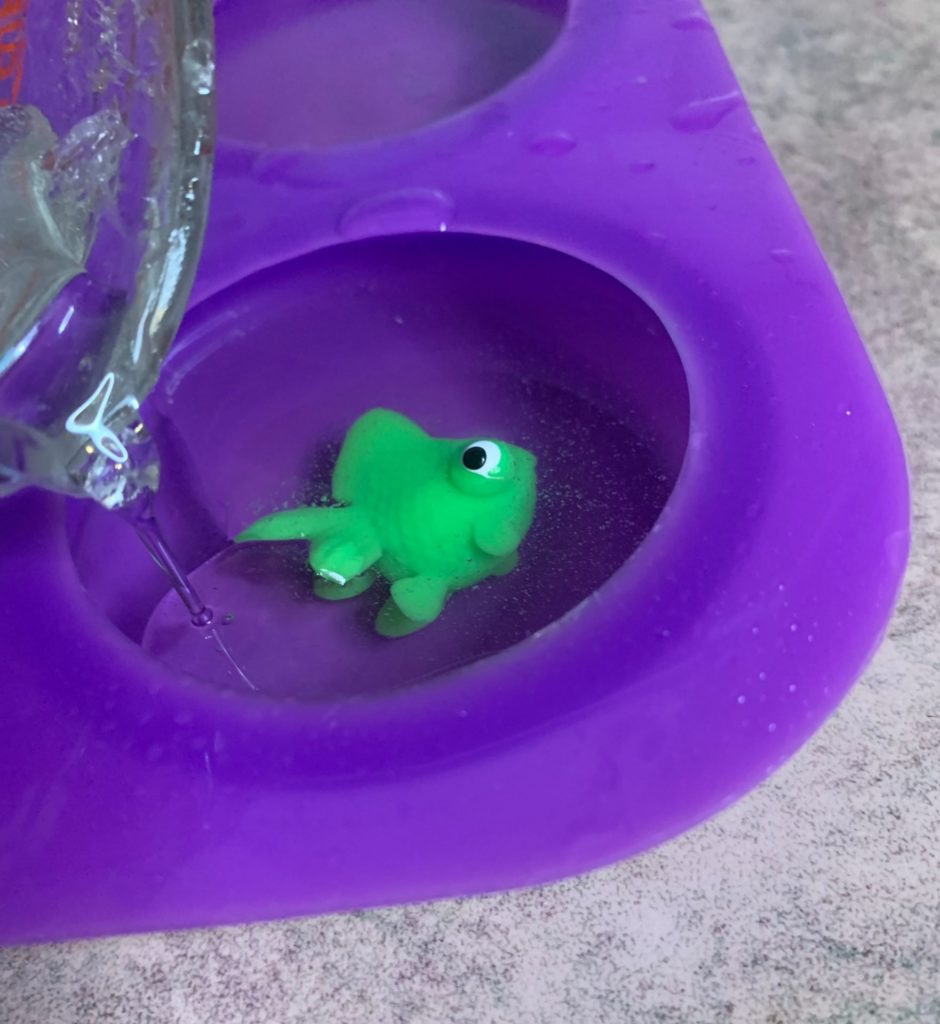
13. Spray the top with rubbing alcohol.
14. Allow to cool completely.
15. Unmold the soap from the mold.
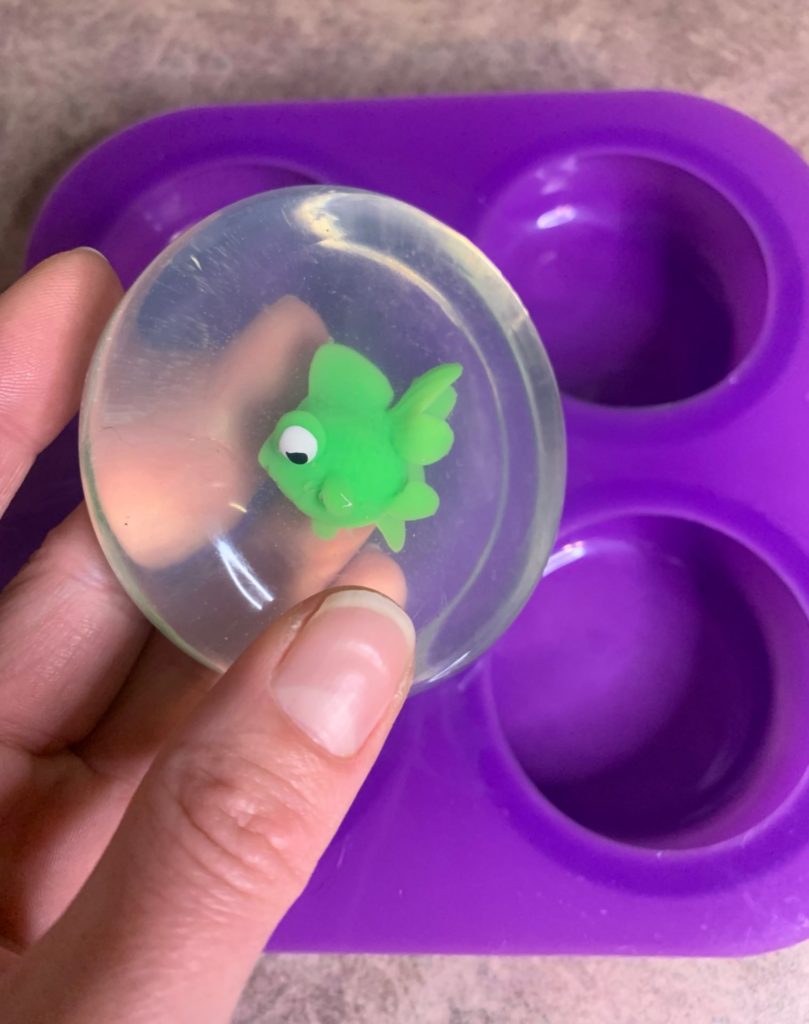
16. Place the soap into a small plastic bag and tie with a ribbon.
Printable Goldfish in a bag recipe
Goldfish Melt and Pour Soap
Equipment
- Scale
- Microwave Safe Container
- Spatula
- Rubbing alcohol in a spray bottle
- Small goldifsh
- Bag
Ingredients
- 2.94 ounce | 98% Clear Melt and Pour Soap
- 0.06 ounce | 2% Birds of Paradise Fragrance Oil
Instructions
- Cut your melt and pour soap into 1 inch cubes. It's fine if the chunks are smaller, just try to keep them consistent in size.
- Place half of the melt and pour into a microwave safe container.
- Melt in the microwave in 5-10 second intervals, stirring well in between each interval.
- Add your fragrance oil and mix well.
- Pour the melt and pour into the silicone mold.
- Spray the top of the soap with rubbing alcohol to pop any bu
- Carefully place your fish on the top of the soap.
- Take the remaining melt and pour soap and melt it.
- Add fragrance oil and stir.
- You are going to want to wait until there is a thin "skin" on the soap.
- Spray the top of the soap in the silicone mold with rubbing alcohol.
- Slowly (and I mean slowly) pour the melted soap into the mold. I like to try to pour a little more towards the edge of the mold so not to disturb the fis
- Spray the top with rubbing alcohol.
- Allow to cool completely.
- Unmold the soap from the mold.
- Place the soap into a small plastic bag and tie with a ribbon.
