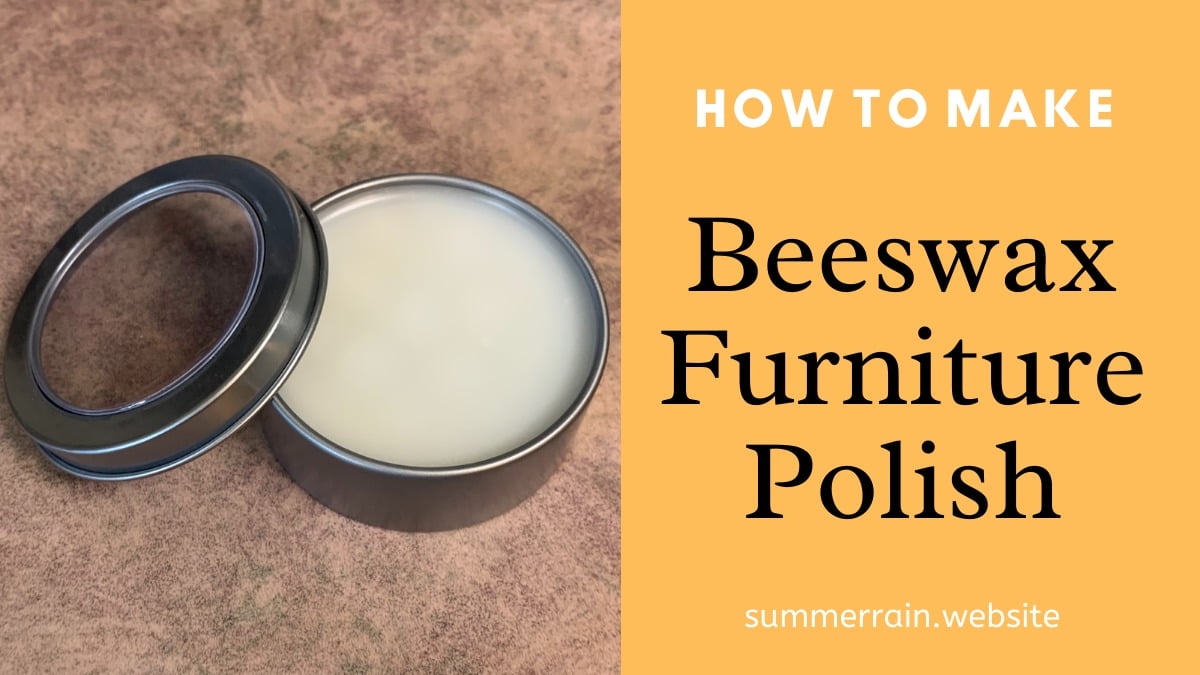
I am on a mission to find more natural replacements for common household products. I also want to work towards a less wasteful household (maybe one day zero waste, but for now less wasteful is the goal). This beeswax furniture polish is definitely a step in the right direction.
So, I am right smack in the middle of learning how to tile! And part way through tiling my bathroom floor, the tile saw that we were using stopped spraying water. Which, as it turns out, the water helps keep the dust at bay. Long story short, my house is just covered in a layer of it now. Gah! Which means, I literally have to dust everything downstairs. I decided this is the perfect opportunity to take the step and make my own furniture polish.
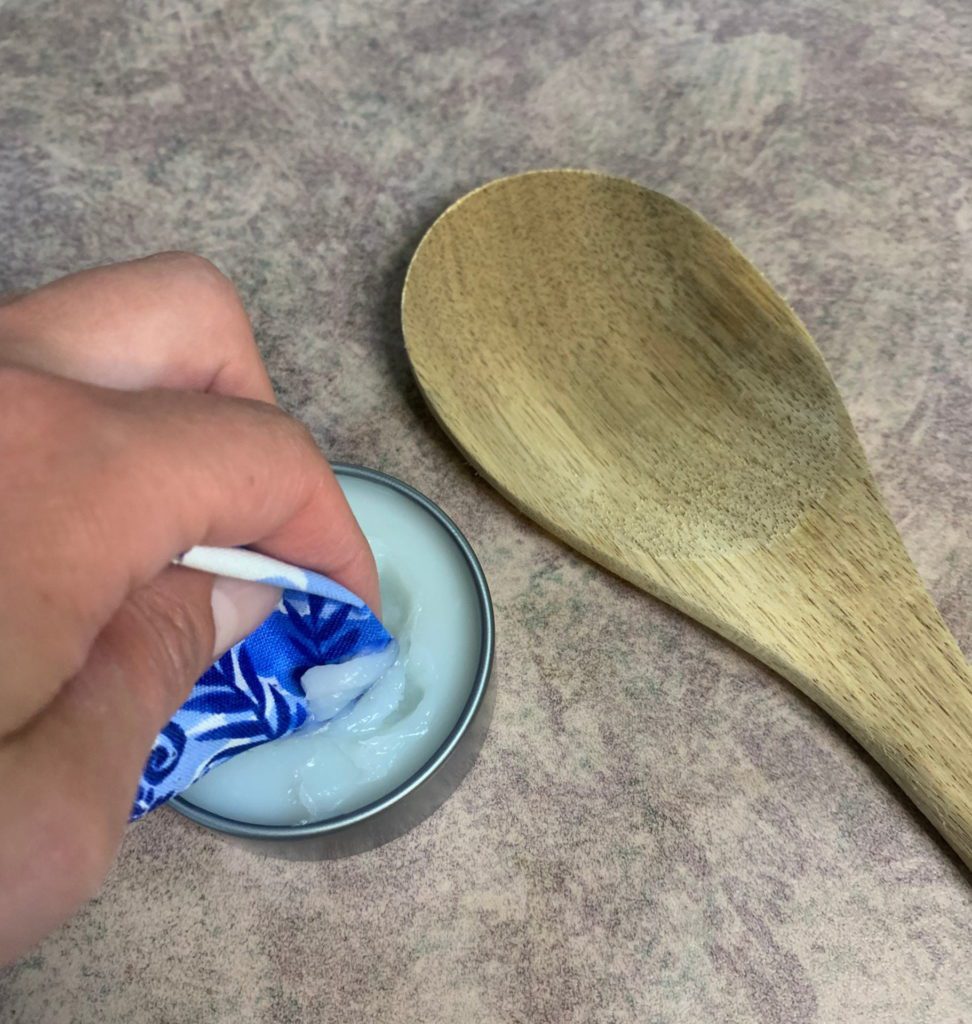
And, if I am being honest, I have never seasoned any of my wood utensils. Shame! So, better late than never? Without further ado, let’s learn how to make furniture polish.
Table of Contents
Prefer to watch this project instead of reading it?
Some links are “affiliate links” and I earn a small commission on them.
Using the furniture polish
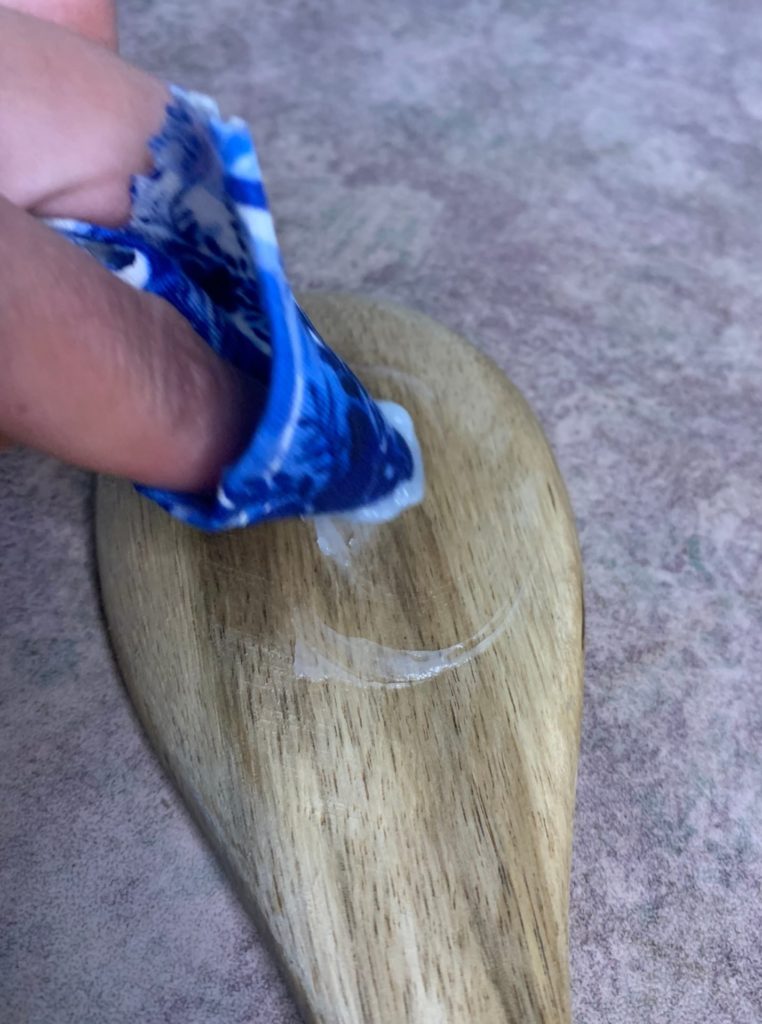
The finished furniture polish is going to be semi hard. Apply a very small amount onto your wooden furniture with a cotton cloth. I normally go in a back and forth motion, not in a circular motion. I just feel like polishing in a circular motion just makes more work because then you have to get rid of the swirl residue that is left behind.
Wait 15 – 20 minutes and buff off any excess furniture polish that might be left behind.
I apply a thin enough layer, that way when I go back its just to remove some of the stickiness that has been left behind.
Things to use the polish on:
- Wooden table and chairs
- Book shelves
- Cutting boards
- Wooden utensils
- Wooden bowls
- Picture frames
- So, pretty much anything wood 🙂
Why polish wood?
To protect wood and keep it in good condition, you need to make sure that you hydrate the wood fibers. Especially cooking tools and cutting boards, you want to keep the wood hydrated and clean.
Is beeswax good for wood?
Yes it is! The beeswax is an excellent way to protect wood. Since it is going to create a very thin layer on your shelves, it will make them semi water resistant. Any water that spills is going to bead up right away. However, it is not hard enough to protect the wood from scratches and such.
Is beeswax furniture polish safe for food areas?
As long as you are using a food-safe beeswax it is completely safe to use in your kitchen. When I made this, I actually just grabbed the olive oil right out of the cupboard! The cool thing about using beeswax, is that it adds a layer of protection from germs and bacteria on cutting boards. If you have ever seasoned a cutting board with just coconut oil, you will know the water doesn’t bead off as well as when you use beeswax. The beeswax sort of seals and gives a more water resistant finish.
Can I use essential oils?
You could add essential oils if you want. Just make sure that the essential oils you use are wood and food safe. Well, if its not being used in the kitchen, it doesn’t have to be food safe. lol I choose not to add any because personally, I don’t see the benefit. The scent is only going to be there for a relatively short period.
Making the beeswax furniture polish
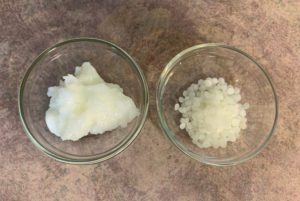
Start by weighing out your beeswax and coconut oil. (As you can tell, it was very hot in my house today and the coconut oil is quite melty).
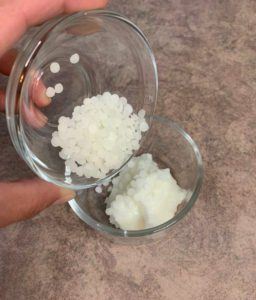
Place them in on a double boiler, in a heat safe container.
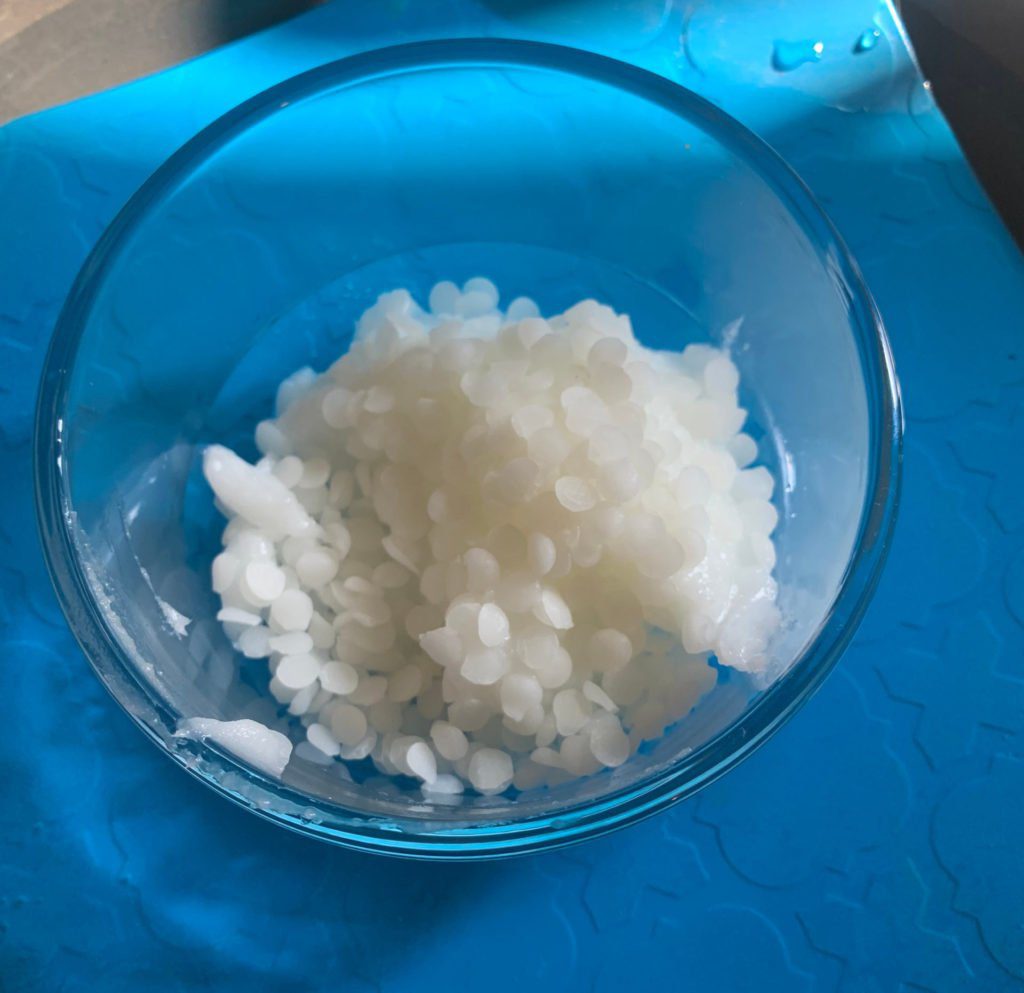
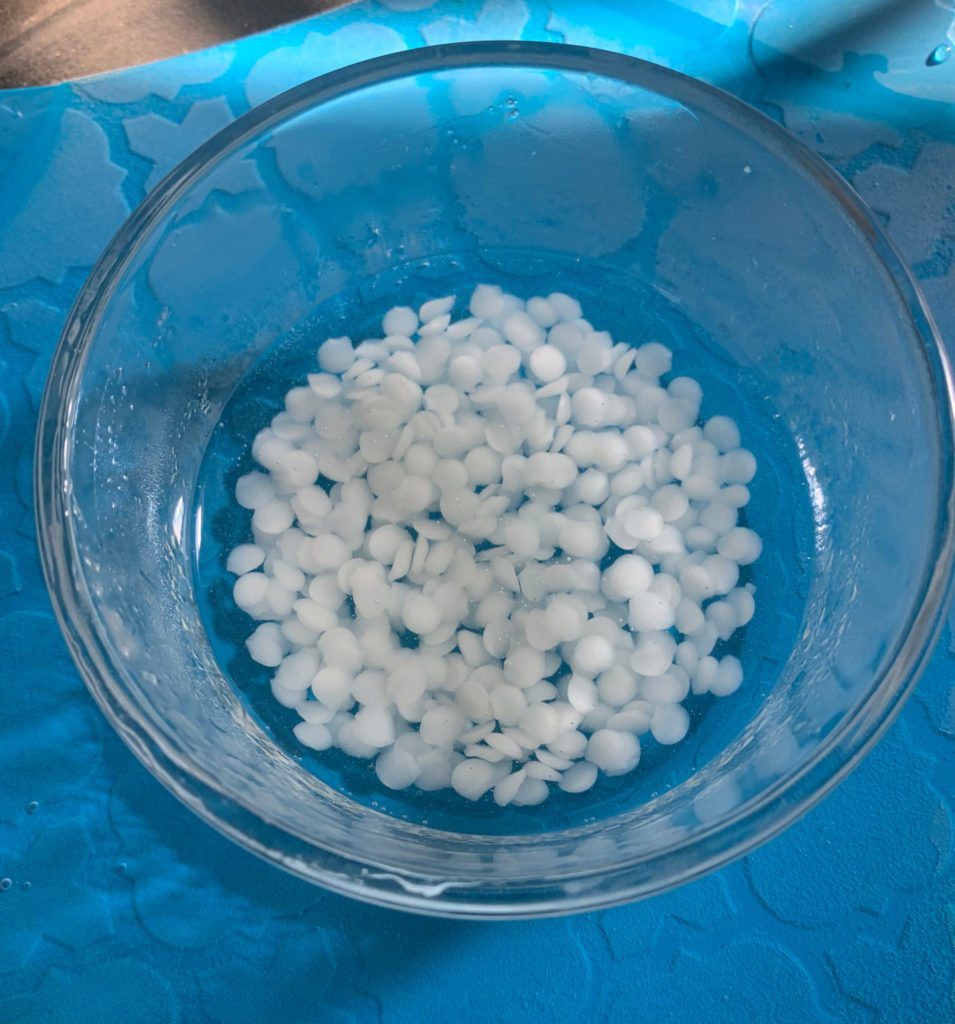
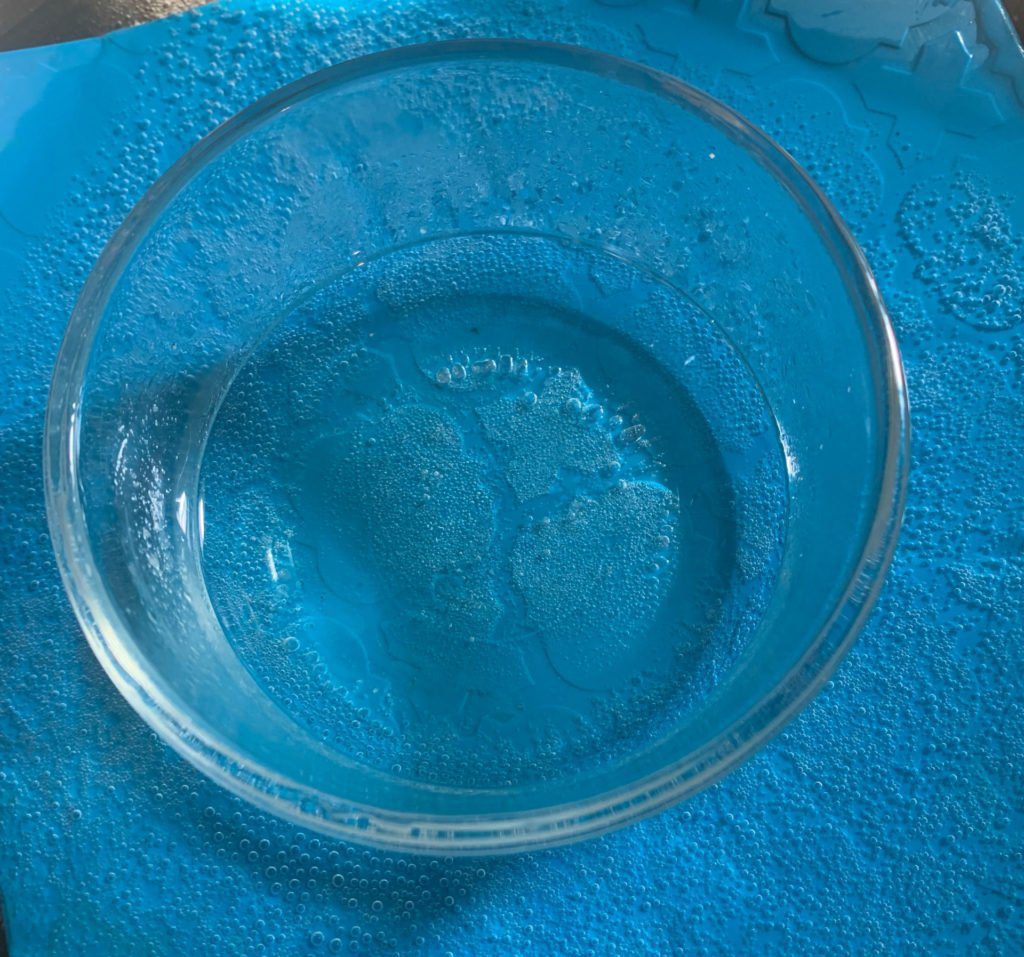
Be sure to stir the mixture quite a bit while it is melting, it will only take a few minutes. Once it is melted, remove from heat.
Pour into you storage container. I like to use the little candle tins for storing my polish.
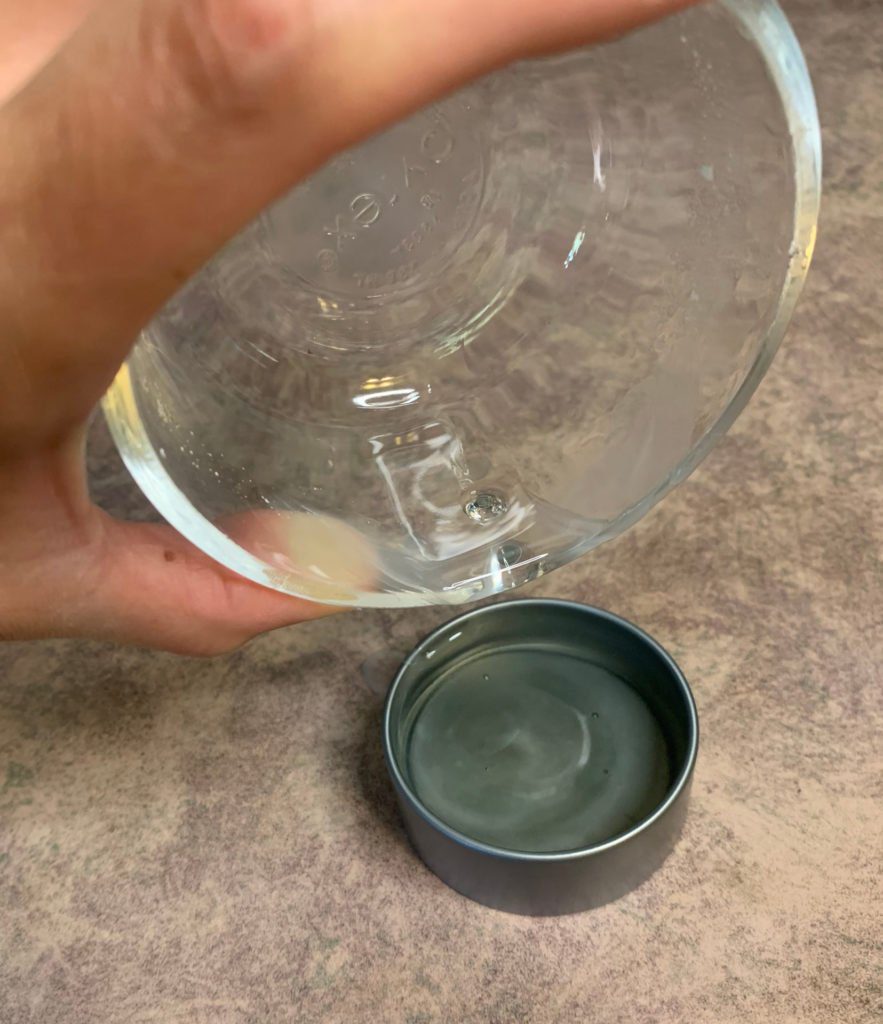
And enjoy. You can actually use this right away or wait for it to cool.
Natural Beeswax Furniture Polish
Equipment
- Scale
- Heat Safe Container
- Double boiler
- Tin to store polish
Ingredients
- 0.40 ounce | 20% Beeswax
- 1.60 ounce | 80% Coconut Oil
Instructions
- Start by weighing out your beeswax and coconut oil. (As you can tell, it was very hot in my house today and the coconut oil is quite melty).
- Place them in on a double boiler, in a heat safe container.
- Be sure to stir the mixture quite a bit while it is melting, it will only take a few minutes. Once it is melted, remove from heat.
- Pour into you storage container. I like to use the little candle tins for storing my polish.
- t away or wait for it to cool.
