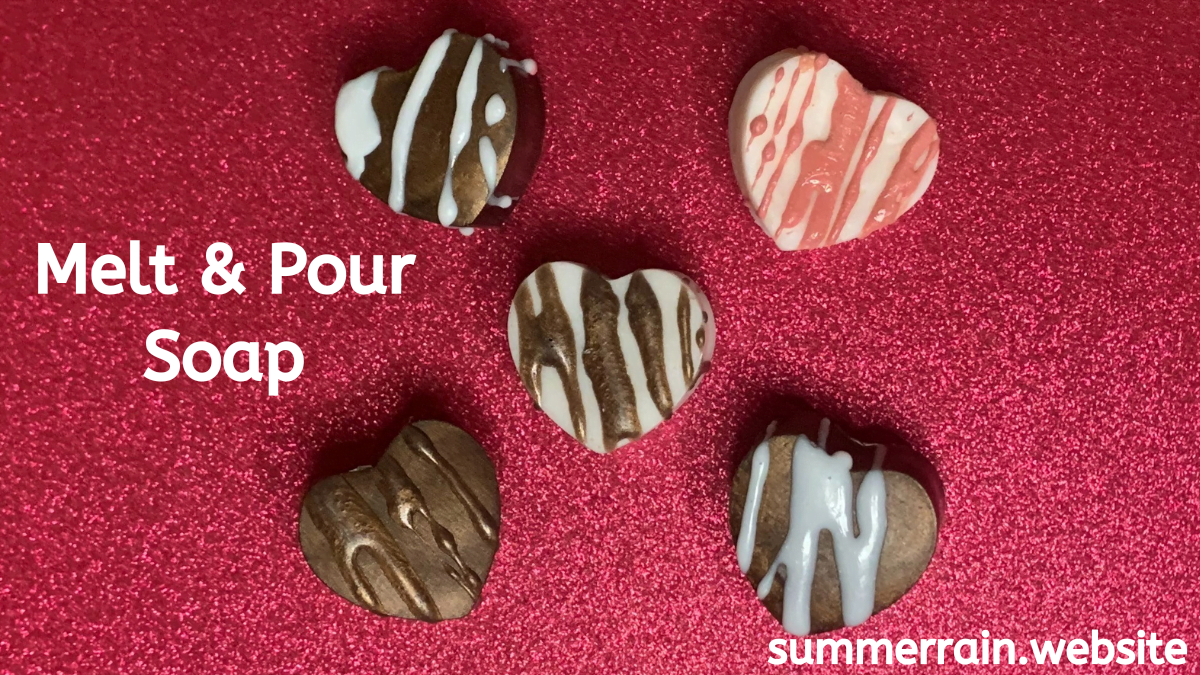
Chocolate fudge soap hearts are the perfect Valentines Day soap to make. The little hearts look just like little chocolates. Melt and pour soap is the best option for beginners to use. It is easy, fun and you can make it right in your kitchen without any fancy equipment.
Table of Contents
Prefer to watch this project instead of reading it?
Some of the links are affiliate links, because I am an associate and I earn a small commission on them.
Soap Base
If you use a white soap base, you will end up with a pastel color soap. For a more realistic chocolate color, I recommend using a clear soap base.
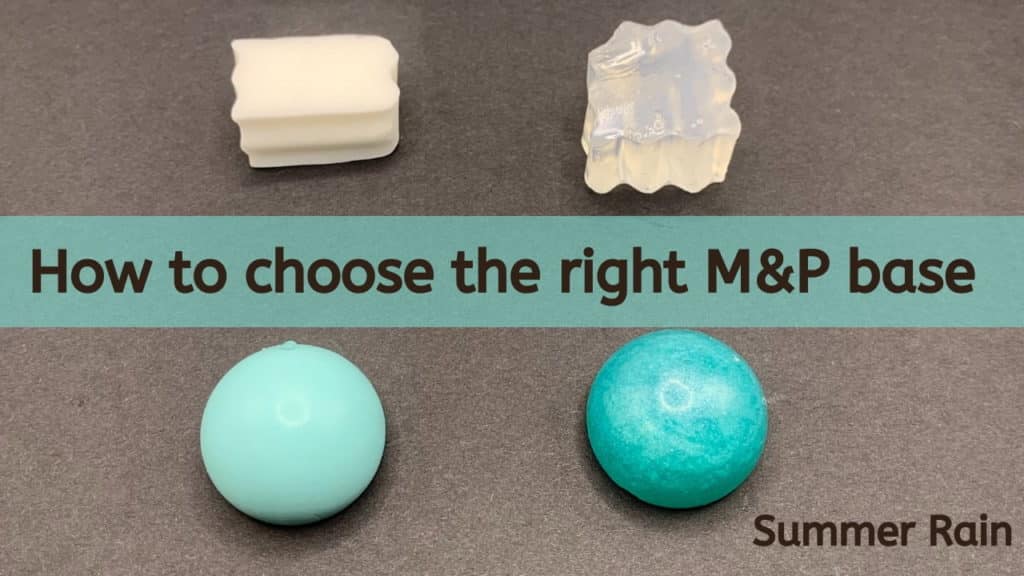
To learn more about how the finished soap looks with each soap base, check out this video.
Choosing a Mold
You can use plastic or silicone molds for your soap. Personally, I prefer to use silicone molds because I find them easier to get the soap out of and they are less likely to break. I have broke more than one of the thin plastic ones. Here is the heart mold I was using.
Melt and Pour Soap Making Supplies List
There are a few supplies that you will want to get if you are going to be making melt and pour soap. Most of the supplies that you need to make melt and pour soap can be found around your house.
- Scale
- Soap Cutter
- Silicone spatula
- Microwavable measuring cup
- Rubbing alcohol in a spray bottle
- Cutting board
Making Chocolate Fudge Soap Hearts
Preparing the base
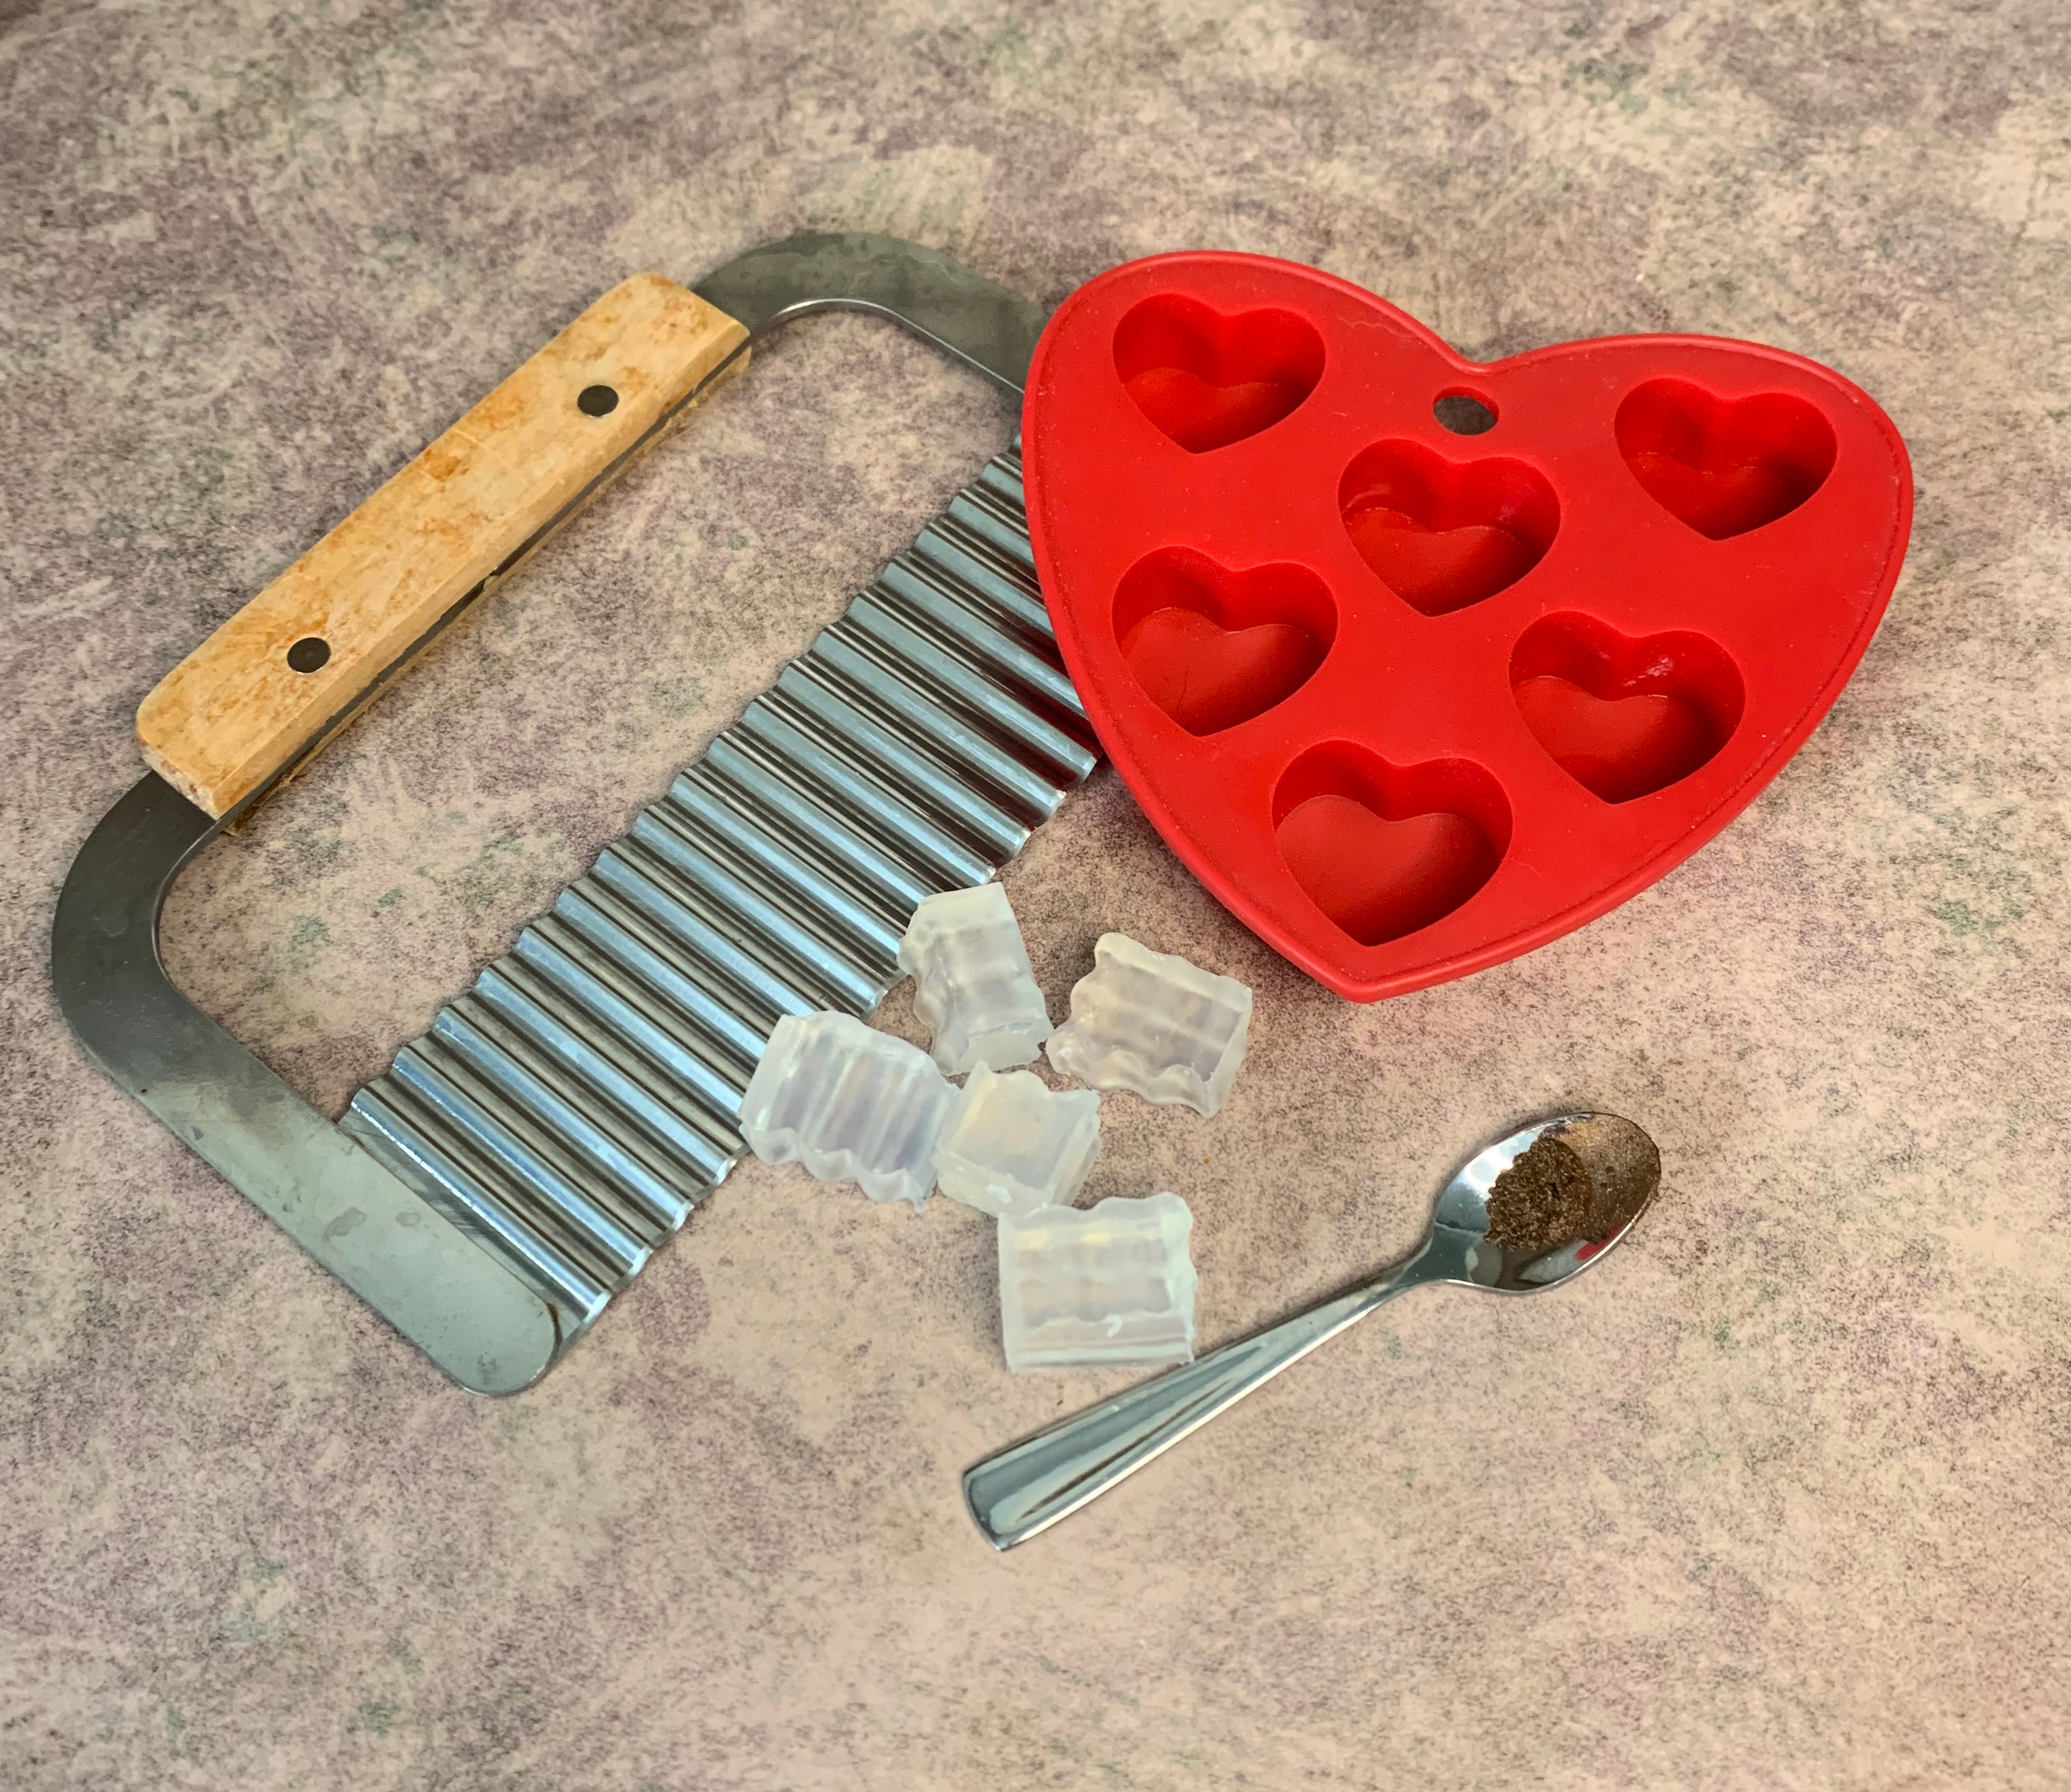
Grab a cutting board. Place your clear melt and pour (or white) soap base on it. You can cut it with a knife, but I find it is way easier to use a soap cutter. When cutting your soap base, the most important thing to do is to cut the soap into chunks that are all roughly the same size. When I am cutting the soap, I like to aim for 1 inch or smaller cubes.
Melting your Soap
When you are ready to melt your soap, place it in the microwave for 5-10 second intervals, mixing well in between each interval. The reason why it is important to melt the soap this way, is because if it gets too hot, it can burn the soap and you wind up with a rubbery bar of soap. Often times, when you are melting the soap, you will have some small un-melted chunks that will finish melting as you stir it.
Color Soap
Add a small amount of the capachino mica powder and mix well. If you have a hard time getting the mica to mix, just spray the top of it with rubbing alcohol and it will break the surface tension and make it easier to mix in. Be sure to mix the bottom and the sides of the soap base as it is easy to miss.
Fragrance
Add 0.16 oz. of Champagne fragrance oil to your soap base and mix well. If at any point your soap hardens back up on you, it can be placed back into the microwave for a few seconds.
Molding Your Soap
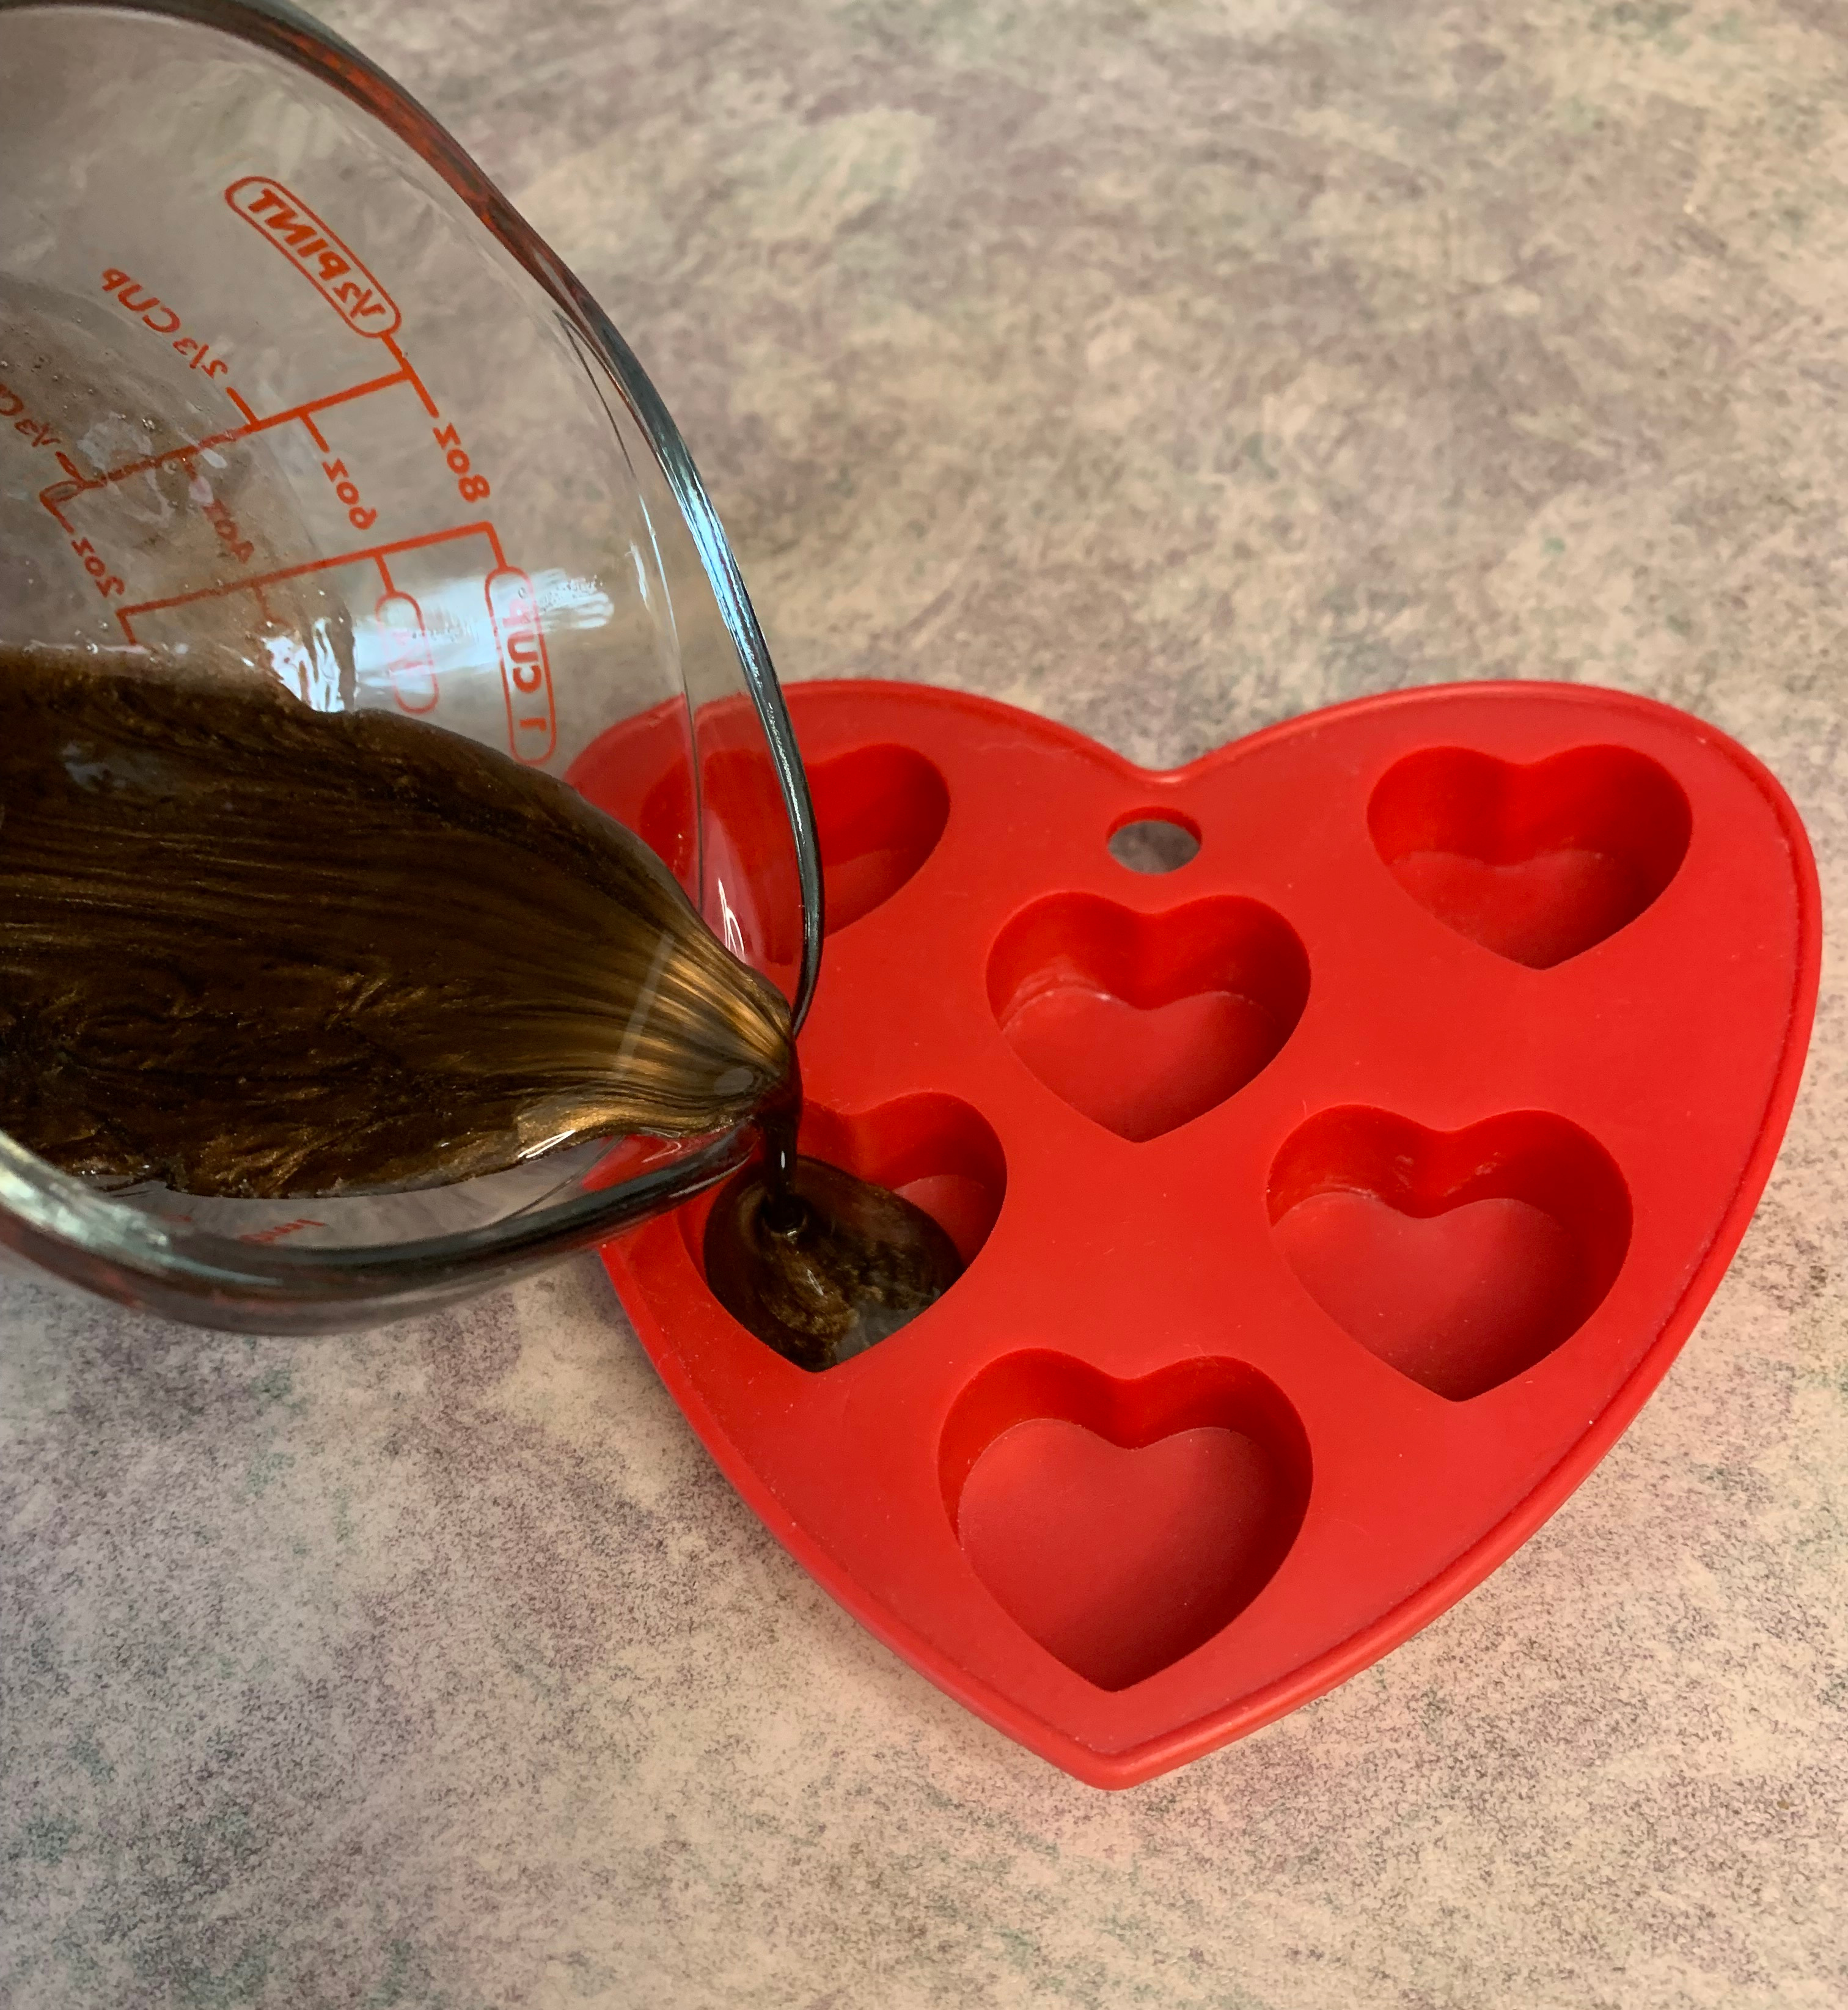
Pour the soap base into your silicone heart mold. Spray the top of the soap to pop any bubbles. Allow to cool completely.
Unmold
Remove the cooled soap from your silicone heart mold. I like to pull on the sides of the mold to loosen it, then pop it up by gently pressing on the bottom.
Decorate soap
Warm a tiny amount of melt and pour soap in the microwave.
Add red, white or brown mica powder and mix well.
Drizzle
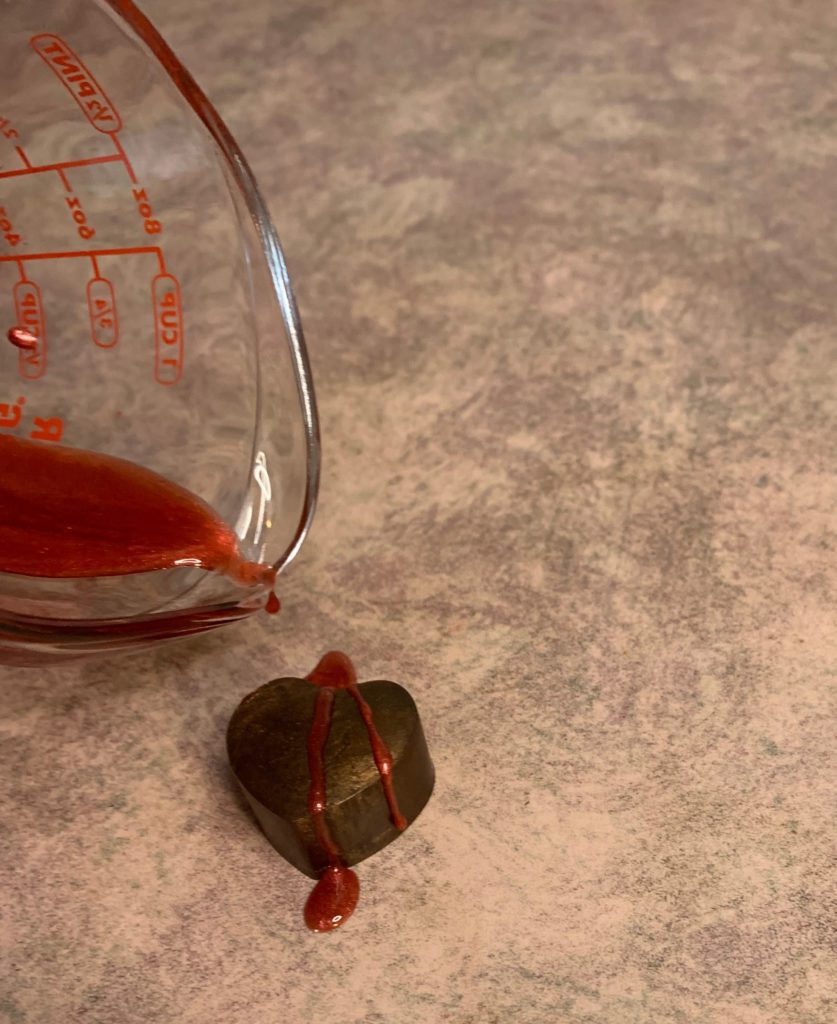
Drizzle the melted soap over the top of the soapy hearts. I will start pouring before I get to the soap, it just makes a better drizzle.
Package
You will want to package your soap in an airtight container or packaging to prevent glycerin dew. For more information about Glycerin Dew, click here.
Chocolate Fudge Soap Hearts
Equipment
- Heart Mold
- Scale
- Soap cutter
- Silicone Spatula
- Microwavable Measuring Cup
- Rubbing alcohol in a spray bottle
- Cutting Board
Ingredients
Chocolate Soap
- 3 ounce Clear Melt and Pour
- 0.18 ounce Champagne Fragrance Oil
- Mica Powder
White Chocolate Soap
- 3 ounce Clear Melt and Pour (or white)
- 0.18 ounce Champagne Fragrance Oil
- Mica Powder
Instructions
Preparing the base
- Grab a cutting board. Place your clear melt and pour (or white) soap base on it. You can cut it with a knife, but I find it is way easier to use a soap cutter. When cutting your soap base, the most important thing to do is to cut the soap into chunks that are all roughly the same size. When I am cutting the soap, I like to aim for 1 inch or smaller cubes.
Melting your Soap
- When you are ready to melt your soap, place it in the microwave for 5-10 second intervals, mixing well in between each interval. The reason why it is important to melt the soap this way, is because if it gets too hot, it can burn the soap and you wind up with a rubbery bar of soap. Often times, when you are melting the soap, you will have some small un-melted chunks that will finish melting as you stir it.
Color Soap
- Add a small amount of the capachino mica powder and mix well. If you have a hard time getting the mica to mix, just spray the top of it with rubbing alcohol and it will break the surface tension and make it easier to mix in. Be sure to mix the bottom and the sides of the soap base as it is easy to miss.
Fragrance
- Add 0.16 oz. of Champagne fragrance oil to your soap base and mix well. If at any point your soap hardens back up on you, it can be placed back into the microwave for a few seconds.
Mold
- Pour the soap base into your silicone heart mold. Spray the top of the soap to pop any bubbles. Allow to cool completely.
Unmold
- Remove the cooled soap from your silicone heart mold. I like to pull on the sides of the mold to loosen it, then pop it up by gently pressing on the bottom.
Decorate soap
- Warm a tiny amount of melt and pour soap in the microwave.
- Add red, white or brown mica powder and mix well.
- Drizzle the melted soap over the top of the soapy hearts. I will start pouring before I get to the soap, it just makes a better drizzle.
Package
- You will want to package your soap in an airtight container or packaging to prevent glycerin dew. For more information about Glycerin Dew, click here.
