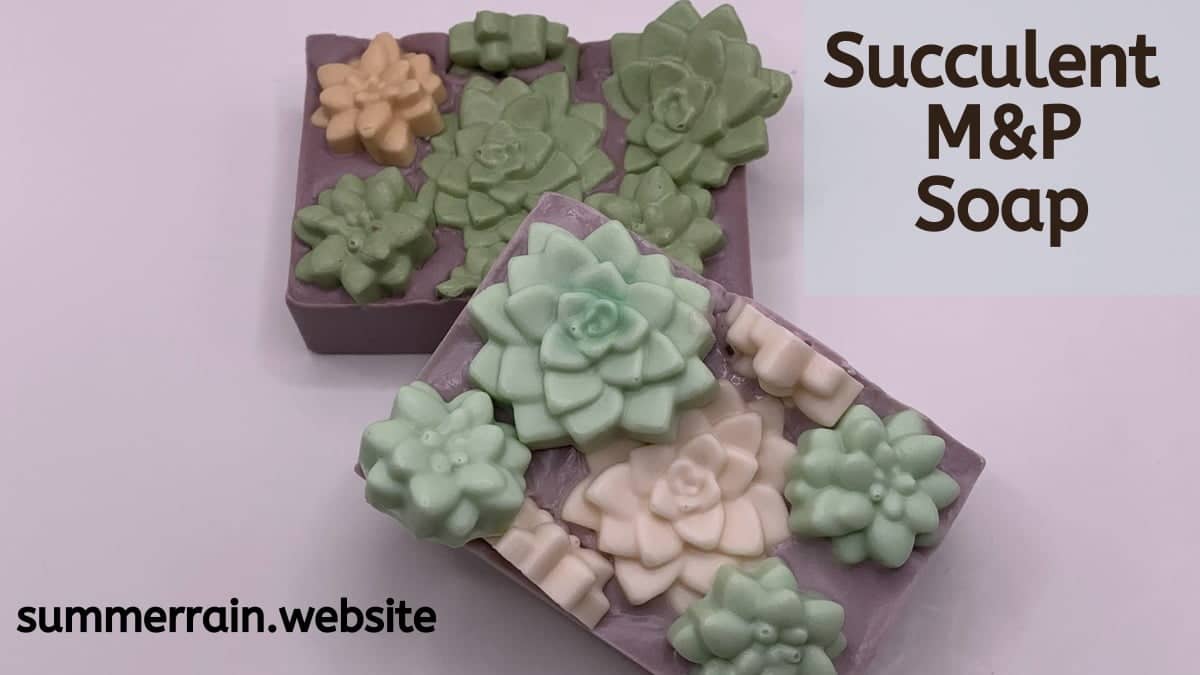
I have been wanting to use my succulent mold for sometime now, with spring here I thought it was the perfect time to make a succulent melt and pour soap. This is more of an medium hard melt and pour soap recipe. It has both embeds and layering. I think it is the perfect recipe to try out if you are ready to try a melt and pour that is a bit harder than normal.
Prefer to watch this project instead of reading it?
Some of the links are affiliate links, because I am an associate and I earn a small commission on them.
Making Succulent Melt and Pour Soap Embeds
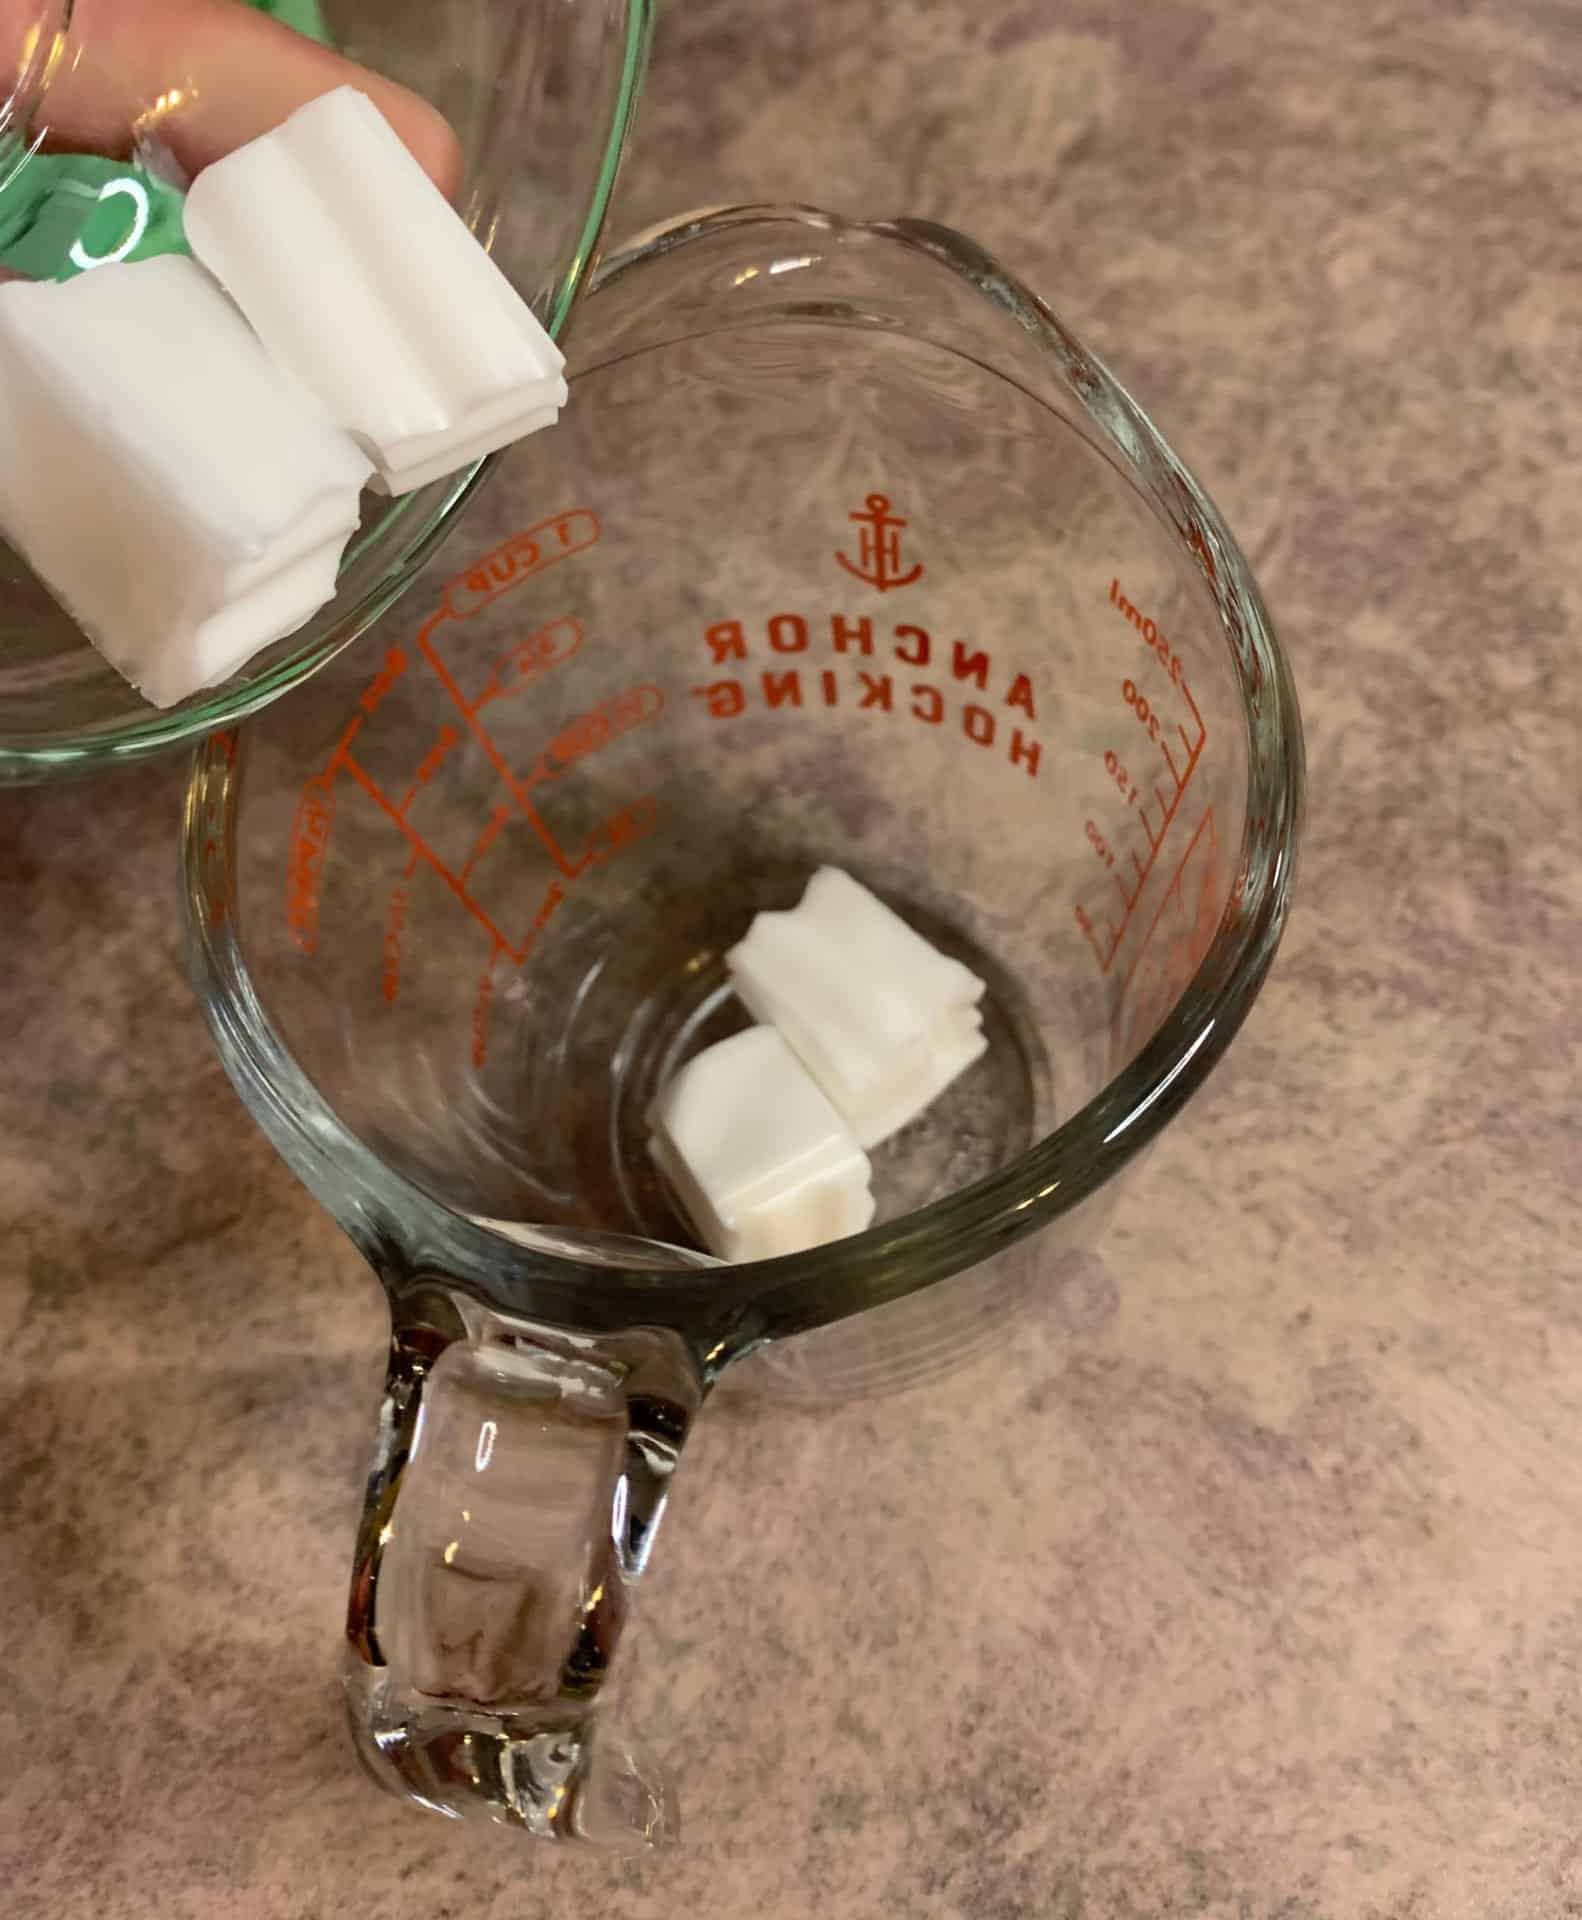
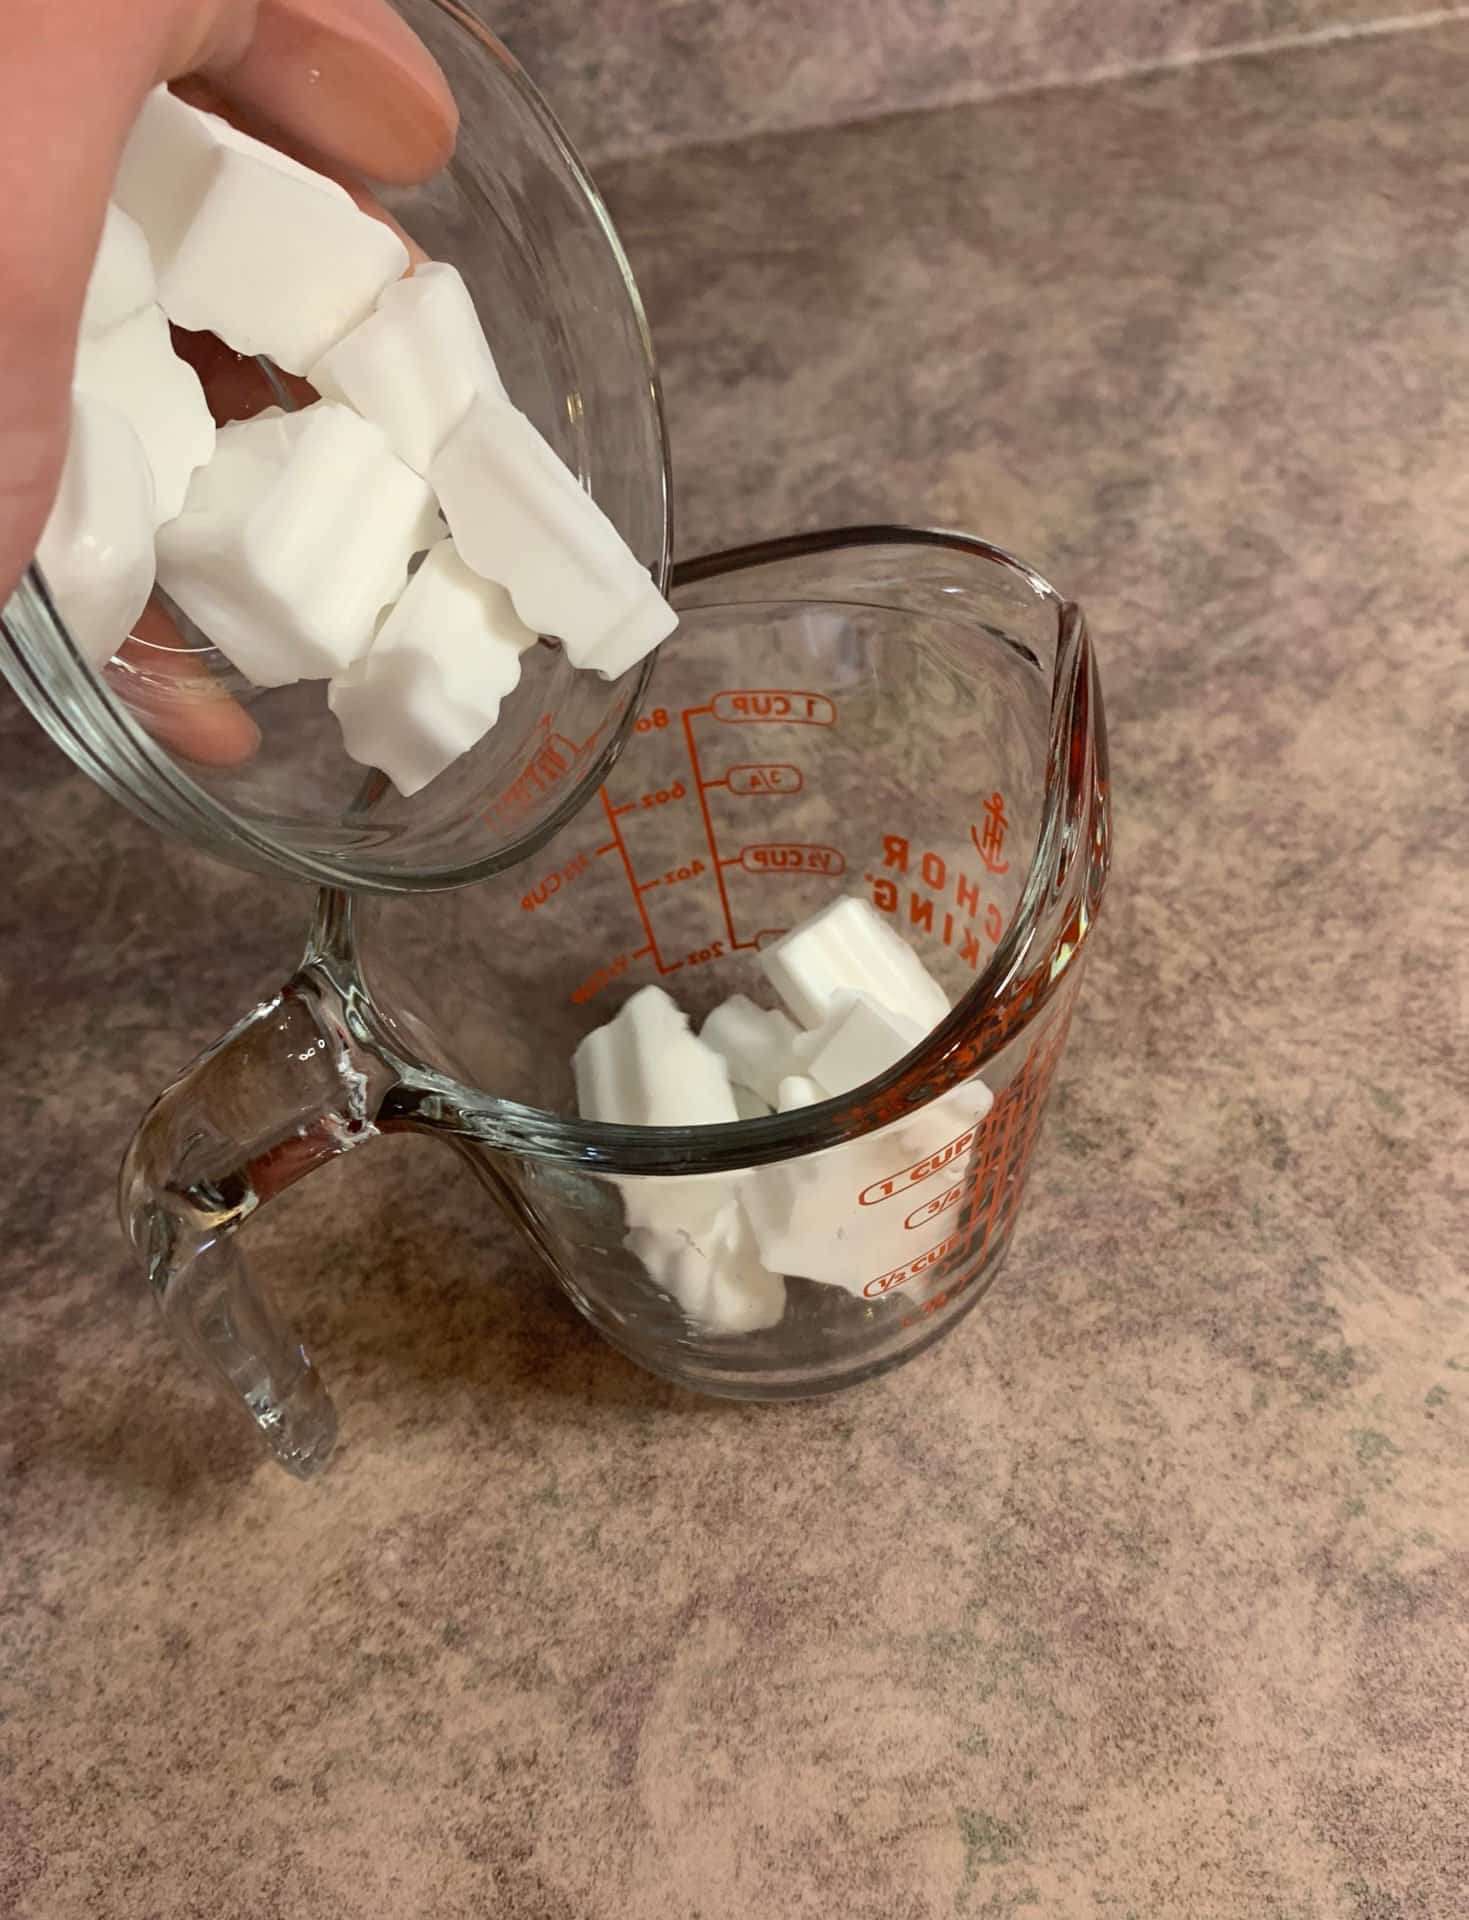
1. Cut your melt and pour soap into small chunks. When you are cutting them, you want to try to keep them all about the same size so they will melt evenly.
2. Put 1.5 ounces of the white melt and pour soap into a microwave safe container.
3. Melt in the microwave, in 10 second intervals, until the soap is completely melted. You will want to stir it well in between each interval.
4. Add light blue fragrance oil and mix well.
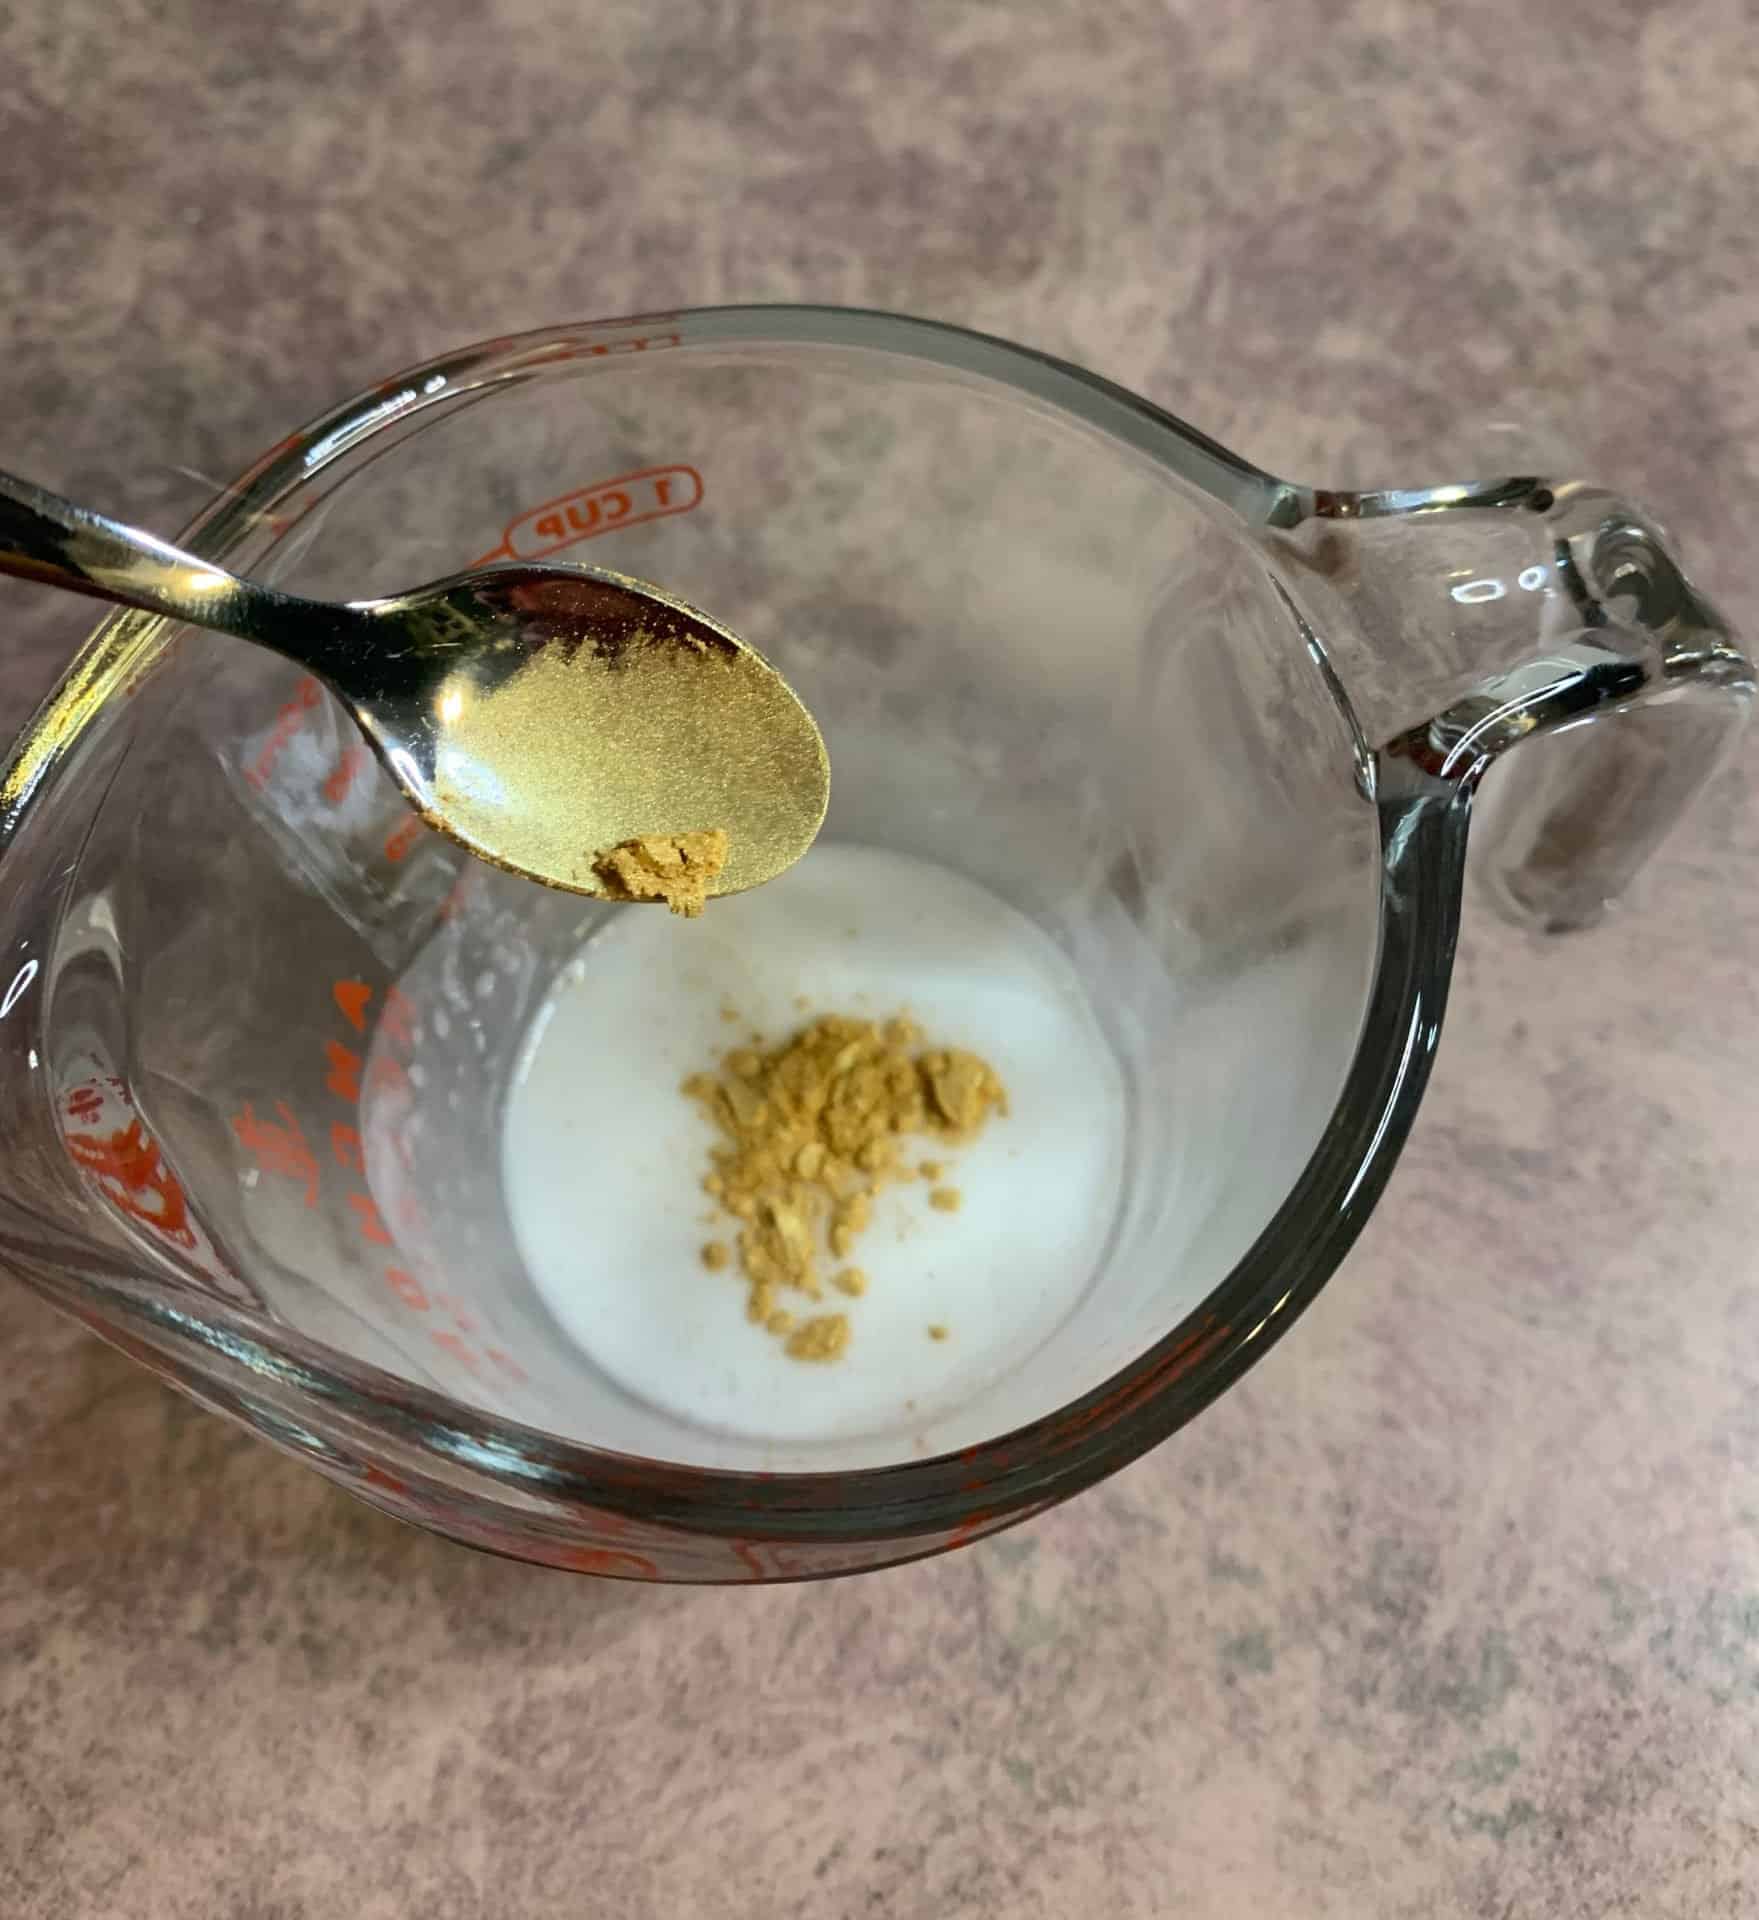
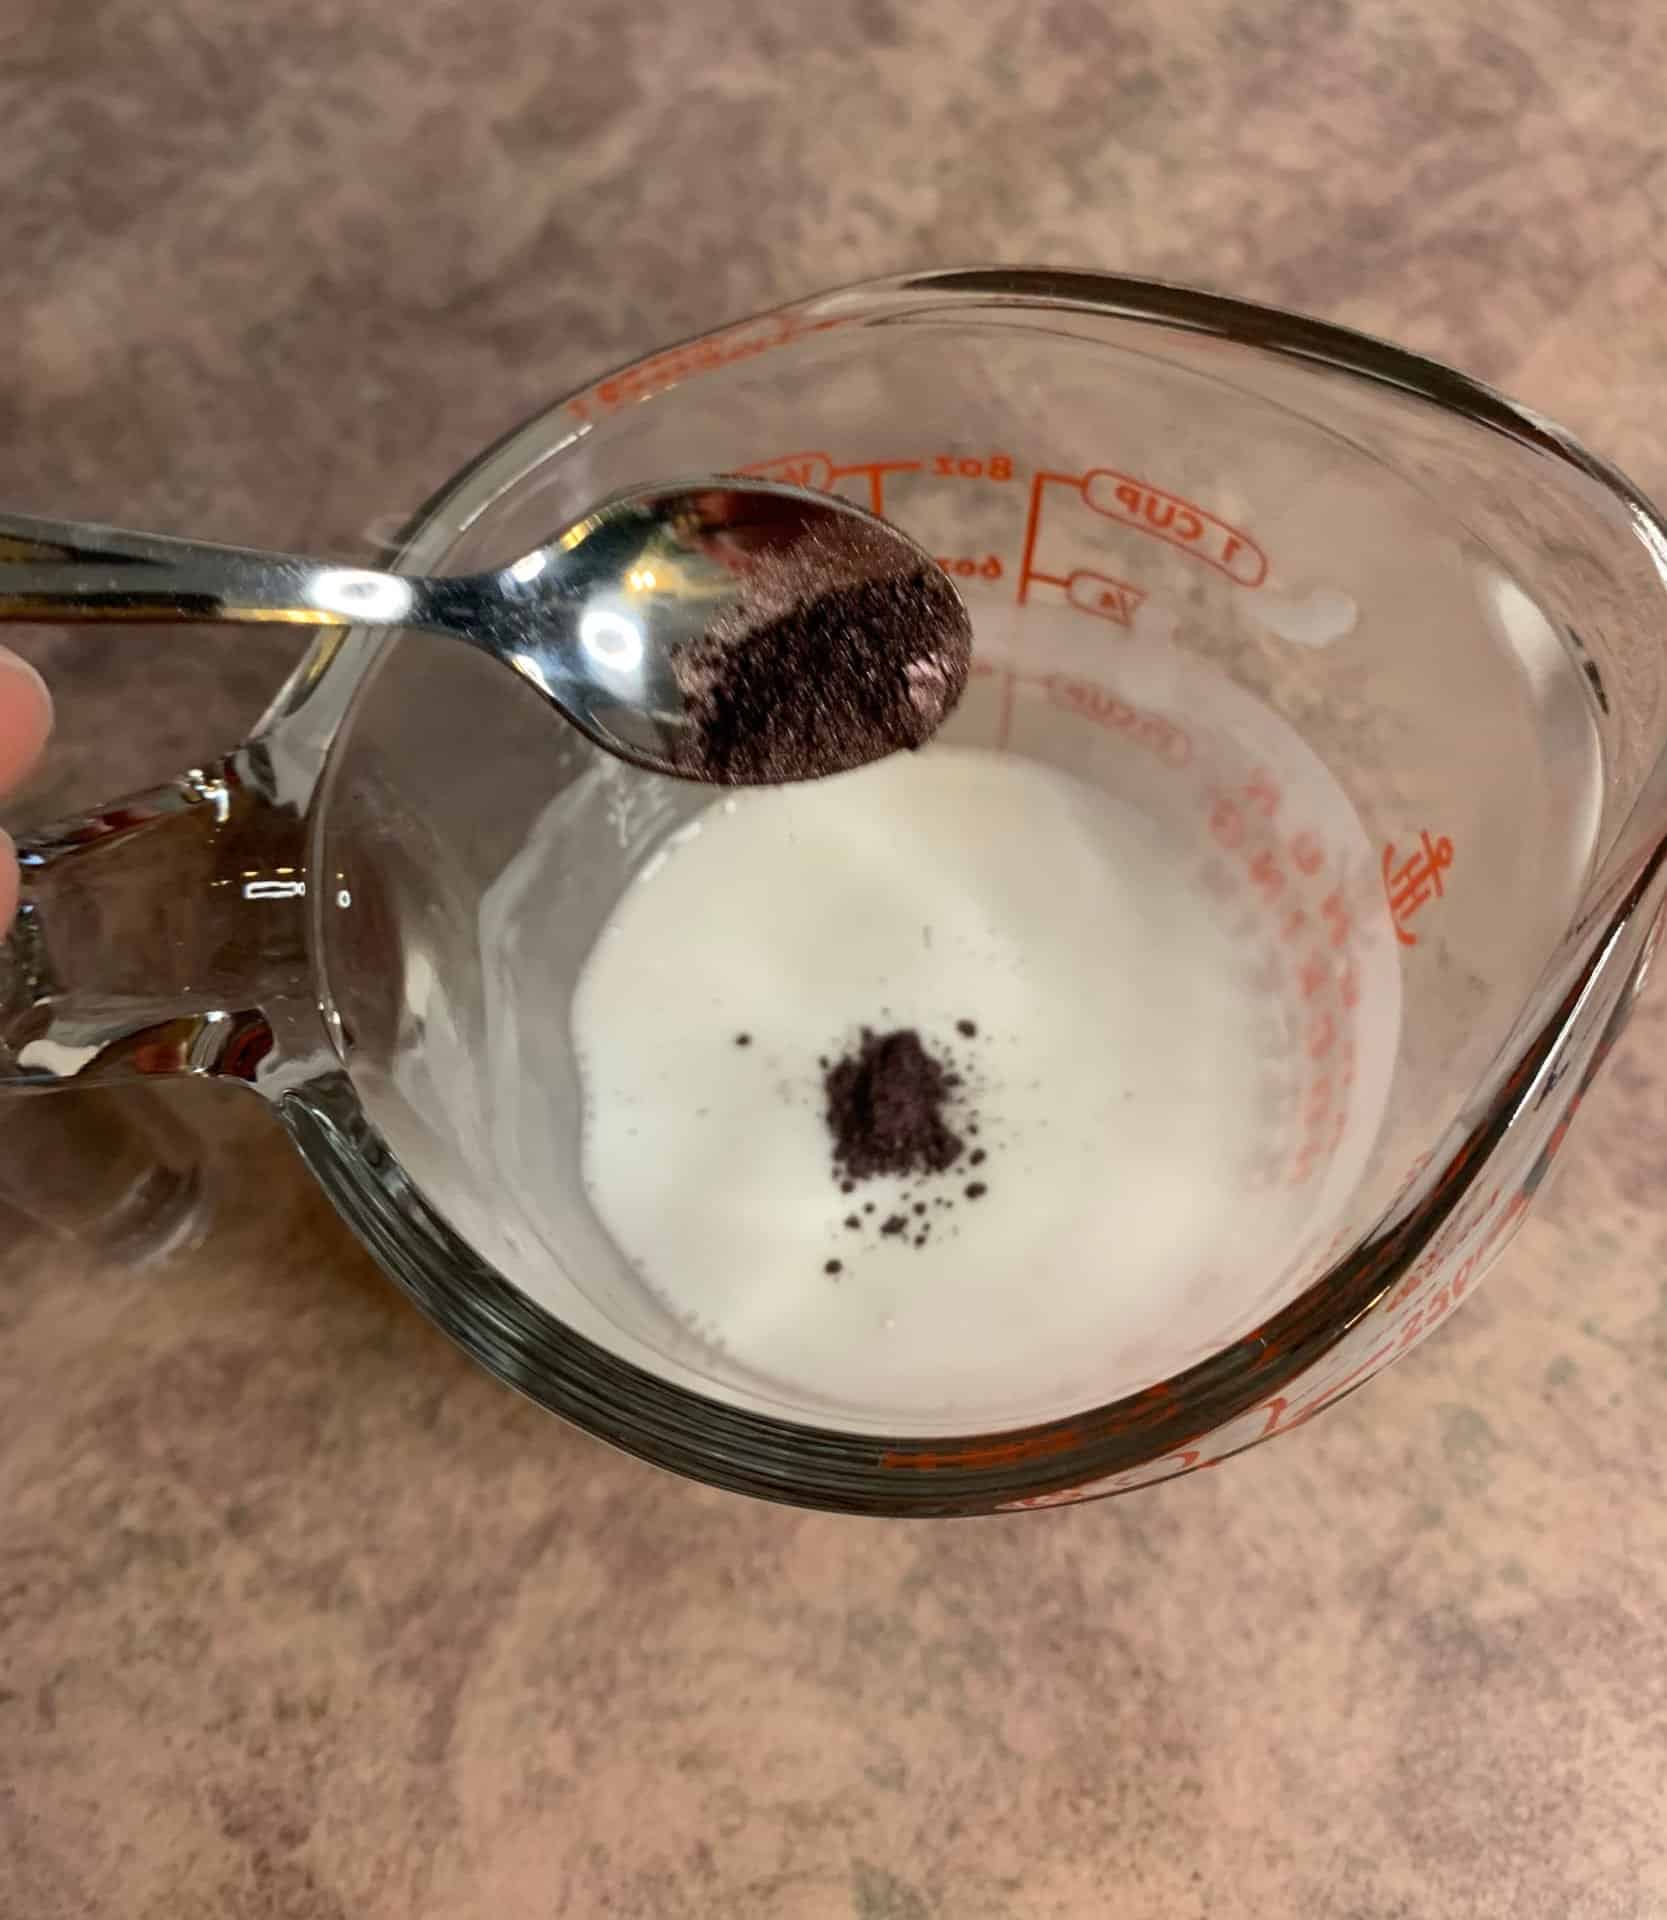
5. Add yellow gold mica powder and mix well. If you have trouble getting the mica powder to mix in, spray the top with rubbing alcohol.
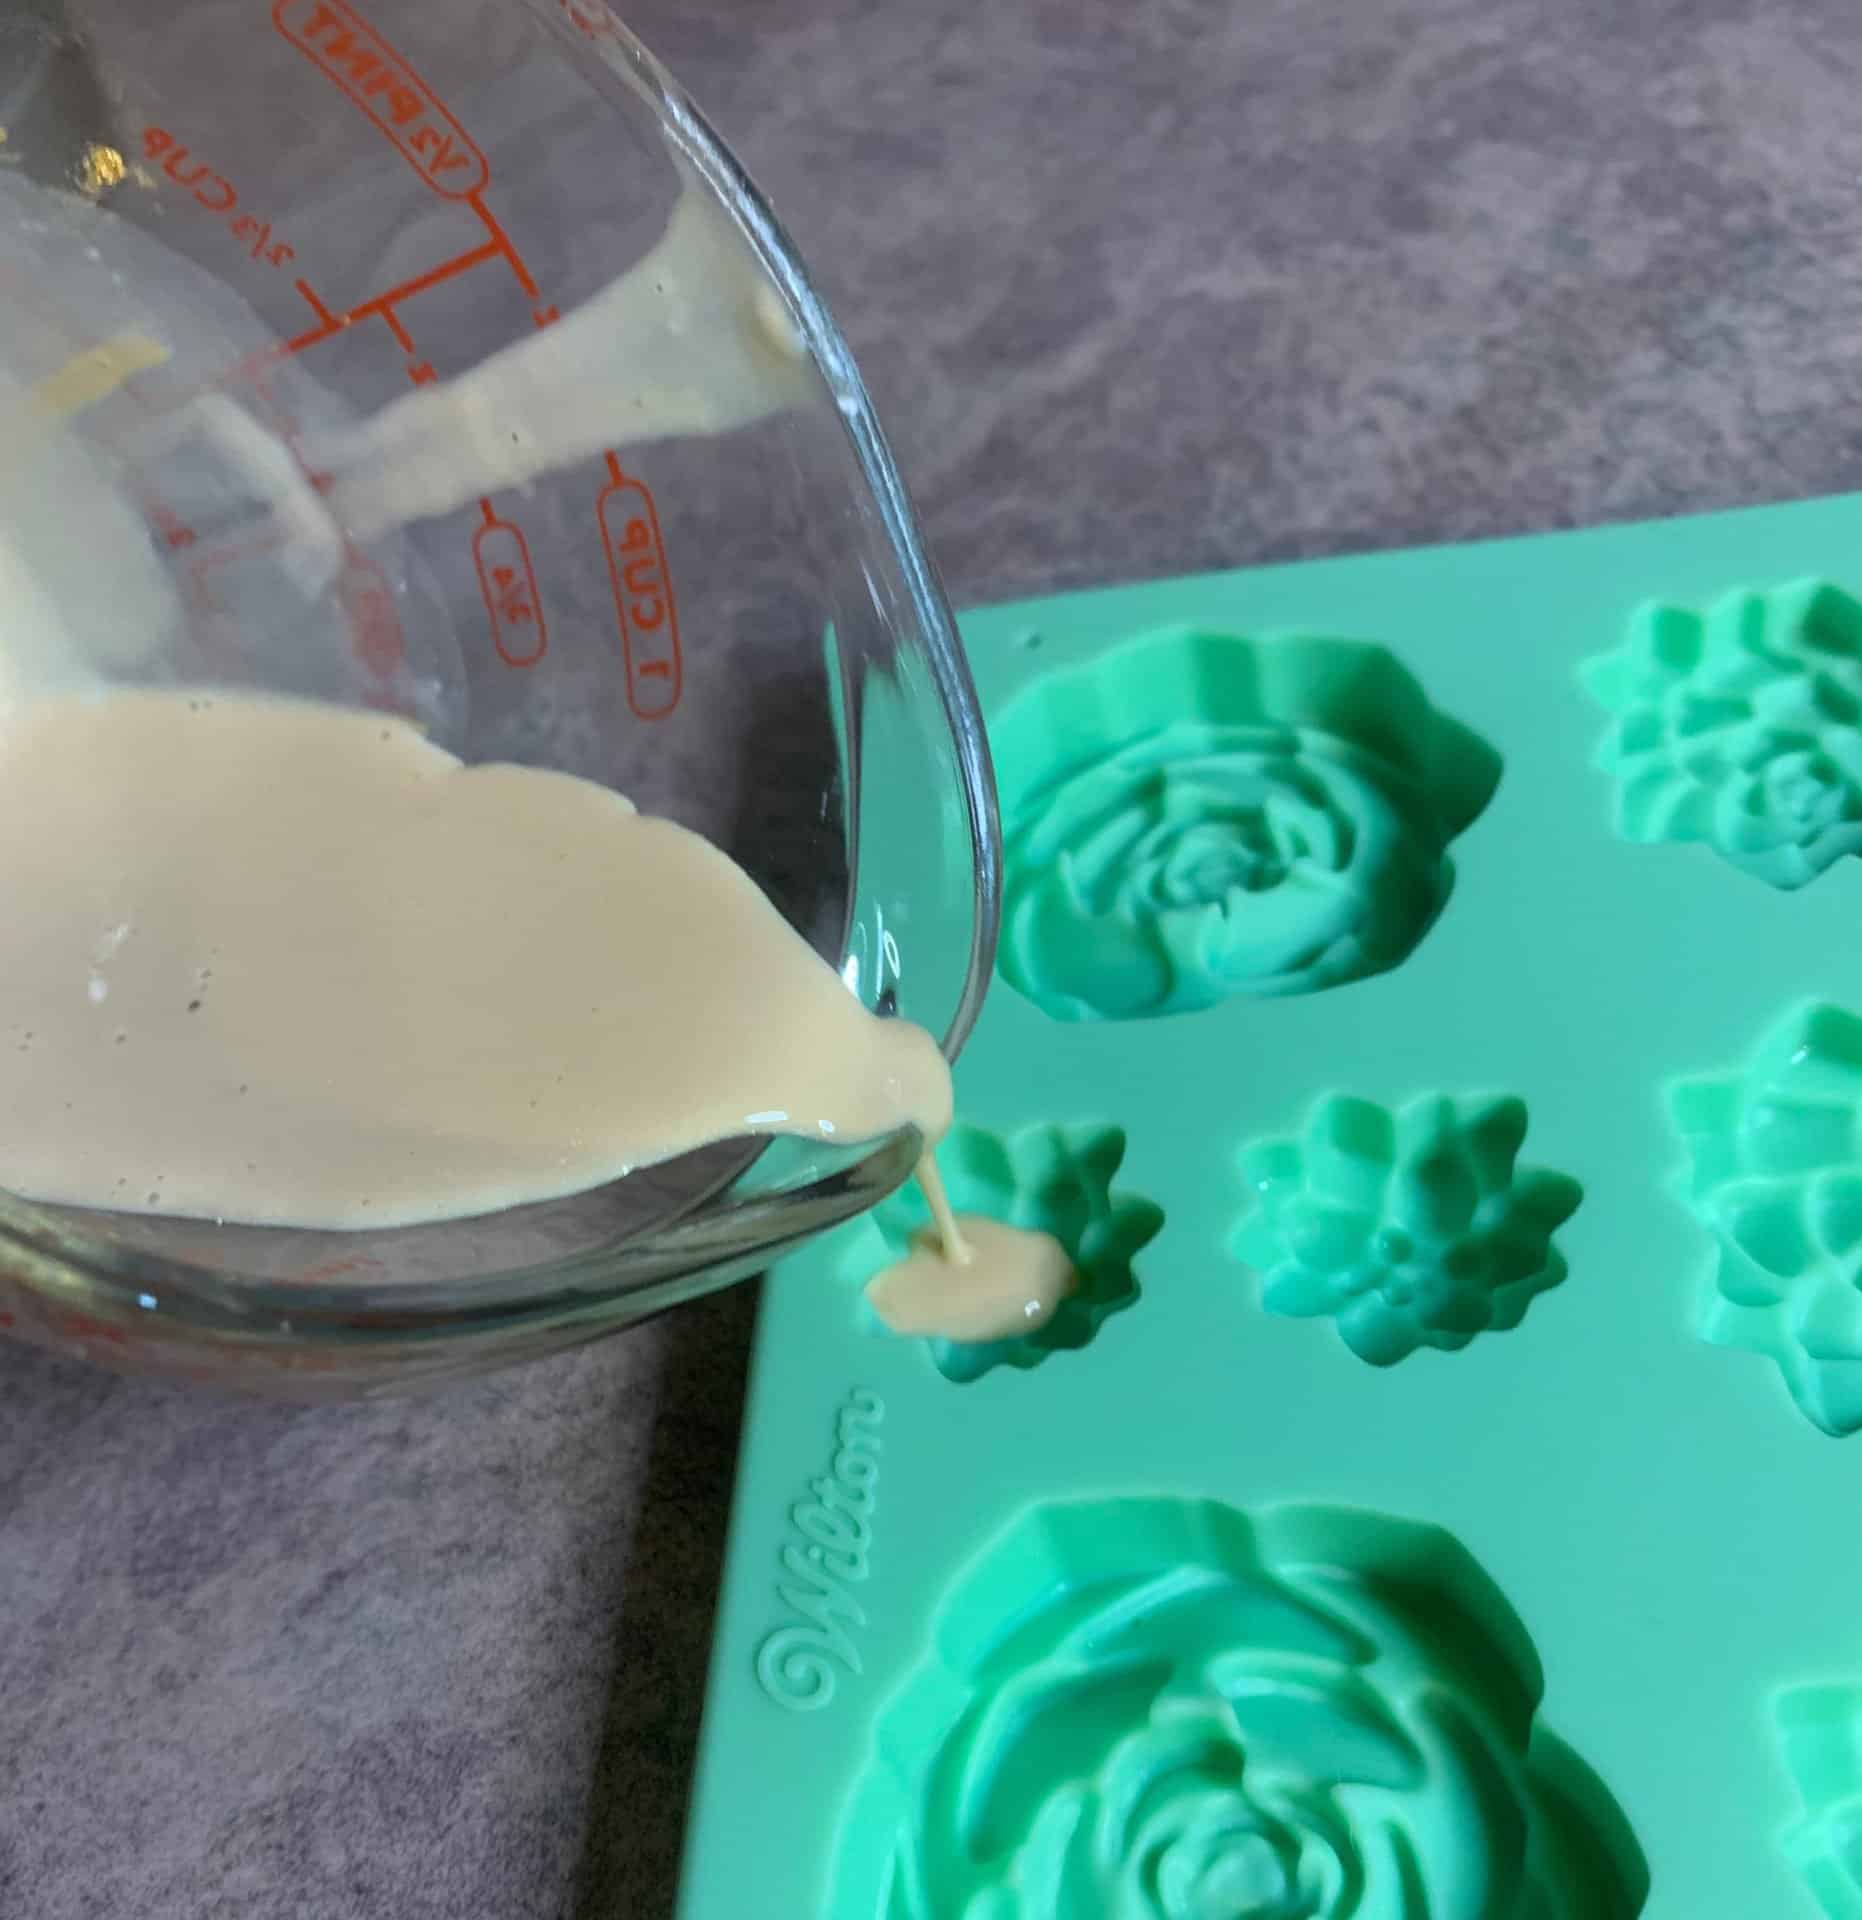
6. Pour the yellow gold soap into one or two of the succulent molds.
7. Spray the top of the soap with rubbing alcohol, to pop any bubbles.
8. To the remaining yellow gold soap, add a bit of pistachio and green pearl dry mica powder. You might need to reheat the soap in the microwave for a few seconds.
9. Pour the melt and pour into the succulent soap mold.
10. Spray the tops with rubbing alcohol.
11. Allow to cool completely, then remove your succulent embeds from the mold.
Making the soap bottom for succulent soap
1. Weigh out 3.50 ounces of white melt and pour soap.
2. Melt in the microwave in 10 second intervals until the soap is completely melted. Stirring well in between each interval.
3. Add light blue fragrance oil and mix well.
4. Add dark scarlet mica powder and mix well.
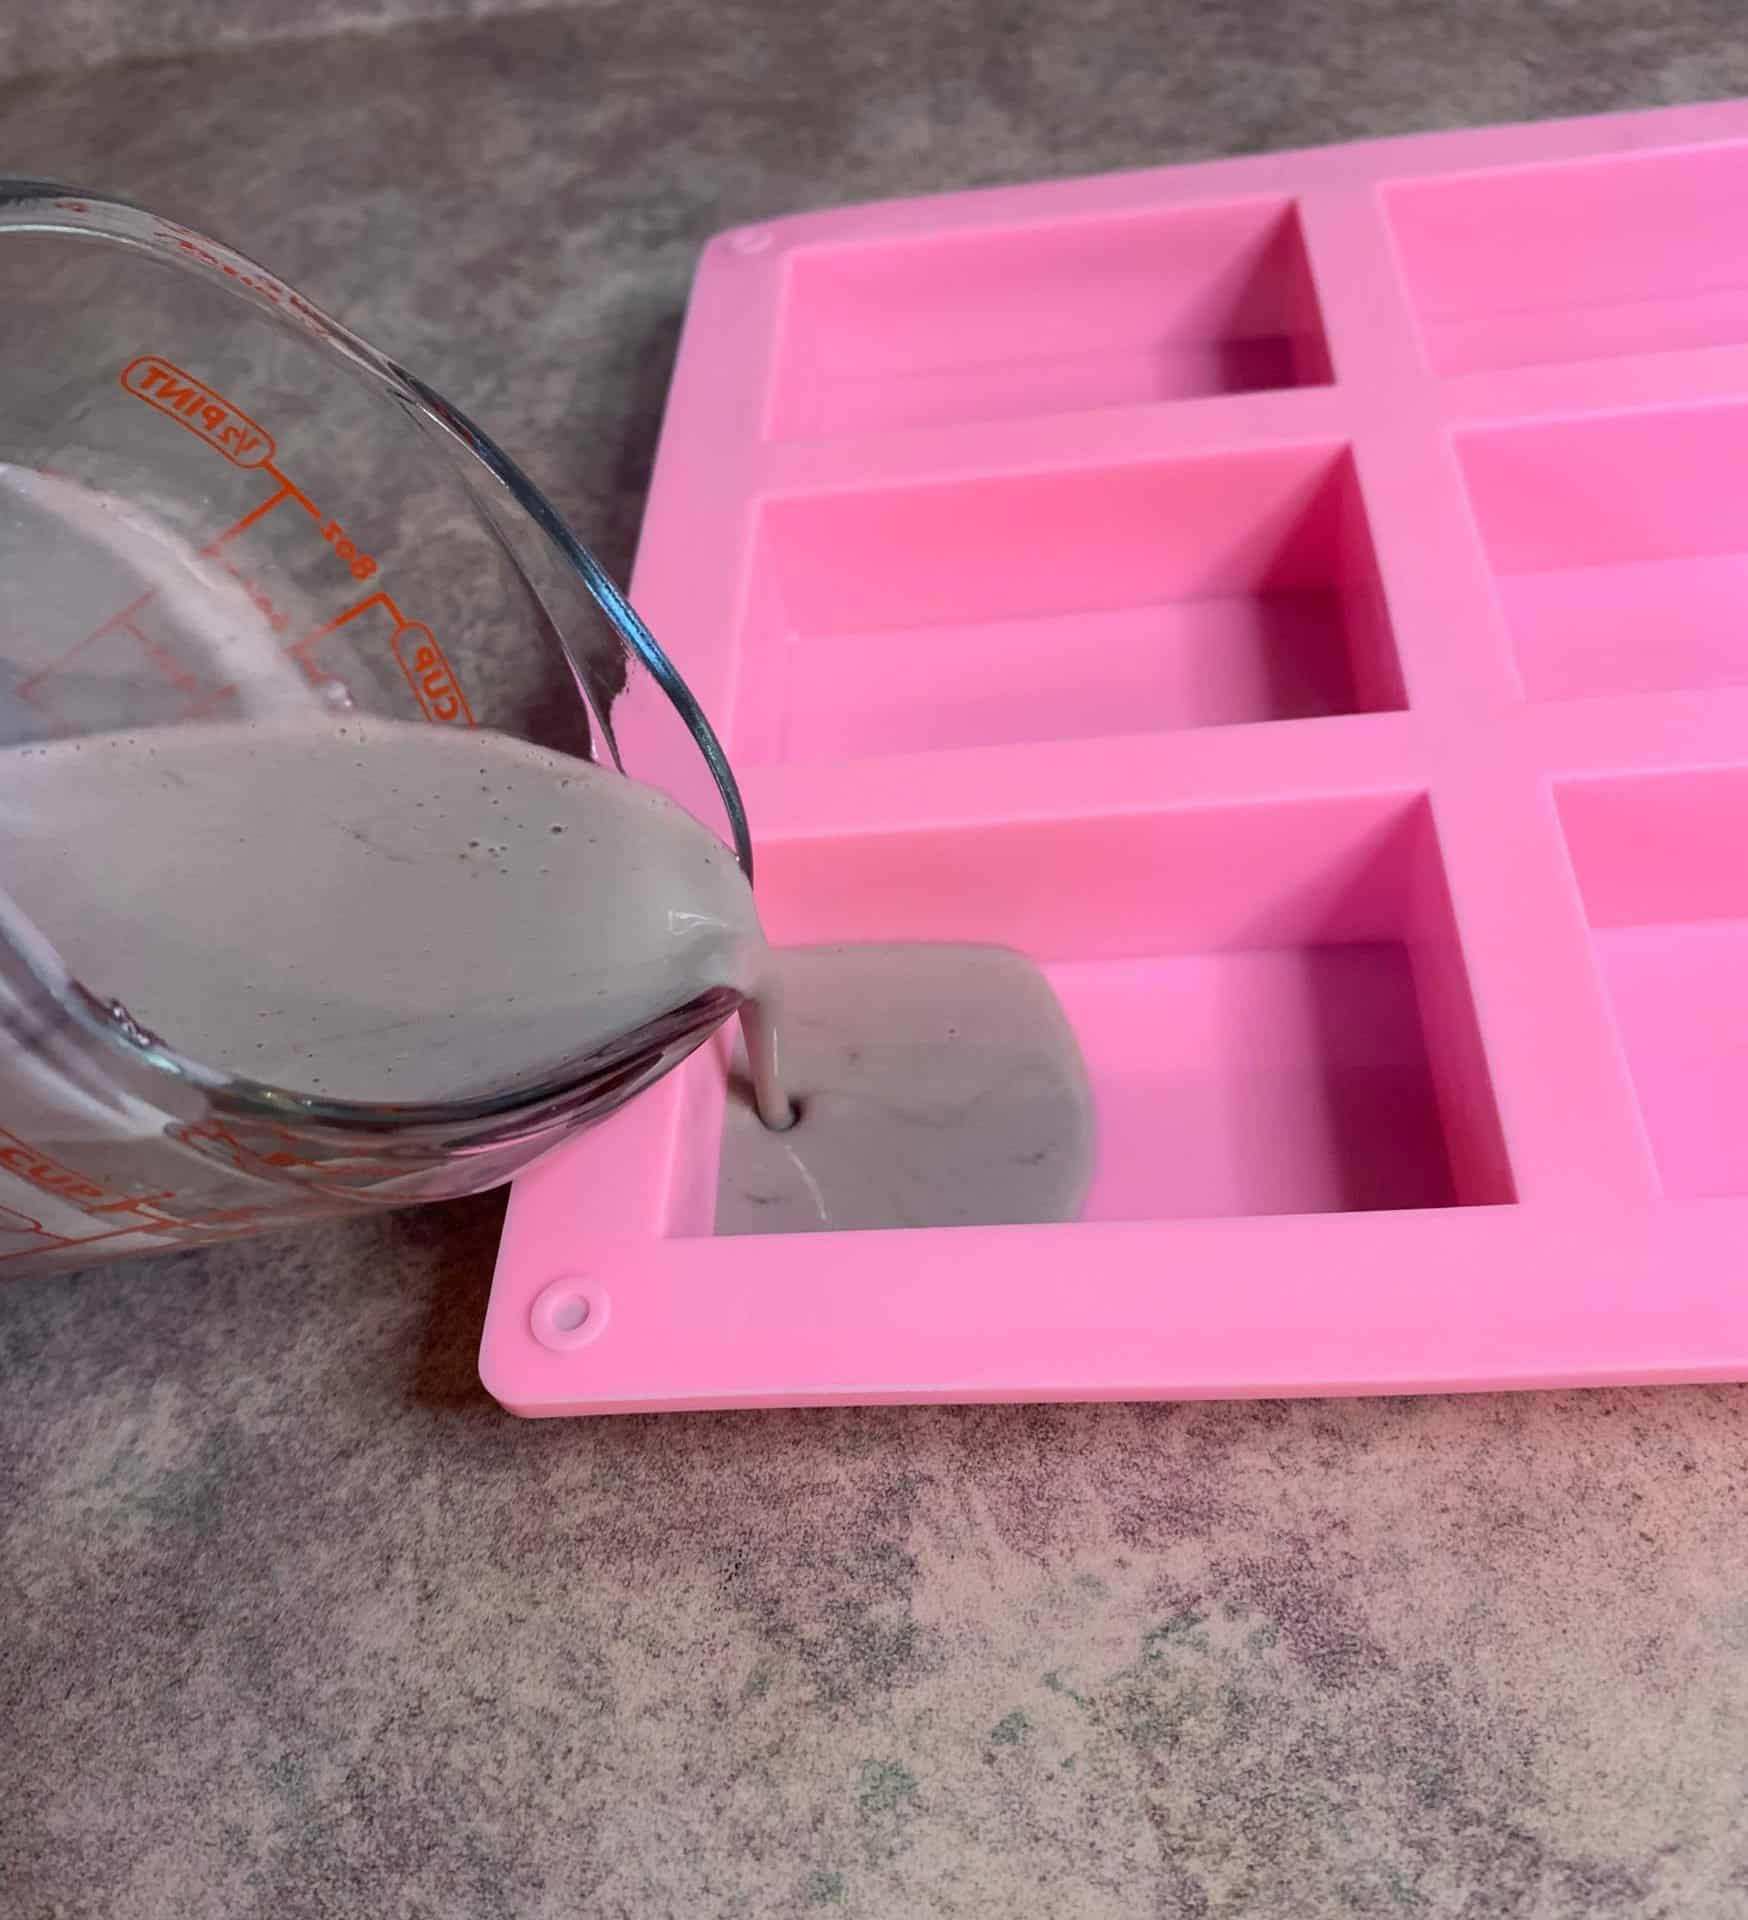
5. Pour the soap into your mold. (Save a small amount of the soap as we will be pouring this as another layer).
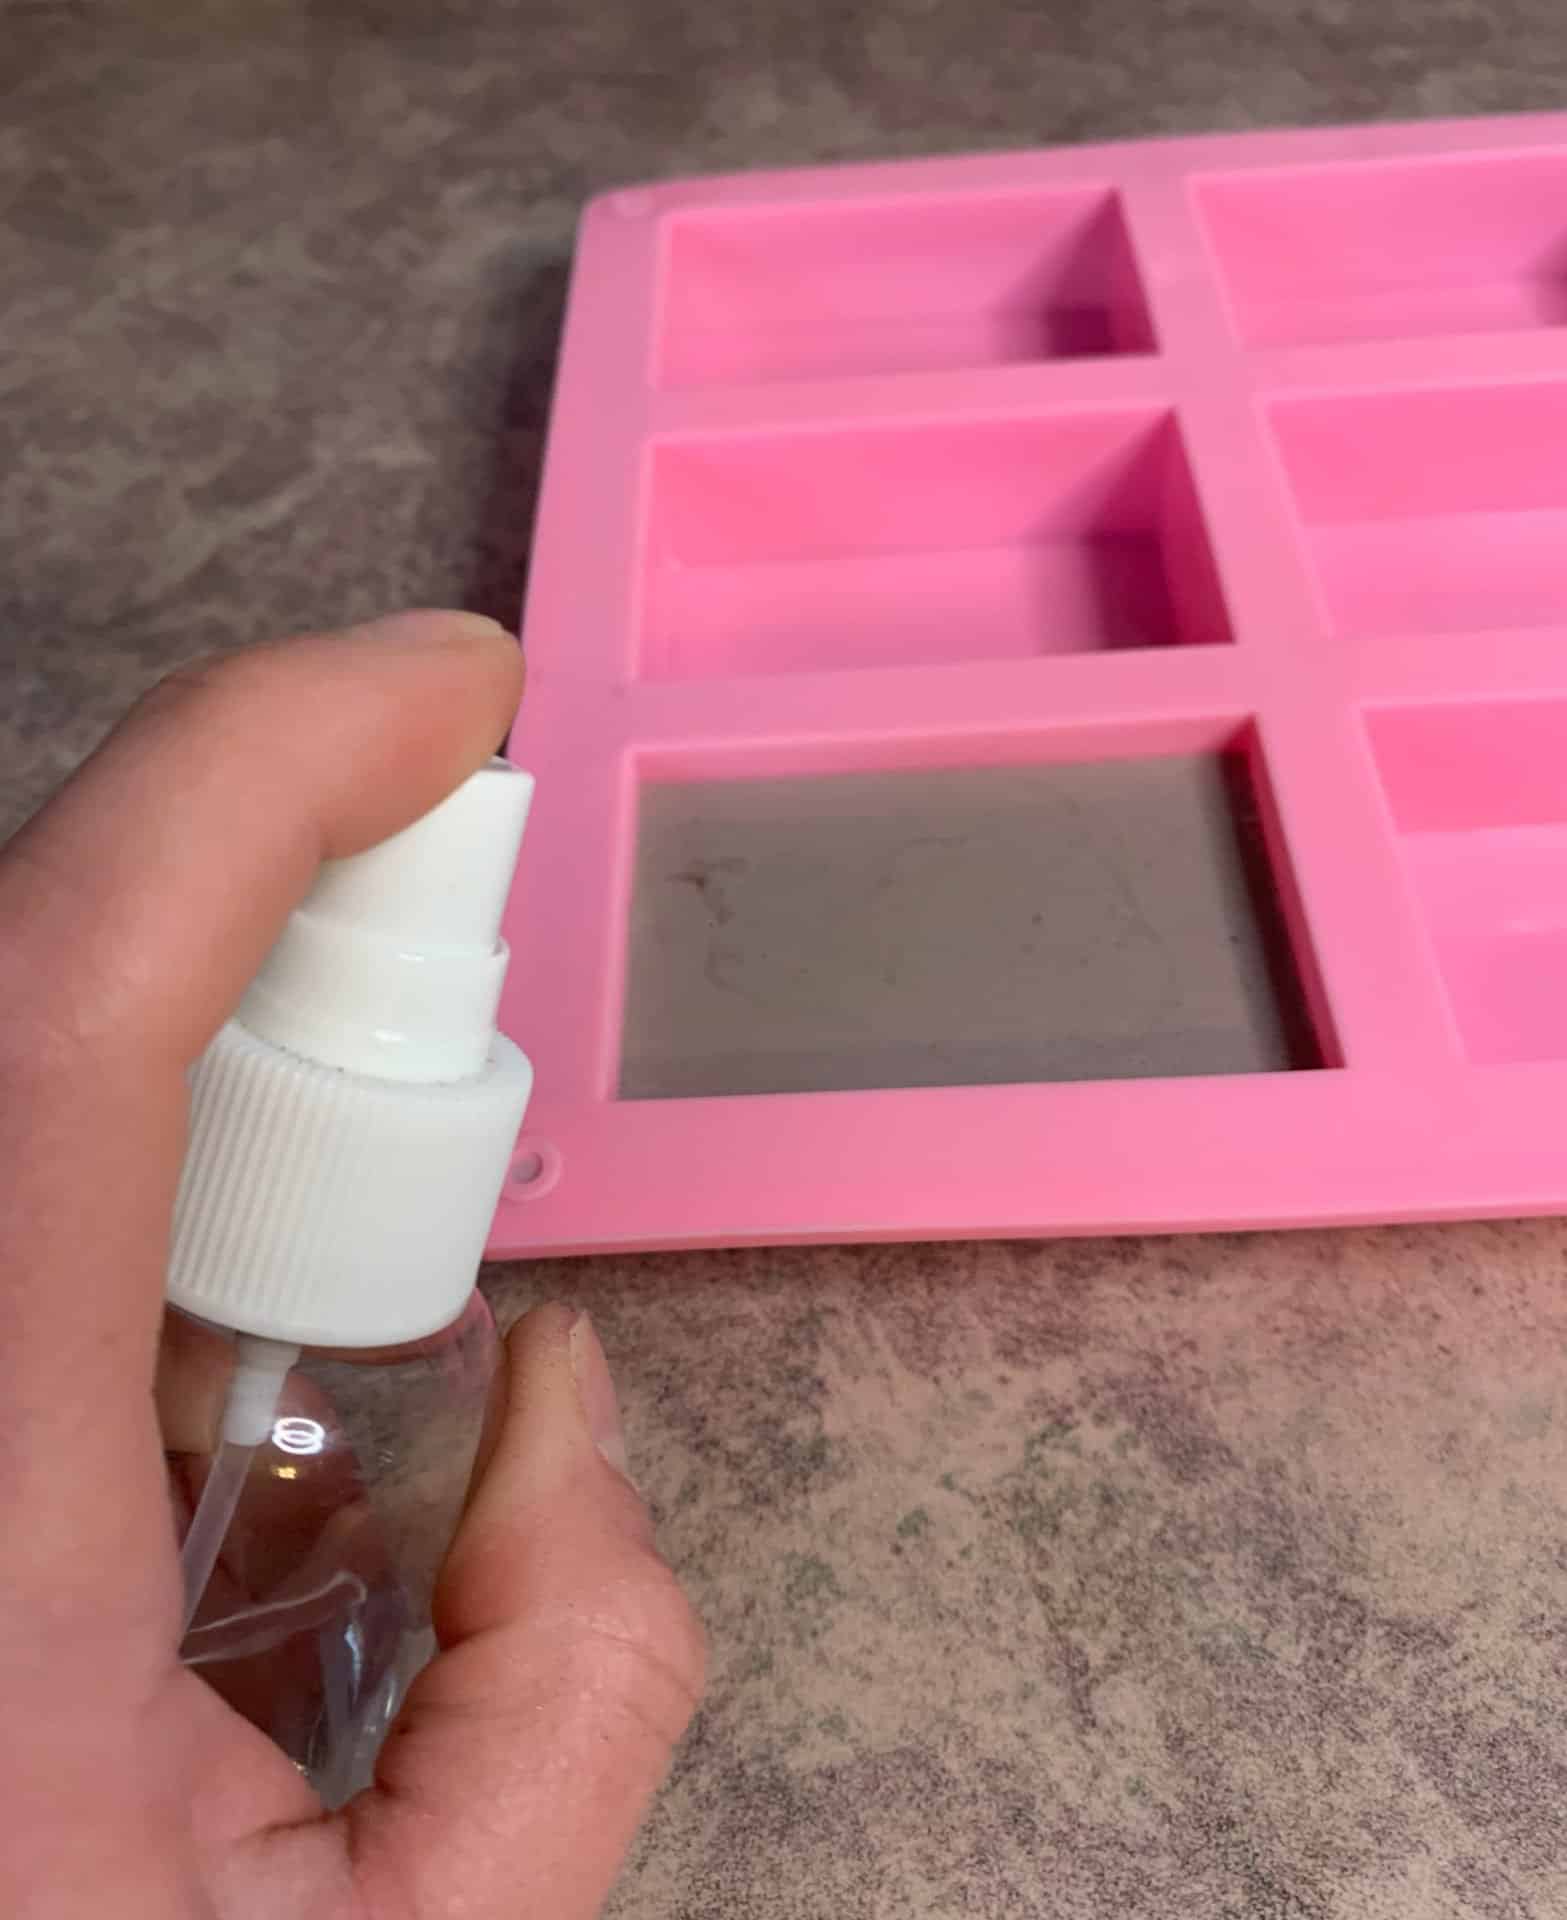
6. Spray the top of the soap with rubbing alcohol to pop any bubbles.
7. Allow the soap to cool a little bit. You want to wait until there is a thin layer of cooled soap. To test this, gently touch the top of the soap with your finger.
8. Reheat the melt and pour soap for 3-5 seconds.
9. Spray the top of the soap with rubbing alcohol.
10. Carefully, pour a thin layer of soap on the partially cooled soap.
11. Spray with rubbing alcohol to pop bubbles.
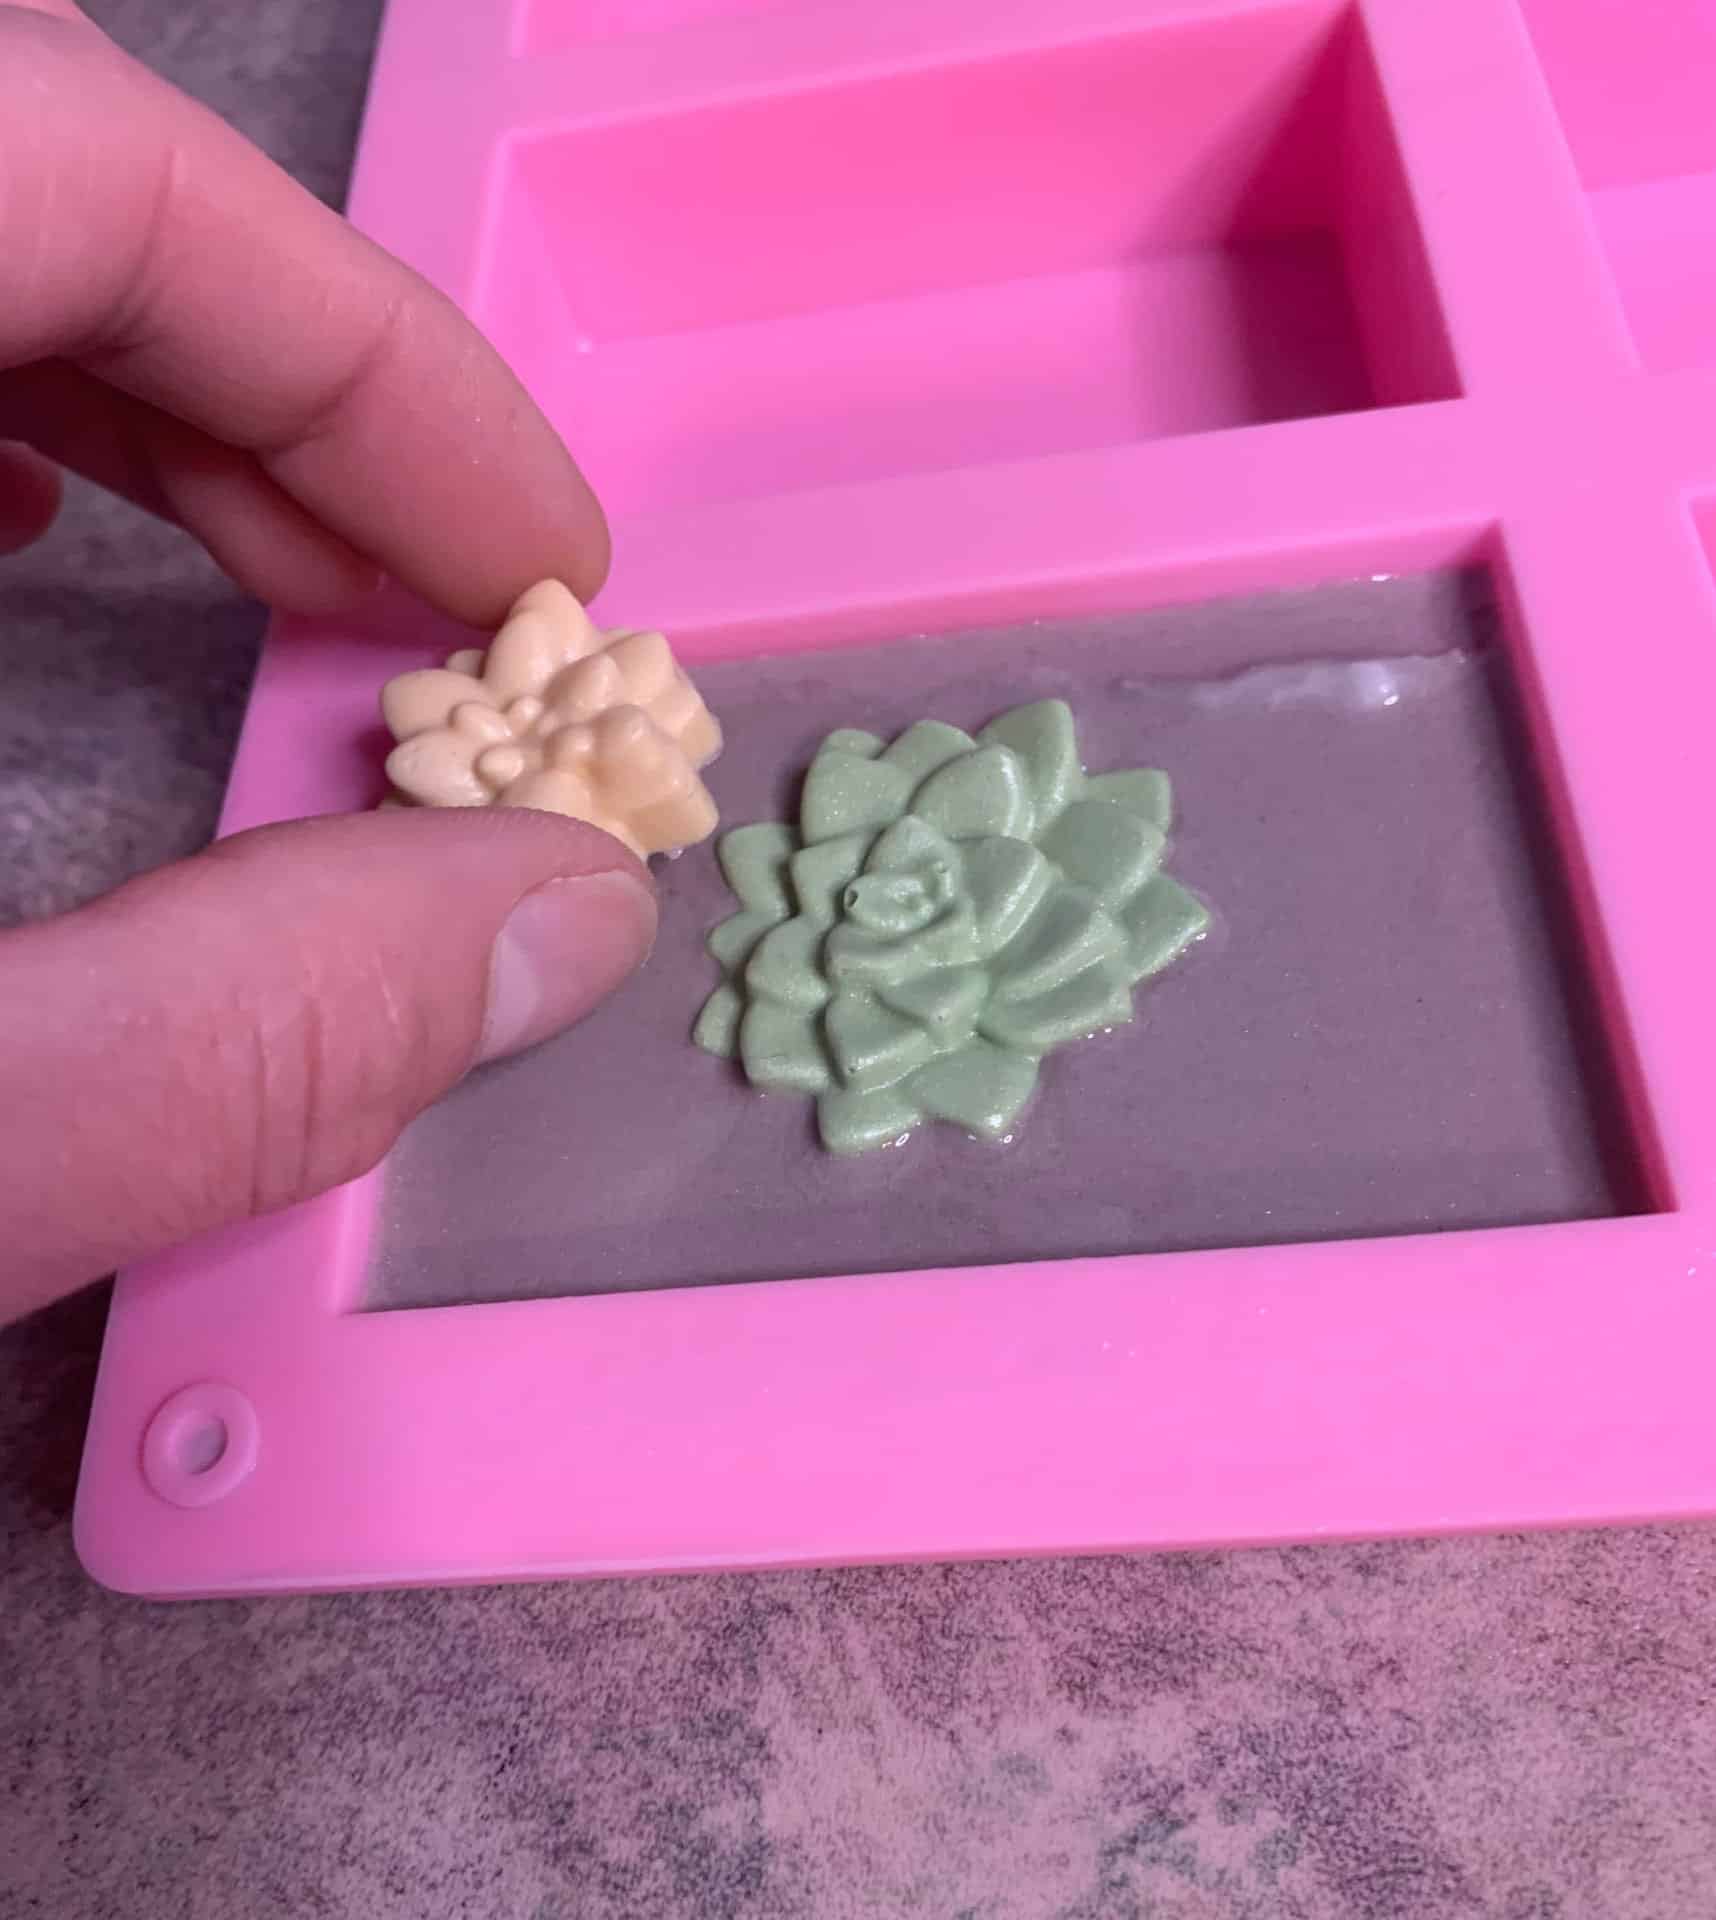
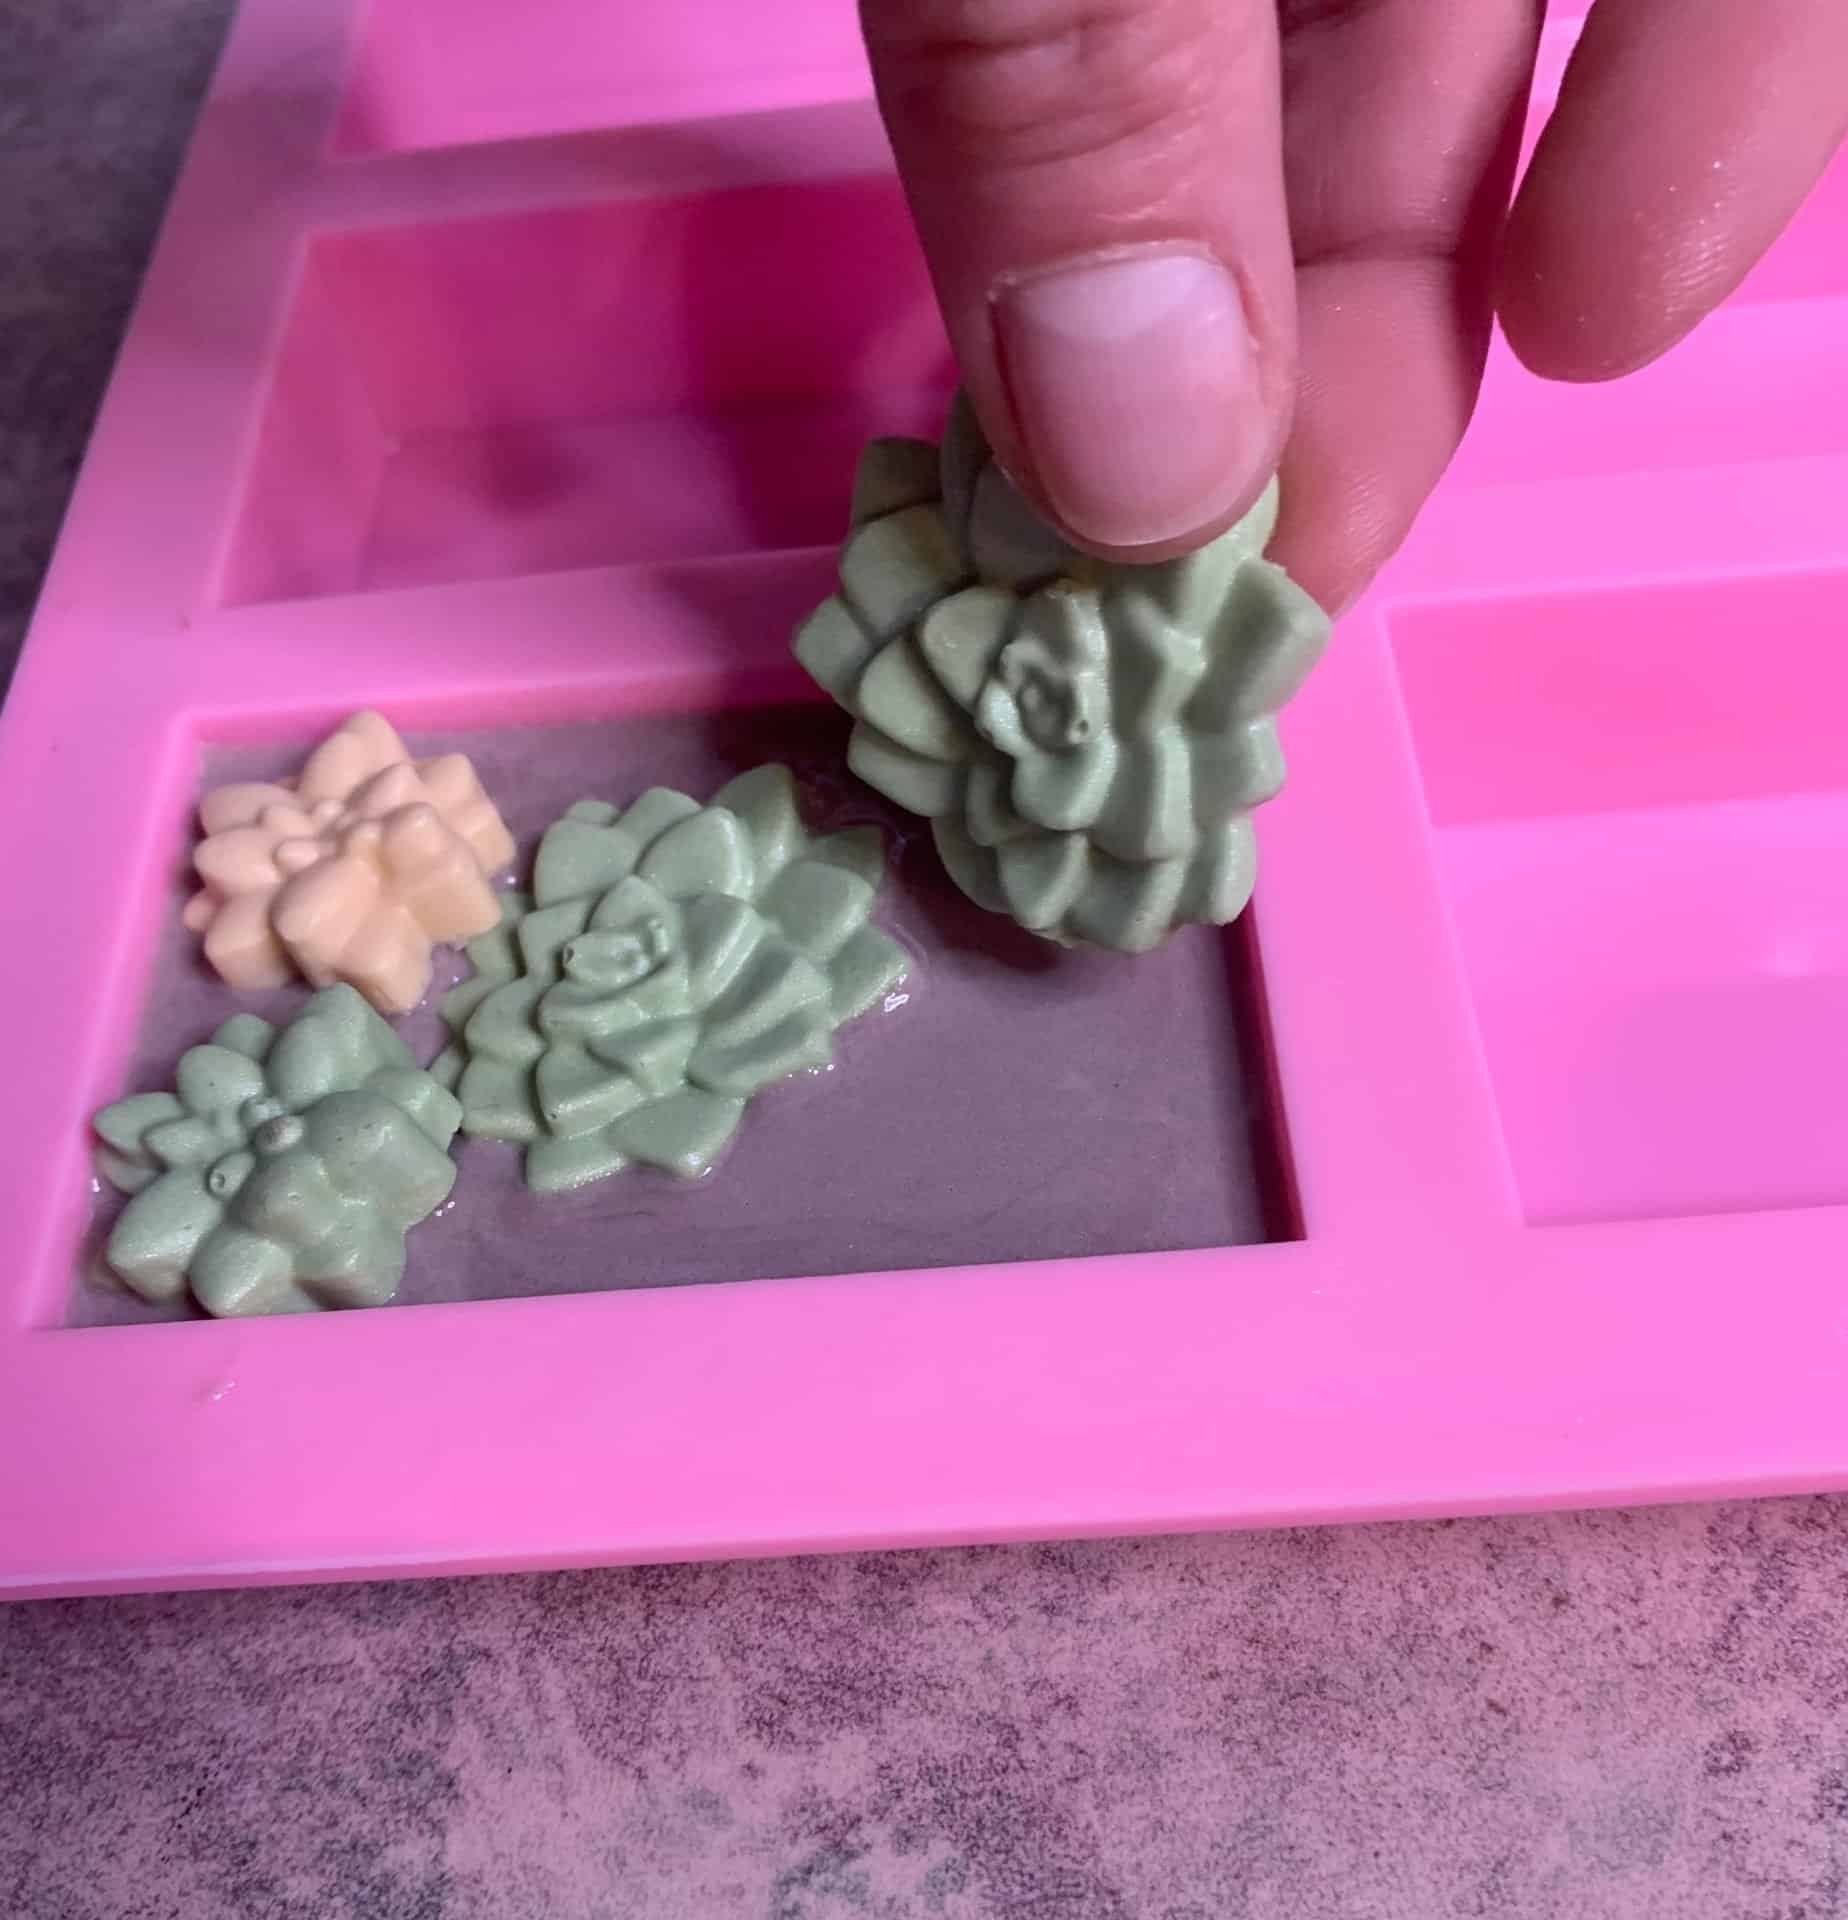
12. Start to place your succulent embeds into the soap. I put some of mine so they were at an angle and cut one in half to fill gaps.
13. Spray the top of the soap with rubbing alcohol and allow it to cool completely.
14. Remove from your mold.
15. If you are not using your soap right away, be sure to cover it to prevent soap sweating. (Learn more about soap sweating here).
Succulent Melt and Pour Soap
Equipment
- Rubbing Alcohol
- Microwave Safe Container
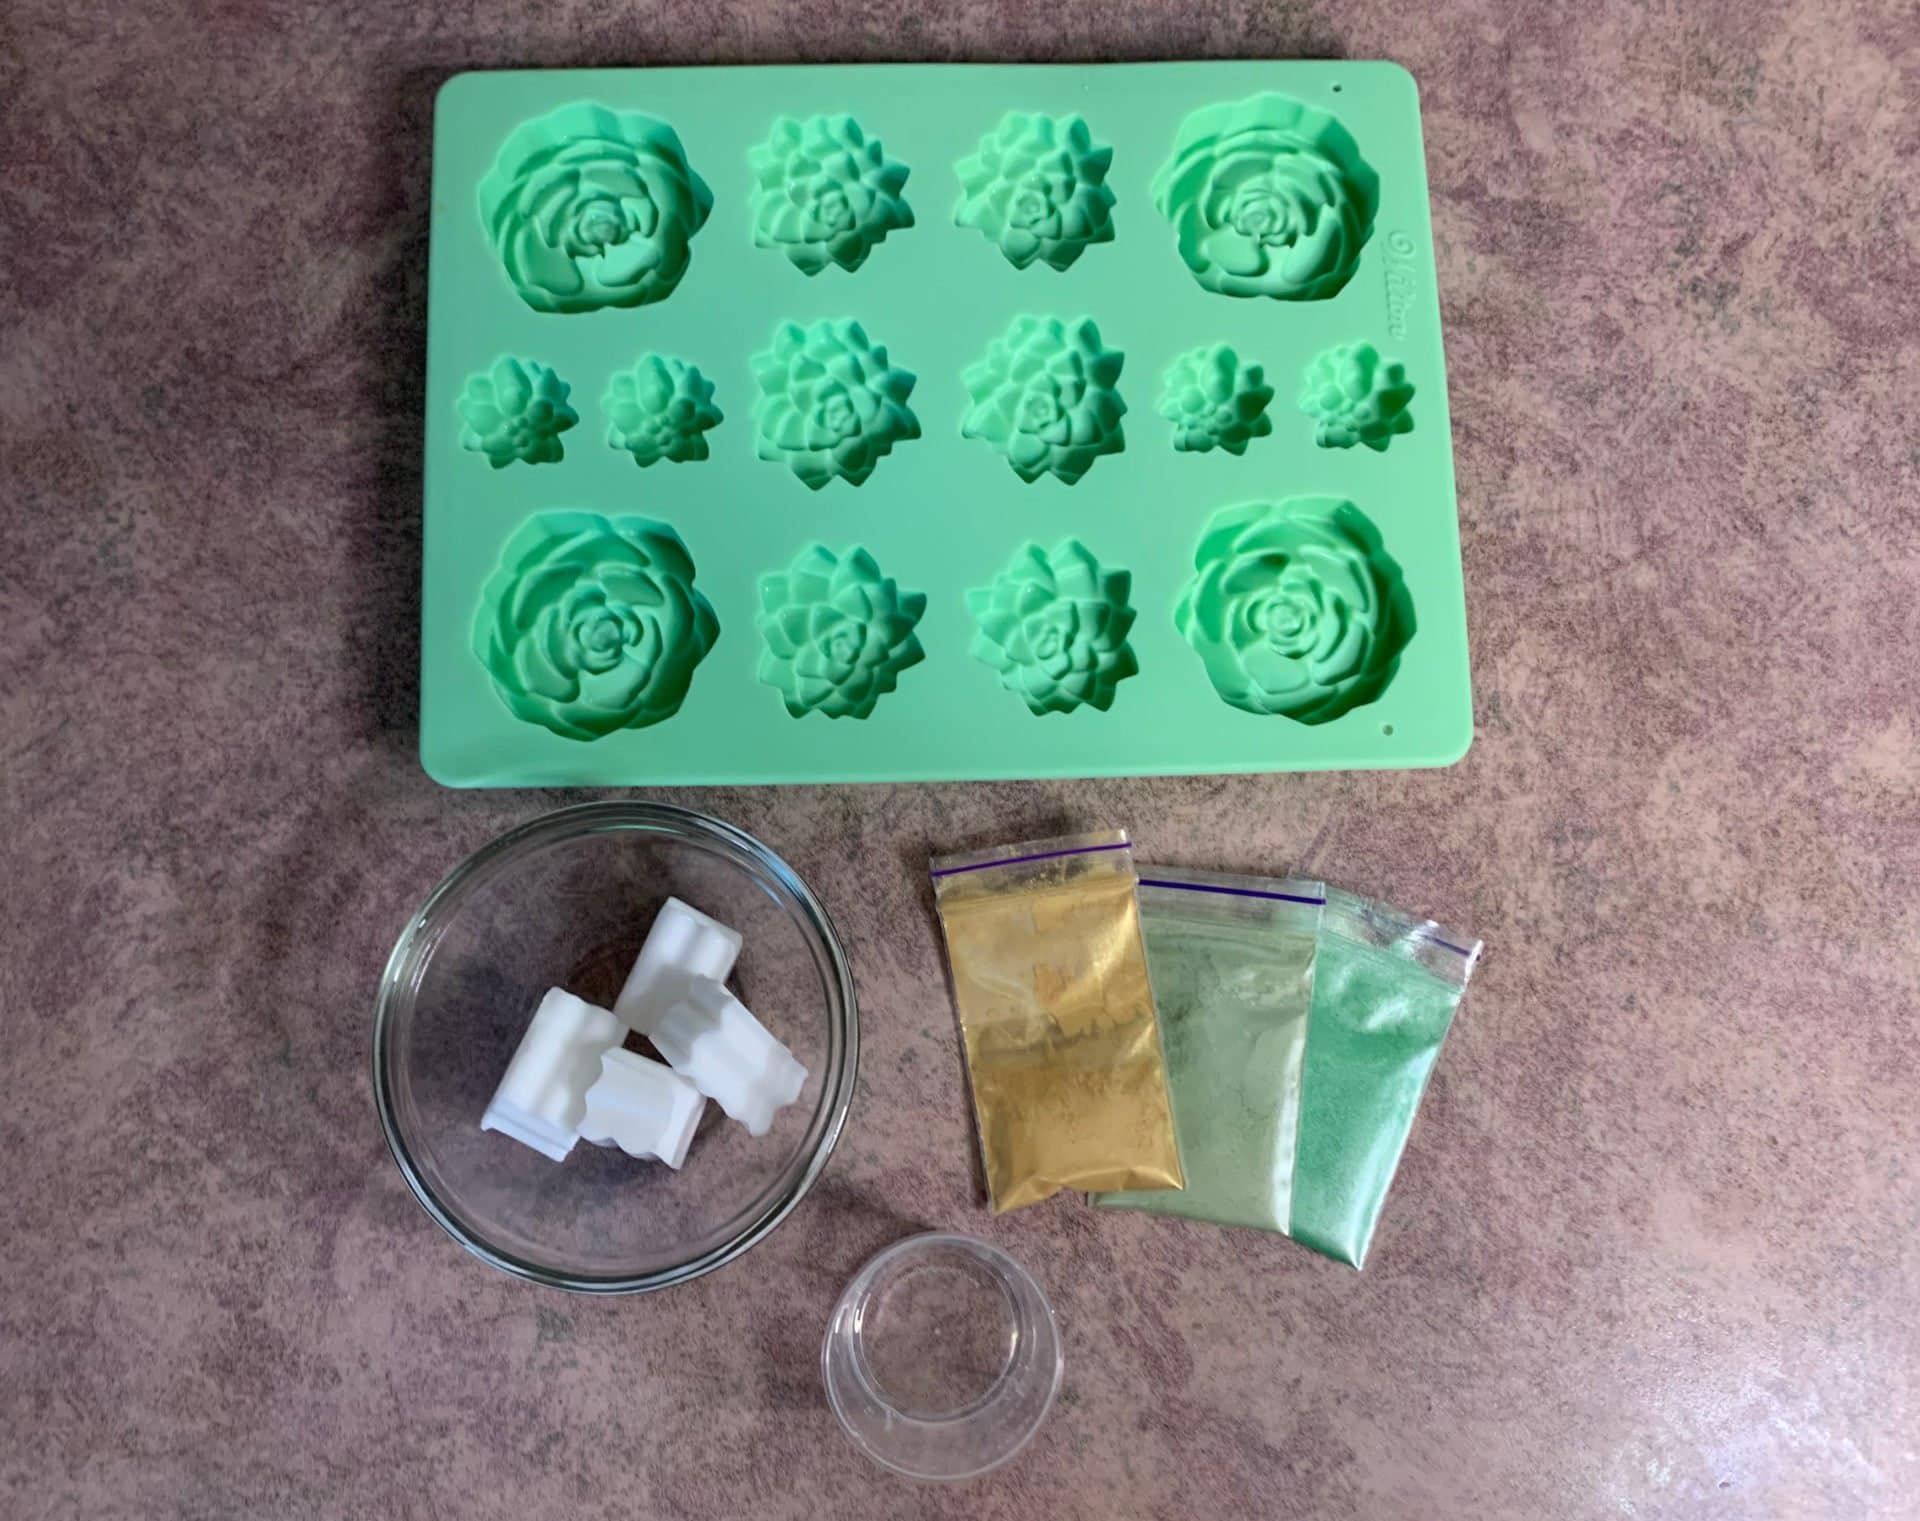
- Succulent Mold
- Bar Silicone Mold
Ingredients
Embeds
- 1.5 ounce White Melt and Pour Soap
- 0.03 ounce Light Blue Fragrance Oil
- Yellow Gold Mica Powder
- Pistachio Mica Powder
- Green Pearl Dry Mica Powder
Soap Base
- 3.5 ounce White Melt and Pour Soap
- 0.07 ounce Light Blue Fragrance Oil
- Dark Scarlette Mica Powder
Instructions
Making Succulent Melt and Pour Soap Embeds
- Cut your melt and pour soap into small chunks. When you are cutting them, you want to try to keep them all about the same size so they will melt evenly.
- Put 1.5 ounces of the white melt and pour soap into a microwave safe container.
- Melt in the microwave, in 10 second intervals until the soap is completely melted. You will want to stir it well in between each interval.
- Add light blue fragrance oil and mix well.
- Add yellow gold mica powder and mix well. If you have trouble getting the mica powder to mix in, spray the top with rubbing alcohol.
- Pour the yellow gold soap into one or two of the succulent molds.
- Spray the top of the soap with rubbing alcohol, to pop any bubbles.
- To the remaining yellow gold soap, add a bit of pistachio and green pearl dry mica powder. You might need to reheat the soap in the microwave for a few seconds.
- Pour the melt and pour into the succulent soap mold.
- Spray the tops with rubbing alcohol.
- Allow to cool completely, then remove your succulent embeds from the mold.
Making the soap bottom for succulent soap
- Weigh out 3.50 ounces of white melt and pour soap.
- Melt in the microwave in 10 second intervals until the soap is completely melted. Stirring well in between each interval.
- Add light blue fragrance oil and mix well.
- Add dark scarlet mica powder and mix well.
- Pour the soap into your mold. (Save a small amount of the soap as we will be pouring this as another layer).
- Spray the top of the soap with rubbing alcohol to pop any bubbles.
- Allow the soap to cool a little bit. You want to wait until there is a thin layer of cooled soap. To test this, gently touch the top of the soap with your finger.
- Reheat the melt and pour soap for 3-5 seconds.
- Spray the top of the soap with rubbing alcohol.
- Carefully, pour a thin layer of soap on the partially cooled soap.
- Spray with rubbing alcohol to pop bubbles.
- Start to place your succulent embeds into the soap. I put some of mine so they were at an angle and cut one in half to fill gaps.
- Spray the top of the soap with rubbing alcohol and allow it to cool completely.
- Remove from your mold.
- If you are not using your soap right away, be sure to cover it to prevent soap sweating. (Learn more about soap sweating here).


Comments are closed.