In this post we are going to learn how to make a Christmas Tree melt and pour embed sparkly soap. This is a perfect project for beginners that want to learn how to make soap at home.
Table of Contents
Prefer to watch this project instead of reading it?
Seriously, this looks harder than it is. Read the post, watch the video and then give it a try!
What is Melt and Pour Soap?
A premade soap base that you purchase. Melt and pour soap is the best place to start when you are wanting to learn soap making. It is super easy to work with. Basically, you melt the soap in the microwave, scent & color it. Pour into a mold and bam, it’s soap.
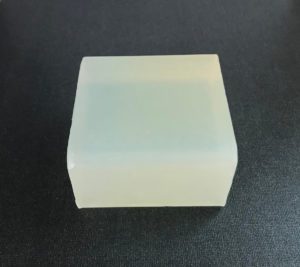
The thing that I like the best about melt and pour soap is that you are able to do more intricate designs that you can’t do with cold process soap. My favorite thing to make are melt and pour soap embeds.
For today’s melt and pour soap, you want to make sure that you get the clear melt and pour soap base.
Making the Christmas Tree Melt and Pour Embeds
Start by cutting up a small amount of the melt and pour soap into small cubes.
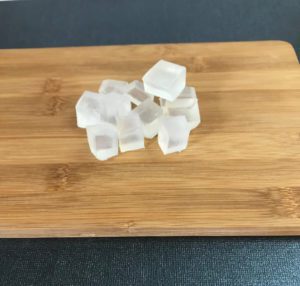
Put it into a heat safe container. Then microwave for 15 seconds and remove.
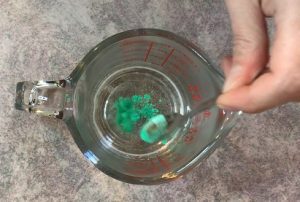
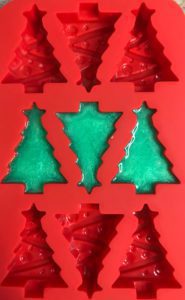
Add your green mica powder to the melted soap base. Then pour into your Christmas Tree silicone molds.
Painting the Embeds
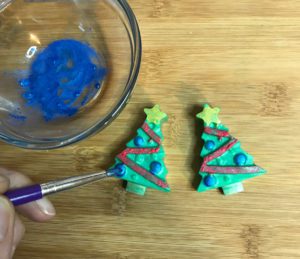
Ok, so we have some green Christmas trees. Now time to add some colors to them. I have tried numerous ways of coloring the trees. I have found that painting them with mica works the best for me.
You are going to take a small amount of mica powder and mix it with rubbing alcohol. I will normally just add my mica powder to the bowl and spray the opposite side of the bowl with rubbing alcohol 2-3 times. This is more than enough rubbing alcohol to paint all of the trees we made.
I used three colors: Blue, Yellow, and Red.
Putting the Soap Together
After your embeds are dried. Melt some more soap base.
After it is done, add your fragrance oil and some biodegradable glitter. The glitter is optional, but it makes a big difference in the final soap.
You are going to pour a small amount of the newly melted soap base into your circle mold.
Then place your tree. Remember, that when you place the Christmas Tree embed into the mold, you will want to place it painted side down.
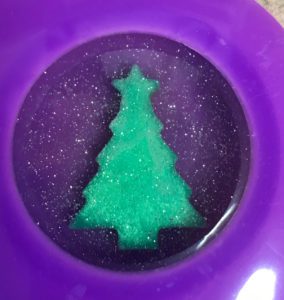
After the tree is place, simply fill the rest of the mold with the soap base.
Allow to cool for 20-30 minutes and then remove from the mold.
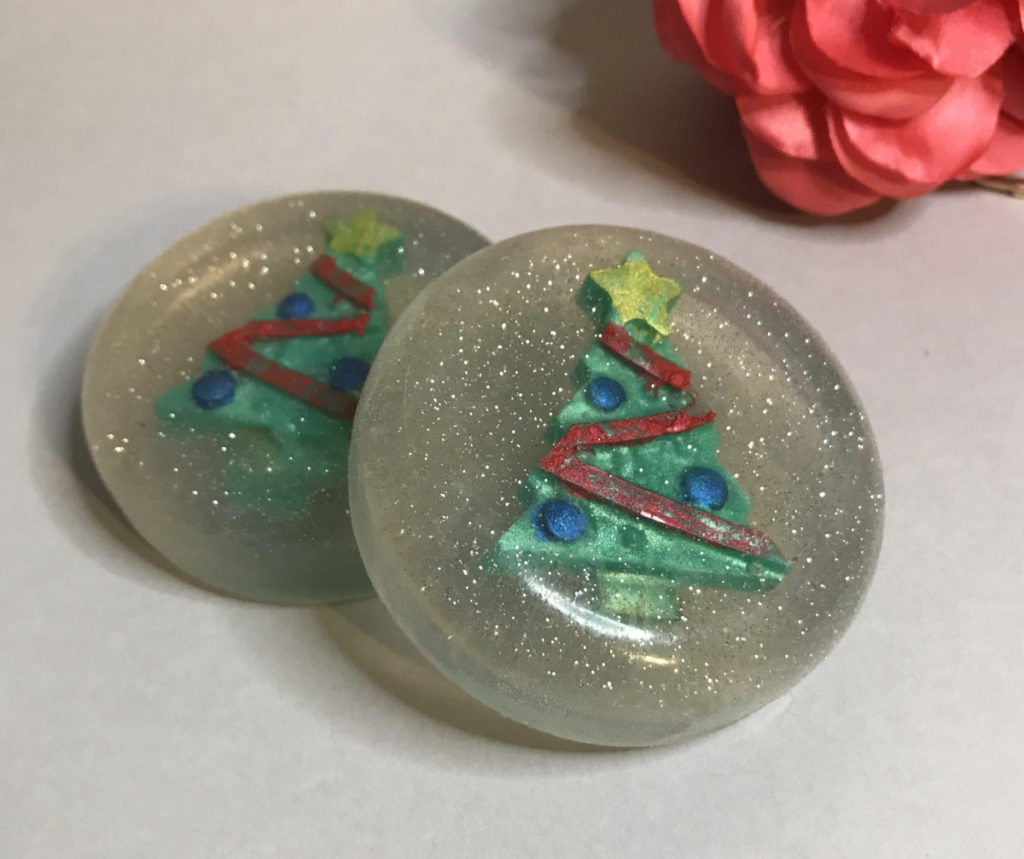
That’s it , it really is that simple!
Comments are closed.