Most DIY massage candles sound like a great idea… until you actually use them.
They end up:
- waxy
- heavy
- hard to spread
- more like a balm than a massage oil
That’s not a scent issue—it’s a formulation problem.
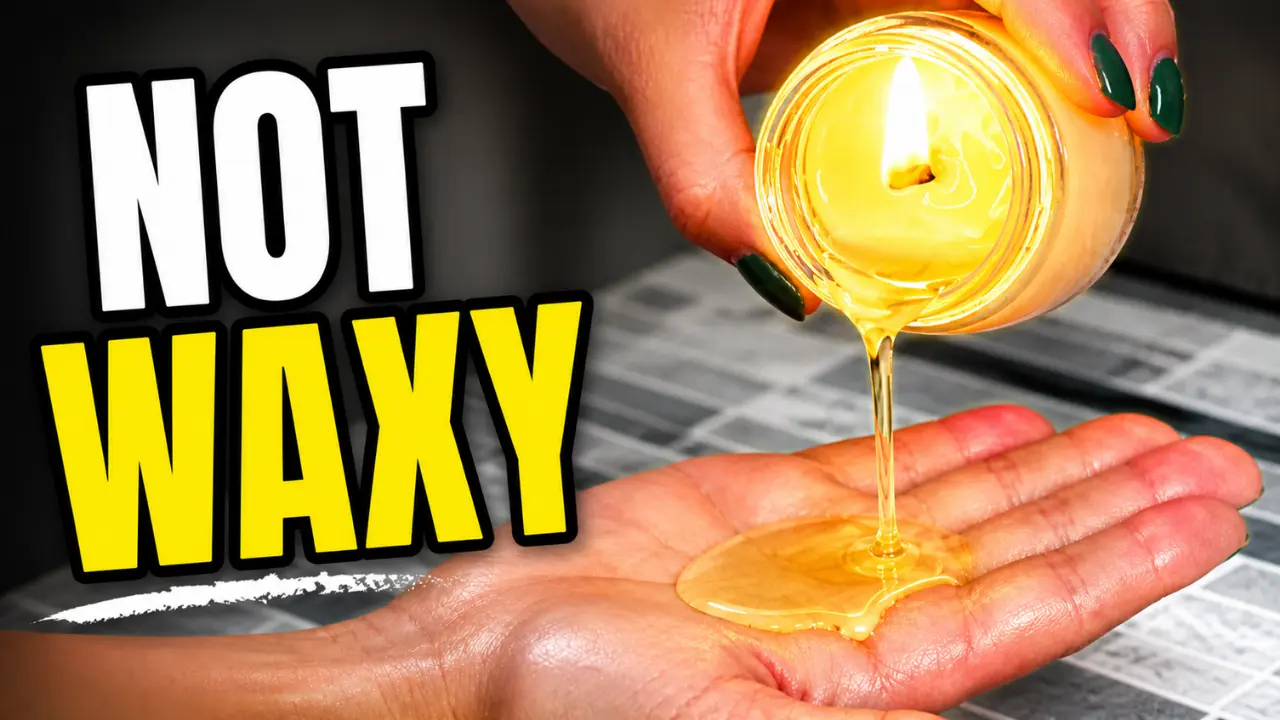
A true massage candle should melt into a light, silky oil that glides easily across the skin, not sit on top or drag.
This recipe is built differently.
Instead of focusing on just making a candle, it’s designed to transform into a warm body oil with real slip, similar to what you’d experience in a spa treatment.
Quick Recipe Overview
- Type: Massage candle (melts into body oil)
- Skill Level: Beginner
- Batch Size: 100 g
- Texture: Silky, high glide
- Best For: Massage, dry skin, spa-style treatments
Why This Formula Works
A massage candle works best when it’s balanced like a skincare formula:
- Wax → structure (keeps it solid)
- Butters → nourishment
- Liquid oils → glide and spreadability
Most DIY recipes use too much wax or butter, which creates that thick, draggy feel.
This formula:
- keeps wax low for easy melt
- balances butters to avoid heaviness
- prioritizes lightweight oils for smooth glide
Learn the full breakdown here:
How to Make Lotion Like a Professional
Watch Full Massage Candle Video Tutorial
Some links on this website are affiliate links, meaning I may earn a small commission if you click and make a purchase. This comes at no additional cost to you.
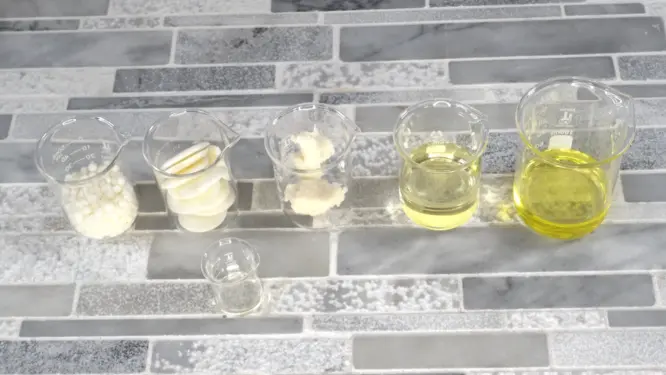
Ingredients (100 g Batch)
| Ingredient | % | Weight |
|---|---|---|
| Soy Wax | 15% | 15 g |
| Cocoa Butter | 20% | 20 g |
| Shea Butter | 10% | 10 g |
| Sweet Almond Oil | 30% | 30 g |
| Jojoba Oil | 23% | 23 g |
| Fragrance Oil (skin-safe) | 2% | 2 g |
Equipment Needed
- Heat-safe glass bowl or beaker
- Double boiler setup
- Digital scale
- Stir stick or spatula
- Heat-safe candle container + wick
New to DIY? Start here:
Beginner Equipment Guide
Step-by-Step Instructions
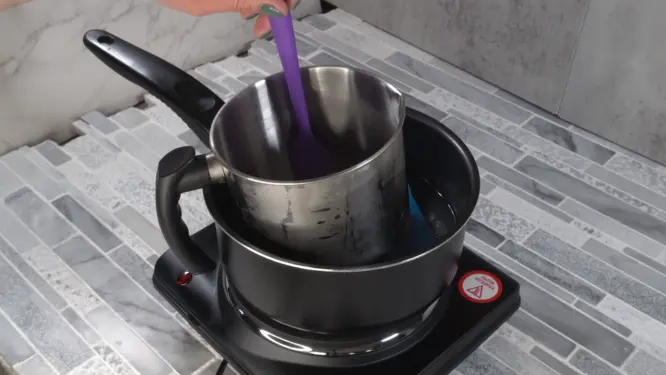
1. Melt wax and butters
Combine soy wax, cocoa butter, and shea butter in a double boiler.
Heat gently until fully melted and smooth.
Avoid overheating as this will prevent grainy texture later.
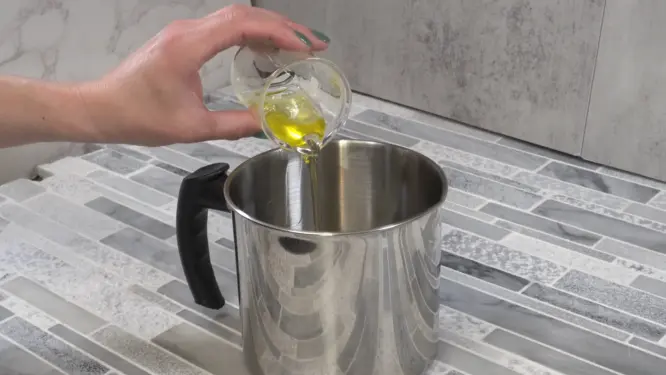
2. Add liquid oils
Remove from heat and let cool slightly.
Stir in:
Mix until fully blended.
3. Add fragrance
Once the mixture has cooled slightly (warm, not hot), add fragrance oil.
Note, you want to make sure the fragrance oil that you use is both candle and skin safe. We will use at the lotion use rate, not the candle use rate.
Stir thoroughly to fully incorporate.
Adding fragrance too hot can weaken the scent.
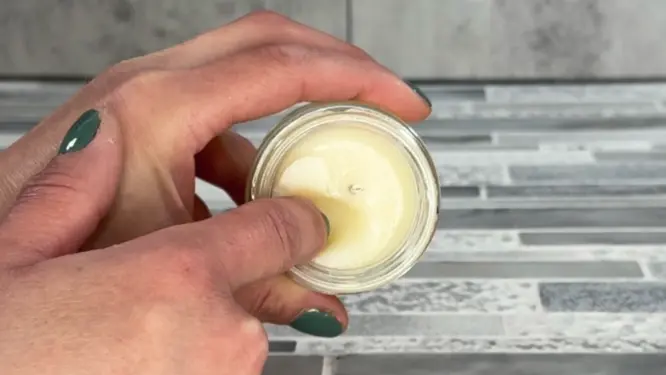
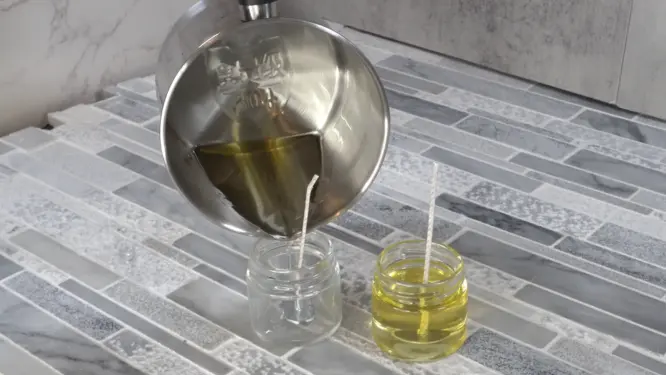
4. Pour and set
Pour into your prepared wick container.
Note, on the candle wick I normally go a little bogger wick as we need it to melt the candle.
Let it set undisturbed for 24–48 hours before use.
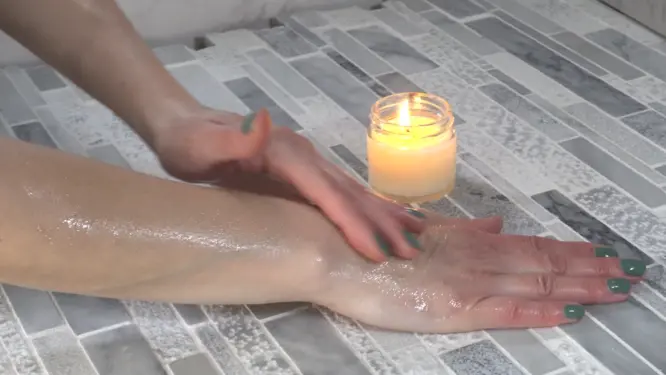
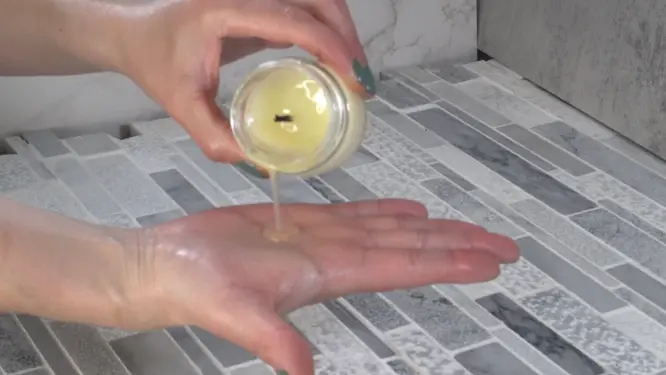
How to Use a Massage Candle
- Light the candle and allow a small melt pool to form (2-3 minutes)
- Blow out the flame
- Wait 1–2 minutes
- Test temperature on your wrist
- Pour a small amount into your hands and massage
Always test first—this is warm oil.
Pro Tip
If your candle ever feels draggy on skin, it’s not a melting issue—it’s a formulation issue.
Increasing liquid oils slightly will instantly improve glide and give that smooth, spa-like feel.
Candle Jar
When you are making your candle and choosing a container, make sure that you get one that does not have a large diameter. This is because you will be pouring the candle out to use it, so this will cause tunneling. To get the most out of the candle, we use a smaller diameter jar.
I would suggest a jar that is 2 inches or less in diameter.
Here is a option for a Candle Jar.
Optional Adjustments
For a firmer candle:
Increase soy wax to 18%
For more glide:
Increase jojoba oil slightly (reduce almond oil)
For richer skin feel:
Add 0.5–1% vitamin E oil
Learn more about oils:
Beginner Ingredients Guide
Safety Tips
- Always test melted oil on your wrist before use or with an infrared thermometer
- Never pour directly from flame to skin
- Use only skin-safe fragrance or essential oils
- Keep away from children and pets
Troubleshooting
Grainy texture:
Butters were overheated or cooled improperly
Uneven or sunken top:
Poured too hot or cooled too quickly
Weak scent:
Fragrance added when mixture was too hot
Too firm / waxy feel:
Too much wax in the formula
Frequently Asked Questions
Can you use any candle as a massage candle?
No. Regular candles are not made for skin contact. Massage candles use skin-safe oils and low melt-point ingredients.
Will this feel hot on skin?
No—it should feel warm, not hot. Always test before applying.
Can I use essential oils instead of fragrance oil?
Yes, but keep usage within safe limits and expect a lighter scent.
Why does my candle feel waxy?
The formula likely contains too much wax or butter. This recipe is designed to avoid that.
Storage
- Store in a cool, dry place
- Avoid direct sunlight
- Best used within 6–12 months
Final Thoughts
A massage candle isn’t just a candle—it’s a solid-to-oil formulation.
When the balance is right, it transforms into something completely different:
a warm, silky oil that glides effortlessly across the skin.
This is the version that actually delivers that experience.
Printable Massage Candle Recipe
DIY Massage Candle Recipe
Ingredients
- 15 g Soy Wax
- 20 g Cocoa Butter
- 10 g Shea Butter
- 30 g Sweet Almond Oil
- 23 g Jojoba Oil
- 2 g Fragrance Oil (skin-safe)
Instructions
- Combine soy wax, cocoa butter, and shea butter in a double boiler. Heat gently until fully melted and smooth.
- Remove from heat and stir in sweet almond oil and jojoba oil.
- Once the mixture has cooled slightly (warm, not hot), add fragrance oil.Note, you want to make sure the fragrance oil that you use is both candle and skin safe. We will use at the lotion use rate, not the candle use rate. Stir thoroughly to fully incorporate, typically 2-3 minutes.
- Pour into your prepared wick container.Let it set undisturbed for 24–48 hours before use.