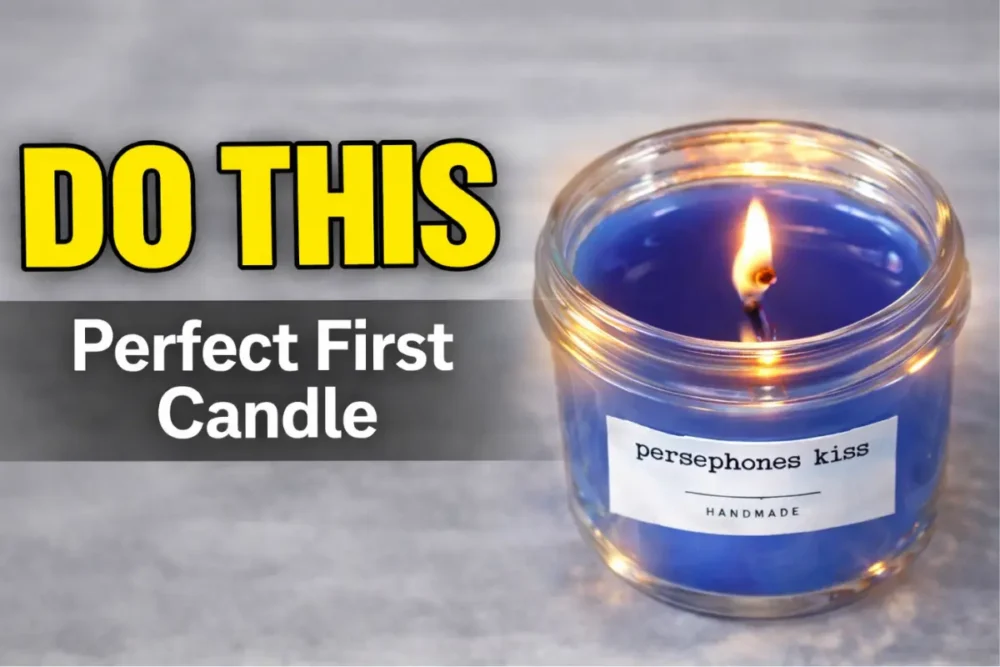
If you’ve never made a candle before, it can feel like there are a lot of moving parts—and honestly, there are. But once you understand a few key things, the whole process becomes really simple.
This guide walks you through everything step by step, explains the “why” behind each part, and helps you avoid the most common beginner mistakes so your first candle actually turns out right.
*Most candle makers don’t get a perfect candle on their first try—and that’s completely normal. What matters is understanding what to adjust.
Quick Start Recipe (Save This)
If you want the fast version, use this as your base:
Basic Soy Candle Recipe
- Wax: 167 g
- Fragrance: 12 g (8%)
- Wick: matched to container diameter
- Temperatures:
- Melt: 170–185°F
- Add fragrance: 160–175°F
- Pour: 120–145°F
Watch the Video on How to Make Candles
Some links on this website are affiliate links, meaning I may earn a small commission if you click and make a purchase. This comes at no additional cost to you.
Wick Size — The Most Important Decision
Your wick controls:
- How evenly your candle burns
- How strong your scent is
- Whether your candle tunnels
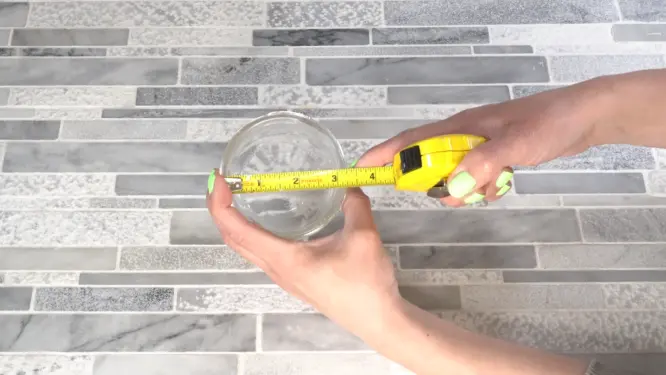
How to Choose It
- Measure container diameter (across the top)
- Mine is about 2 1/4 inch wide for the wide mouth mason jar
- Choose a wick rated for that size
- I am using a CD 10 wick for my candle
Always follow wick charts—this is not guesswork.
Measure Wax Accurately
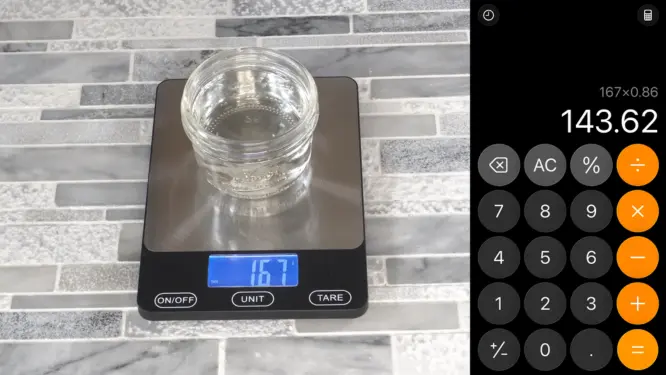
- Fill container with water
- Weigh it
- Multiply by 0.86
wax=water×0.86
💡 Add 5–10g extra for pouring loss
Step 3: Secure the Wick
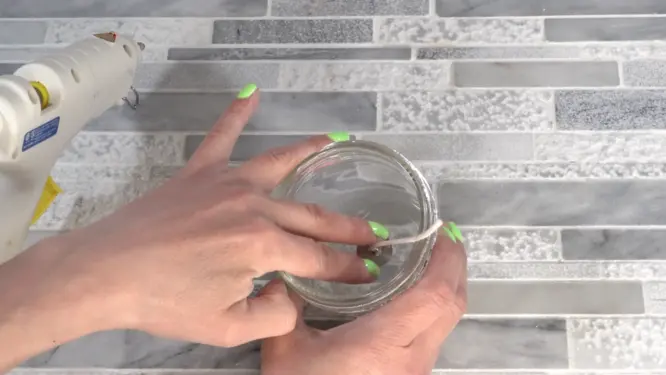
Use:
- Glue gun (best for beginners)
- Wick sticker
✔ Make sure it’s perfectly centered
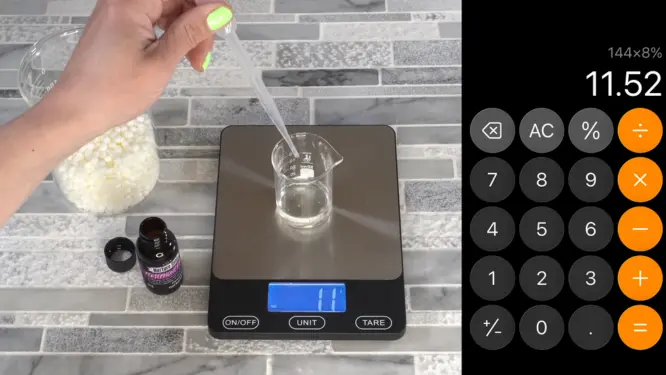
Step 4: Fragrance Load (Why Candles Smell Weak)
Typical soy wax:
- 6–10% max
Calculate It
fragrance=wax×0.08
Start at 7–8% for best results
Cold Throw vs 🔥 Hot Throw
Cold Throw
Smell before lighting
Hot Throw
Smell while burning
Why This Matters
If your candle smells strong cold but weak burning:
- Wick may be too small
- Fragrance didn’t bind properly
- Candle not cured long enough
Melt the Wax
Heat to:
- 170–185°F using a double boiler.
- You will need to have a thermometer to make candles.
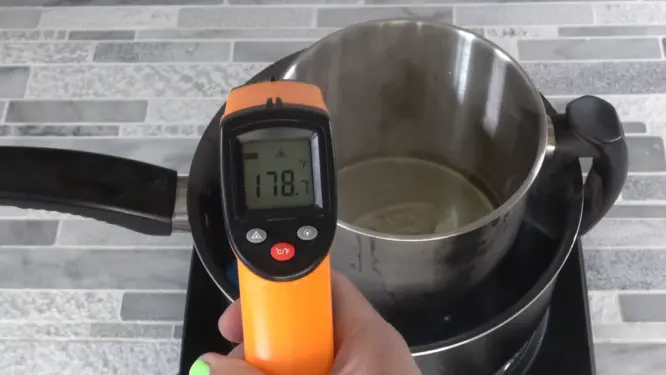
Why Overheating Wax Matters
Overheating can:
- Damage how fragrance binds
- Lead to weak hot throw later
* Controlled heat = better scent performance
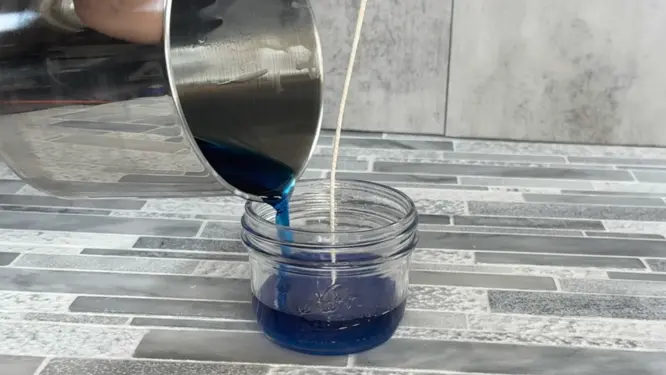
Step 6: Add Color (Optional)
Add dye after wax melts. I like to use the liquid colorant.
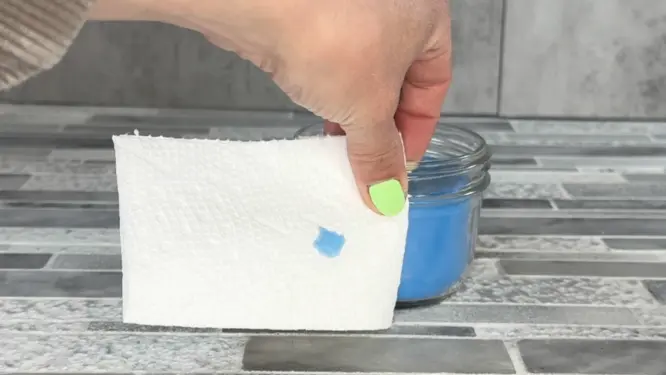
Fun Tip
To see the true color while wax is hot:
Drop a small amount on a paper towel
- Instantly cools
- Shows final color
*Melted wax always looks darker than it actually is when it dries
Add Fragrance
Add at:
- 160–175°F
Stir for:
- 1–2 minutes
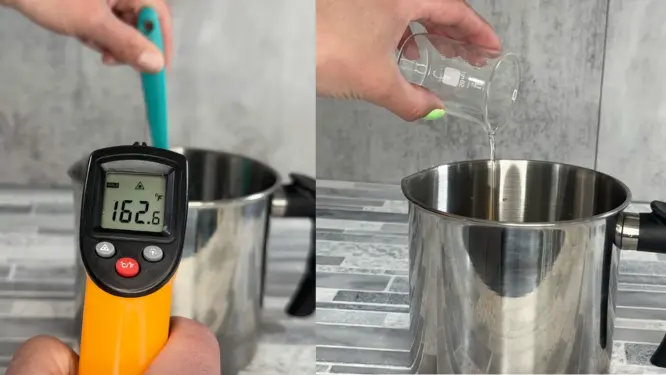
Why This Matters
- Too hot → fragrance burns off
- Too cool → weak binding
Pour the Candle
Pour at:
- 120–145°F
Pour slowly and keep wick centered
Cooling & Curing
Let candle sit undisturbed
Cure Time:
- 7–14 days
Why This Matters
Curing improves:
- Scent strength
- Wax structure
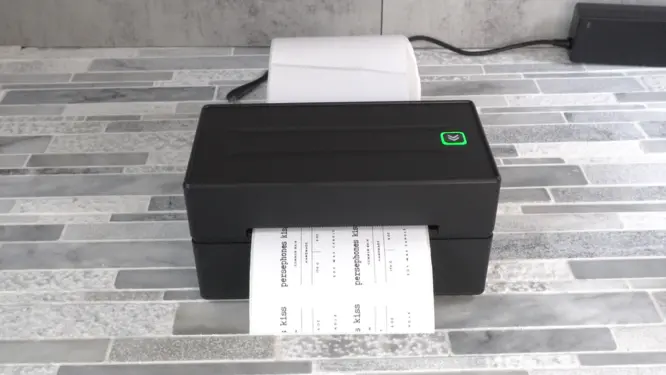
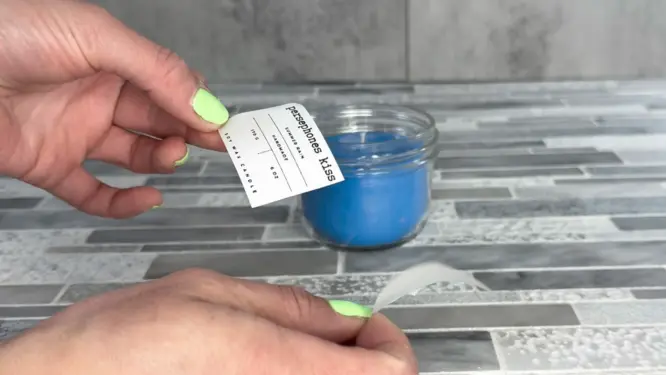
Trim & Finish
Trim wick to:
- ¼ inch
Add any labels you want on the candle, this is optional but takes them up to the next level.
First Burn Instructions (Most Important Part After Making)
Your first burn sets the stage for how your candle performs.
Follow this exactly:
- Trim wick before lighting
- Burn until full melt pool forms
- Burn ~1 hour per inch of diameter
- Do not exceed 3–4 hours
Skipping this step causes tunneling—even with the right wick
Candle Troubleshooting Guide
Tunneling
Cause: Wick too small / short burn
Fix: Larger wick + full melt pool
Flame Too Big
Cause: Wick too large
Fix: Trim wick or size down
Weak Scent
Cause: Temp issues / wick size / no cure
Fix: Adjust temps, cure longer, test wick
Sweating
Cause: Too much fragrance / temp swings
Fix: Reduce fragrance load
Sinkholes
Cause: Pour too hot / fast cooling
Fix: Pour at correct temp, slow cooling
Off-Center Wick
Cause: Not secured / moved while cooling
Fix: Re-center early, secure better
What You Need (Beginner Setup)
Before you start, make sure you have the basics:
How to Improve Your Candles (Testing Mindset)

If something isn’t perfect:
- Change one variable at a time
- Take notes
- Test burn every candle
That’s how you go from beginner → consistent results fast.
Final Thoughts
Your first candle is about learning, not perfection.
Once you understand:
- Wick size
- Temperature control
- Fragrance balance
You’ll be able to fix almost any issue and start creating candles that burn clean and smell amazing. You might be interested in Whipped Candle Wax or making Wax Melts.