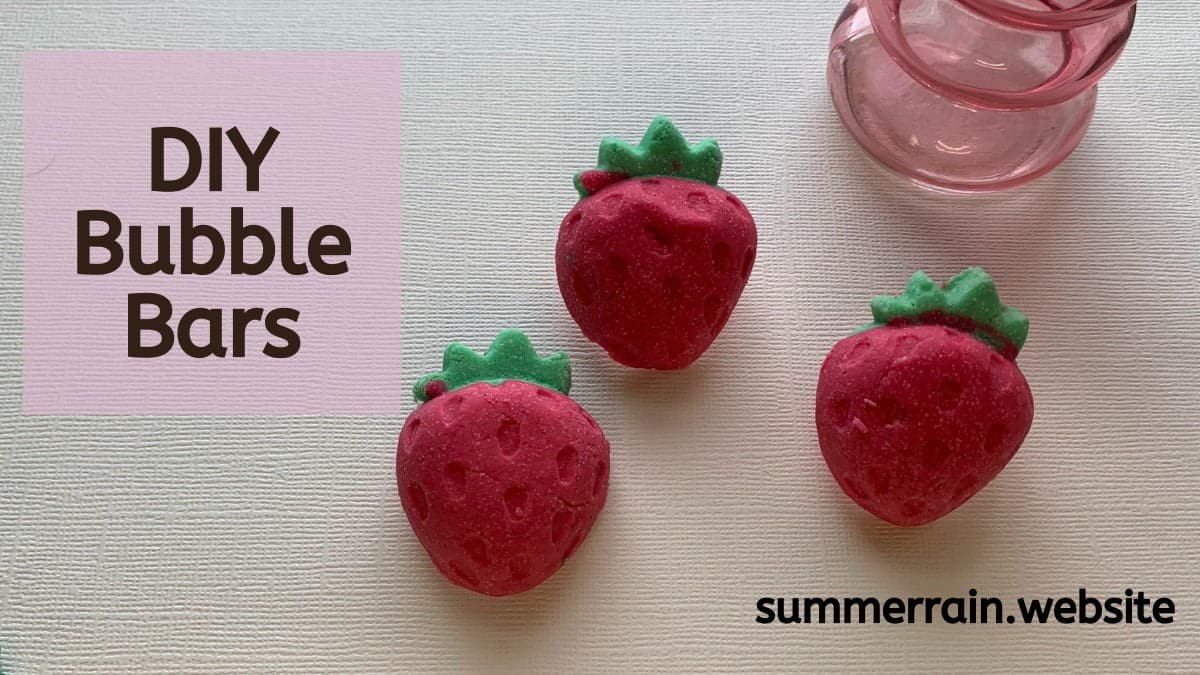
This DIY strawberry bubble bar is packed with nourishing ingredients that will leave your skin silky smooth and a whole lot of bubbles in your bath tub. If you are not familiar with what a bubble bar is, it is basically bubble bath in a solid form. One of my favorite things to do after a long stressful day is to take a nice warm bubble bath, needless to say, I really enjoyed testing the bubble bars while I perfected the formula.
The fun part of making your own bubble bars is they are completely customizable. You can use any color, scent and mold that you would like to make these your own. And… they make an awesome gift as well.
Table of Contents
Prefer to watch this project instead of reading it?
Some of the links are affiliate links, because I am an associate and I earn a small commission on them.
Using your DIY Bubble Bar
Simply break of a chunk of the strawberry bubble bar and hot it under the running water to create bubbles. You can squeeze the bubble bar and agitate the water with your hands to maximize the amount of bubbles.
Bubble Bar Ingredients
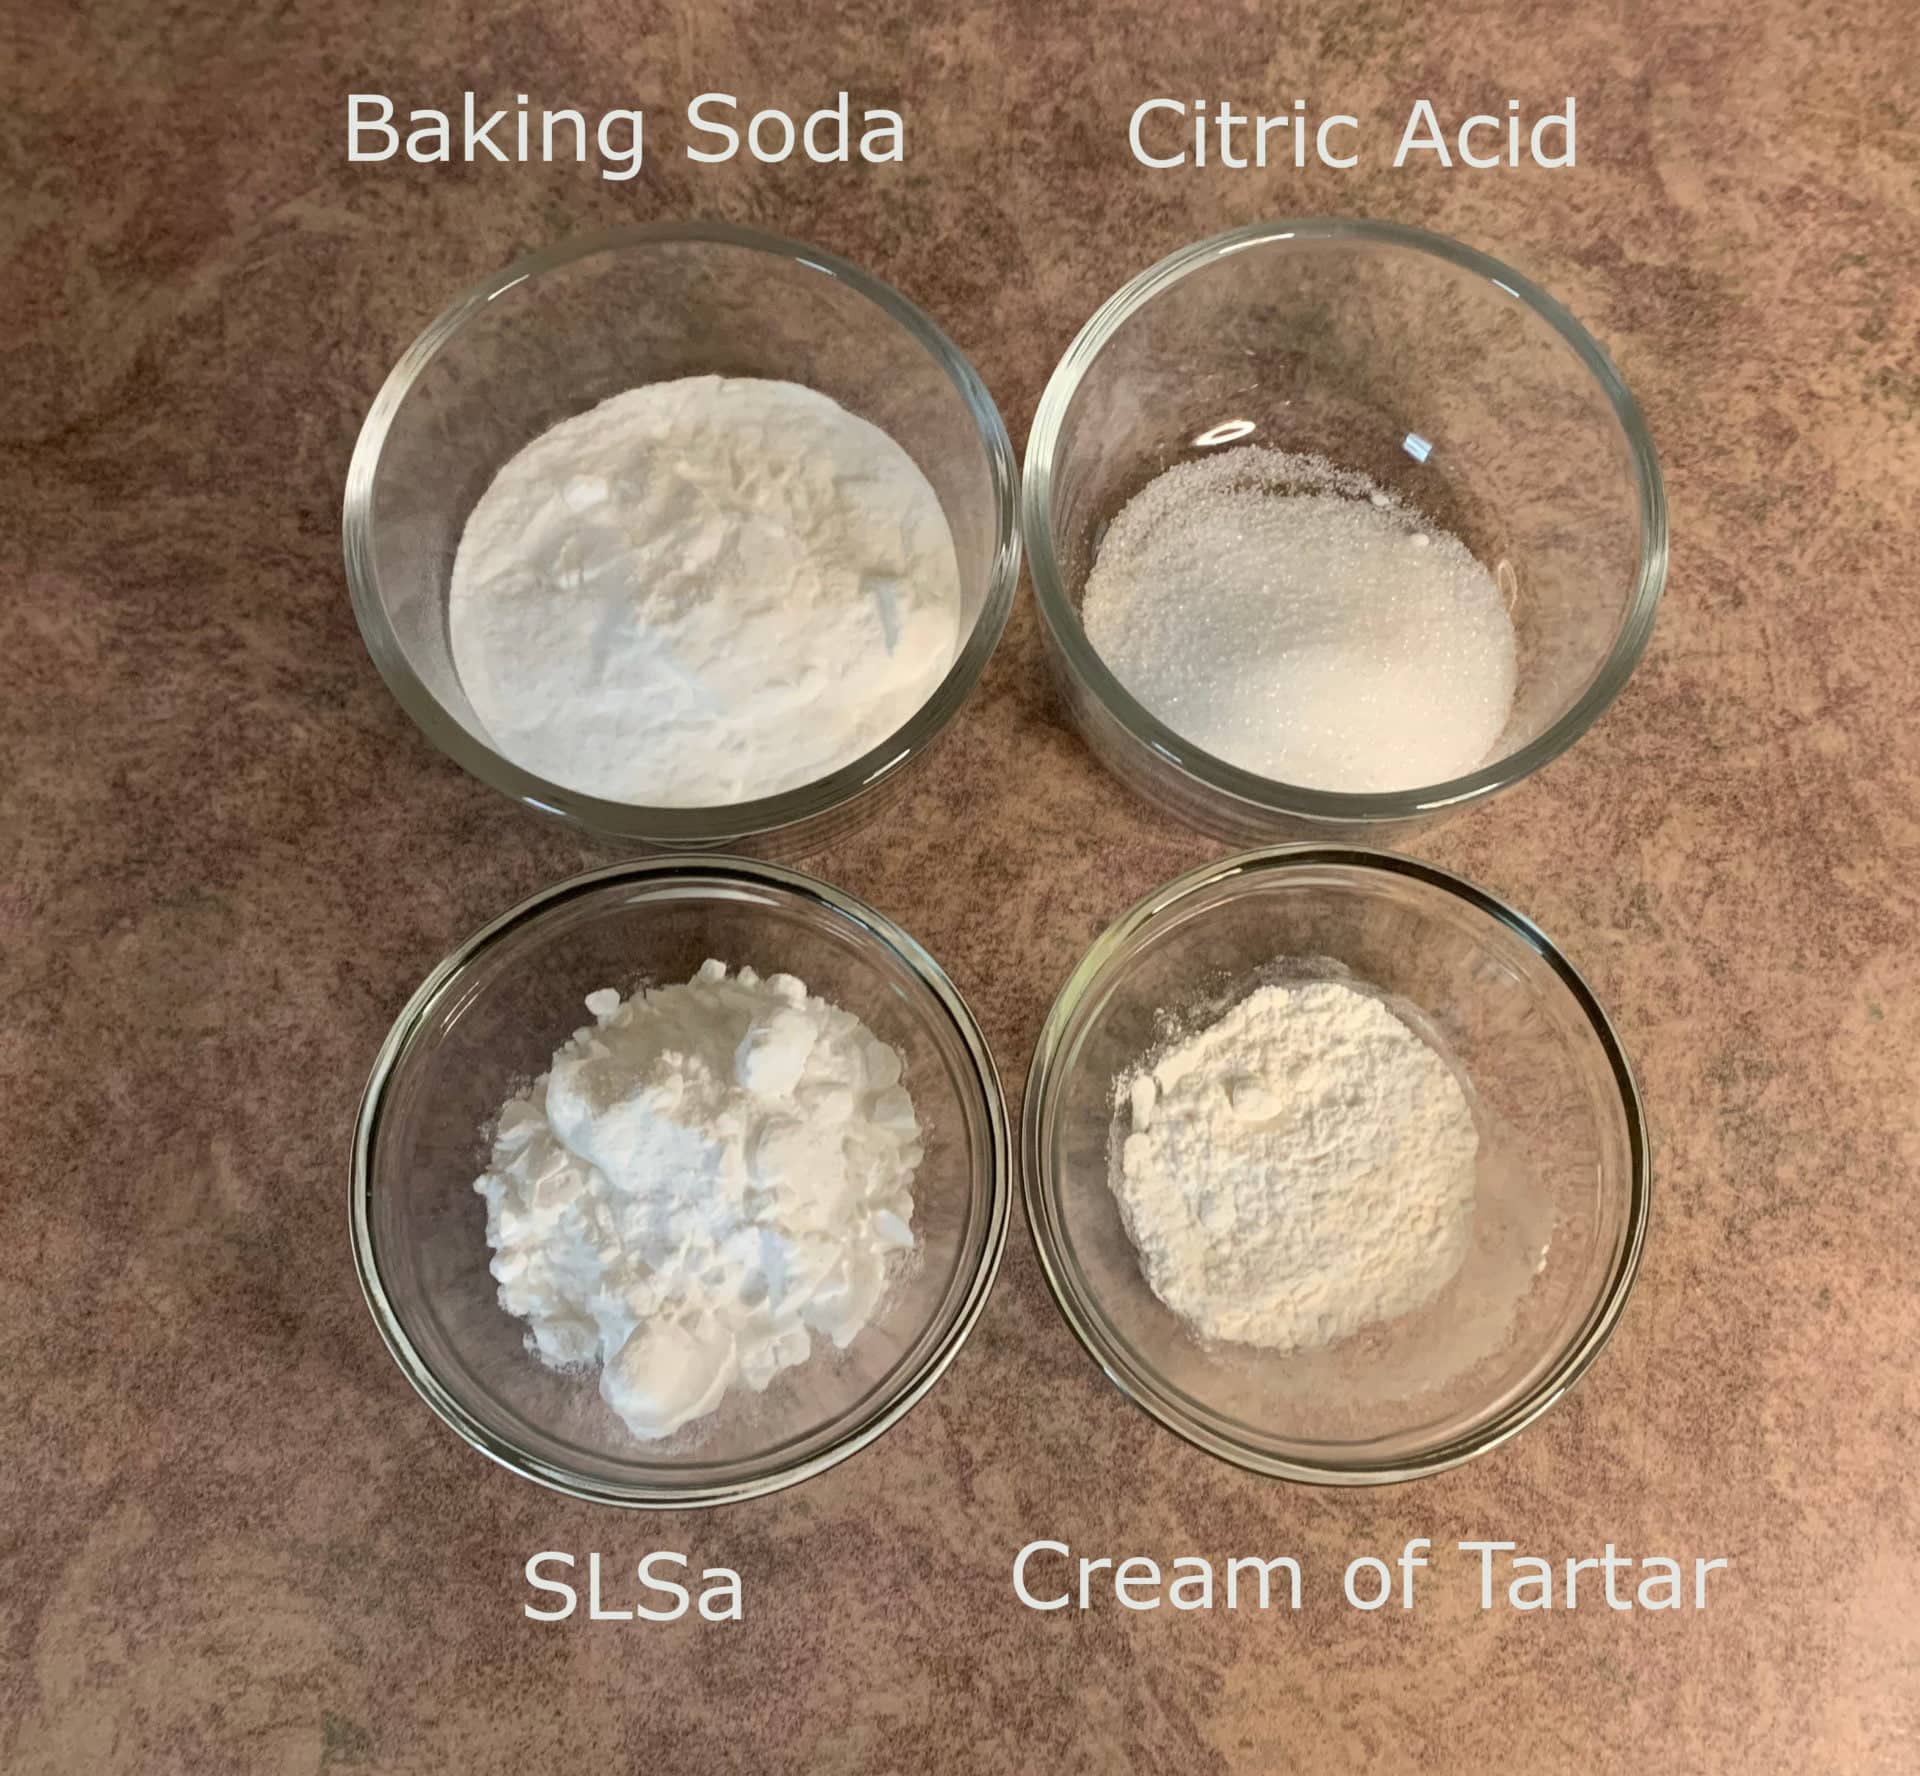
SLSa: SLSa is a natural surfactant that is derived from coconut and palm oils. You will want to be sure to wear a a mask when handling, as the powder gets into the air easily.
Polysorbate 80: Polysorbate 80 is an emulsifier. We need an emulsifier to disperse the oils and fragrance throughout the bath water. Otherwise, it would all just pool on the top of your bath water.
Vegetable Glycerin: We use vegetable glycerin to make the bars a little more moldable and less likely to break apart. It is also a humectant, which means that it will draw moisture to itself.
Baking Soda and Citric Acid: We use the baking soda and citric acid to create the base for the dough and to cause a fizzing when introduced to water. The fizzing helps to break up the solid bubble bar into the water.
Cream of Tartar: The cream of tartar will help make a harder bar and it enhances the bubbles.
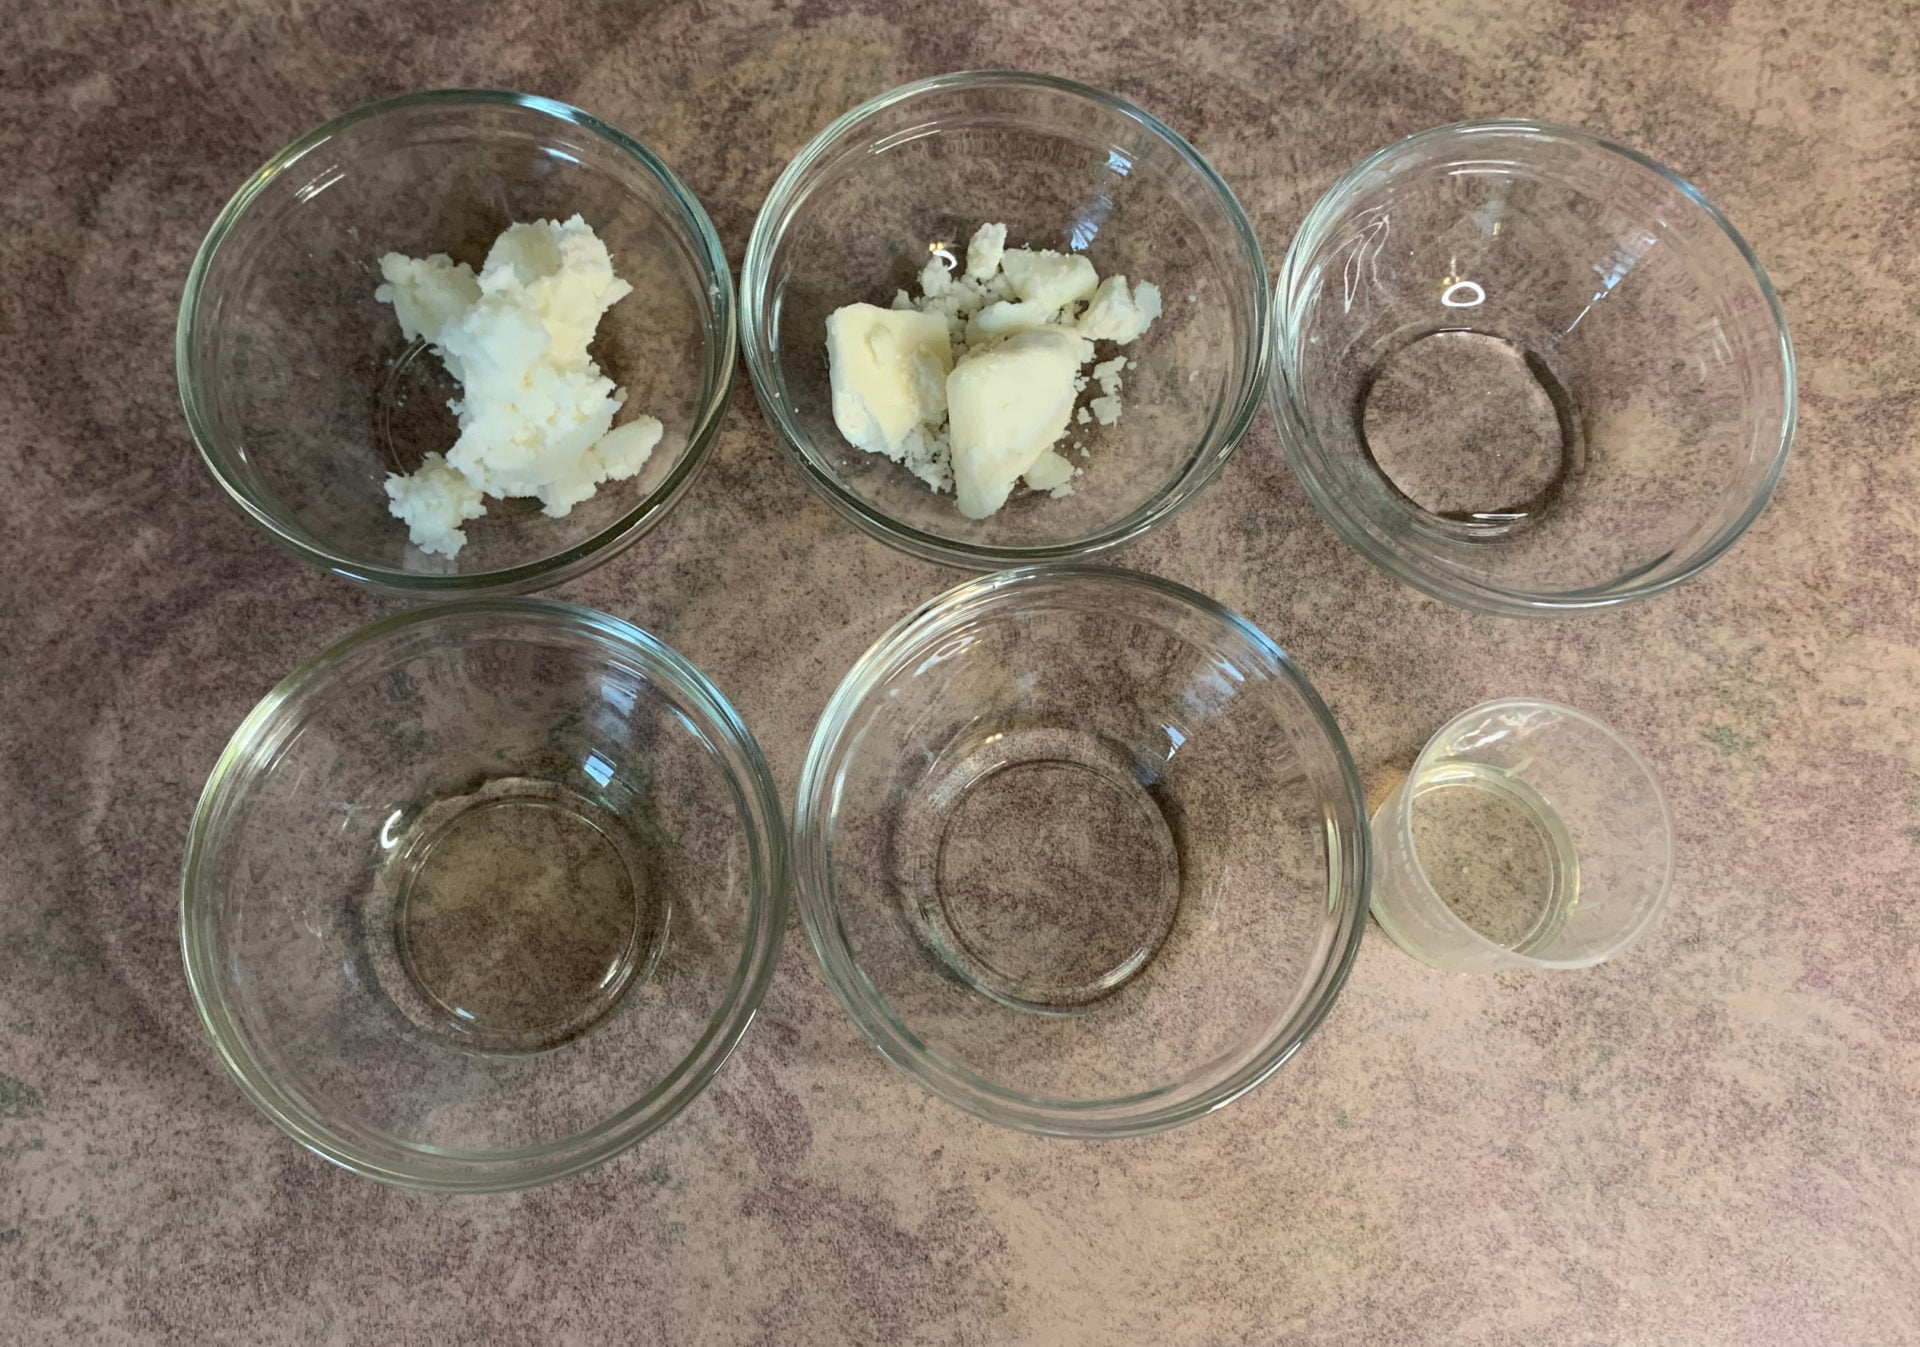
Shea Butter: We need some oils to add a moisturizing element and also to bind the bar together. You could substitute the shea butter for mango butter.
Kokum Butter: Kokum butter is a hard brittle butter that helps our bubble bar hold its shape. You can swap this out for cocoa butter.
Fractionated Coconut Oil: We use the fractionated coconut oil because its a lightweight oil. We use the carrier oil to help wet the dry ingredients and to add moisture to our bath. You can swap it for sweet almond oil or another lightweight carrier oil.
Storage
Store your DIY bubble bars in an airtight container. A zip lock bag or Tupperware container will work.
How to make DIY Bubble Bars
Prepare ingredients
I like to start out by cleaning my work area and weighing out all the ingredients.
Melt Butters
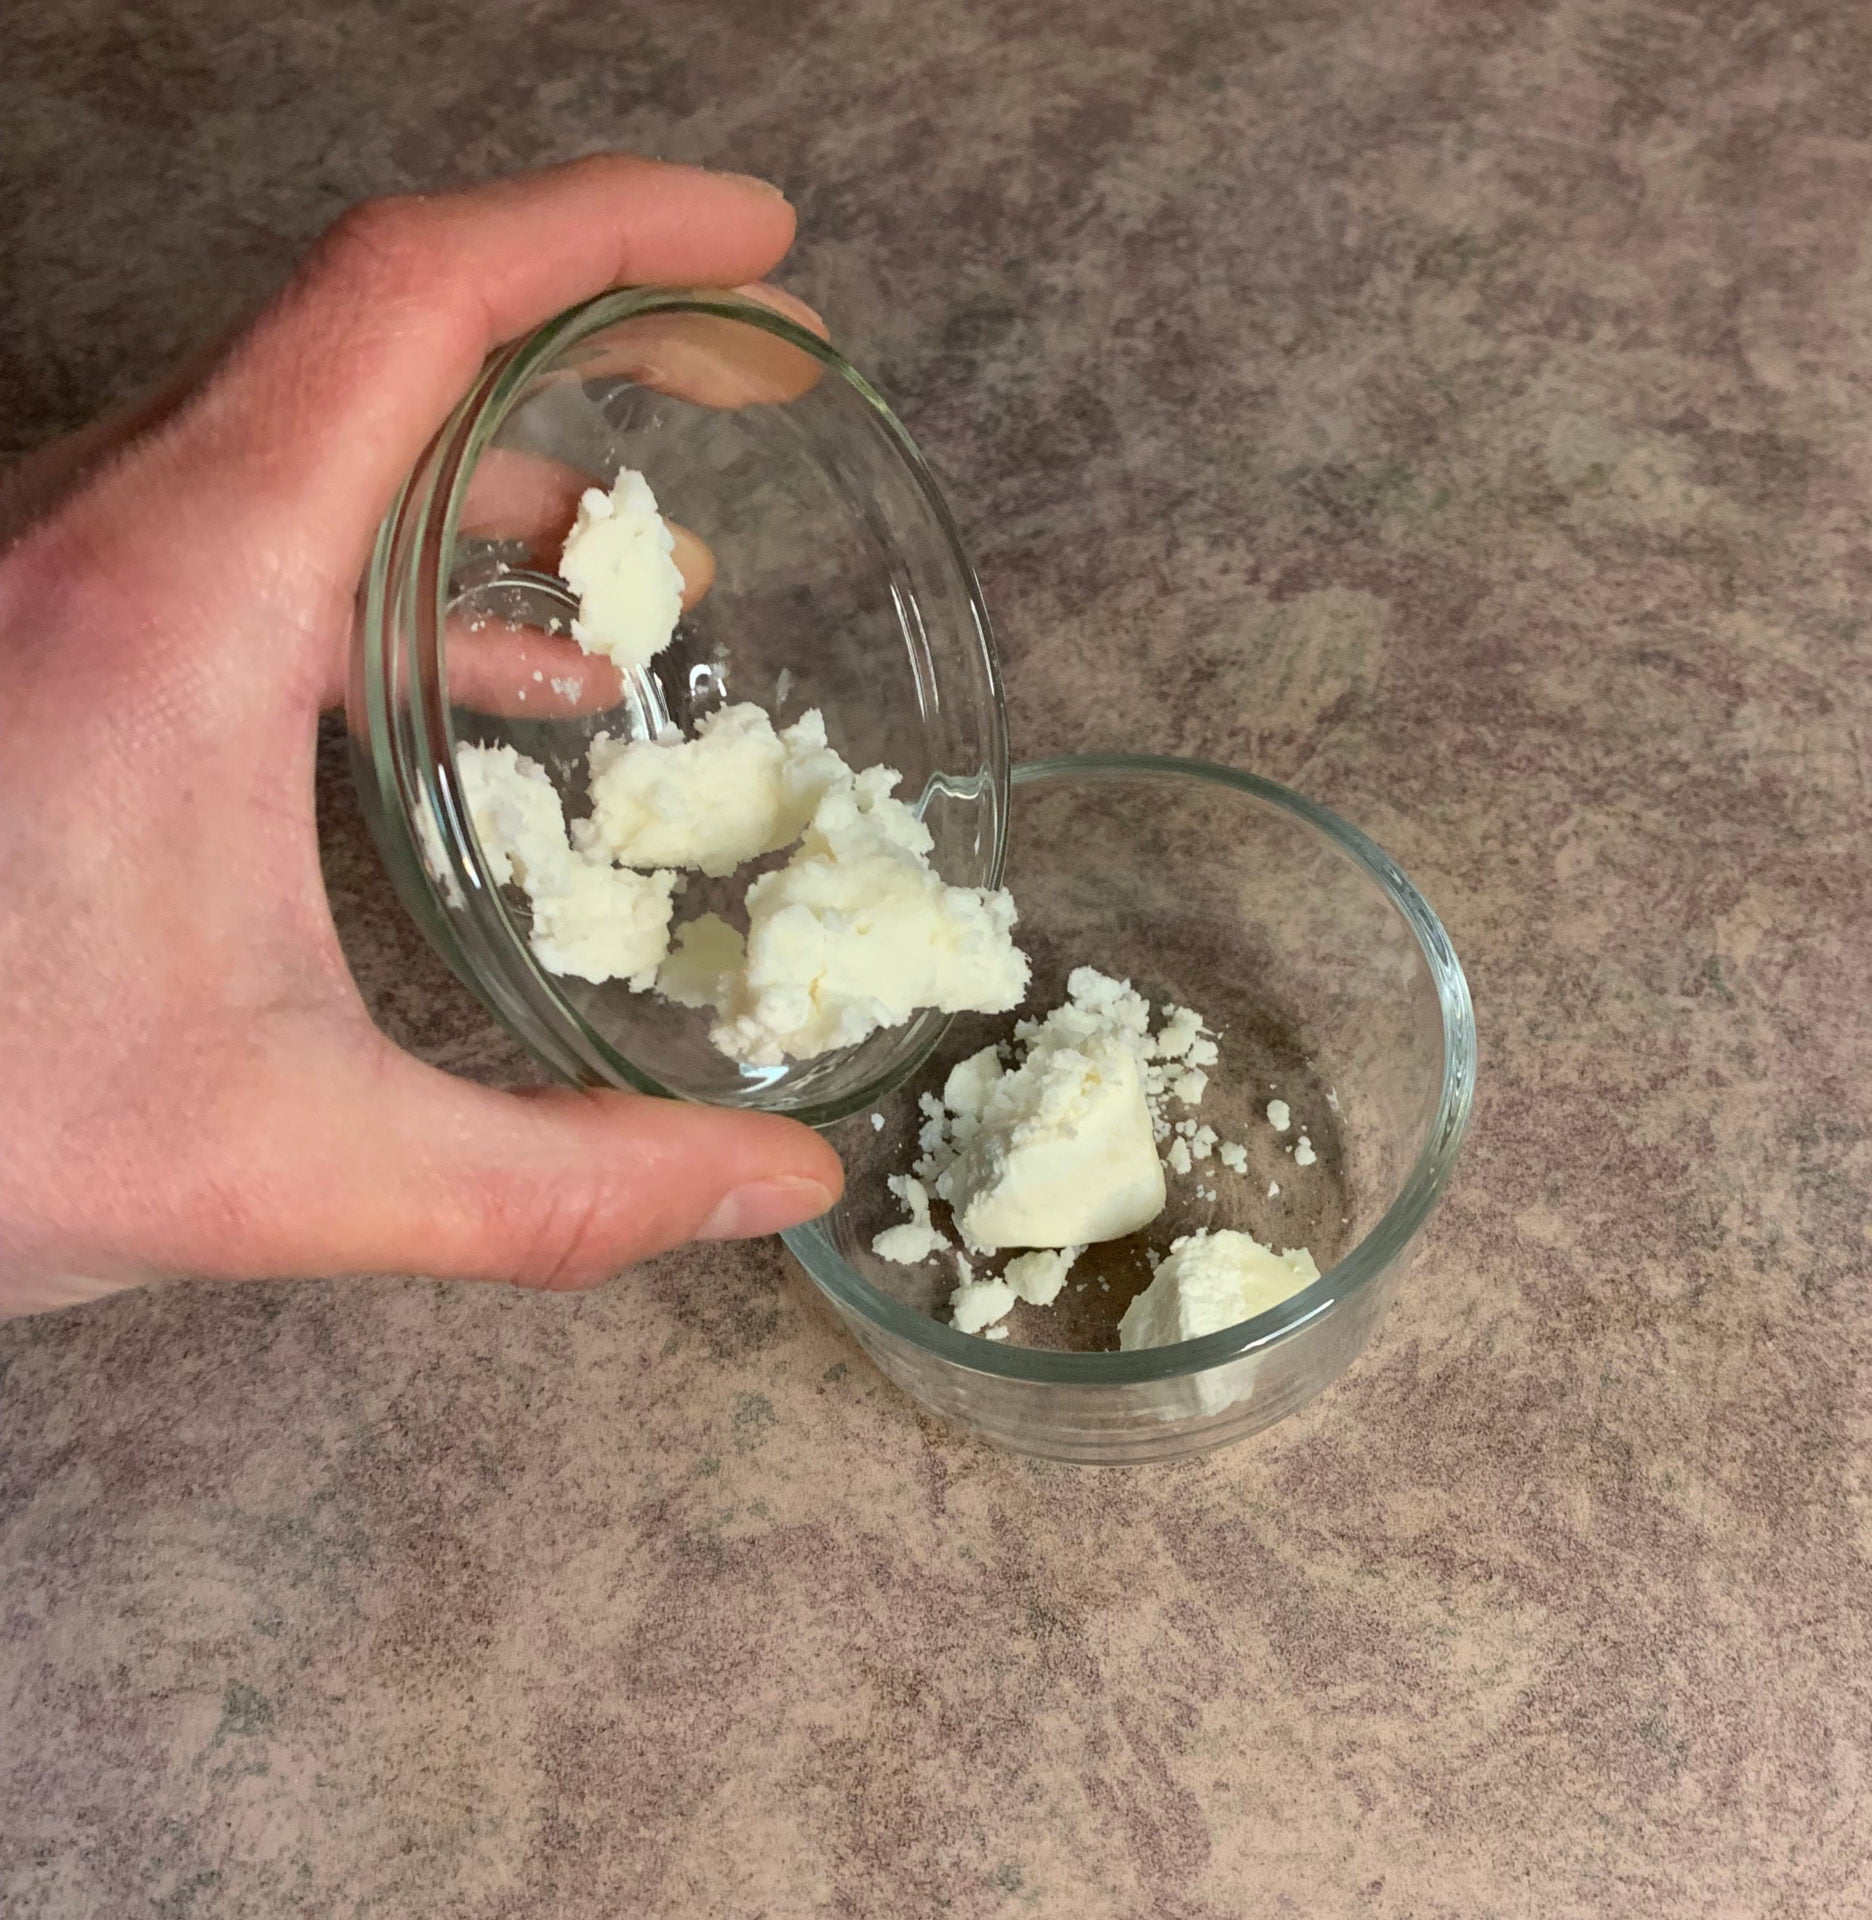
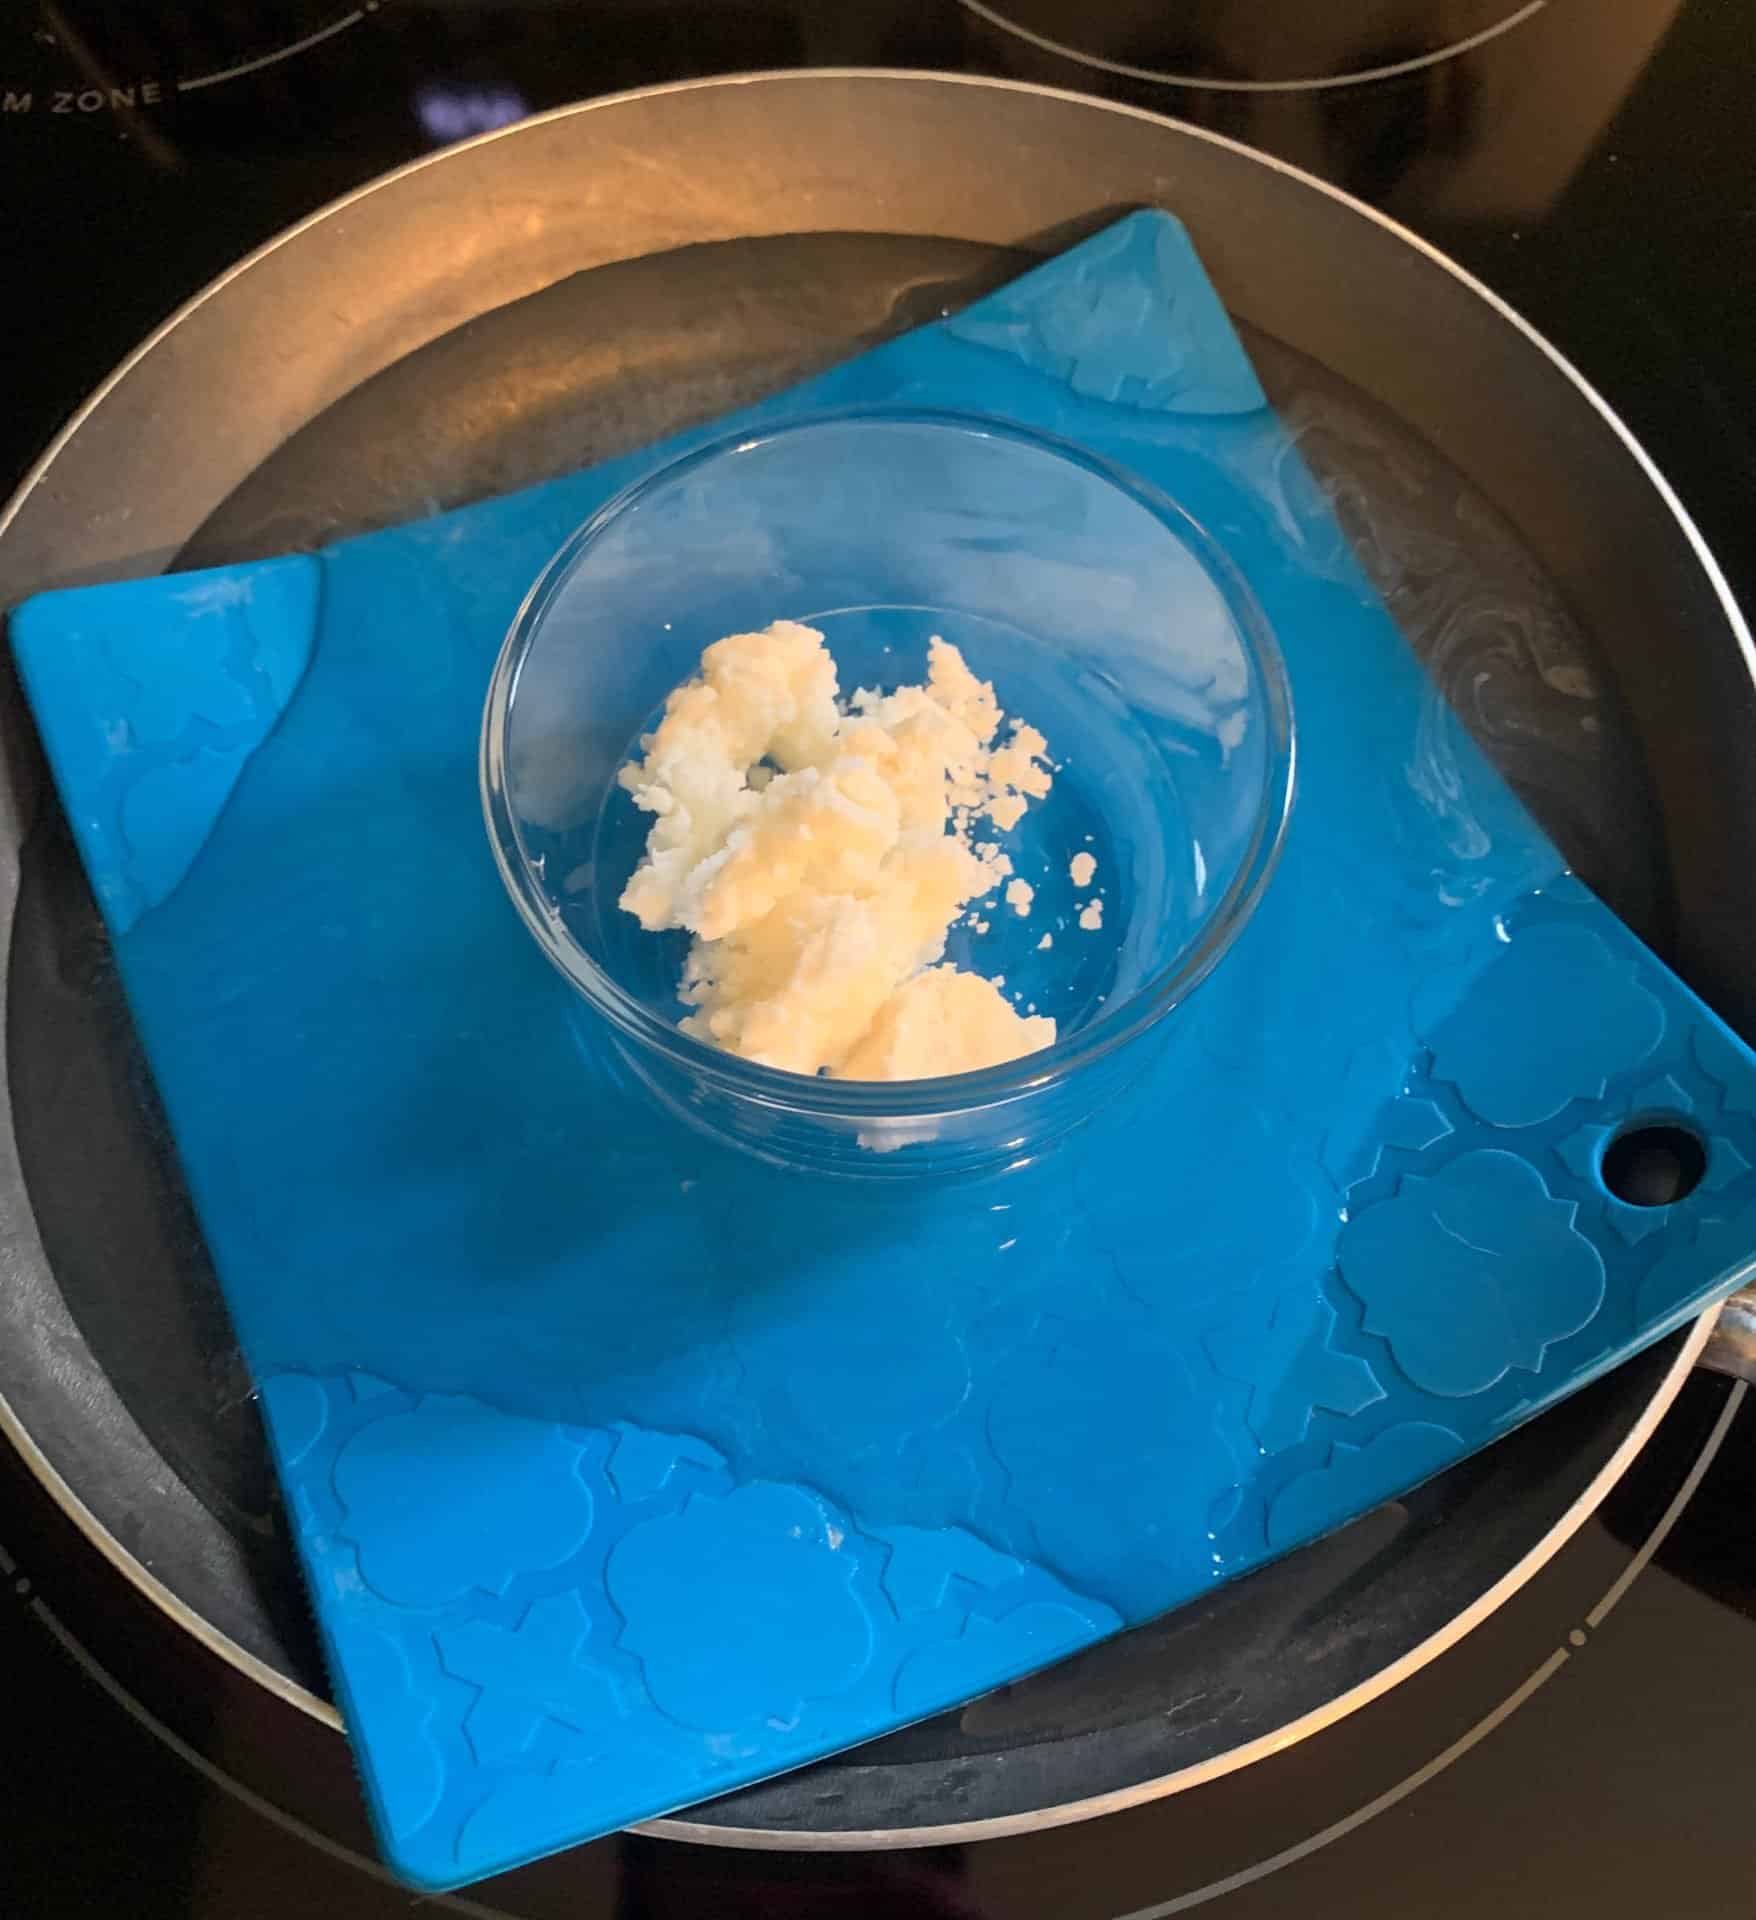

Place the shea butter, kokum butter and fractionated coconut oil in a heat safe container. Place in a double boiler until the butters are completely melted.
Dry Ingredients
Add all of the dry ingredients (baking soda, citric acid, SLSa, and cream of tartar) to a bowl and mix lightly with a whisk.
Wet Ingredients
Add the melted butters and the remaining wet ingredients (vegetable glycerin, polysorbate 80, fractionated coconut oil and strawberry fragrance oil) to your oils.
Combine
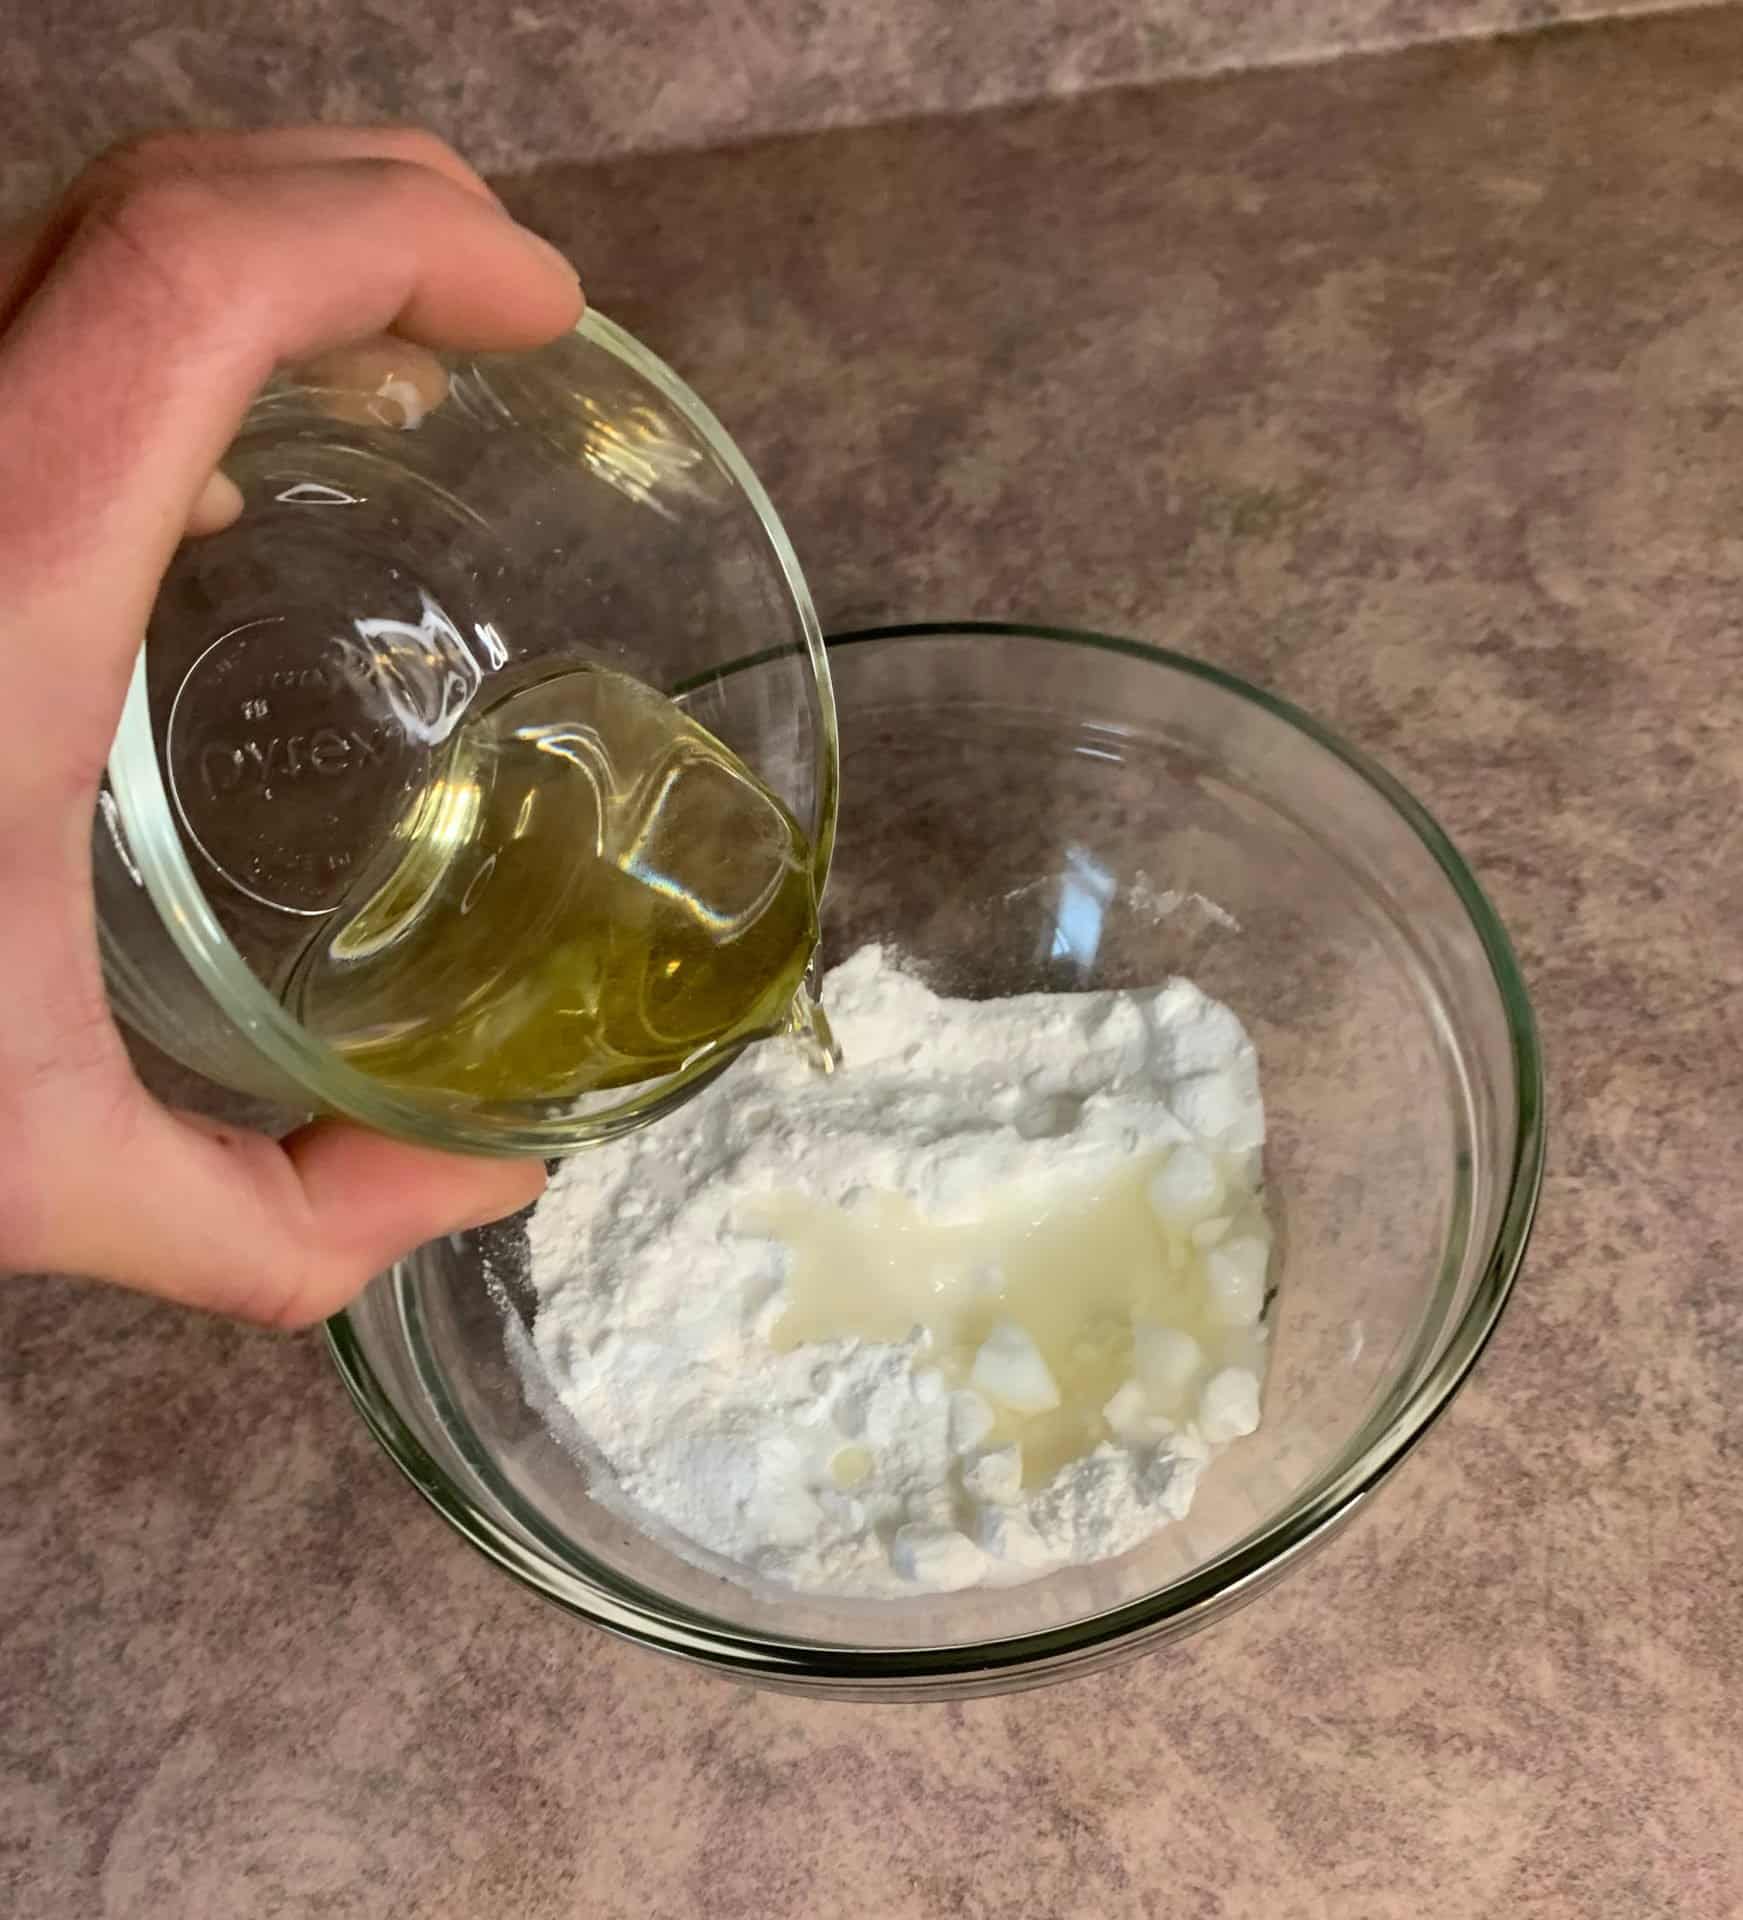
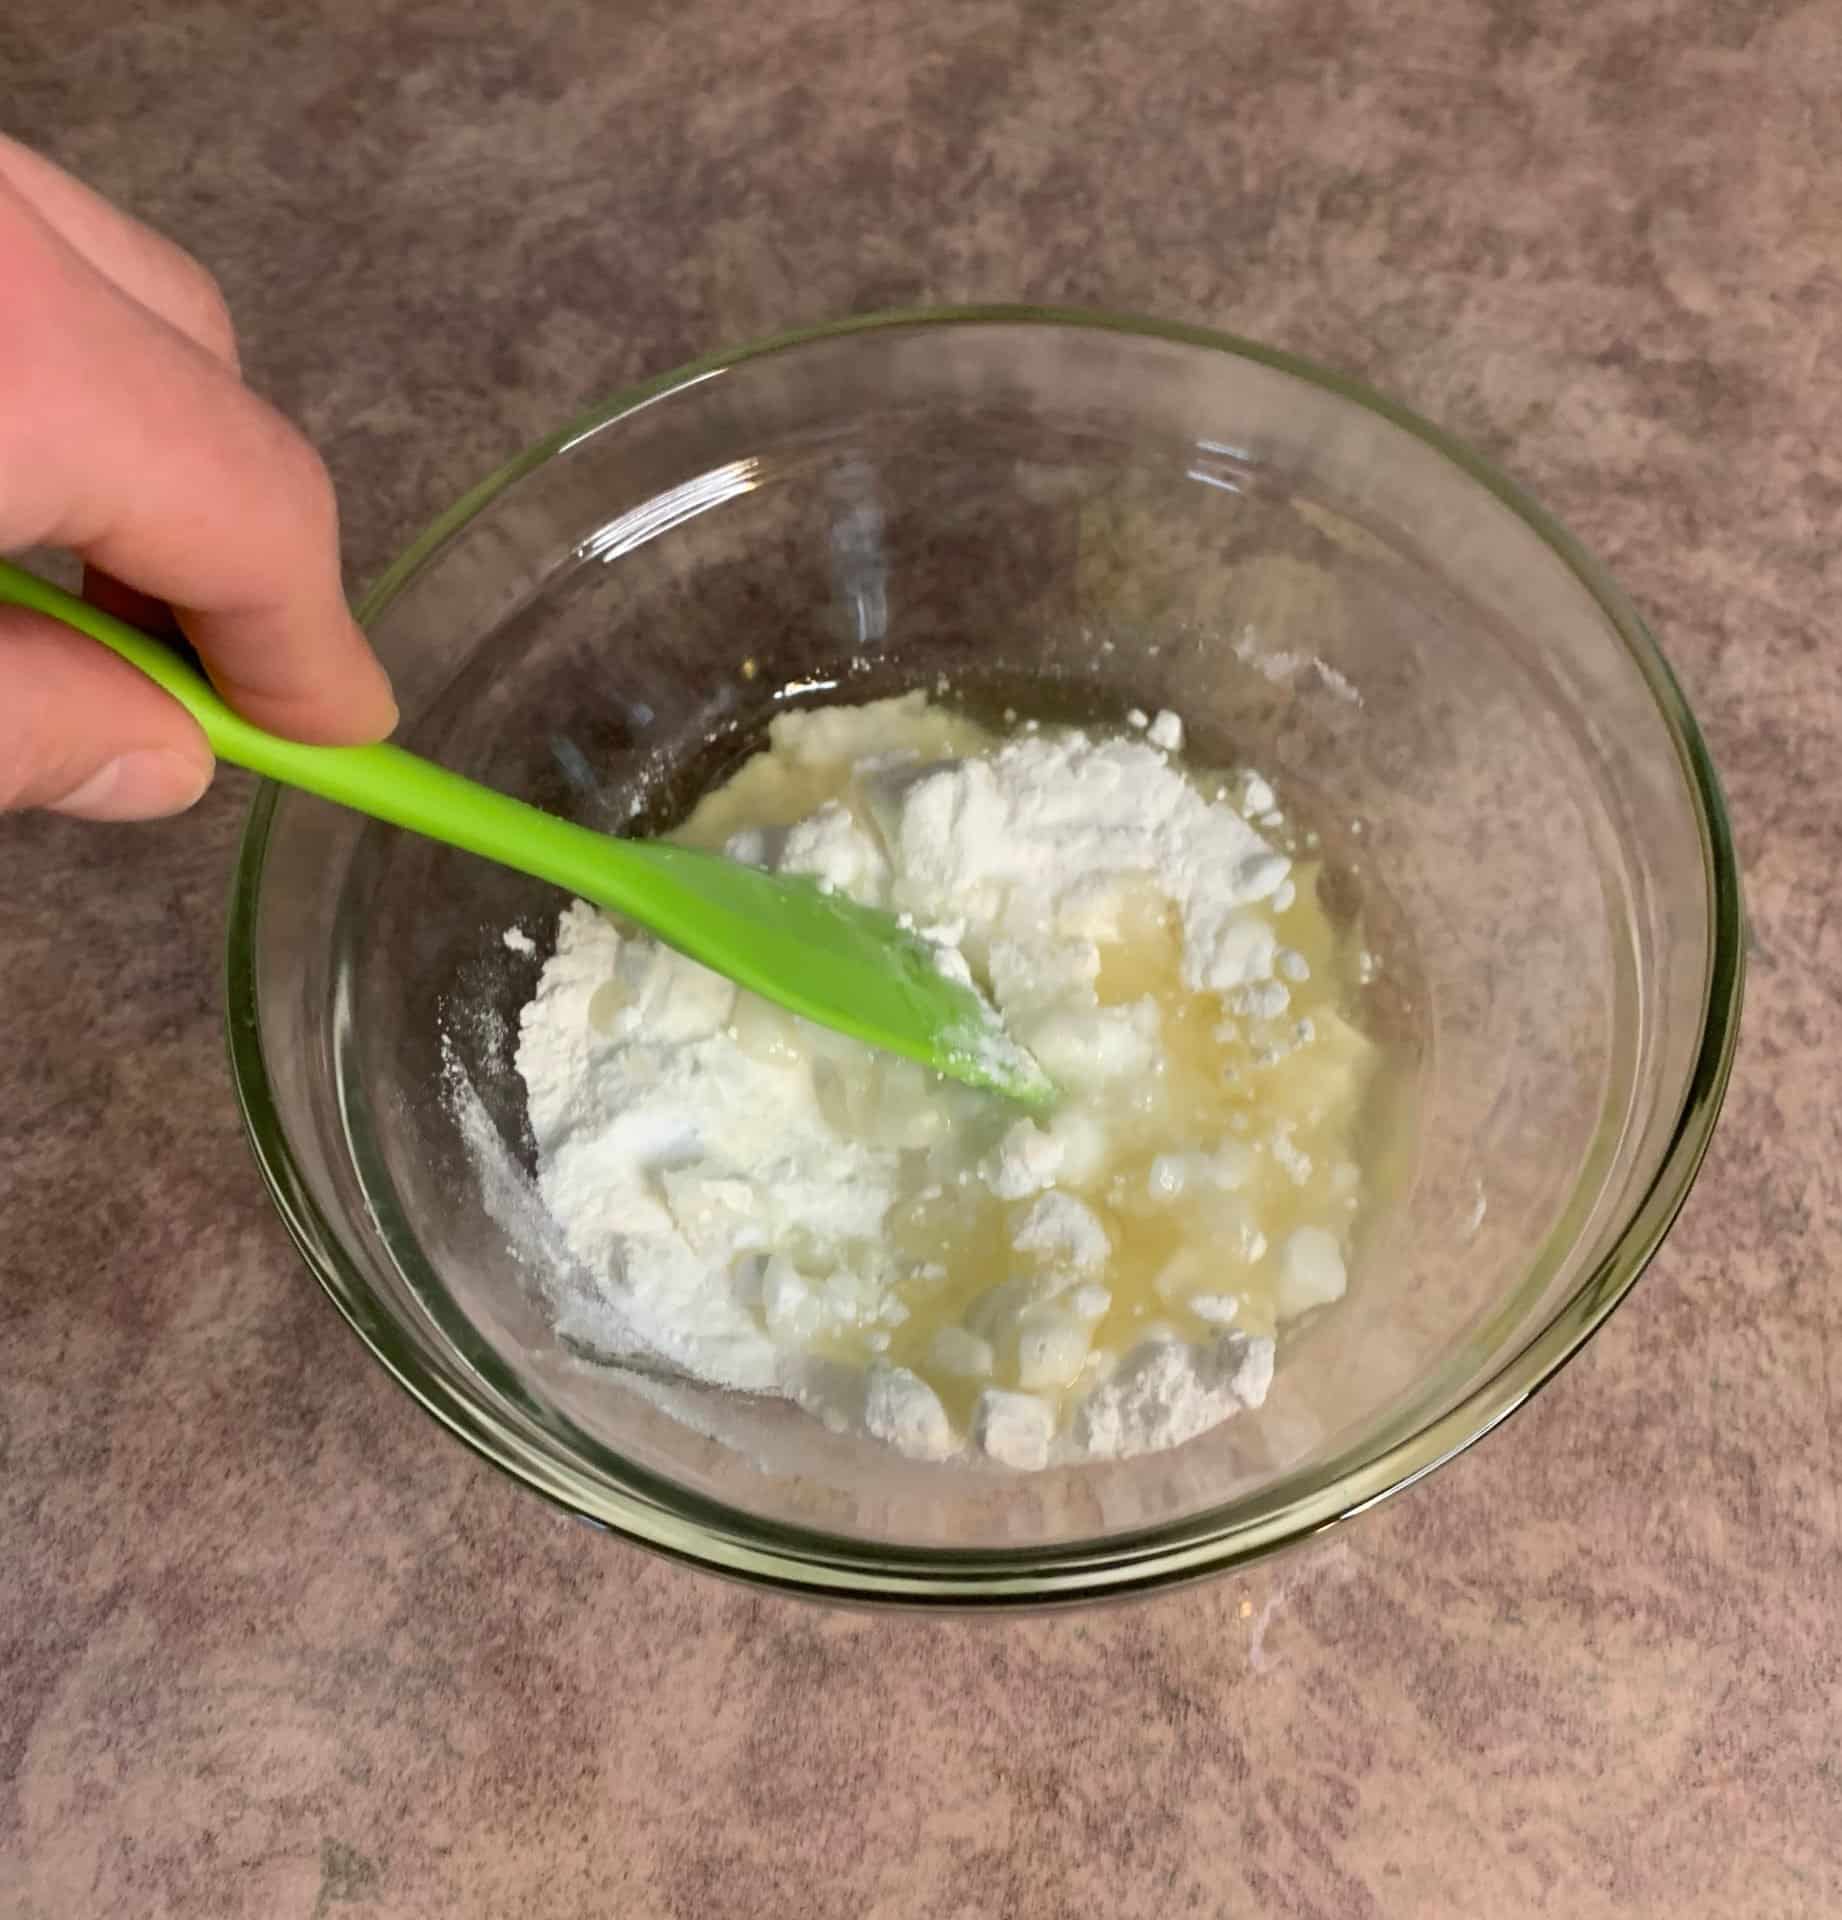
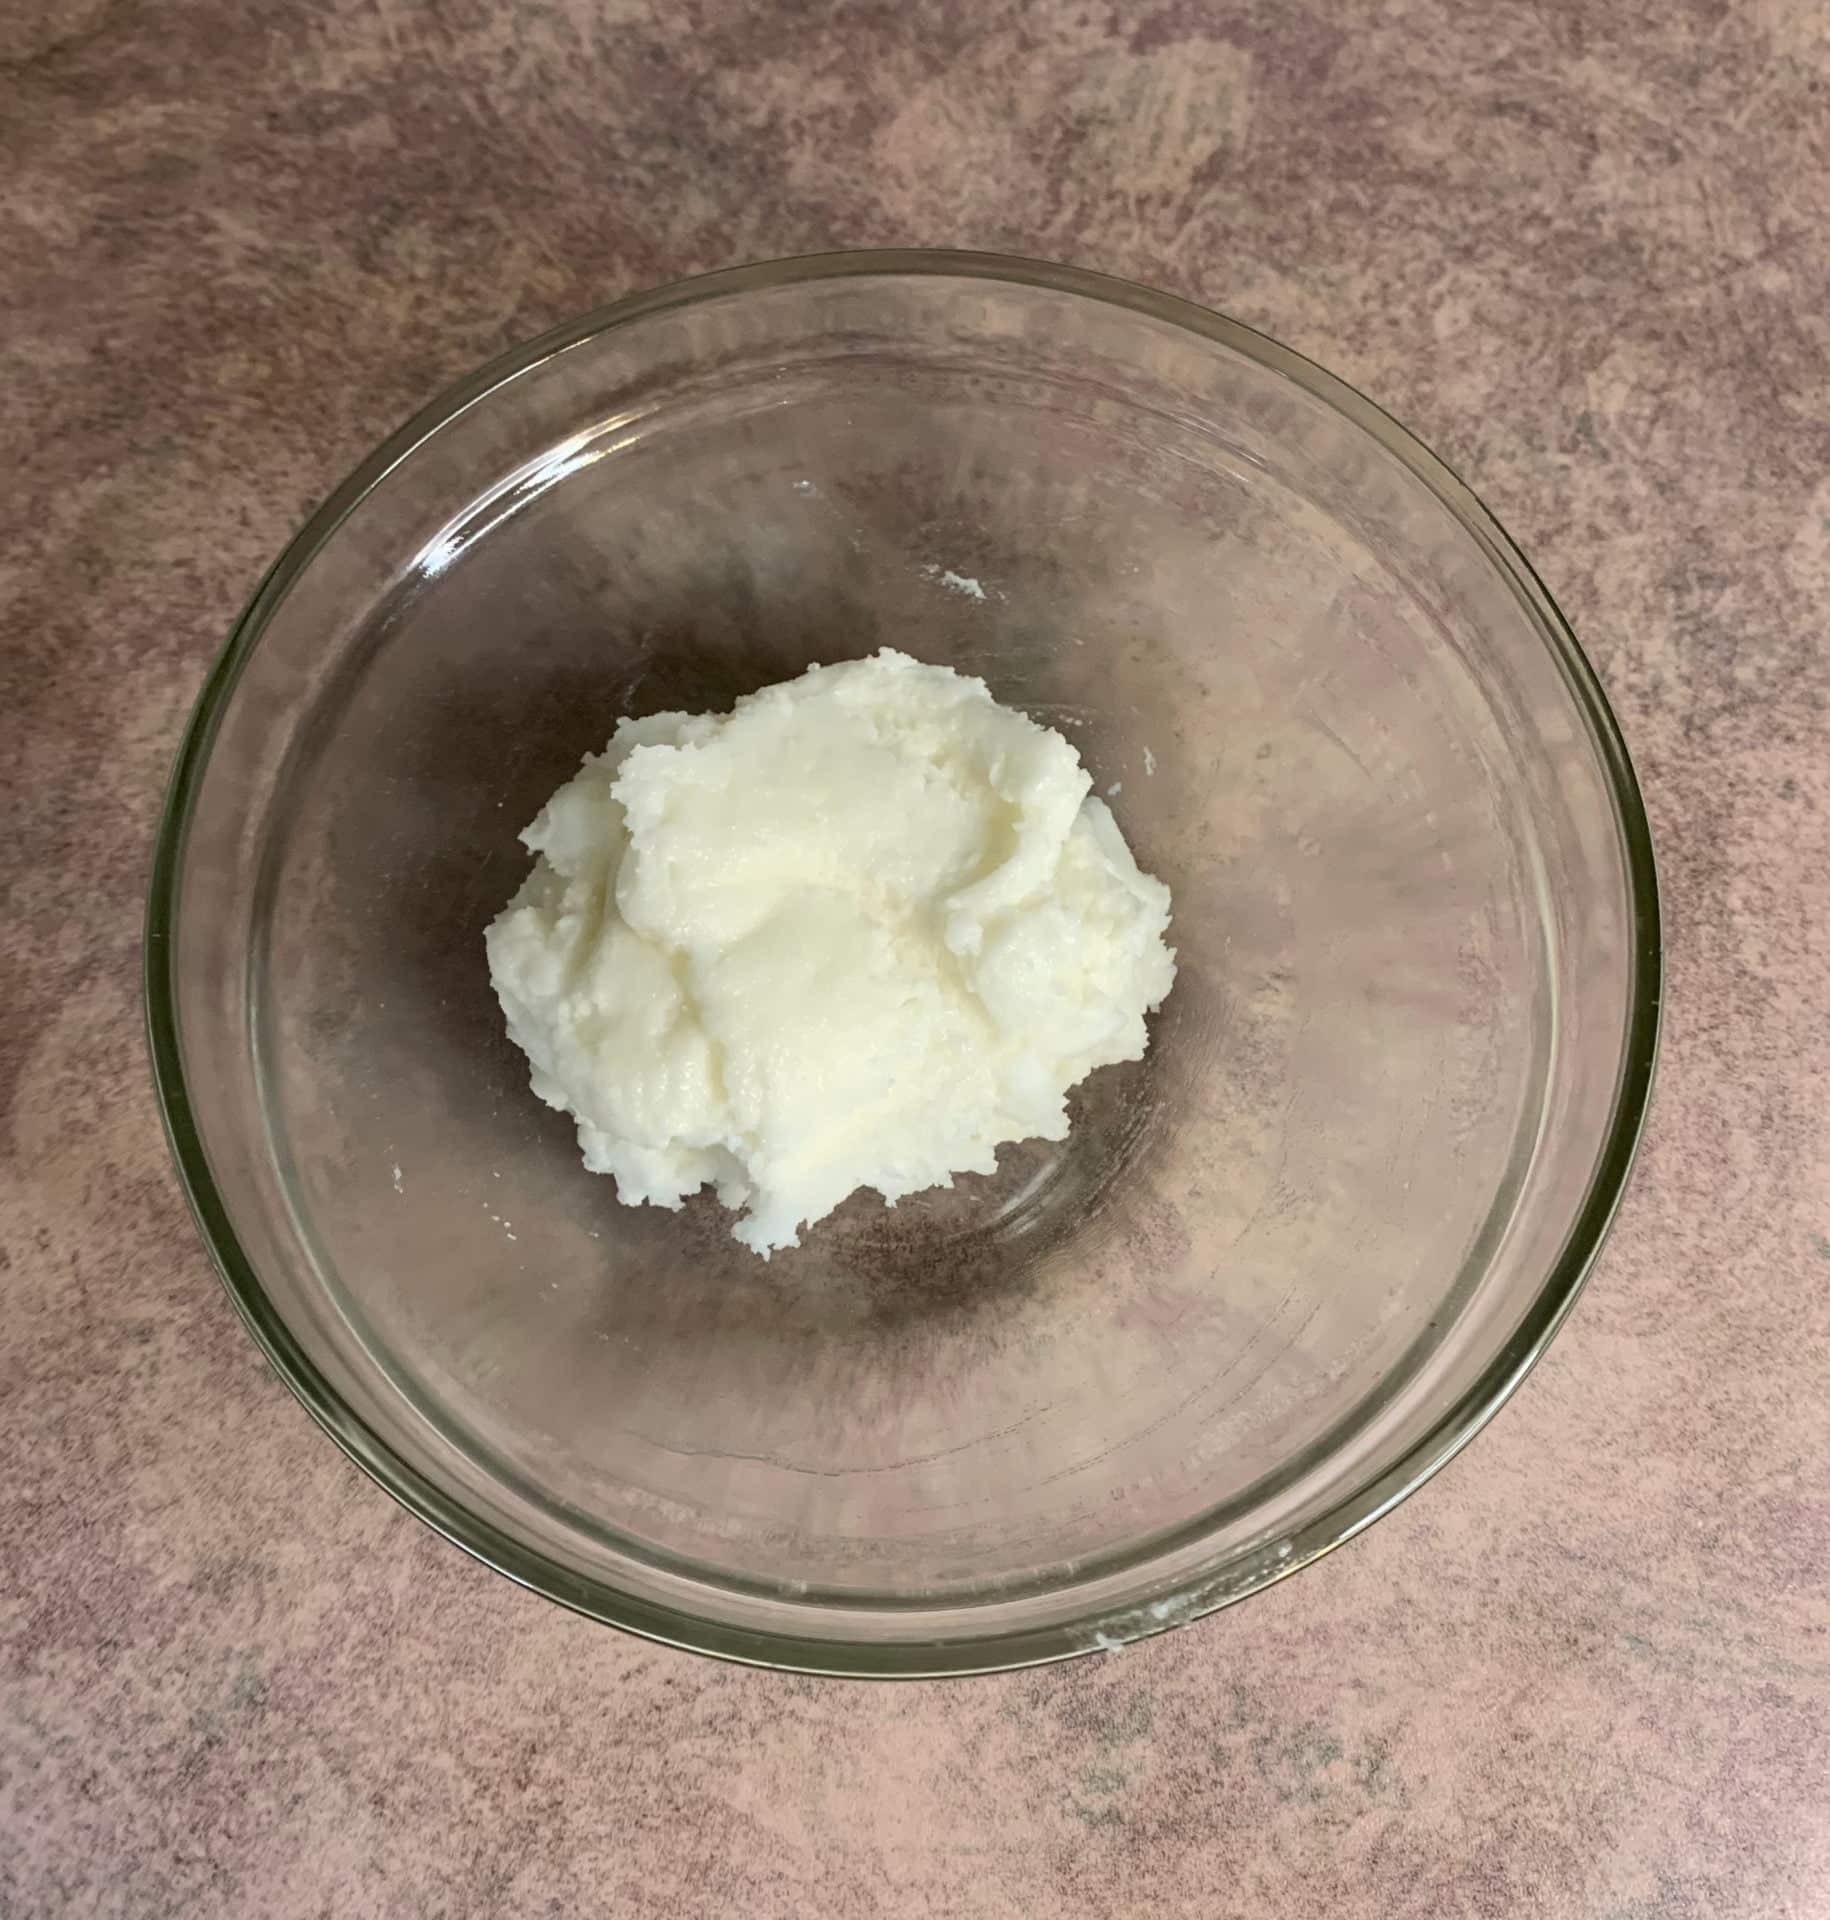
Combine the wet and dry ingredients together. It is going to take quite a bit of mixing to get it to your dough-like consistency. The finished mixture is going to feel a little too wet for a bubble bar, just trust that it will harden up for you.
Coloring
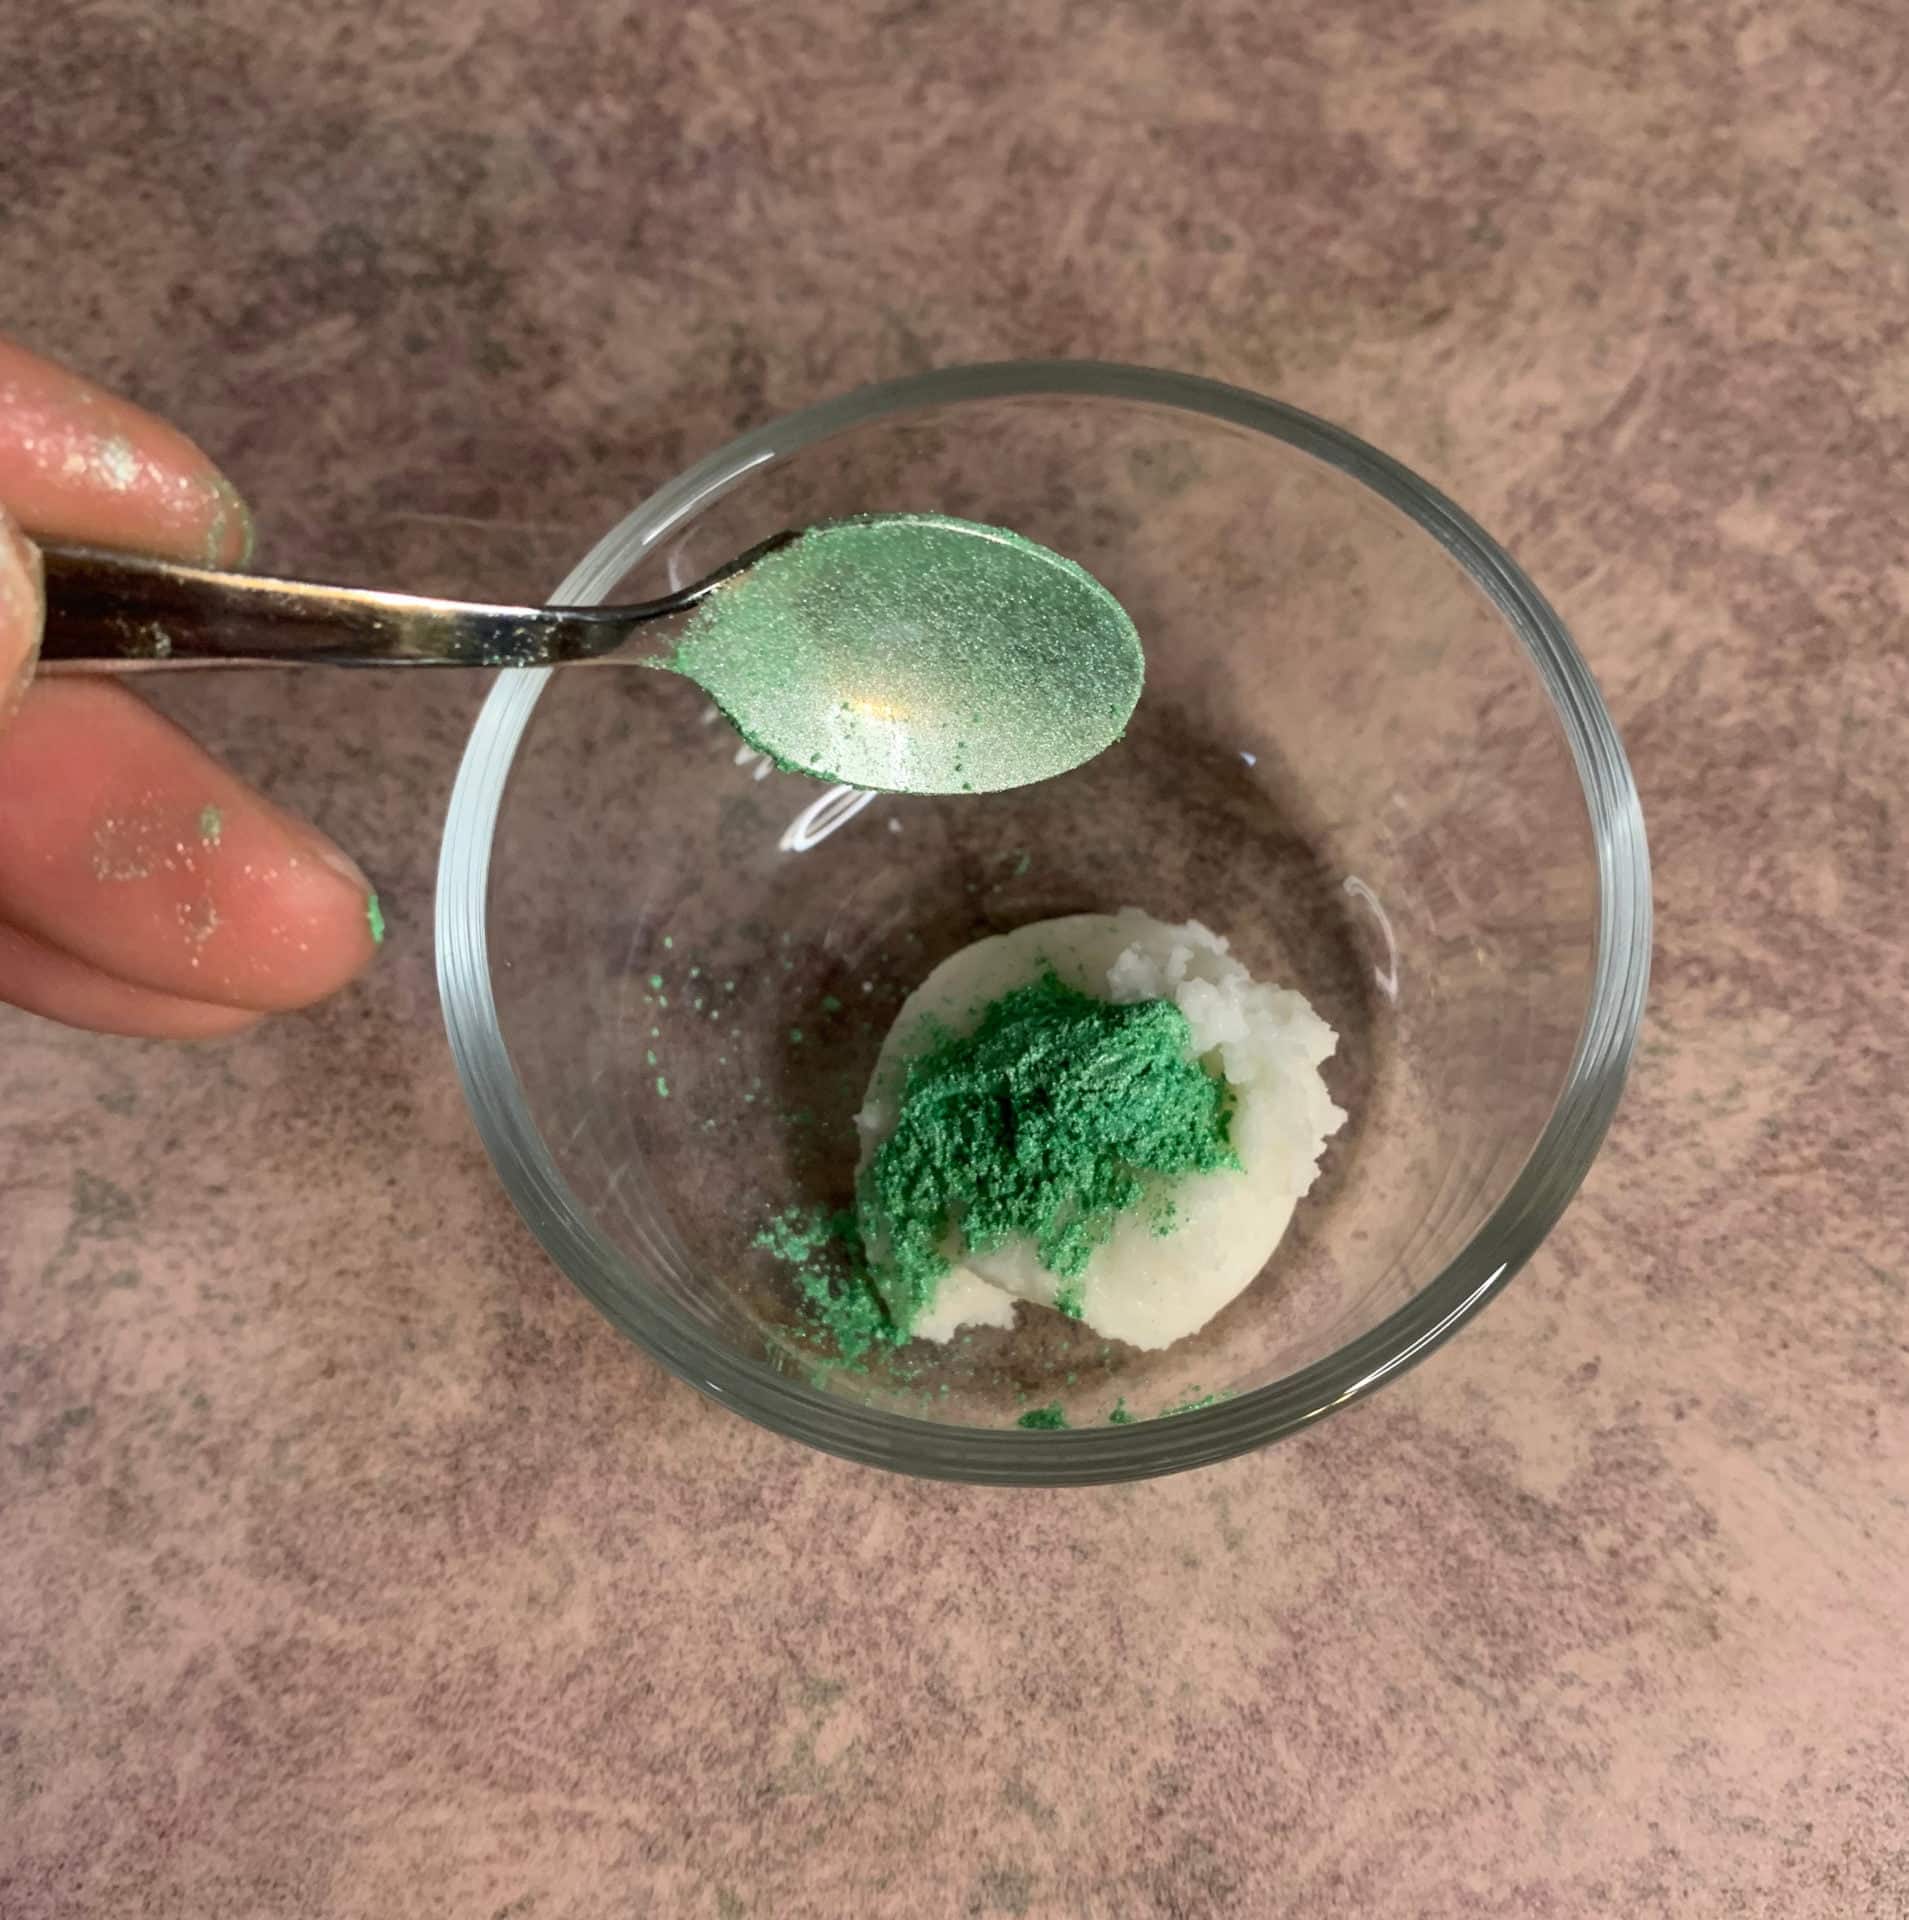
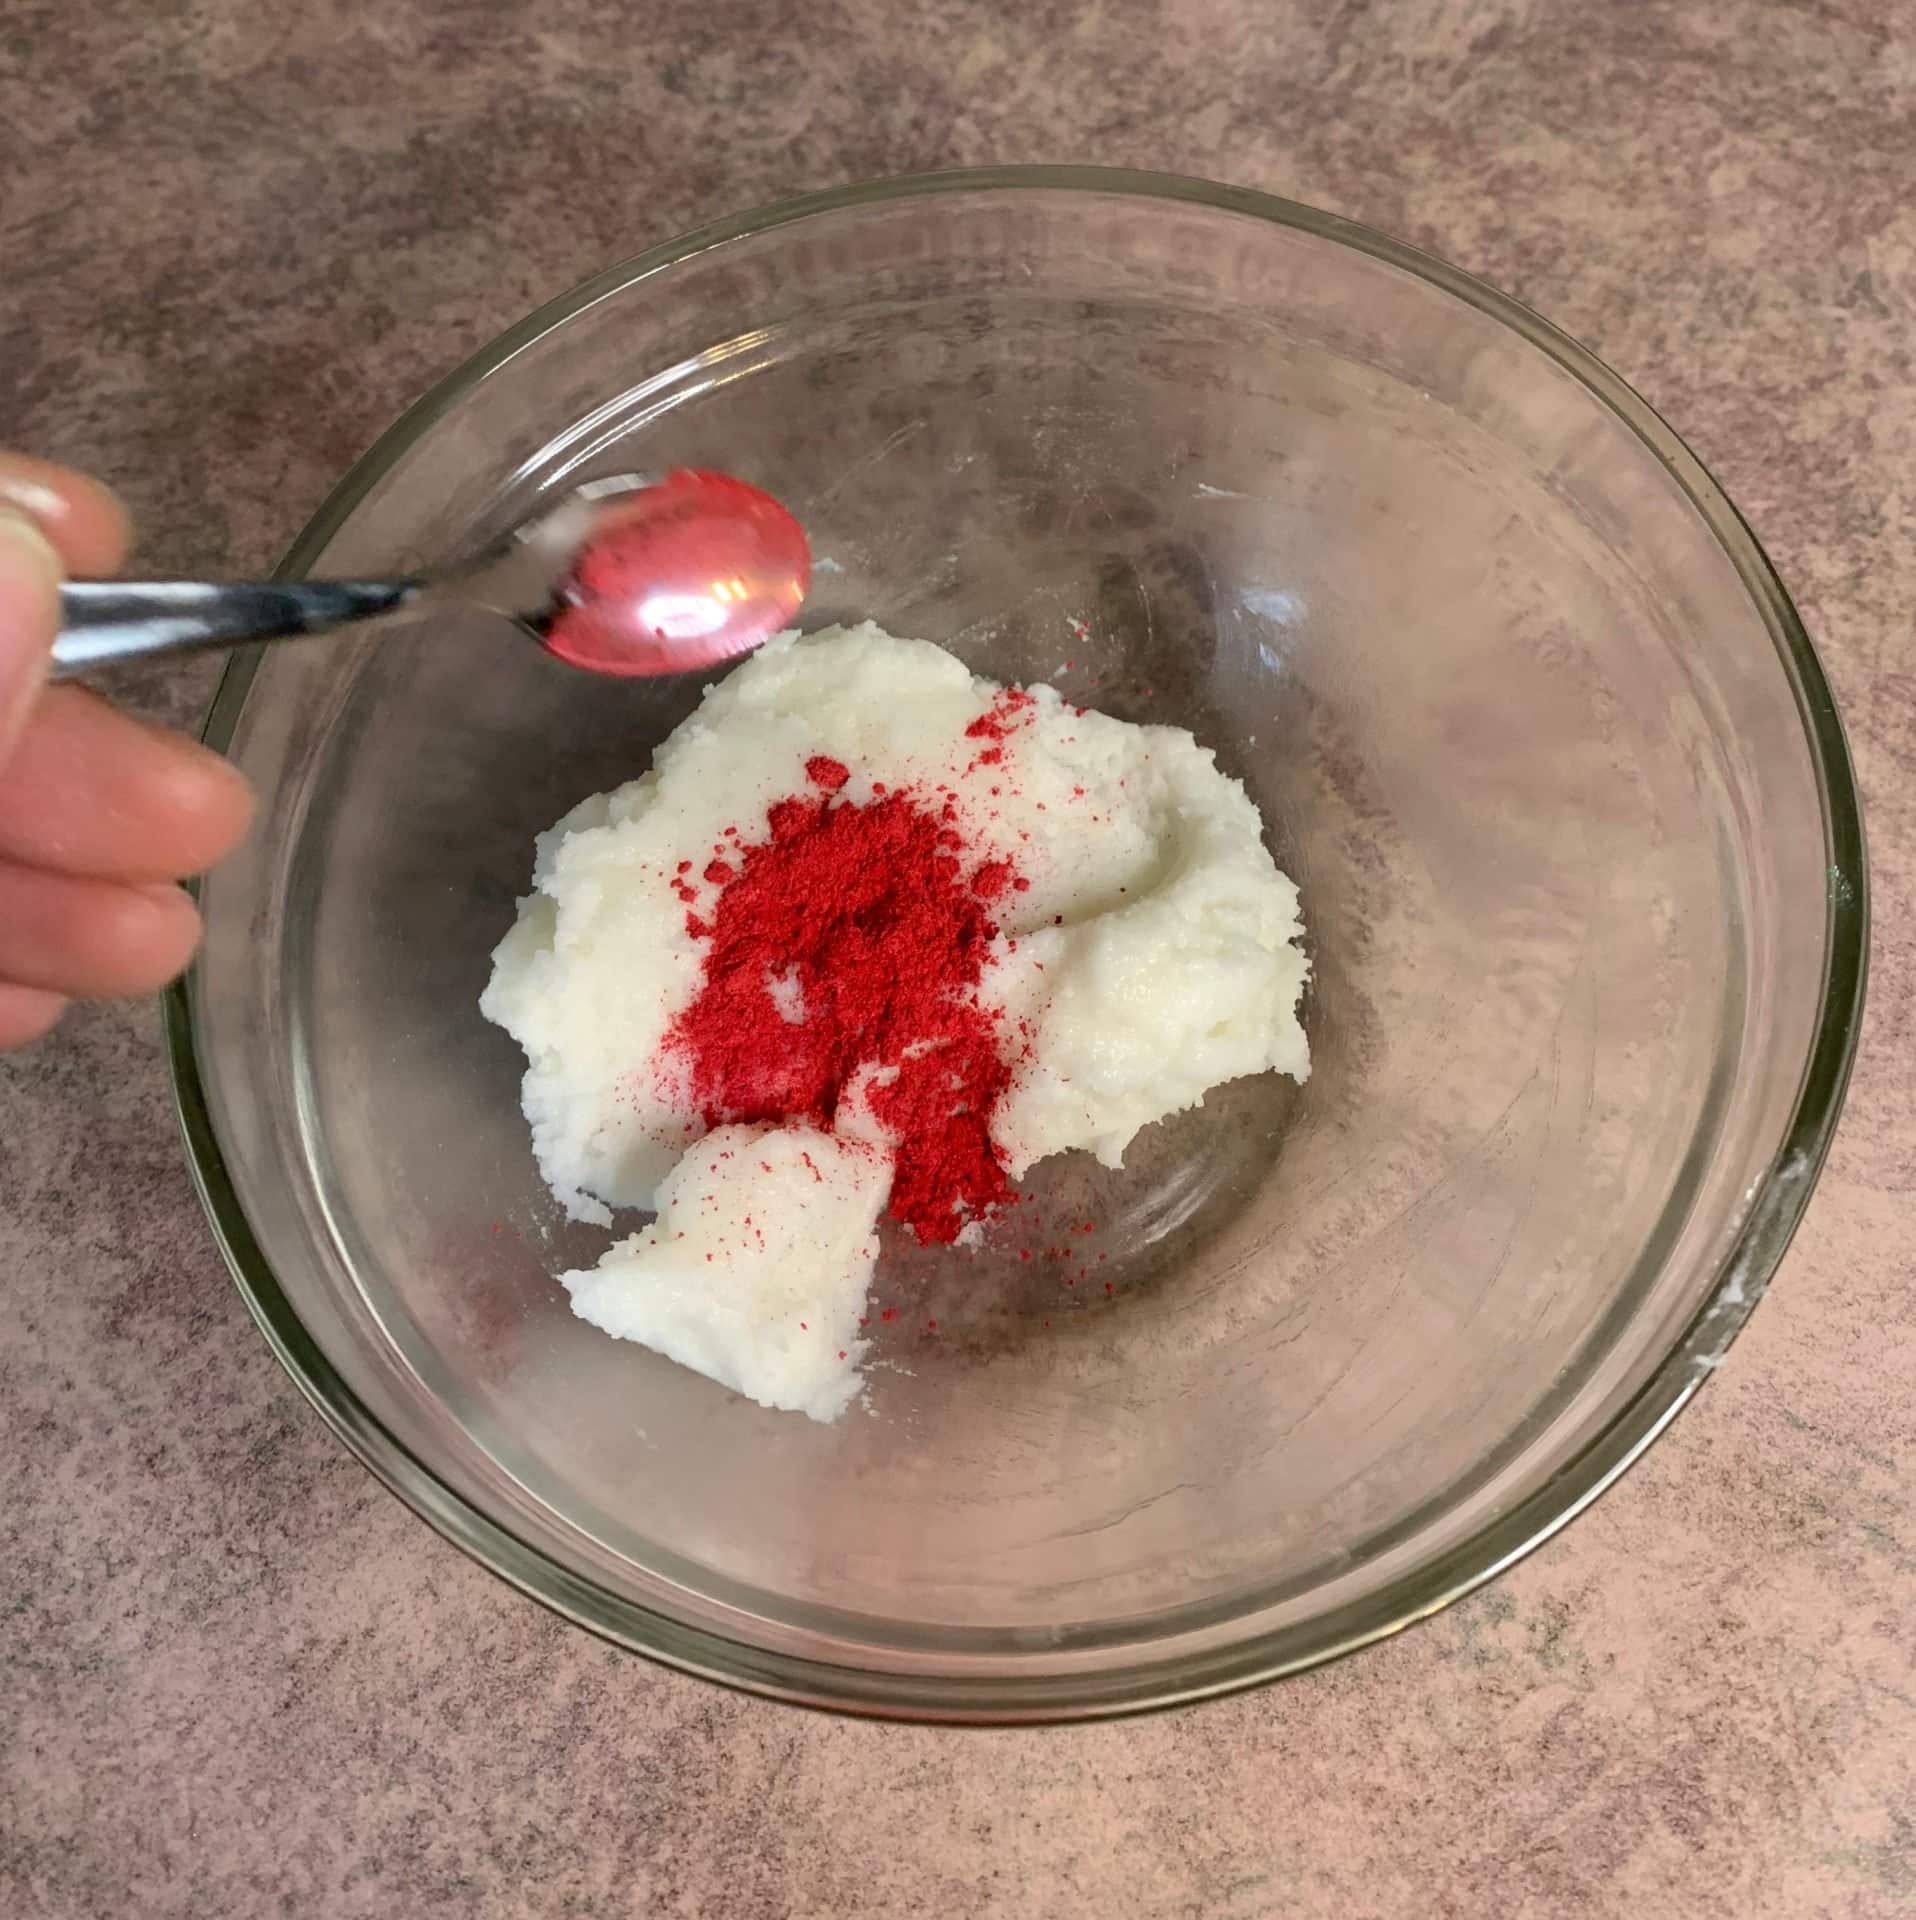
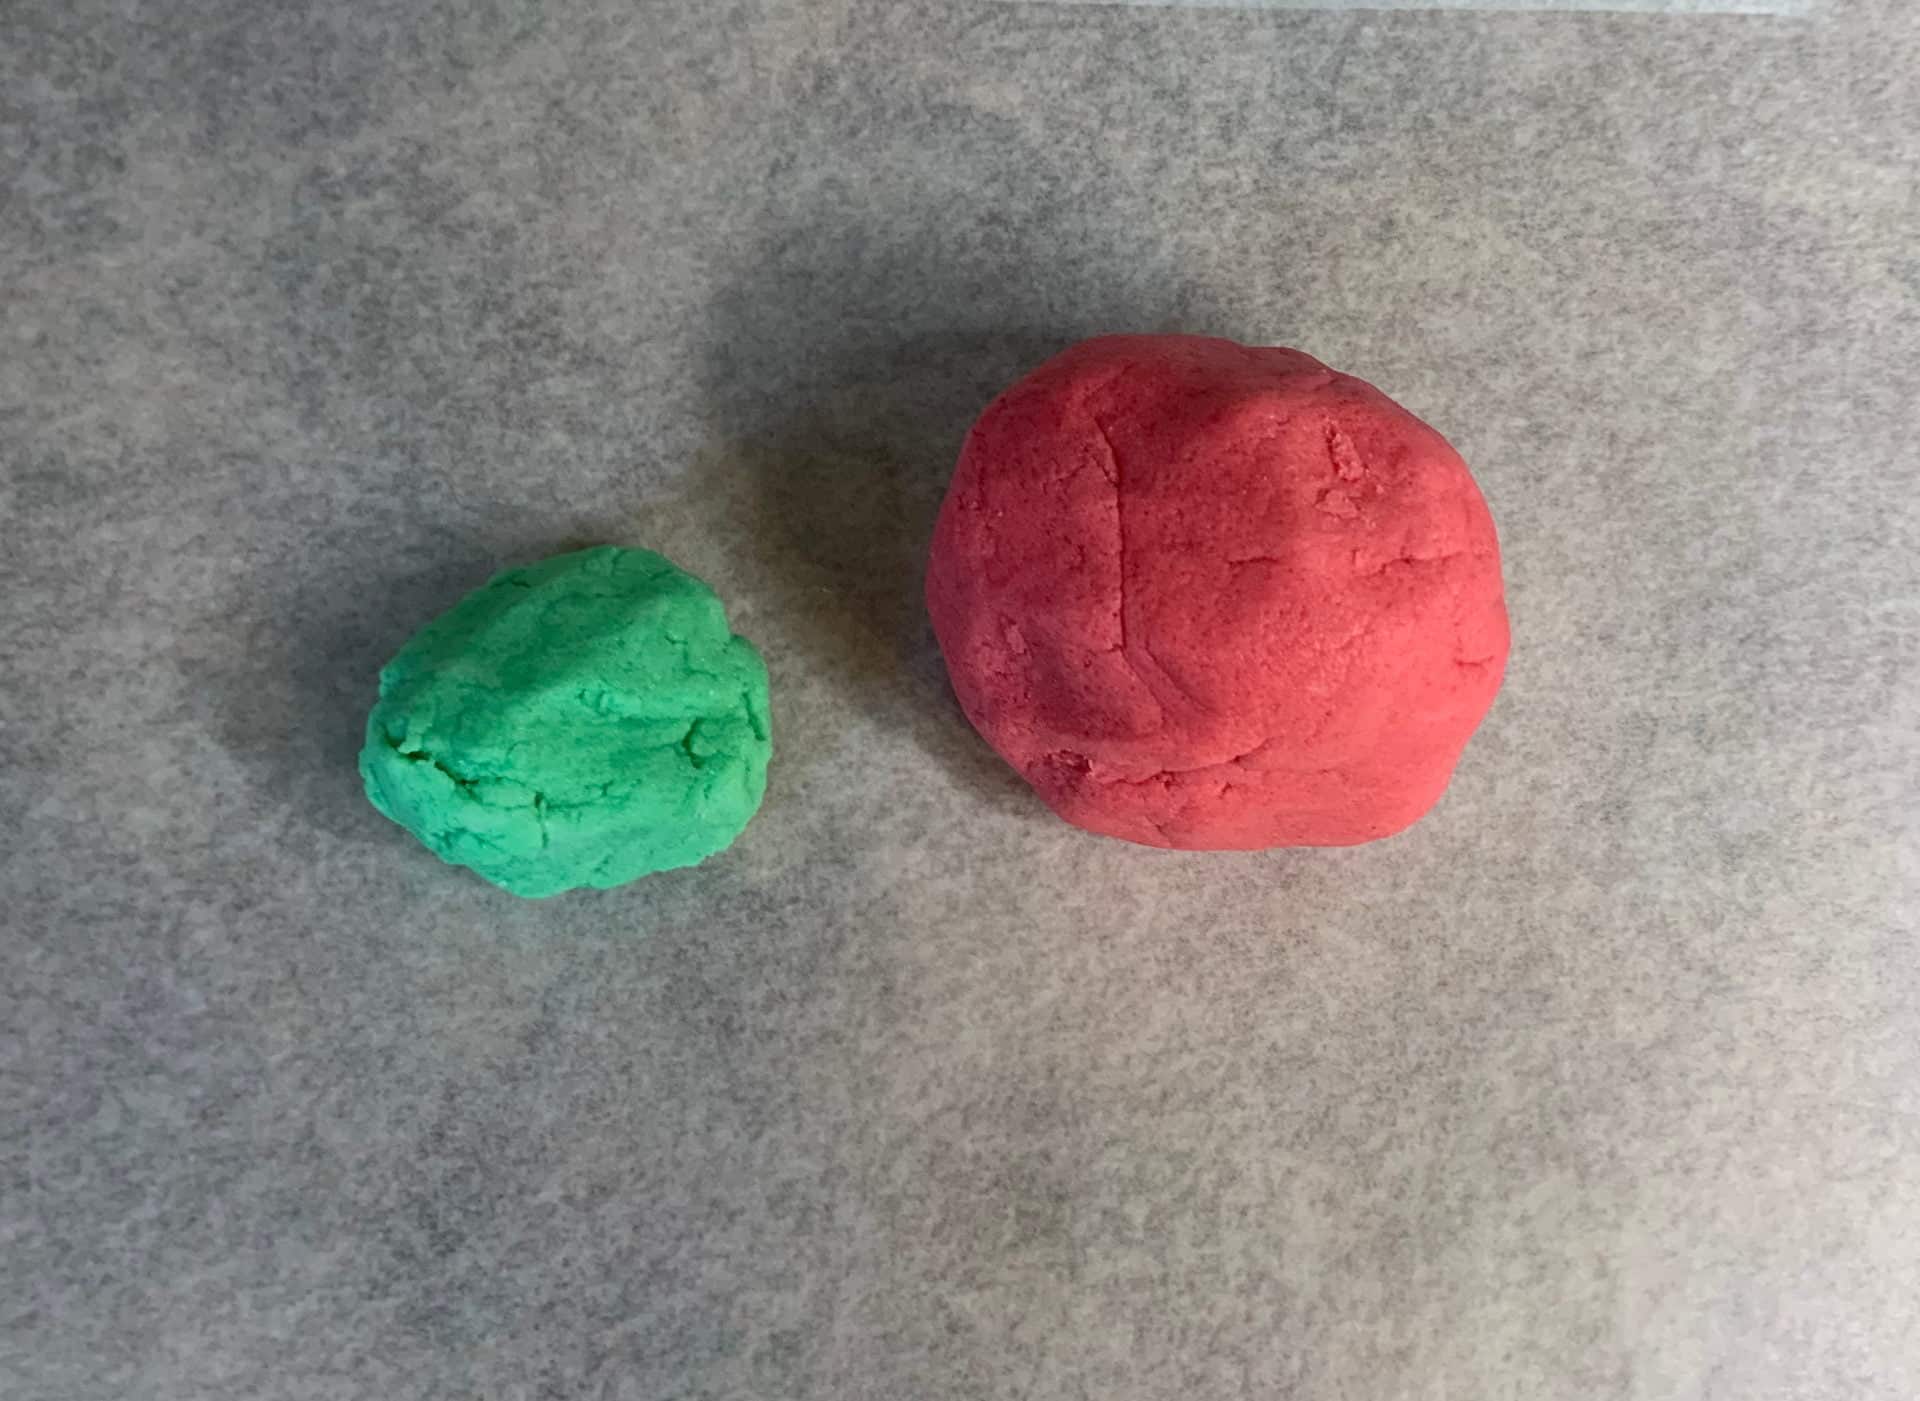
Take out a small portion of the strawberry bubble bar mixture for the green tops of the strawberries. Add a green mica powder and mix well.
Add a red mica powder to the remaining bubble bar mixture and mix well.
Making the bubble bars
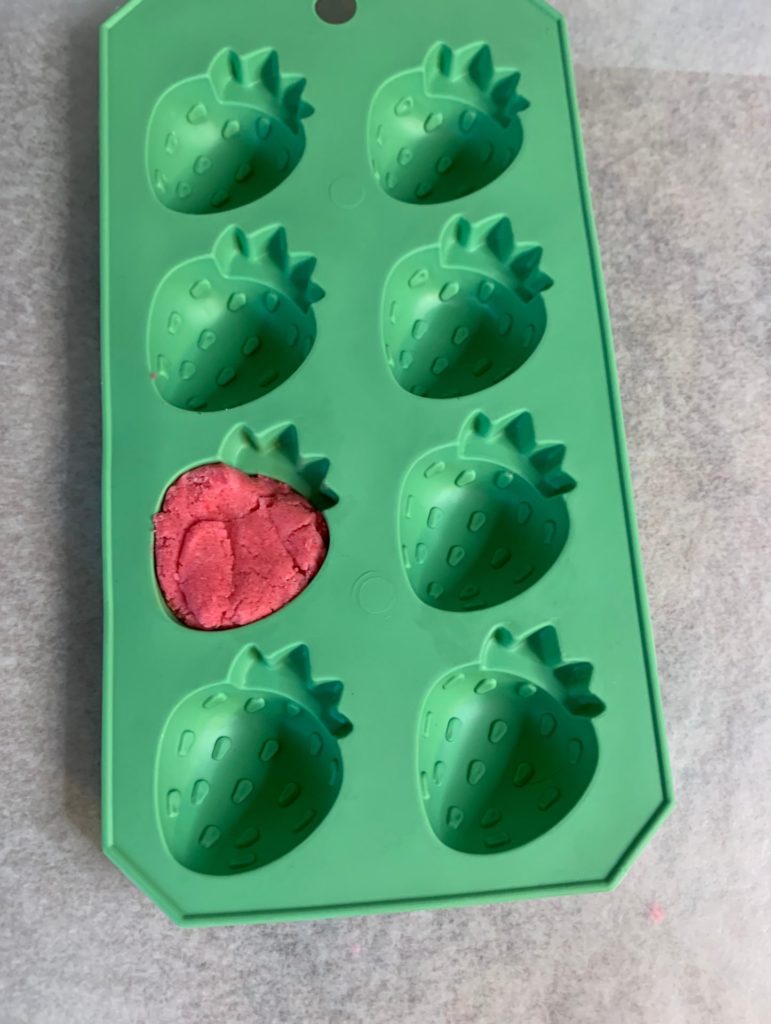
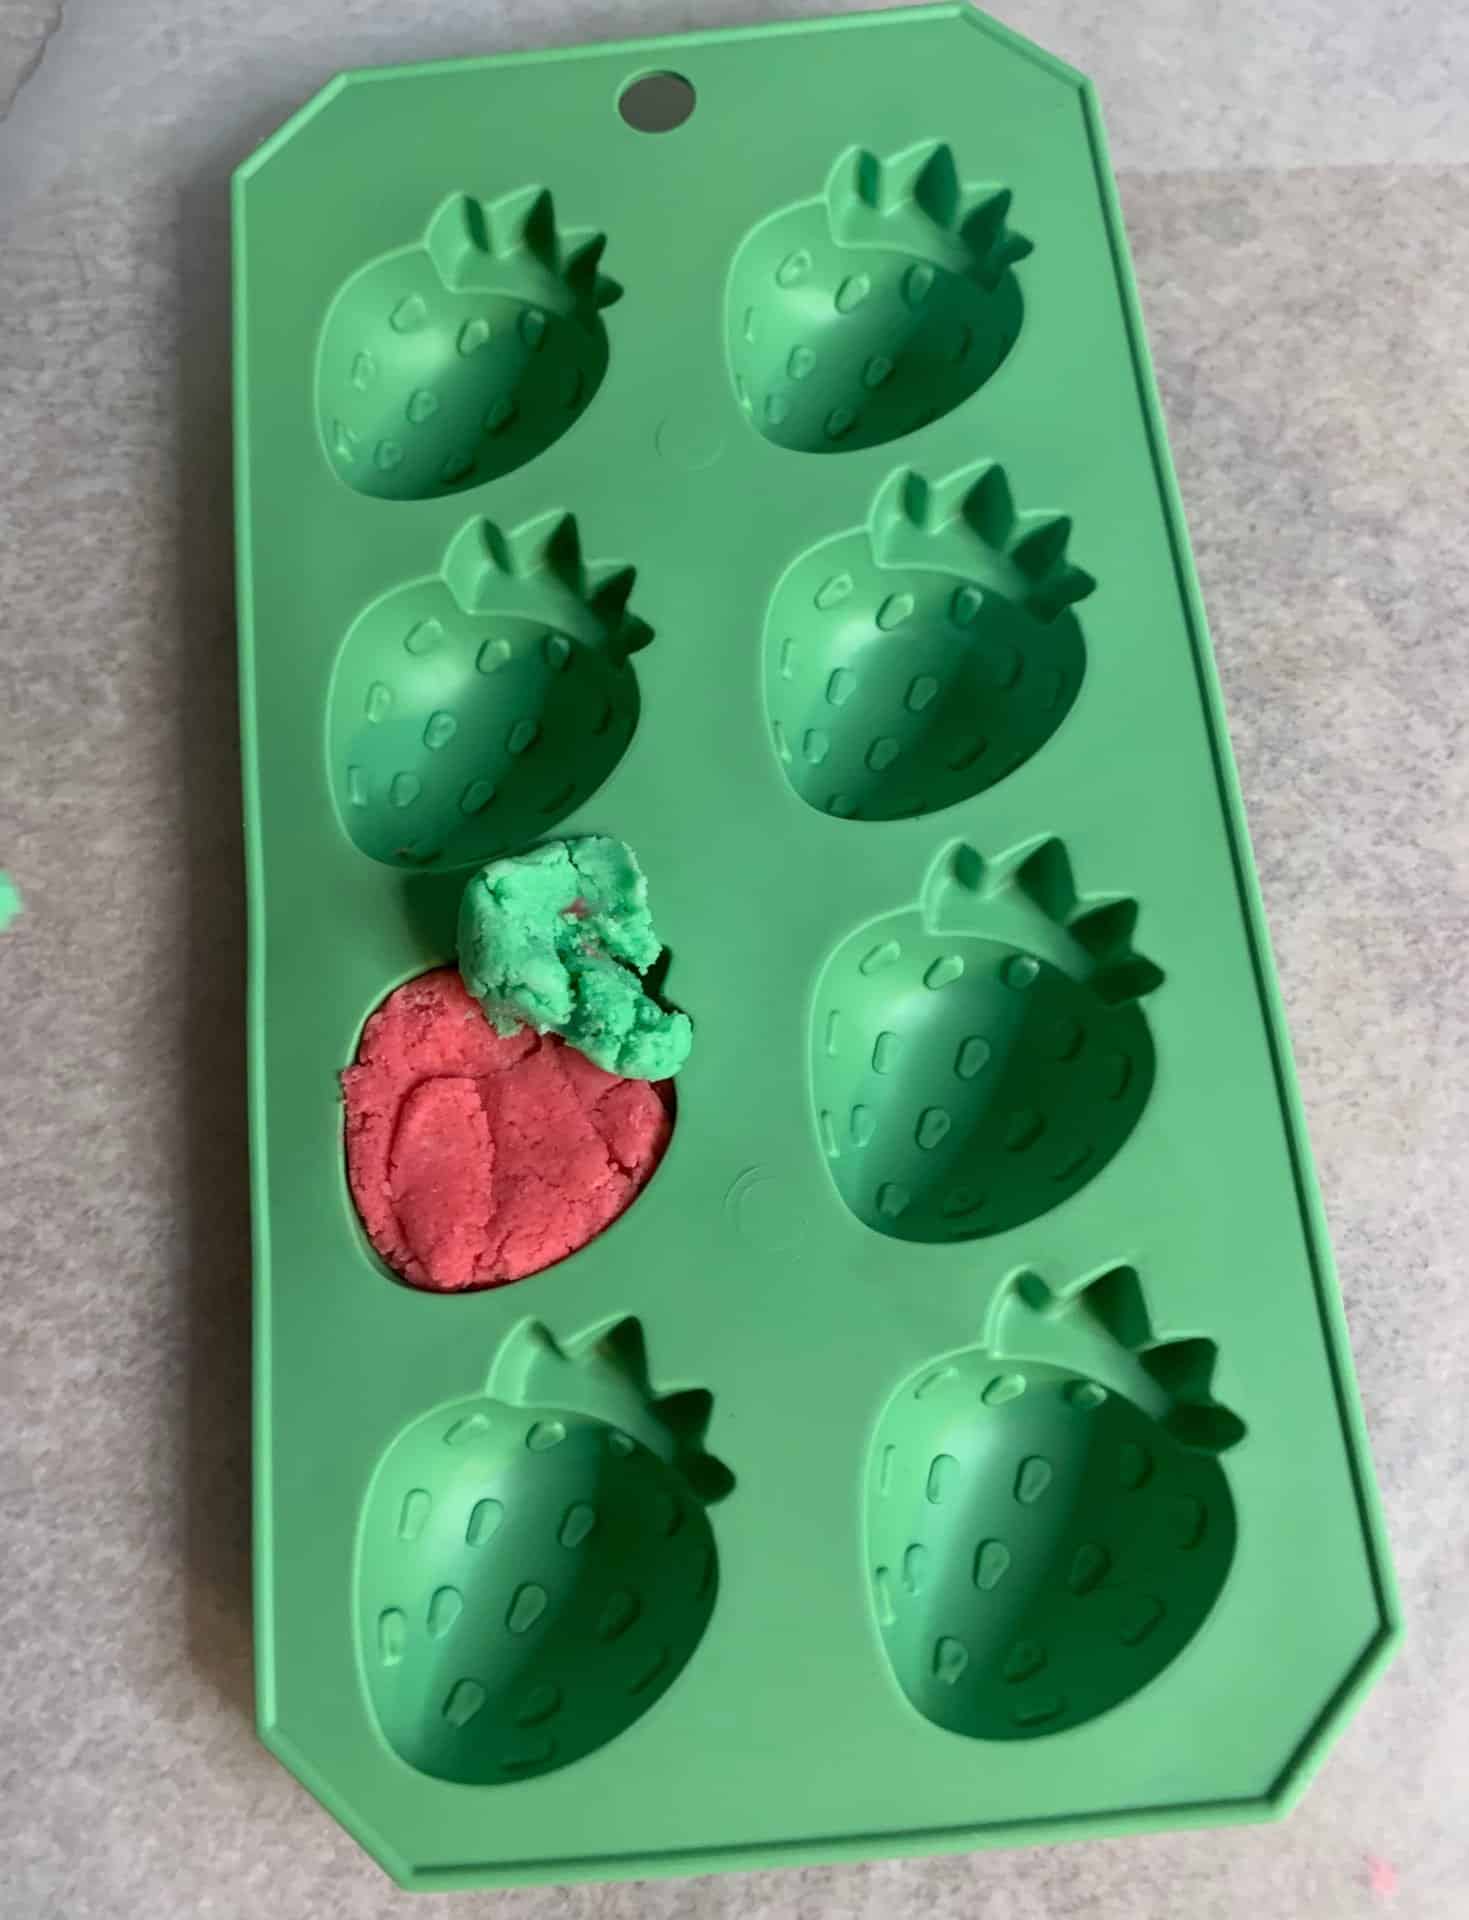
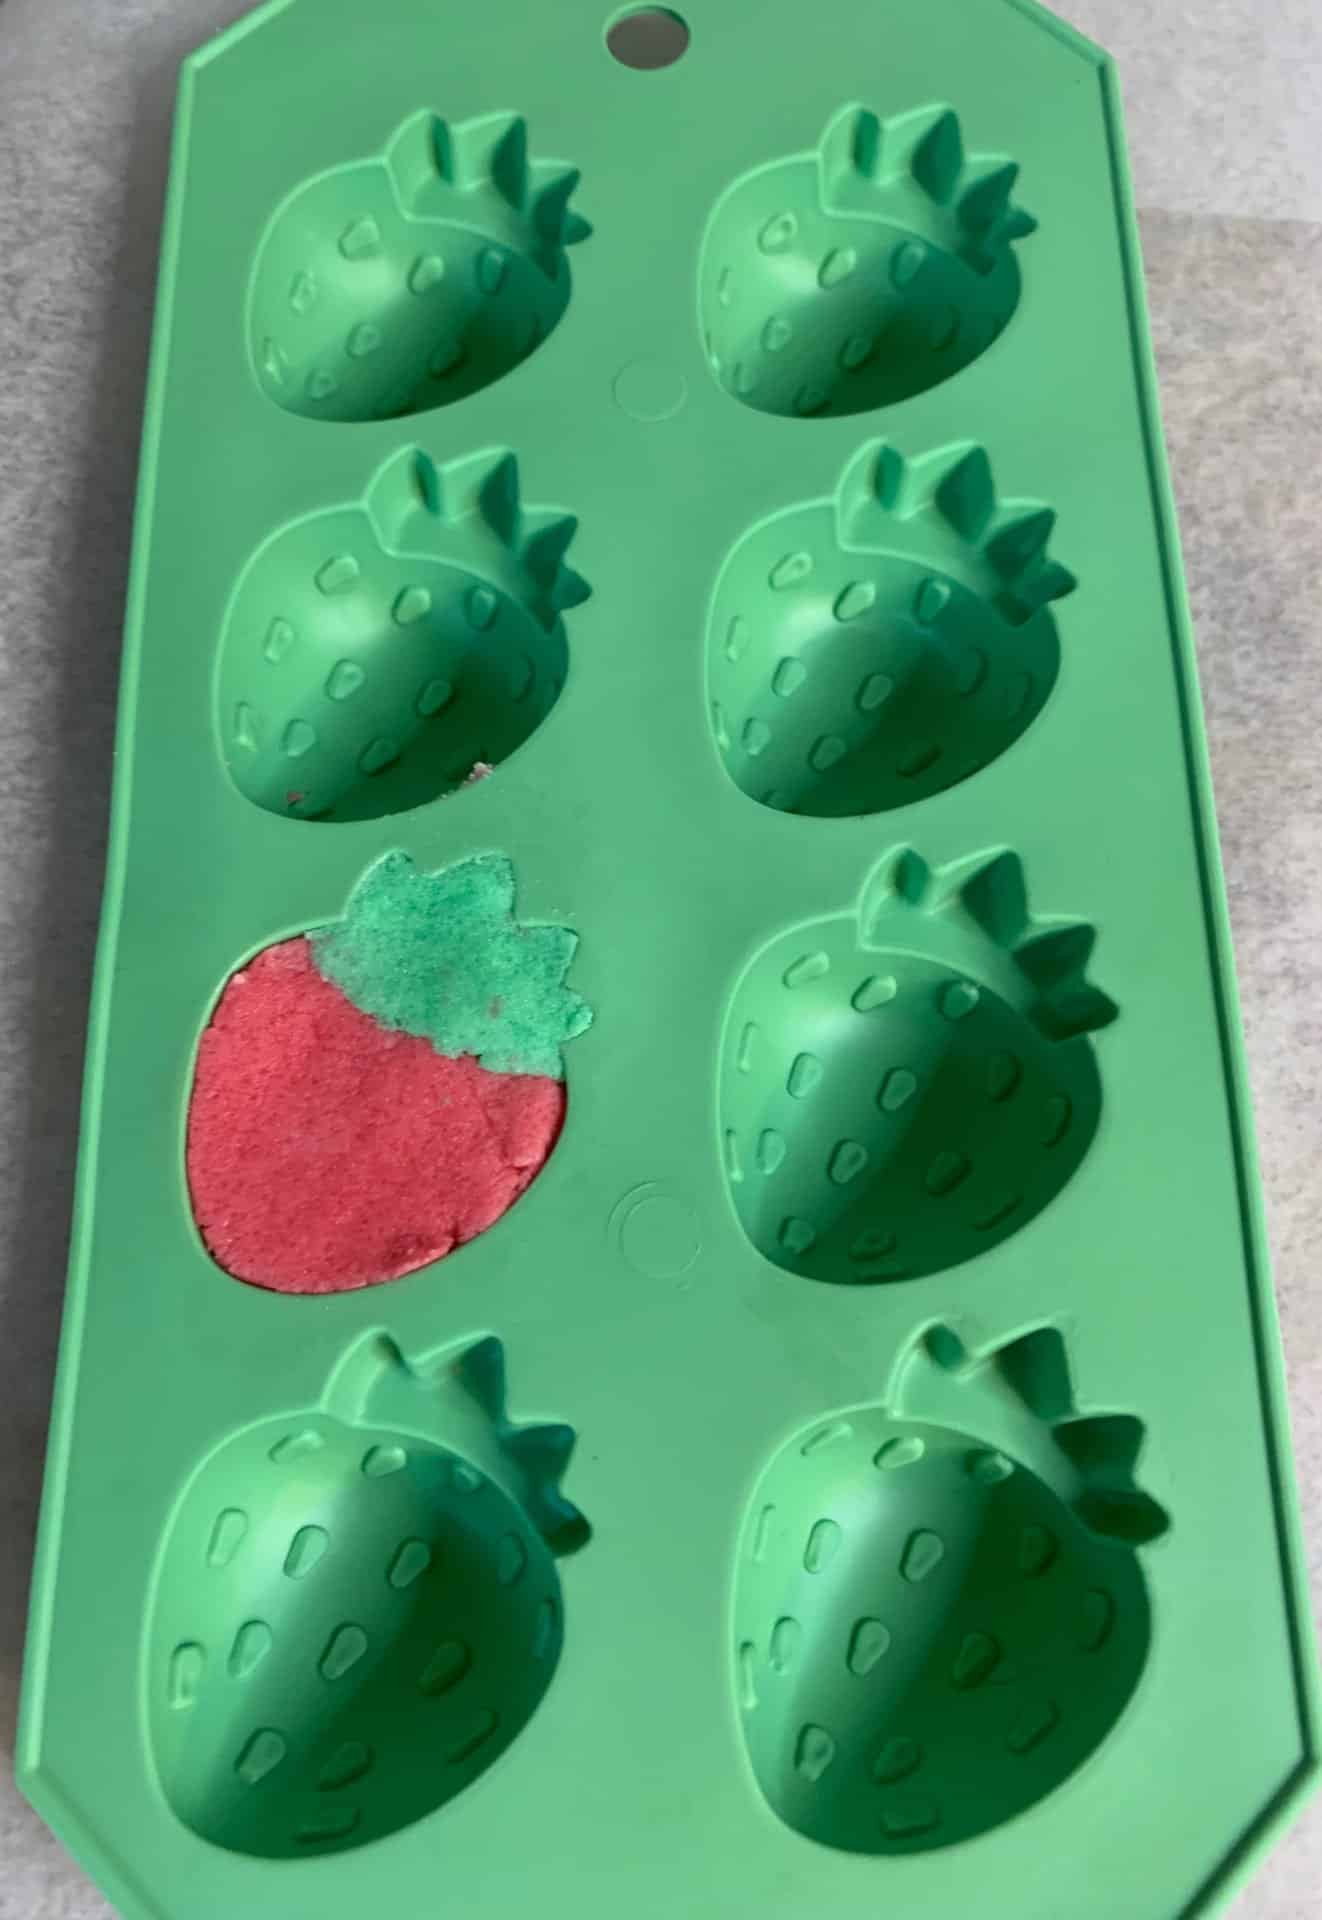
Layout a piece of wax paper over your work area. Place the dough in the center and grab your Strawberry Silicone Mold. Add a bit of the red bubble bar mixture to the center of the strawberries and the green on the tops. Be sure that you pack them in the mold well and smooth out the bottoms.
To remove from the mold, you can push in the center of the mold. However, that leaves a little dent in the center of the strawberries. The other way to get them out (without the dent) is to pull on the sides of the mold to help release it. Then tip it upside down (while pulling the sides apart). The strawberry bubble bars will pop out.
Allow to Dry
You are going to want to leave the DIY strawberry bubble bars on the wax paper for about 24 – 48 hours to dry fully. Now it could be longer depending on the humidity where you live.
DIY Strawberry Bubble Bars
Equipment
- Scale
- Strawberry Silicone Mold
Ingredients
- 2.40 ounce | 40% baking soda
- 0.72 ounce | 12% citric acid
- 1.20 ounce | 20% SLSa
- 0.24 ounce | 4% cream of tartar
- 0.48 ounce | 8% kokum butter
- 0.48 ounce | 8% shea butter
- 0.12 ounce | 2% fractionated coconut oil
- 0.12 ounce | 2% vegetable glycerin
- 0.12 ounce | 2% polysorbate 80
- 0.12 ounce 2% strawberry fragrance oil
Instructions
Prepare ingredients
- I like to start out by cleaning my work area and weighing out all the ingredients.
Melt Butters
- Place the shea butter, kokum butter and fractionated coconut oil in a heat safe container. Place in a double boiler until the butters are completely melted.
Dry Ingredients
- Add all of the dry ingredients (baking soda, citric acid, SLSa, and cream of tartar) to a bowl and mix lightly with a whisk.
Wet Ingredients
- Add the melted butters and the remaining wet ingredients (vegetable glycerin, polysorbate 80, fractionated coconut oil and strawberry fragrance oil) to your oils.
Combine
- Combine the wet and dry ingredients together. It is going to take quite a bit of mixing to get it to your dough-like consistency. The finished mixture is going to feel a little too wet for a bubble bar, just trust that it will harden up for you.
Coloring
- Take out a small portion of the strawberry bubble bar mixture for the green tops of the strawberries. Add a green mica powder and mix well. Add a red mica powder to the remaining bubble bar mixture and mix well.
Making the bubble bars
- Layout a piece of wax paper over your work area. Place the dough in the center and grab your Strawberry Silicone Mold. Add a bit of the red bubble bar mixture to the center of the strawberries and the green on the tops. Be sure that you pack them in the mold well and smooth out the bottoms. To remove from the mold, you can push in the center of the mold. However, that leaves a little dent in the center of the strawberries. The other way to get them out (without the dent) is to pull on the sides of the mold to help release it. Then tip it upside down (while pulling the sides apart). The strawberry bubble bars will pop out.
Allow to Dry
- You are going to want to leave the DIY strawberry bubble bars on the wax paper for about 24 – 48 hours to dry fully. Now it could be longer depending on the humidity where you live.
