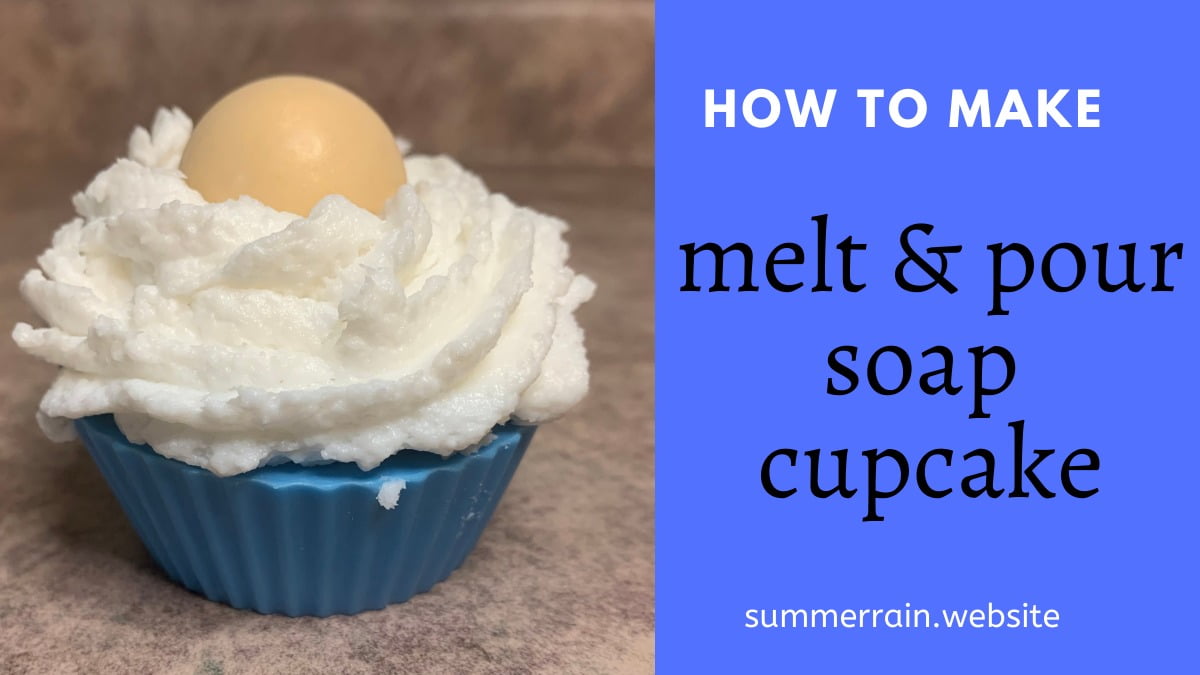
Learn how to make your own melt and pour soap cupcakes with this step by step recipe. I don’t know what it is about desert looking soaps, but I LOVE them. Seriously, they look good enough to eat (Don’t though, they are definitely not edible)!
I found that people go wild when they get these as gifts. It’s just not something that you really see in the stores.
Table of Contents
Prefer to watch this project instead of reading it?
Some links are affiliate links because I am an associate and I earn a small commission on them.
Whipped Soap Base
I like to make my own Whipped Soap Base for these soapy cupcakes. The cool thing about the whipped soap base is that the one base can be used for a bunch of different recipes. Some of my favorites are Whipped Sugar Scrub and multi colored whipped scrubs.
** Here is the recipe for my whipped soap base **
You can also buy the soap base premade, if you don’t already have all the ingredients to make it.
Piping Bag Hack
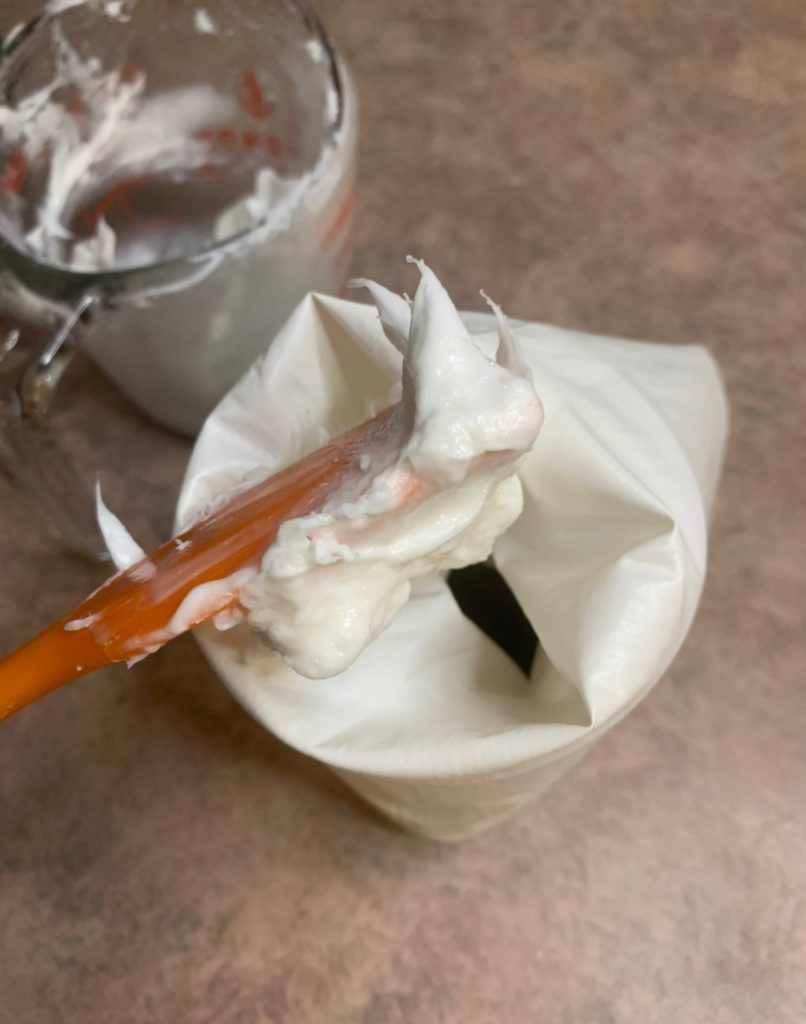
I like to use a tall cup to hold my piping bag. This way, I can scoop the soap in without making a mess. Seriously, I even do this when I am making actual cupcakes, it makes life so much easier. 🙂
Cupcake Mold
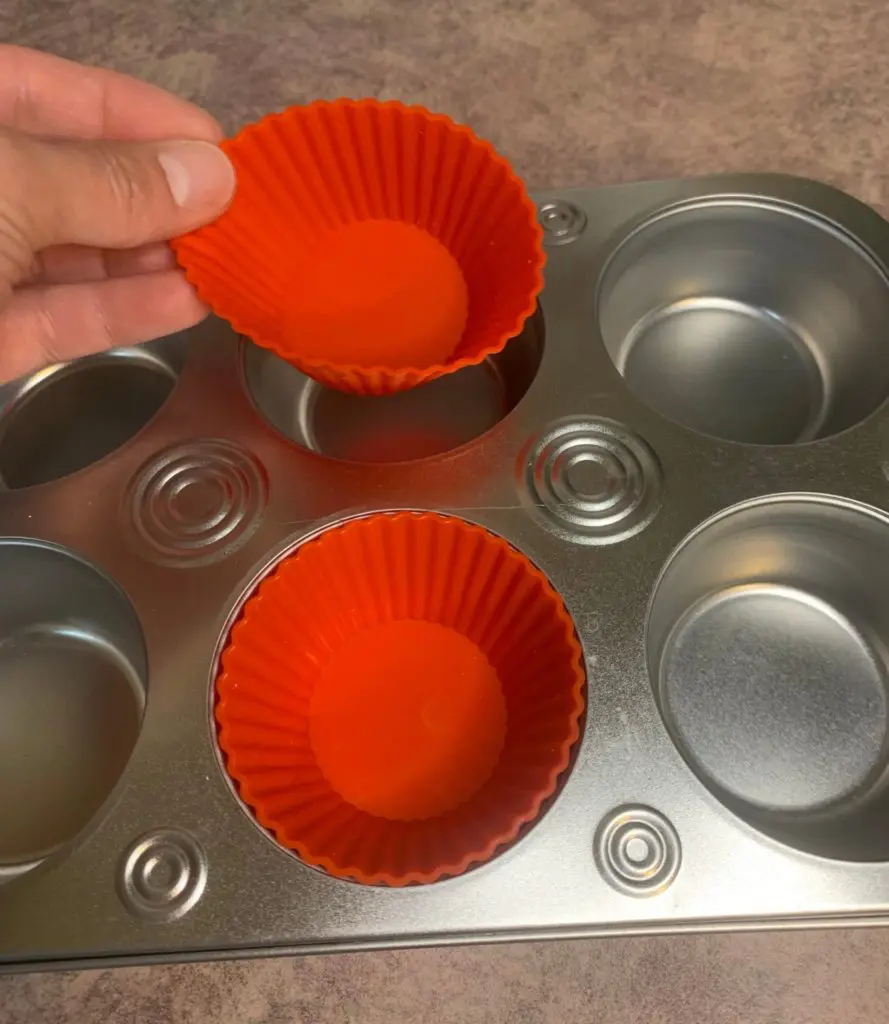
For the cupcake mold, I use a regular cupcake pan that I got at the dollar tree and some silicone cupcake liners. I found that your cupcakes can wind up a little wonky if you use the liners without the pan. Another plus is that the silicone cupcake liners leave little lines on your cupcake bottoms.
The melt and pour soap cupcakes are broken out into three different phases. We have the embeds, the cupcake base and the frosting.
Cupcake Base
1. Weigh out your melt and pour soap into a microwave safe container.
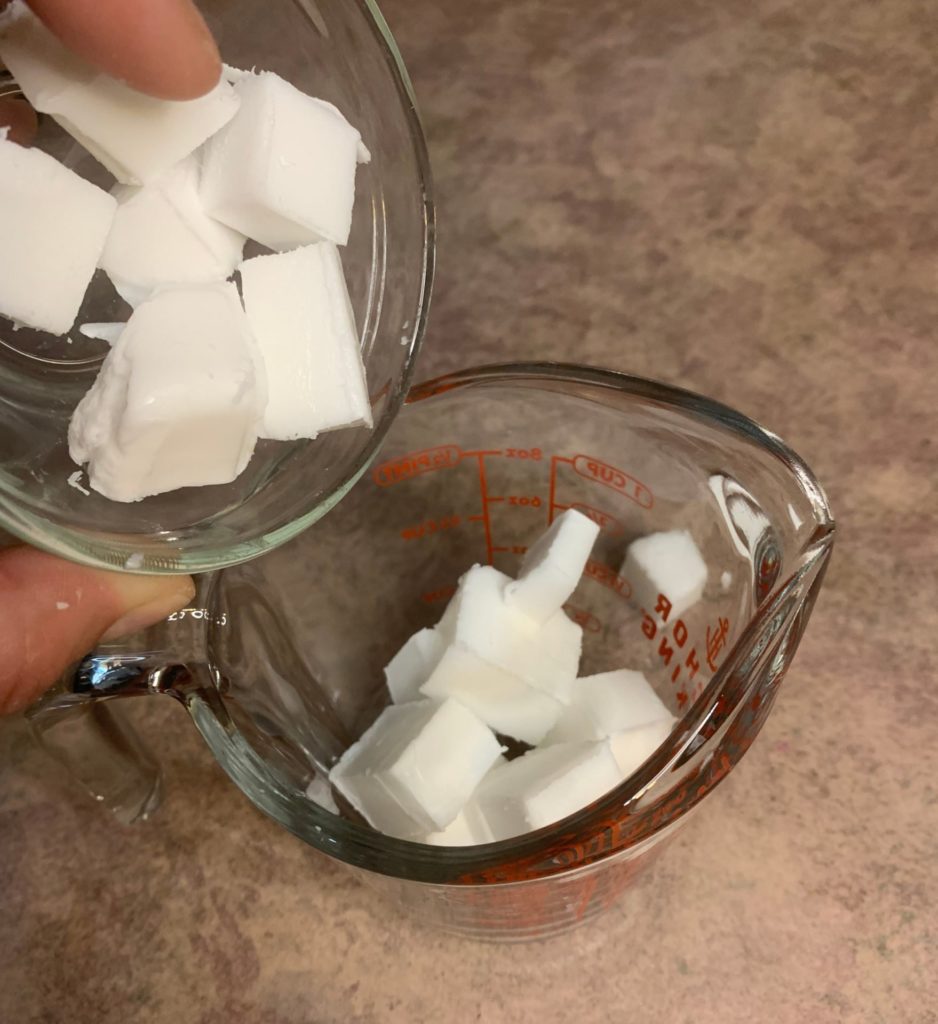
2. Microwave the soap base in 15 second intervals until it is completely melted. Stirring well in between each interval.
3. Add your mica powder to it and mix well.
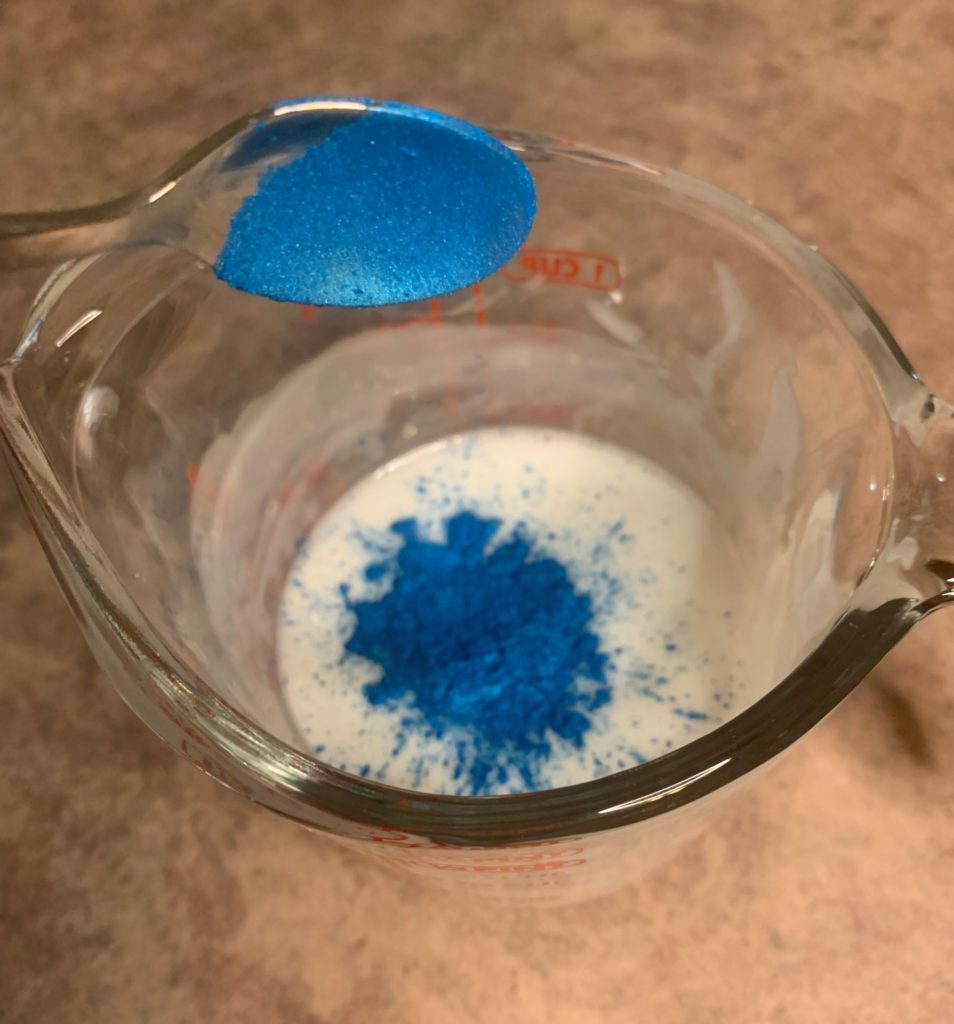
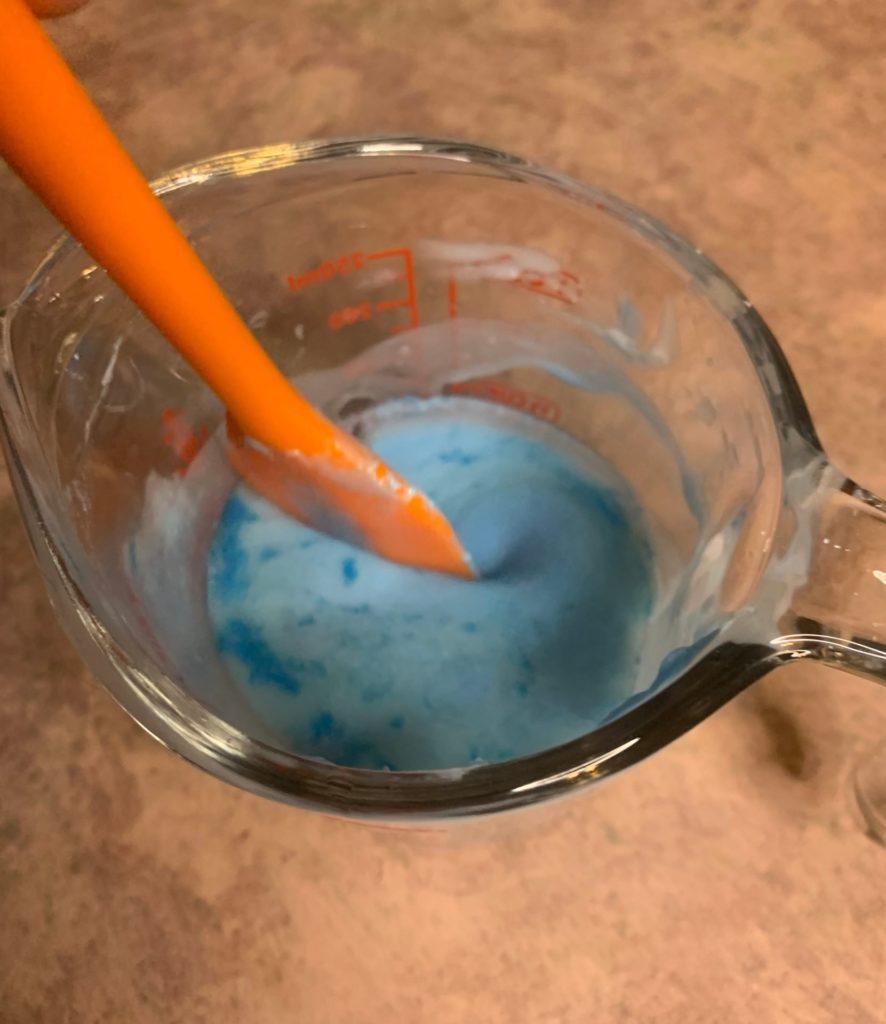
Tip: If the mica powder clumps up, spray it with the rubbing alcohol to help it disperse into the soap.
4. Add the fragrance oil to the melted soap and mix well.
5. Pour the melted soap base into your cupcake molds.
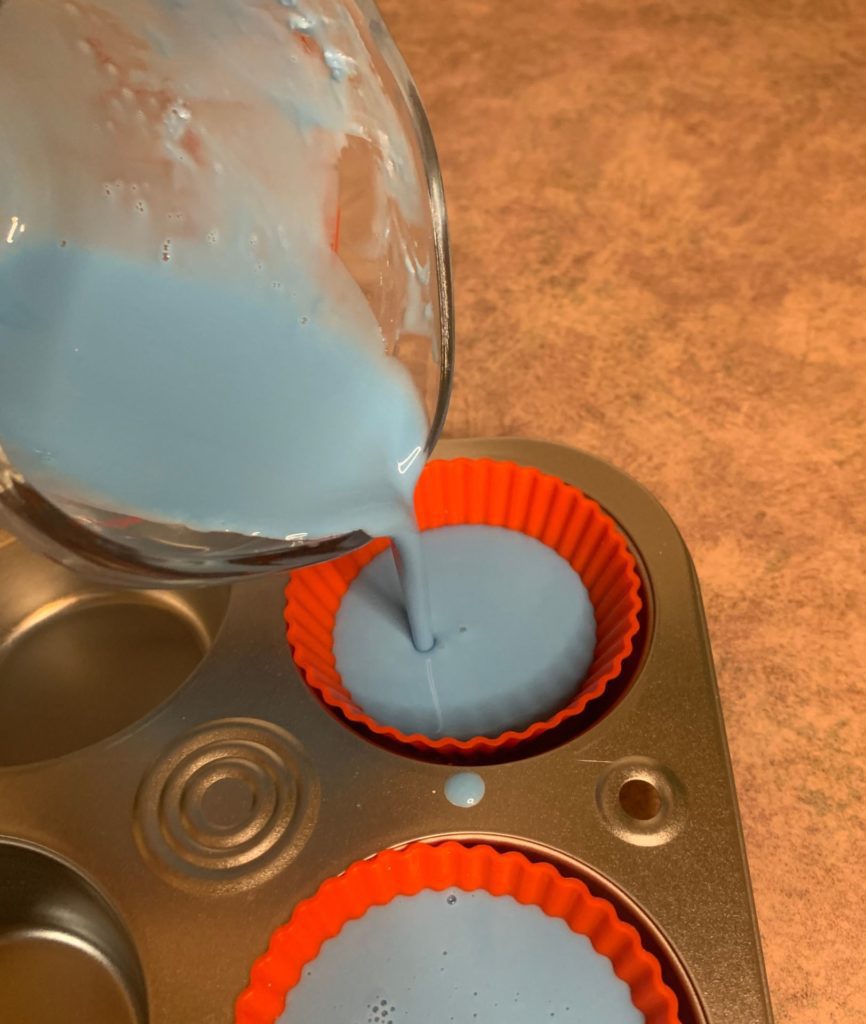
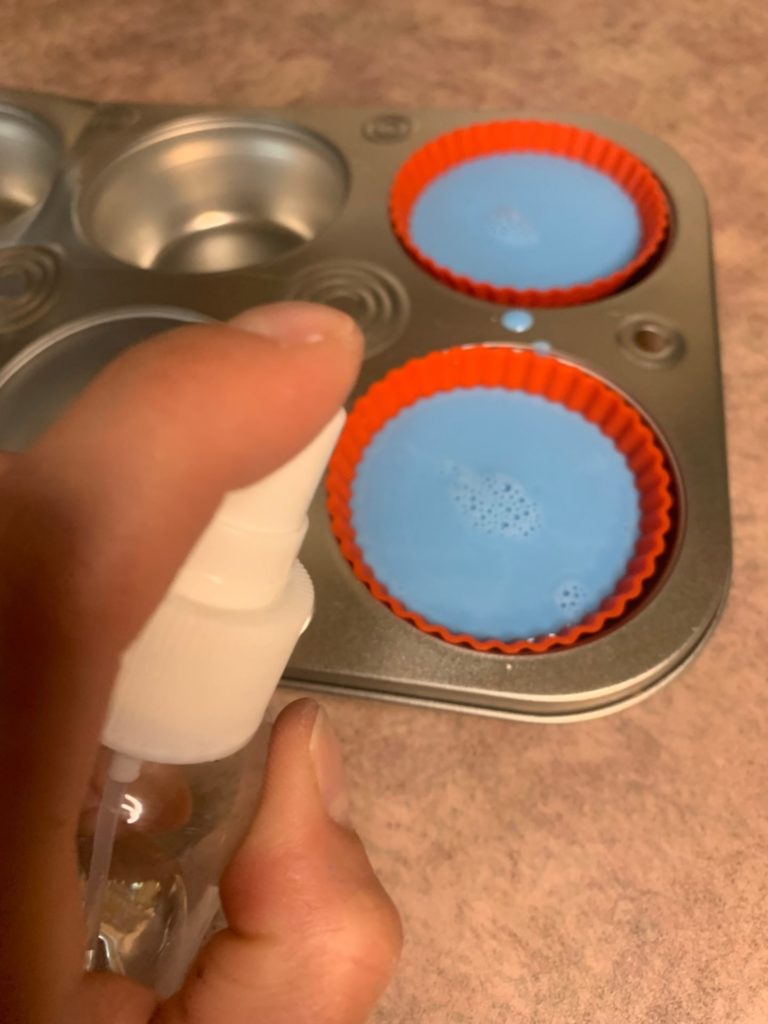
6. Spray the top of the soap with rubbing alcohol to pop any bubbles.
7. Allow to cool completely.
8. After it is all the way cool, remove from the silicone mold and set off to the side. (Note: if you are not making the rest of the melt and pour cupcakes right away, you will want to wrap it in saran wrap so it does not sweat).
Embeds
1. Weigh out your melt and pour soap base into a microwave safe container.
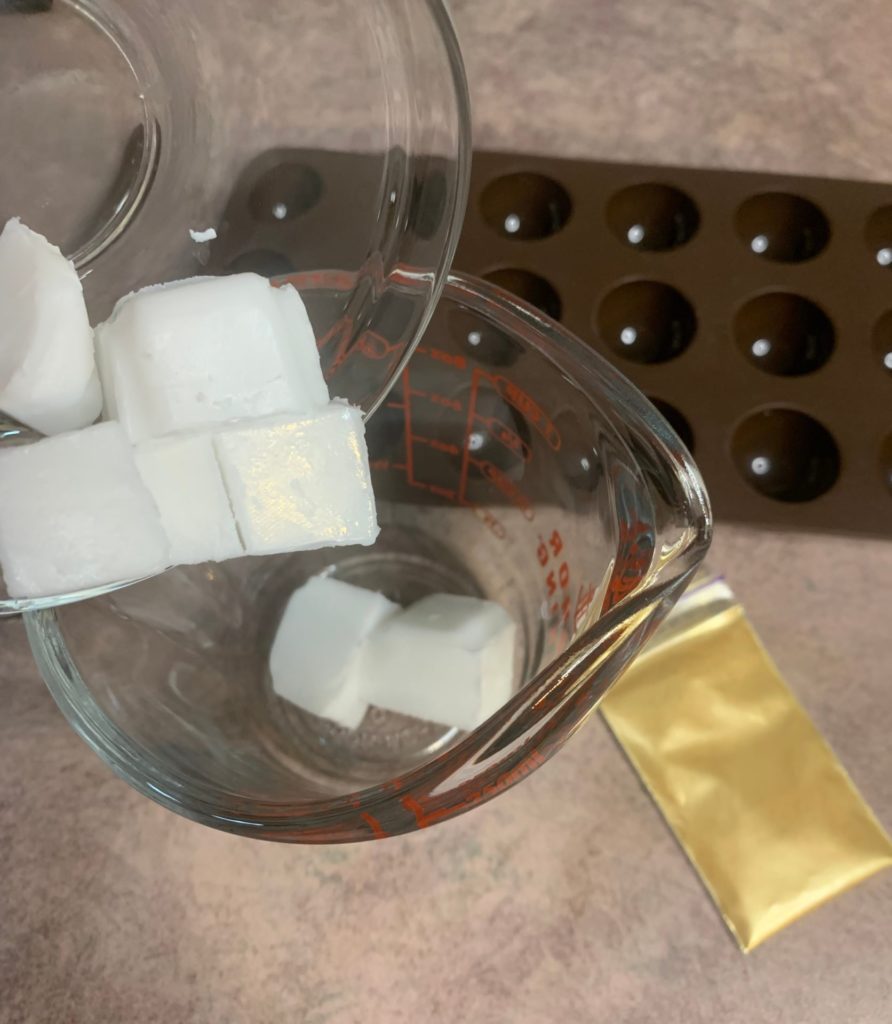
2. Microwave the soap base in 10 second intervals, until it is completely melted. (You are not using very much soap here, so it is super important that you don’t over heat the soap).
3. Add your mica powder and mix well.
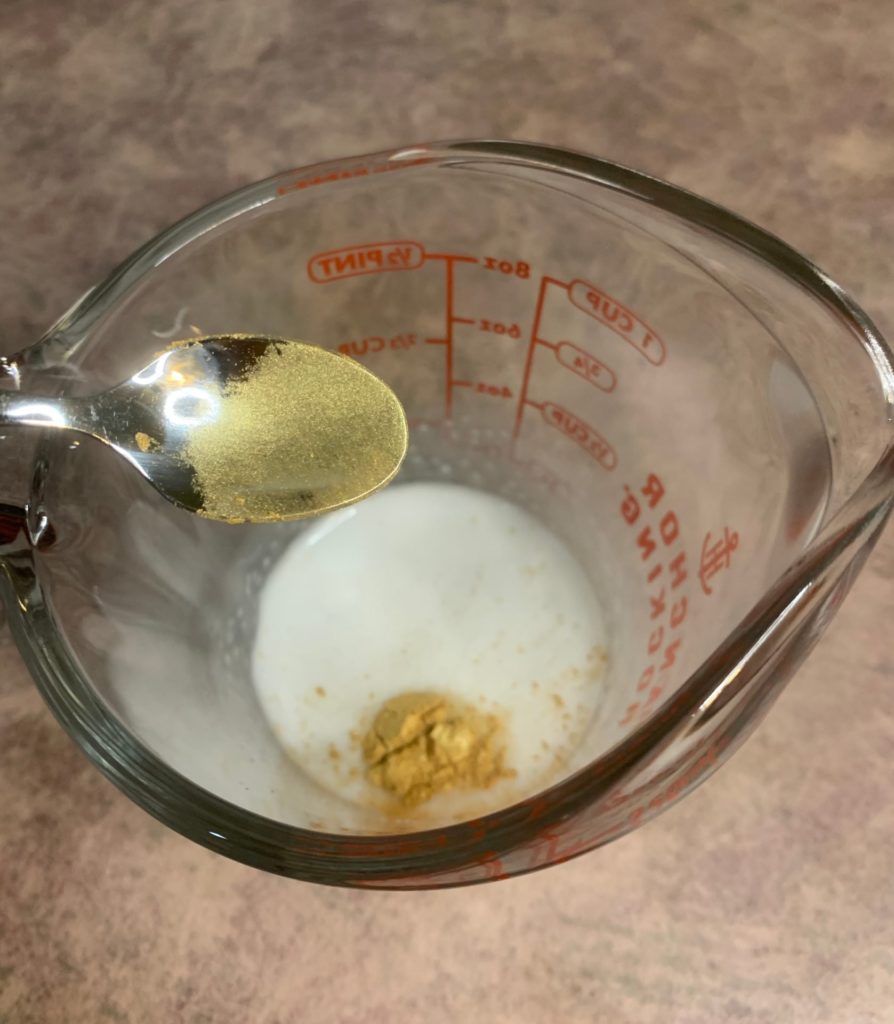
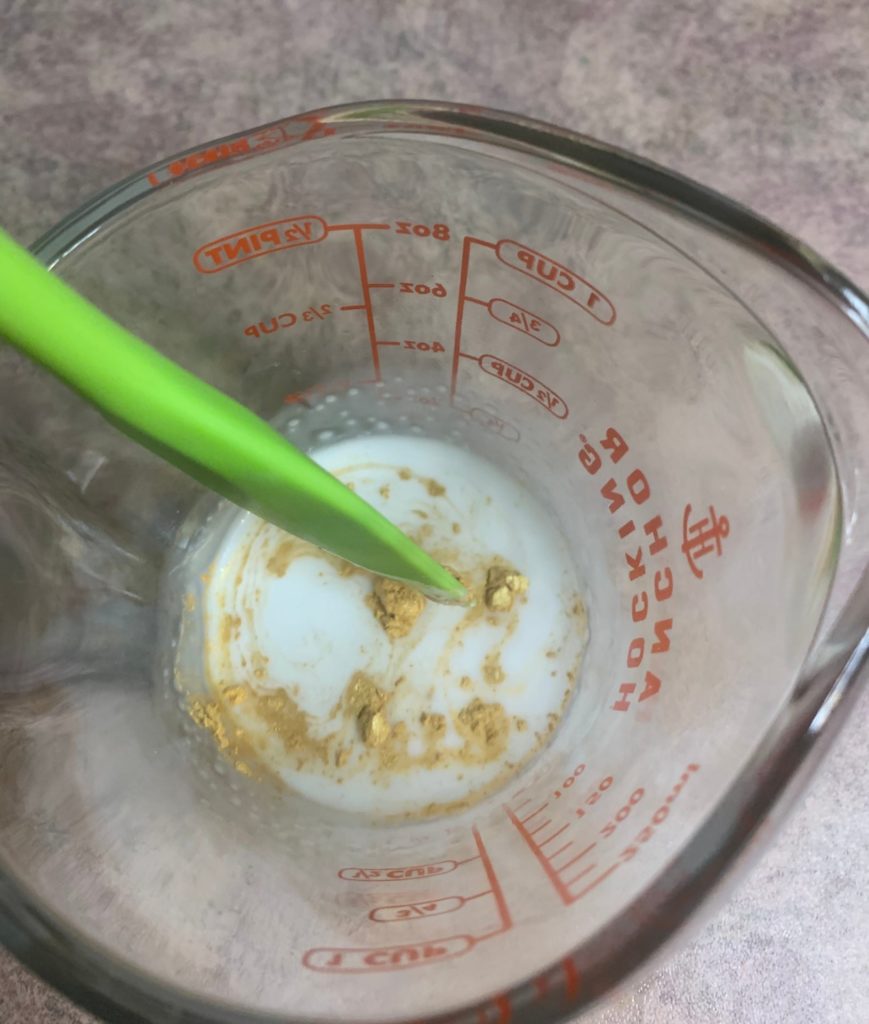
Tip: If the mica powder clumps up, spray it with the rubbing alcohol to help it disperse into the soap.
4. Add your fragrance oil to the melted soap and mix well.
5. Pour the soap into your embed molds.
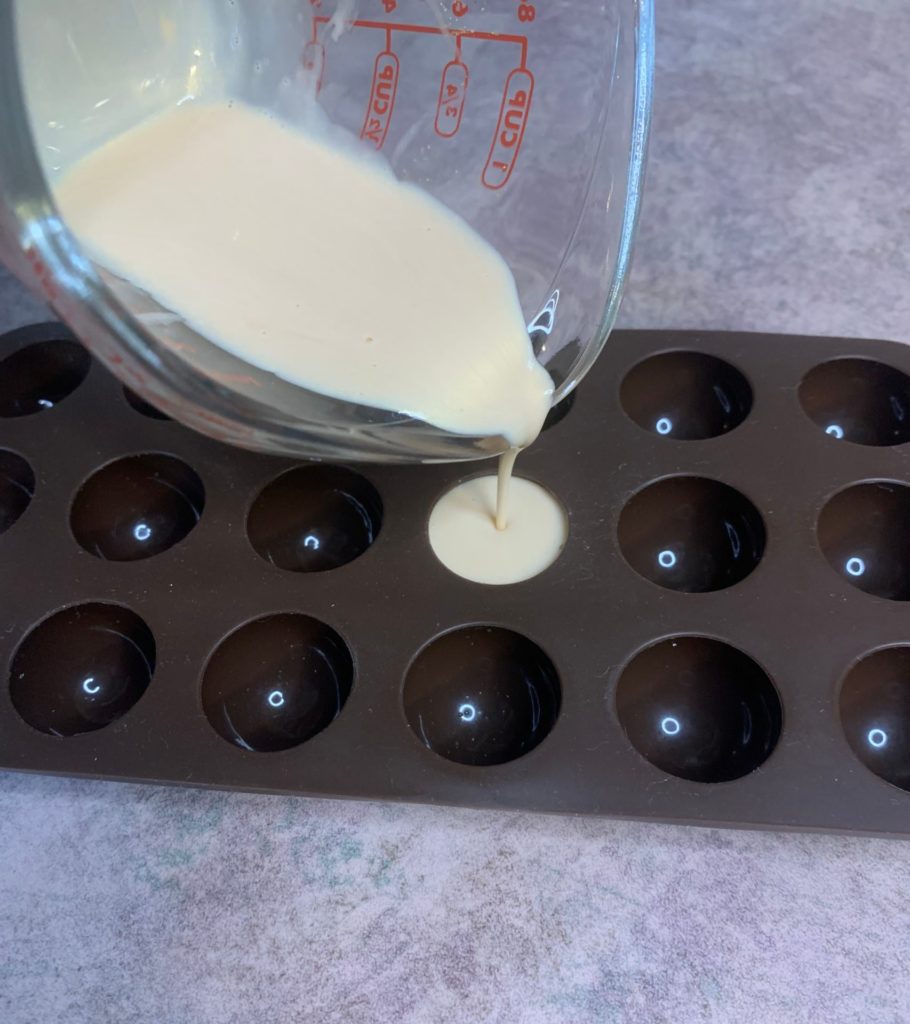
6. Spray the tops with rubbing alcohol to pop any bubbles.
7. Allow to cool completely.
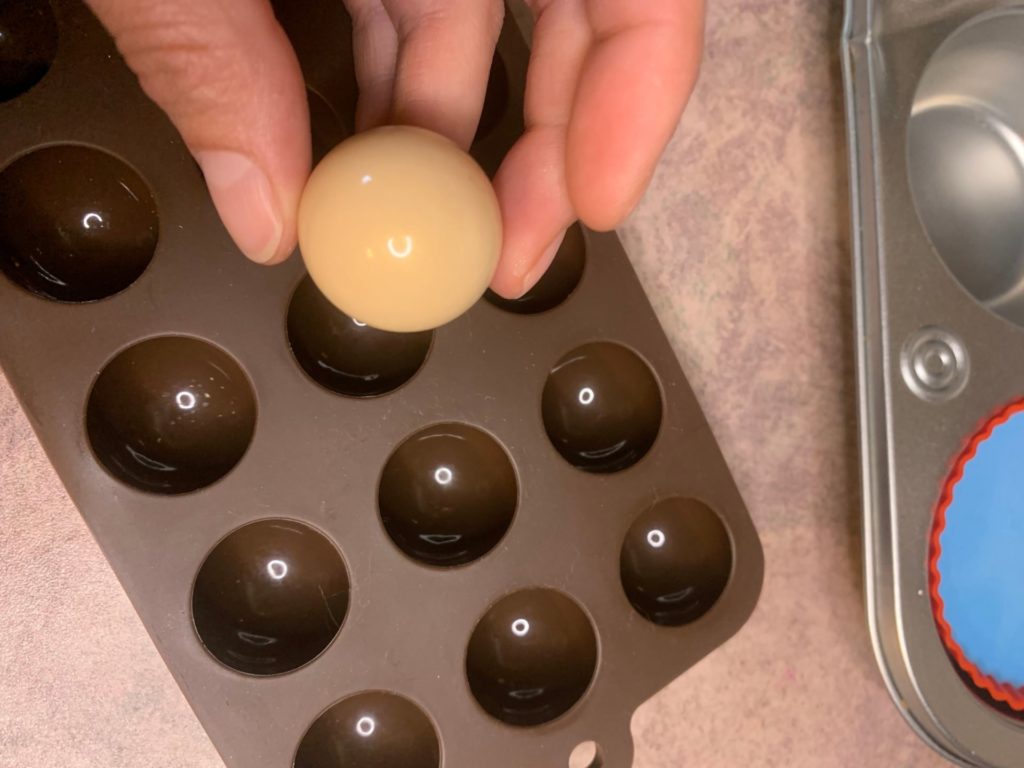
8. After the embeds have cooled, pop them out of the mold.
Frosting
1. In a microwave safe container, weigh out your melt and pour soap. Microwave in 15 second intervals until completely melted. Stir well in between each interval.
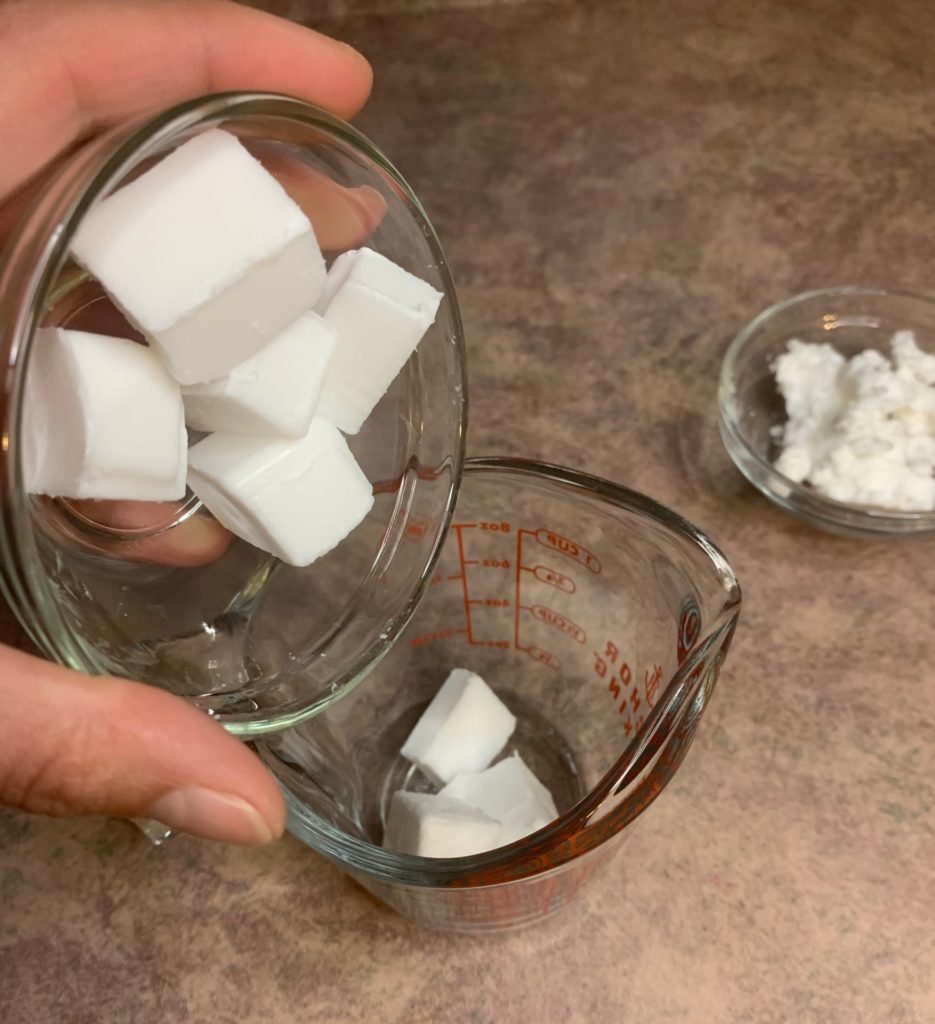
2. Measure your whipped soap base into another bowl.
3. Add your mica powder to the melted melt and pour soap and mix well.
4. Add your fragrance oil to the melted melt and pour soap and mix.
5. Put the whipped soap base into the container of melted melt and pour soap.
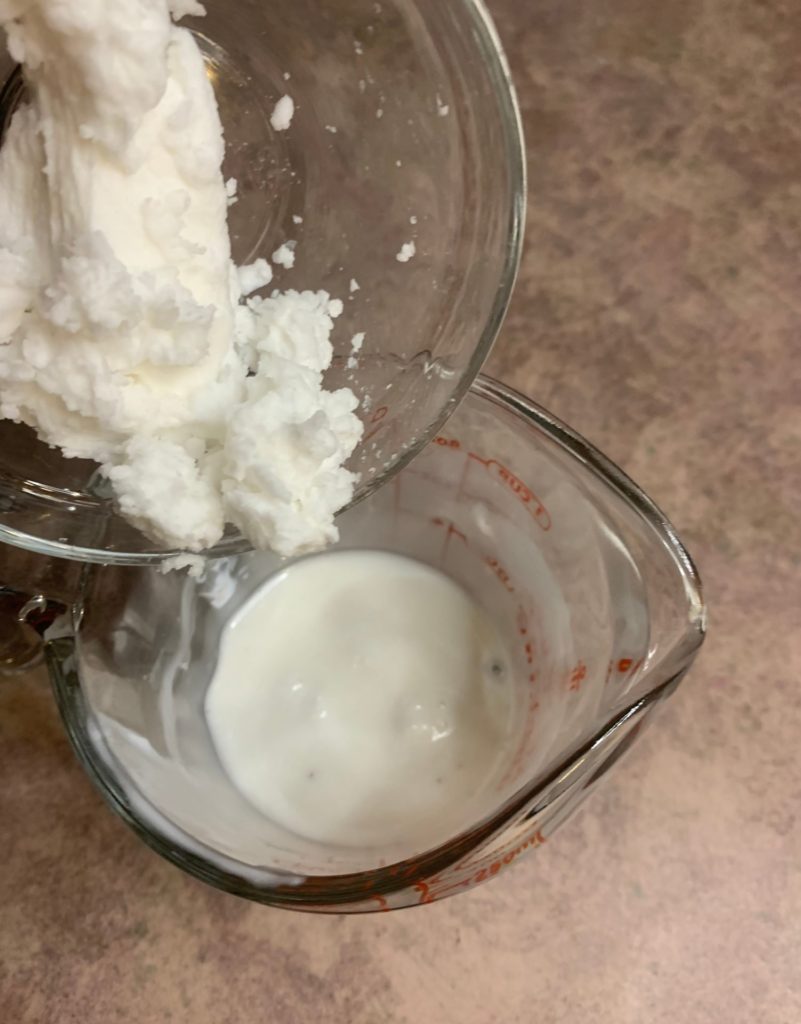
6. Mix it with a hand mixer until it becomes a whipped frosting texture.
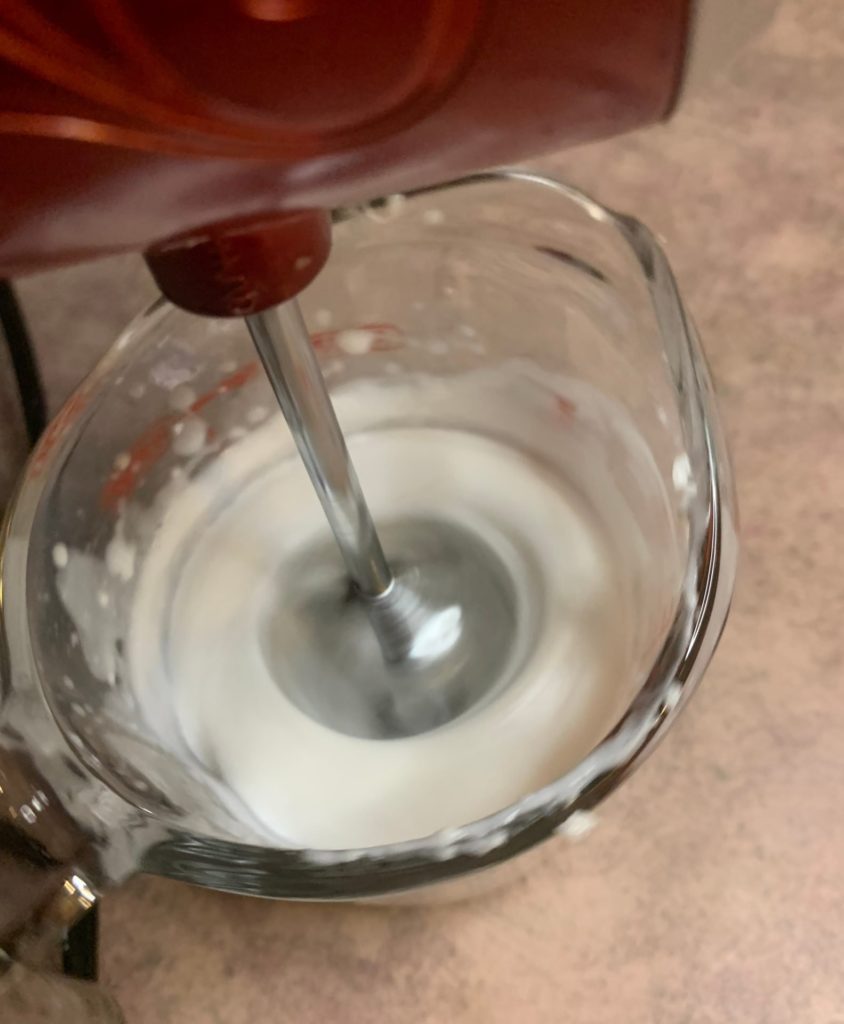
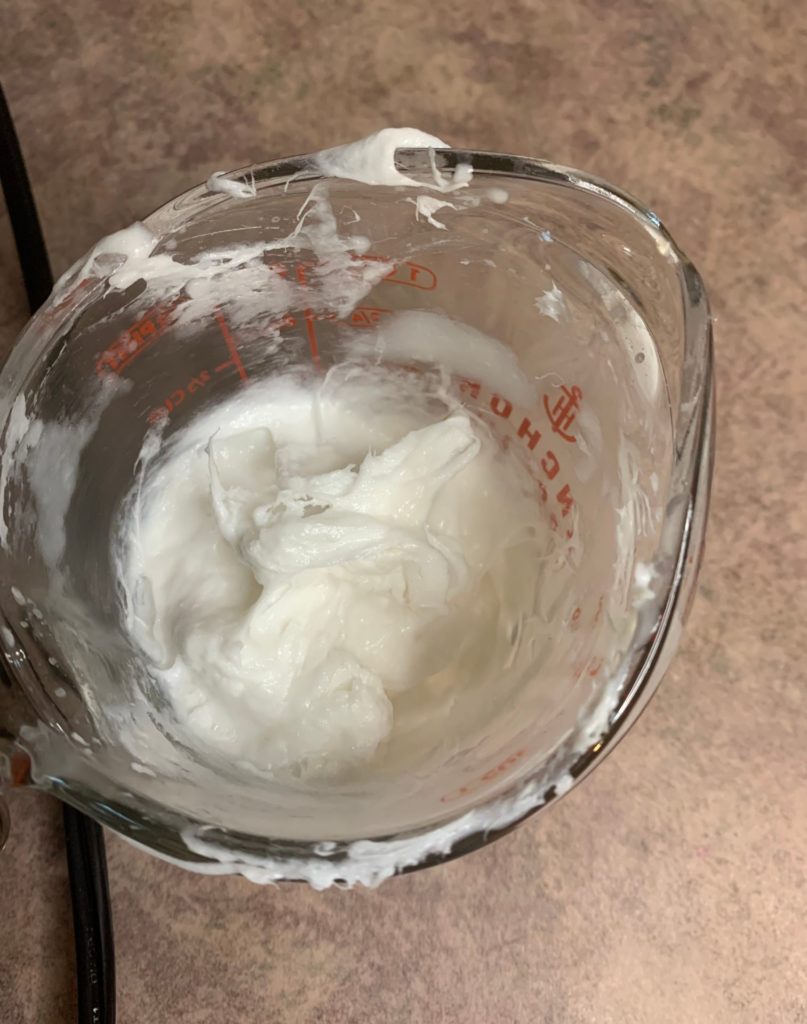
At this point it is important for some trouble shooting suggestions. If the soap feels too hard and sticks to your hand mixer, you need to add a little more whipped soap base. You can heat in the microwave for 2-3 seconds to warm it back up.
6. Scoop the mixture into your piping bag. I like to place the mixing bag into a cup to make this step a little easier.
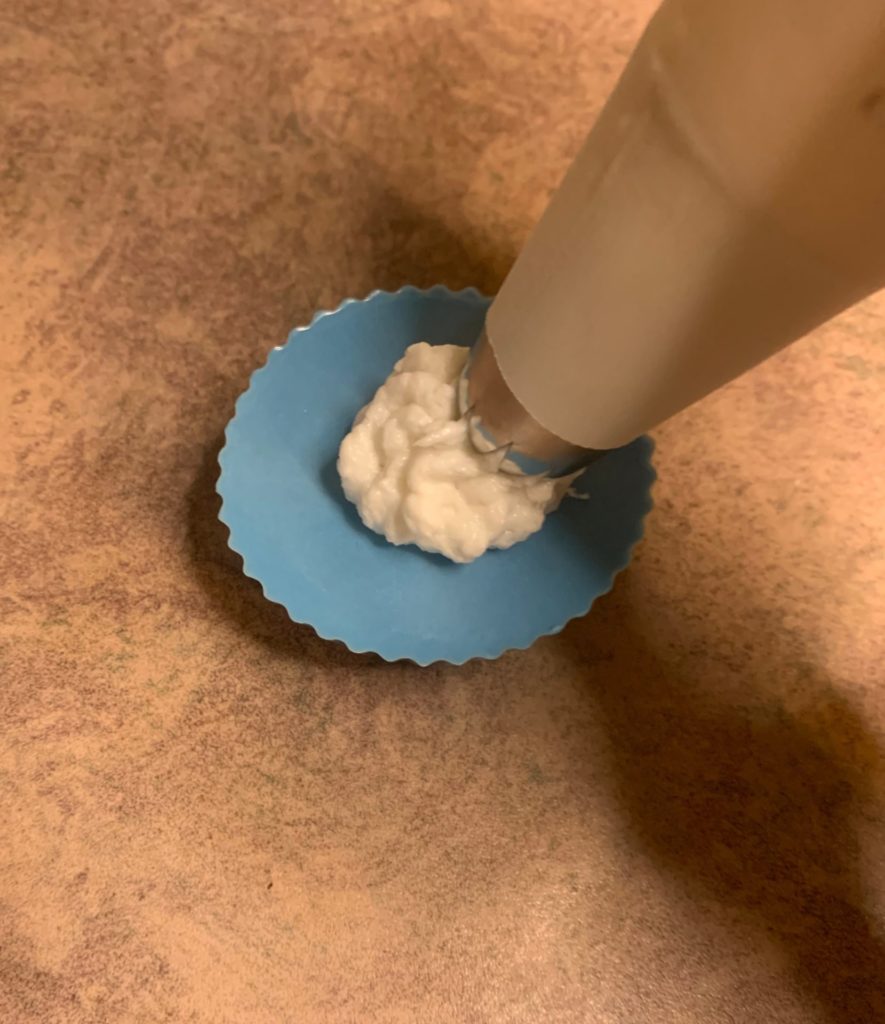
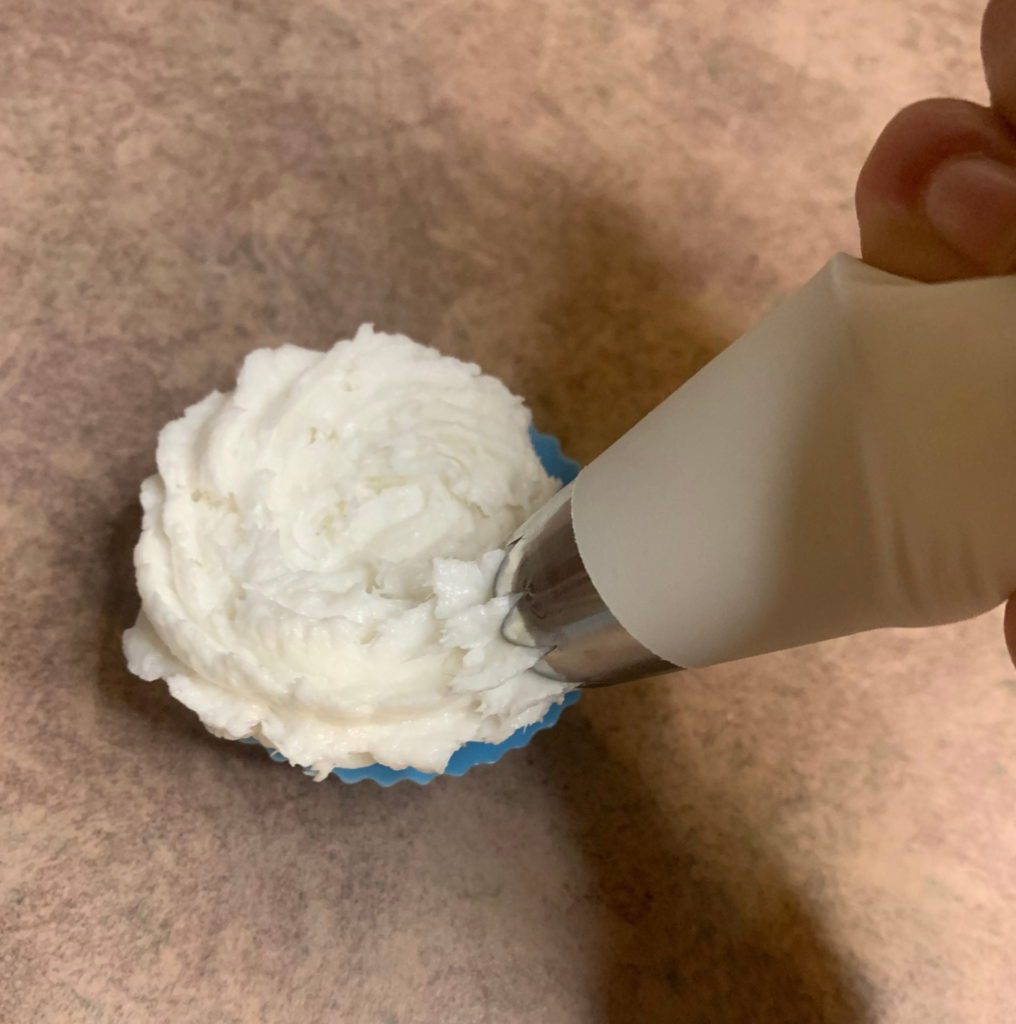
7. Pipe the frosting onto your cupcake.
Tip: For a larger frosted top, start by placing some of the soap frosting in the very center of the cupcake. Then pipe the remaining on the soap cupcake.
8. Add sprinkles or biodegradable glitter on the top. (Optional)
9. Place the embed on the top of the cupcake. You will want to push down on it a little bit to ensure it stays put.
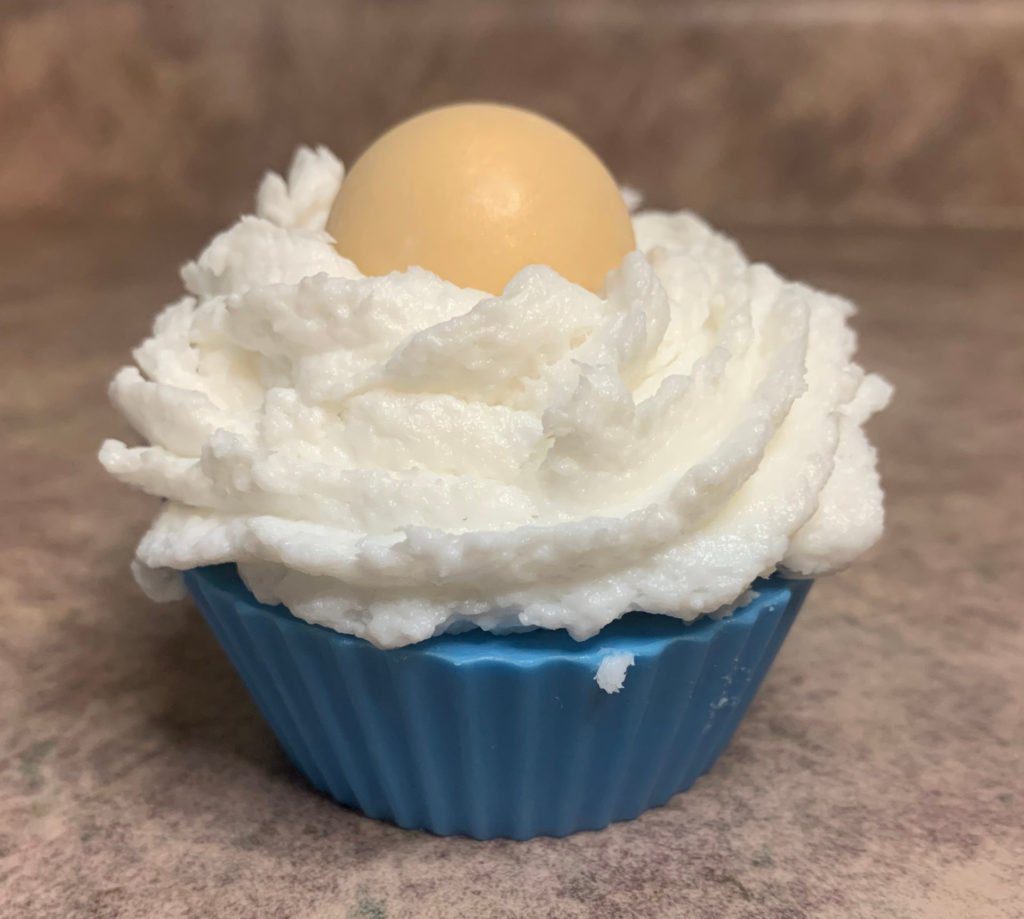
10. Wrap your soap cupcake in saran wrap or shrink wrap.
Melt and Pour Soap Cupcakes
Equipment
- Scale
- Heat Safe Container
- Spatula
- Hand Mixer
- Pipping bag
- Rubbing alcohol in a spray bottle
- Cupcake Pan
- Silicone Cupcake Liners
- Embed Mold
Ingredients
Cupcake Base
- 4.85 ounce | 97% Melt and Pour Soap Base
- 0.15 ounce | 3% Merry Berry Christmas Fragrance Oil
- Mica Powder
Embed
- 0.97 ounce | 97% Melt and Pour Soap Base
- 0.03 ounce | 3% Merry Berry Christmas Fragrance Oil
- Mica Powder
Soap Frosting
- 3.25 ounce | 65% Melt and Pour Soap
- 1.60 ounce | 32% Whipped Soap Base
- 0.15 ounce | 3% Merry Berry Christmas Fragrance Oil
- Mica Powder
Instructions
Cupcake Base
- Weigh out your melt and pour soap into a microwave safe container.
- Microwave the soap base in 15 second intervals until it is completely melted. Stirring well in between each interval.
- Add your mica powder to it and mix well.Tip: If the mica powder clumps up, spray it with the rubbing alcohol to help it disperse into the soap.
- Pour the melted soap base into your cupcake molds.
- Spray the top of the soap with rubbing alcohol to pop any bubbles.
- Allow to cool completely.
- After it is all the way cool, remove from the silicone mold and set off to the side. Note: if you are not making the rest of the melt and 8. After it is all the way cool, remove from the silicone mold and set off to the side. (Note: if you are not making the rest of the melt and pour cupcakes right away, you will want to wrap it in saran wrap so it does not sweat).
Embed
- Weigh out your melt and pour soap base into a microwave safe container.
- Microwave the soap base in 10 second intervals, until it is completely melted. (You are not using very much soap here, so it is super important that you don’t over heat the soap).
- Add your mica powder and mix well.
- Add your fragrance oil to the melted soap and mix well.
- Pour the soap into your embed molds.
- Spray the tops with rubbing alcohol to pop any bubbles.
- Allow to cool completely.
- After the embeds have cooled, pop them out of the mold.
Soap Frosting
- In a microwave safe container, weigh out your melt and pour soap. Microwave in 15 second intervals until completely melted. Stir well in between each interval.
- Measure your whipped soap base into another bowl.
- Add your fragrance oil to the melted melt and pour soap and mix.
- Add your mica powder to the melted melt and pour soap and mix well.
- Add your fragrance oil to the melted melted melt and pour soap and mix well.
- Put the whipped soap base into the container of melted melt and pour soap.
- Mix it with a hand mixer until it becomes a whipped frosting texture. At this point it is important for some trouble shooting suggestions. If the soap feels too hard and sticks to your hand mixer, you need to add a little more whipped soap base. You can heat in the microwave for 2-3 seconds to warm it back up.
Assembling The Cupcakes
- Scoop the soap frosting mixture into your piping bag. I like to place the mixing bag into a cup to make this step a little easier.
- Pipe the frosting onto your cupcake. Tip: For a larger frosted top, start by placing some of the soap frosting in the very center of the cupcake. Then pipe the remaining on the soap cupcake.
- Add sprinkles or biodegradable glitter on the top. (Optional)
- Place the embed on the top of the cupcake. You will want to push down on it a little bit to ensure it stays put.
- Wrap your soap cupcake in saran wrap or with shrink wrap.
