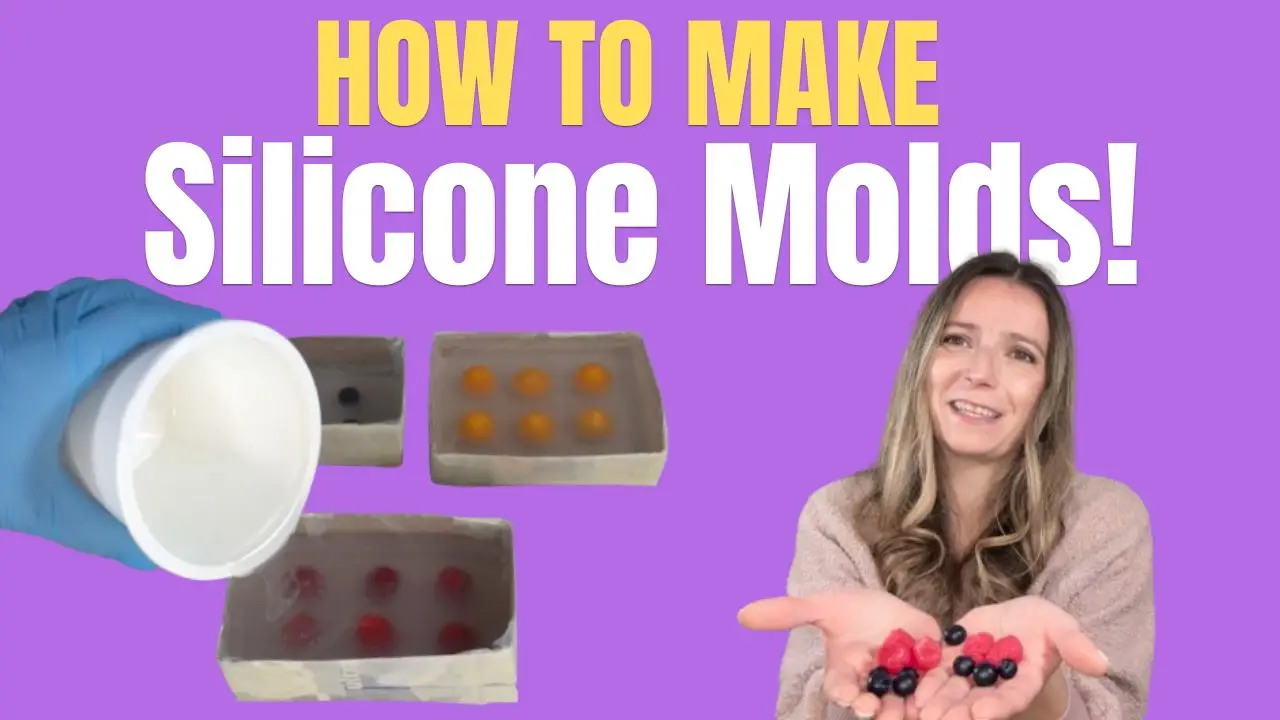
Creating your own DIY silicone molds is one of the easiest ways to level up your soap, candle, and wax projects. In this tutorial, you’ll learn how to make silicone fruit molds using real blueberries, raspberries, and kumquats, then see how each mold performs in a melt and pour soap test.
This method is beginner-friendly, cost-effective, and perfect if you want custom molds you can’t buy in stores.
Table of Contents
📌 What You’ll Learn in This Tutorial
- How to make silicone molds using real fruit
- Which fruits work best for silicone mold making
- Tips to prevent bubbles and failed molds
- How DIY silicone molds perform with melt and pour soap
- Uses for silicone molds in soap, candles, and wax melts
Supplies Needed
- Mold-making silicone (I used the one that has equal parts A and B)
- Fresh blueberries
- Fresh raspberries
- Kumquats
- Mold boxes or small containers
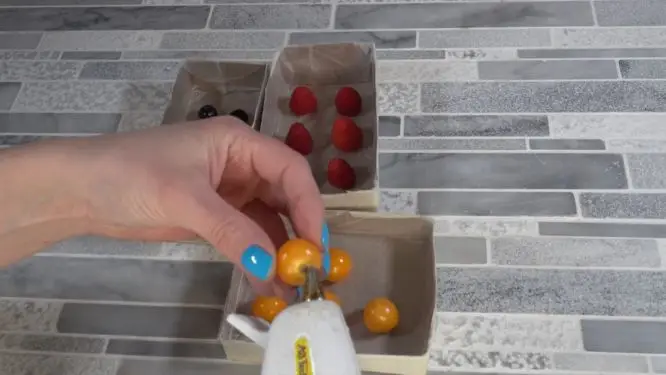
- Hot glue (to secure fruit)
- Mixing cups
- Stir sticks
- Gloves
- Melt and pour soap base (for testing)
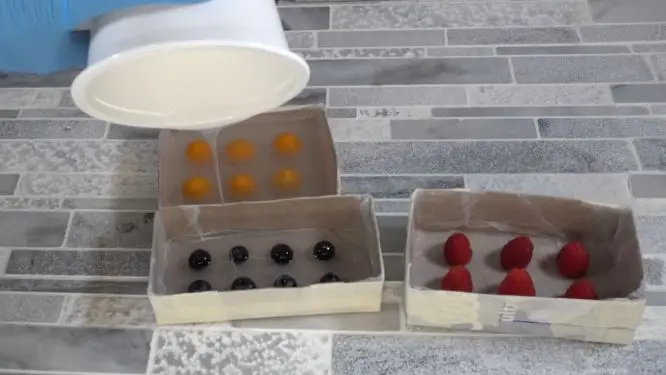
Step 1: Prepare the Fruit
Wash and fully dry your blueberries, raspberries, and kumquats. Moisture can interfere with silicone curing, so this step is important.
Secure the fruit to the bottom of your mold box using a small dot of hot glue. Remember, the part you are gluing down will be the top of the mold.
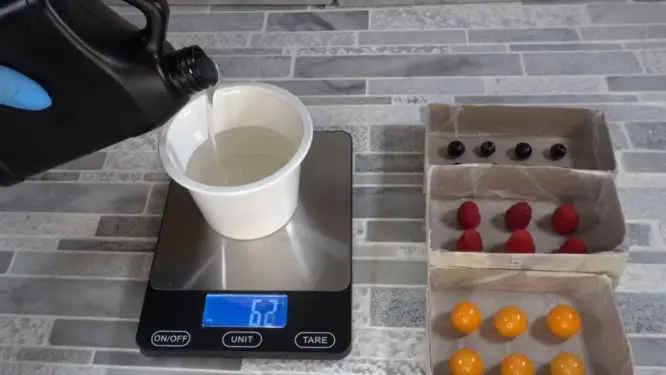
Step 2: Mix the Silicone
Following the manufacturer’s instructions, measure and mix your silicone thoroughly. The one that I used was equal parts A and B. Scrape the sides and bottom of your container to ensure even mixing.
I didn’t have to worry about air bubbles. they seemed to work themselves out.
Step 3: Pour the Silicone
Slowly pour the silicone into each mold box, starting from one corner and allowing the silicone to flow naturally around the fruit.
Be sure to pour enough over the top to make the mold thick enough. I lost a few molds because of this.
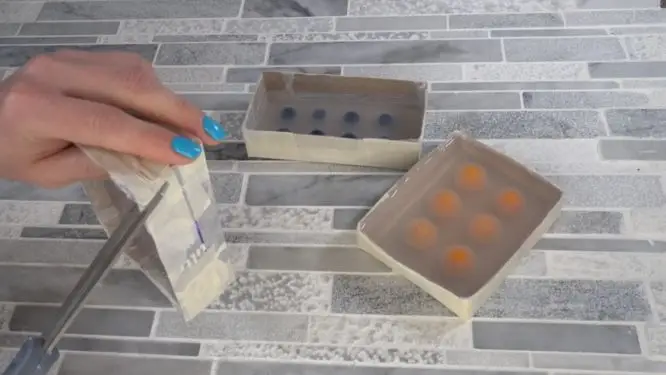
Step 4: Cure and Demold
Allow the silicone to cure fully according to the product’s instructions. Once cured, gently remove the mold from the box and peel the fruit out of the silicone.
You should be left with detailed, flexible fruit-shaped cavities.
Step 5: Melt and Pour Soap Test
To test each mold, melt your melt and pour soap base and carefully pour it into the blueberry, raspberry, and kumquat molds.
Once hardened, demold the soap and evaluate:
- Detail clarity
- Ease of release
- Overall mold performance
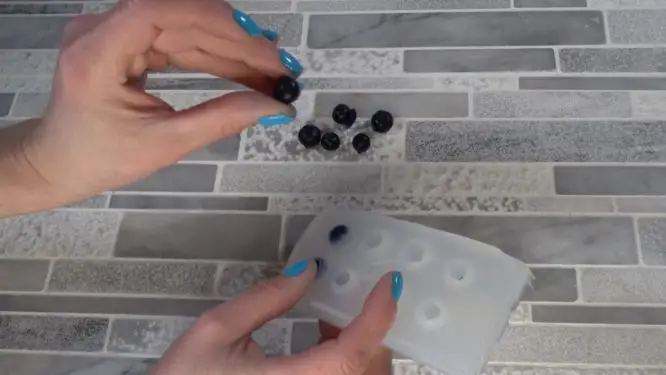
Results: Which Fruit Mold Worked Best?
- Blueberry molds produced smooth, clean shapes and released easily.
- Raspberry molds captured excellent texture. I didn’t add enough silicone, so one didn’t turn out.
- Kumquat molds into a great small ball shape, mold thick.
All three molds performed well, but smoother fruits tend to be more beginner-friendly.
Best Uses for DIY Silicone Fruit Molds
These molds are perfect for:
- Melt and pour soap embeds
- Wax melts and candles
- Lotion bars
- Solid perfume accents
- Resin projects
Silicone molds are reusable, flexible, and easy to clean, making them ideal for long-term DIY use.
Tips for Better Silicone Molds
- Always use dry materials
- Always pour enough on top to fully cover items
- Pour from one corner, not directly on the item
- Let molds cure fully before demolding
Watch the Full Video Tutorial
🎥 Watch the step-by-step video showing the full process and melt & pour test:
Frequently Asked Questions
Can I use other fruits for silicone molds?
Yes! Firmer fruits with smooth skins work best.
Are these molds food safe?
Only if you use food-safe silicone and dedicate the molds to food use only.
How long do silicone molds last?
With proper care, silicone molds can last for years.