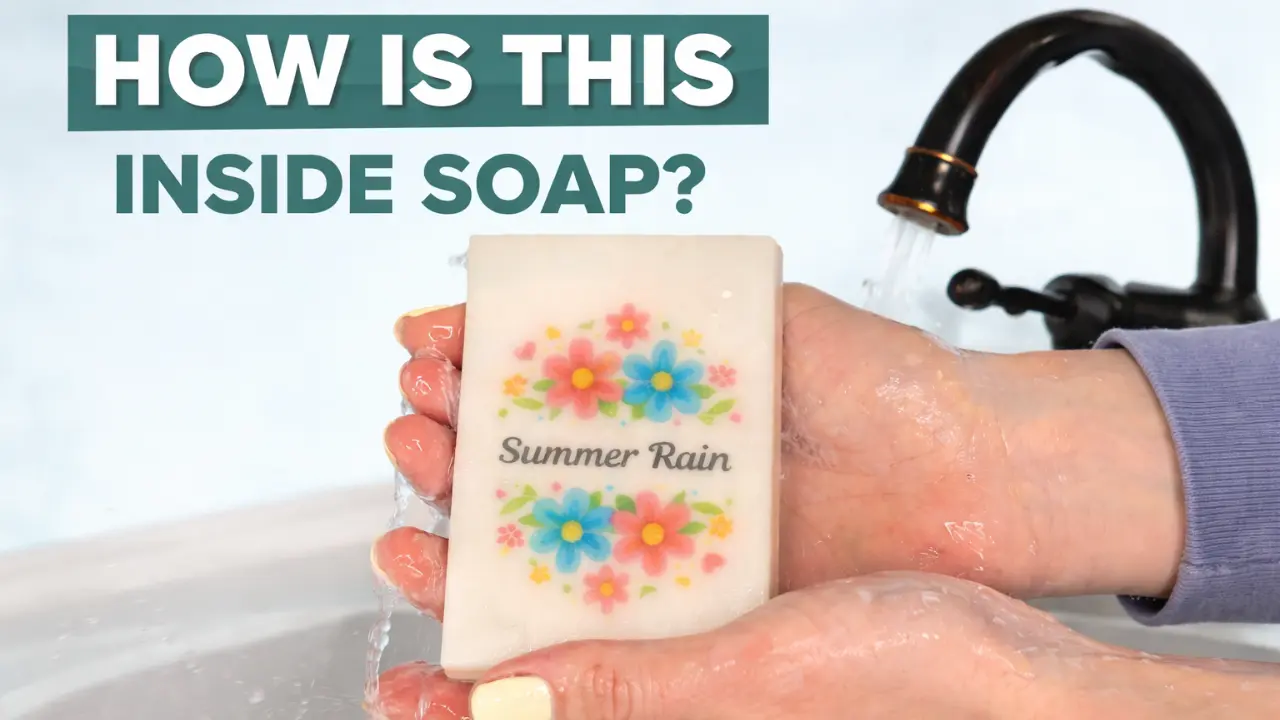
Luffa soap is one of the easiest exfoliating soaps you can make at home. The natural luffa sponge gently exfoliates your skin while the melt and pour soap cleans and moisturizes.
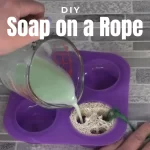
In this tutorial, I’ll show you how to make a simple luffa soap on a rope using melt and pour soap. The rope makes it easy to hang in the shower so the soap can dry between uses.
If you’re new to melt and pour soap making, I recommend reading Learn the Basics of Melt and Pour Soap first
Table of Contents
Prefer to Watch Instead of Read?
Some links on this website are affiliate links, meaning I may earn a small commission if you click and make a purchase. This comes at no additional cost to you.
Why Make Luffa Soap?
Luffa soap combines two things in one bar:
- Natural exfoliation from the luffa sponge
- Gentle cleansing from the soap
The rope allows the soap to hang and dry between uses, which can help extend the life of the soap.
If you enjoy making melt and pour soap projects, you might also like this tutorial: Coffee Melt and Pour Soap
Ingredients
| Ingredient | Amount |
|---|---|
| White Melt and Pour Soap | 100 grams |
| Fragrance Oil | 6 grams |
| Mica Powder | small amount |
| Luffa Sponge | 1 slice |
| Twine | 1 piece |
Notes
Here is a post that explains How to Choose the correct Melt and Pour Base.
- I used white melt and pour soap, which creates an opaque bar.
- If you want a translucent soap, use clear melt and pour soap base instead.
Equipment
| Equipment |
|---|
| Scale |
| Microwave Safe Container |
| Silicone Mold |
| Spatula |
| Spray Bottle with Rubbing Alcohol |
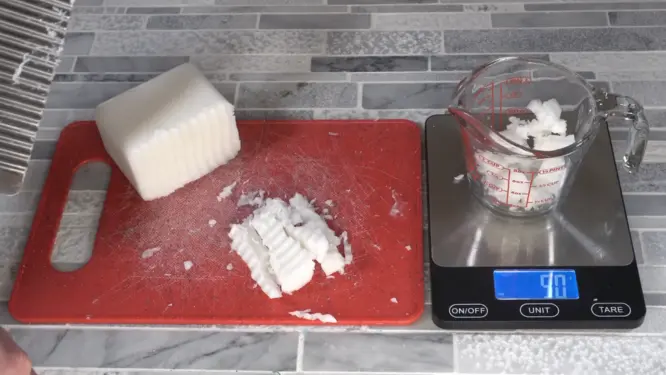
Step 1 – Cut and Weigh the Soap
Start by cutting your melt and pour soap base into small chunks and weighing out 100 grams.
Cutting the soap into smaller pieces helps it melt more evenly.
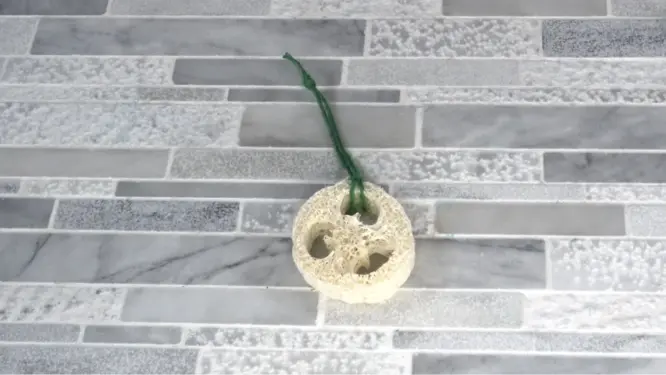
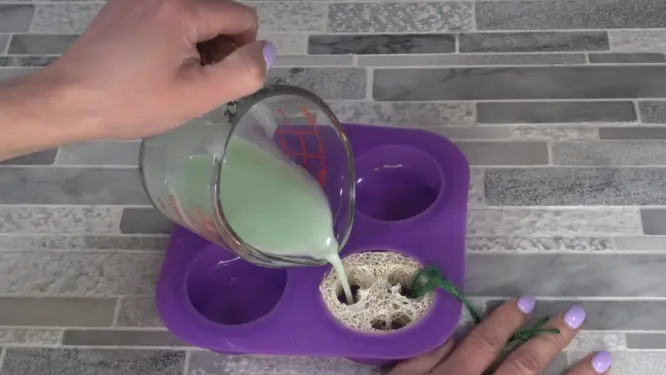
Step 2 – Prepare the Luffa and Rope
Cut a piece of twine long enough to create a loop for hanging.
Tie the twine securely around the luffa sponge.
Place the luffa inside your silicone mold, leaving the string hanging outside of the mold so it becomes embedded in the soap.
Step 3 – Melt the Soap
Place the soap cubes into a microwave safe container.
Microwave in 10 second intervals, stirring between each interval until the soap is completely melted.
Melting slowly helps prevent overheating the soap base.
If you’d like a deeper explanation of the melting process, see the Beginner’s Guide to Making Melt and Pour Soap
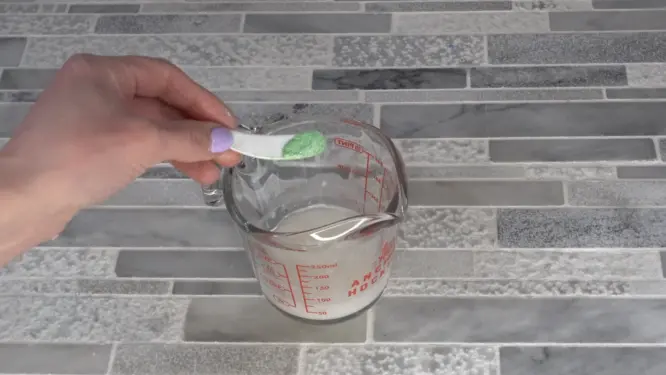
Step 4 – Add Fragrance and Color
Once the soap is fully melted:
Add:
- 6 grams fragrance oil
- Mica powder
Stir gently until everything is fully mixed.
Tip
If the mica powder doesn’t want to mix in completely, spray a small amount of rubbing alcohol onto the surface of the soap to reduce surface tension.
Step 5 – Pour the Soap
Slowly pour the melted soap into the mold, covering the luffa sponge.
Once poured, spray the top of the soap with rubbing alcohol.
This helps pop any air bubbles that may form.
What to Do If You Run Out of Soap
When I first made this soap, I only used 50 grams of melt and pour soap.
It turned out that I didn’t have enough soap to fully cover the luffa.
To fix it, I simply:
- Melted an additional 50 grams of soap
- Sprayed the first layer with rubbing alcohol
- Poured the additional soap on top
Spraying with alcohol helps the two layers stick together properly.
Allow the Soap to Cool
Allow the soap to fully cool and harden before removing it from the mold.
Once unmolded, your luffa soap on a rope is ready to use.
Prevent Soap Sweating
Melt and pour soap can sometimes develop small droplets on the surface called glycerin dew.
You can learn more about that here Soap Sweating or Glycerin Dew
To prevent this, wrap finished soap in plastic wrap if you are storing it.
Final Result
You now have a simple exfoliating luffa soap on a rope that is perfect for the shower.
These soaps are also great for:
- Handmade gifts
- Craft fairs
- Beginner soap makers
If you enjoy melt and pour soap projects, you may also like this Succulent Melt and Pour Soap
Printable Recipe – How to make Luffa Soap on a Rope
Luffa Soap on a Rope (Easy Guide)
Equipment
- Silicone mold
Ingredients
- 100 grams White Melt and Pour Soap
- 6 grams Fragrance Oil
- Luffa Sponge
- Twine
Instructions
Cut and Weigh the Soap
Start by cutting your melt and pour soap base into small chunks and weighing out 100 grams.Cutting the soap into smaller pieces helps it melt more evenly.Prepare the Luffa and Rope
Cut a piece of twine long enough to create a loop for hanging.Tie the twine securely around the luffa sponge.Place the luffa inside your silicone mold, leaving the string hanging outside of the mold so it becomes embedded in the soap.Melt the Soap
Place the soap cubes into a microwave safe container.Microwave in 10 second intervals, stirring between each interval until the soap is completely melted.Melting slowly helps prevent overheating the soap base.Add Fragrance and Color
Once the soap is fully melted:Add: 6 grams fragrance oil and Mica powderStir gently until everything is fully mixed.Tip
If the mica powder doesn’t want to mix in completely, spray a small amount of rubbing alcohol onto the surface of the soap to reduce surface tension.Pour the Soap
Slowly pour the melted soap into the mold, covering the luffa sponge.Once poured, spray the top of the soap with rubbing alcohol.This helps pop any air bubbles that may form.Allow the Soap to Cool
Allow the soap to fully cool and harden before removing it from the mold.Once unmolded, your luffa soap on a rope is ready to use.