Seriously, melt and pour soap is the perfect soap for beginners. In this post, I will teach you about melt and pour soap, how it differs from cold process and how to make your first bar of soap. When I first started out soap making, I was intimidated with cold process soap making, so I started out by learning how to work with melt and pour soap.
Prefer to watch this project instead of reading it?
Even after learning cold process and making it all the time, I still make melt and pour soaps. Especially when I want to make a special design.
Without further ado, let’s get to know melt and pour soap.
Cold Process vs Melt and Pour
In the cold process method of soapmaking, you combine oils and lye. This creates a chemical reaction that is known as “saponification”. The cool thing about melt and pour soap is that this process has already been done and you don’t have to worry about handling lye if you are not comfortable doing so. The only thing that you need to do it melt the premade soap base, customize it with all your colors, fragrance and any extras.
Even though I make cold process soaps, I sometimes enjoy melt and pour because you can get a more intricate and detailed design than you can with cold process. Plus, it is a lot faster to make.
Plus, as if that is not enough, there is no cure time. When making cold process soap, you normally want to allow the soap to cure for 4-6 weeks before you can use it.
Melt and Pour Soap Base
This is the soap that you buy. Honestly there are sooooo many different options to choose from. The two main types are going to be the ones that are white in color and the ones that are clear.
The type that you will want to use, will really depend on what you want your end product to look like. And honestly, you can get some cool soaps by using both of them with different colors.
Typically the main fat that is used in the soap is what will name it. For example, a Shea Butter melt and pour will mostly be made with shea butter.
Equipment:
- Microwave safe container
- Knife or soap cutting tool
- Cutting board
- Rubbing alcohol in a spray bottle
- Scale
- Spatula
- Mold
Ingredients:
- Melt and Pour soap base
- Fragrance oil
- Mica powder
Step 1 – Cut and Weigh Your Melt and Pour Soap Base
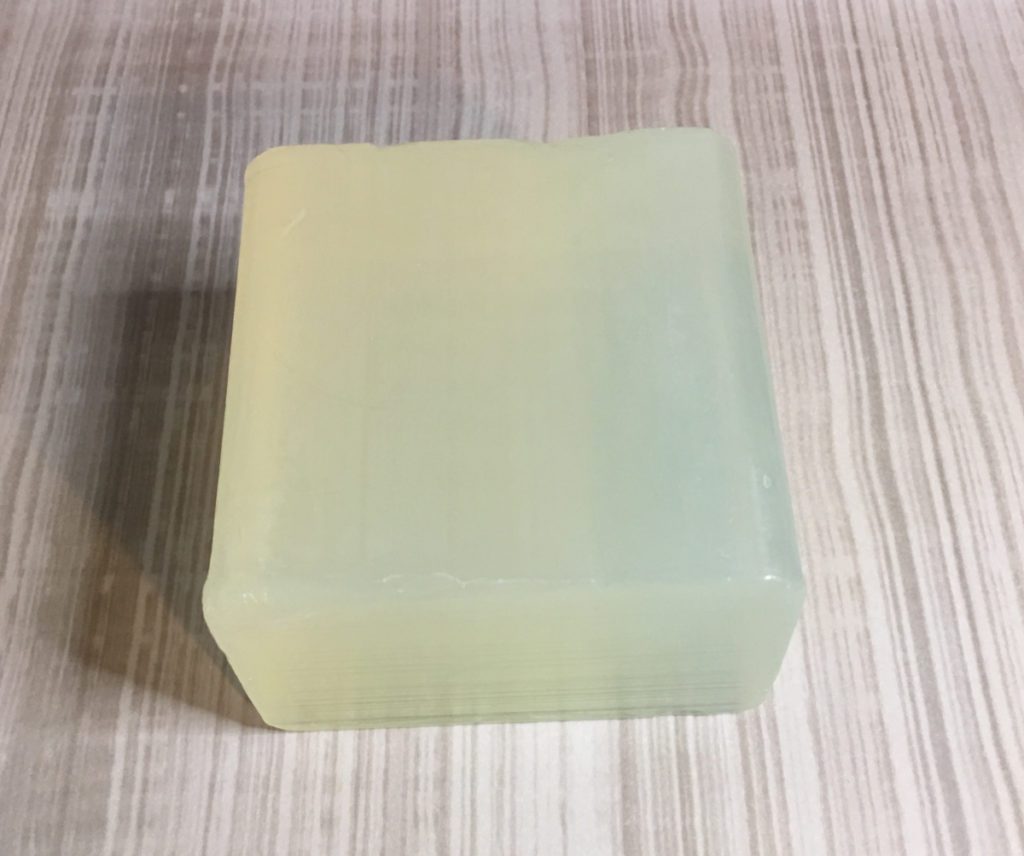
Melt and Pour Soap Base 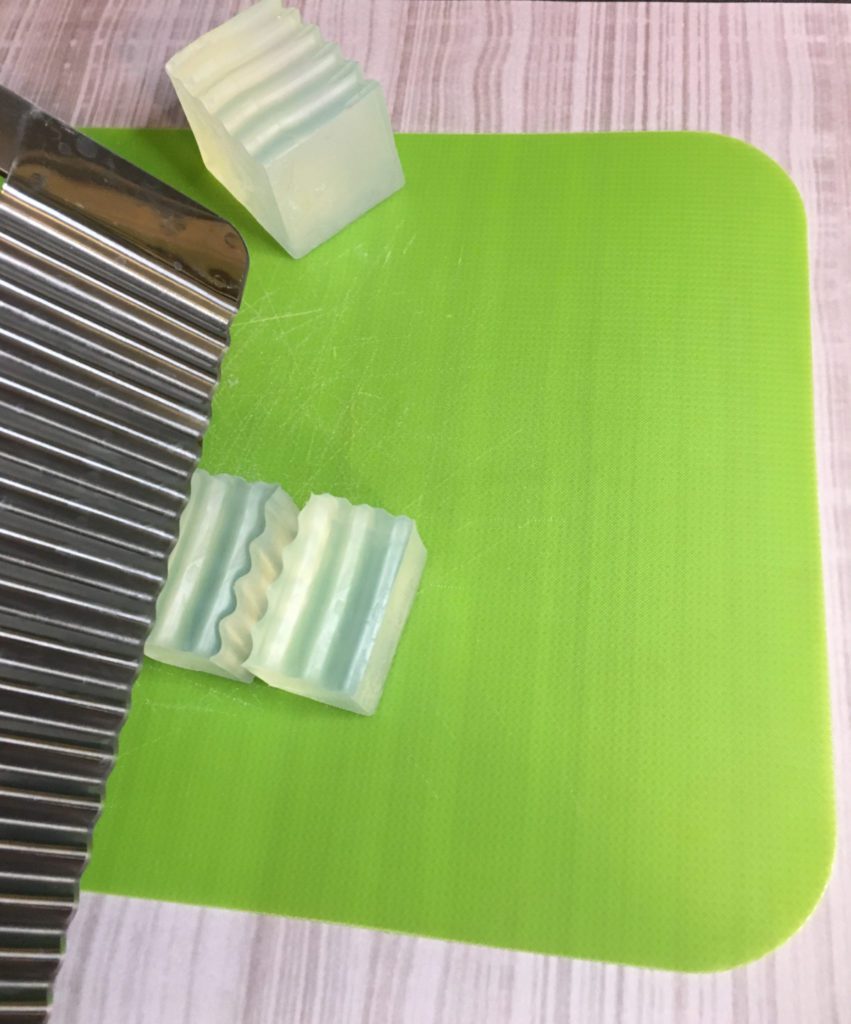
Cutting Soap Base
Start cutting the melt and pour soap base into small cubes. I will normally cut them to be roughly 1 inch cubes. They do not have to be perfect, you just don’t want any that are too large.
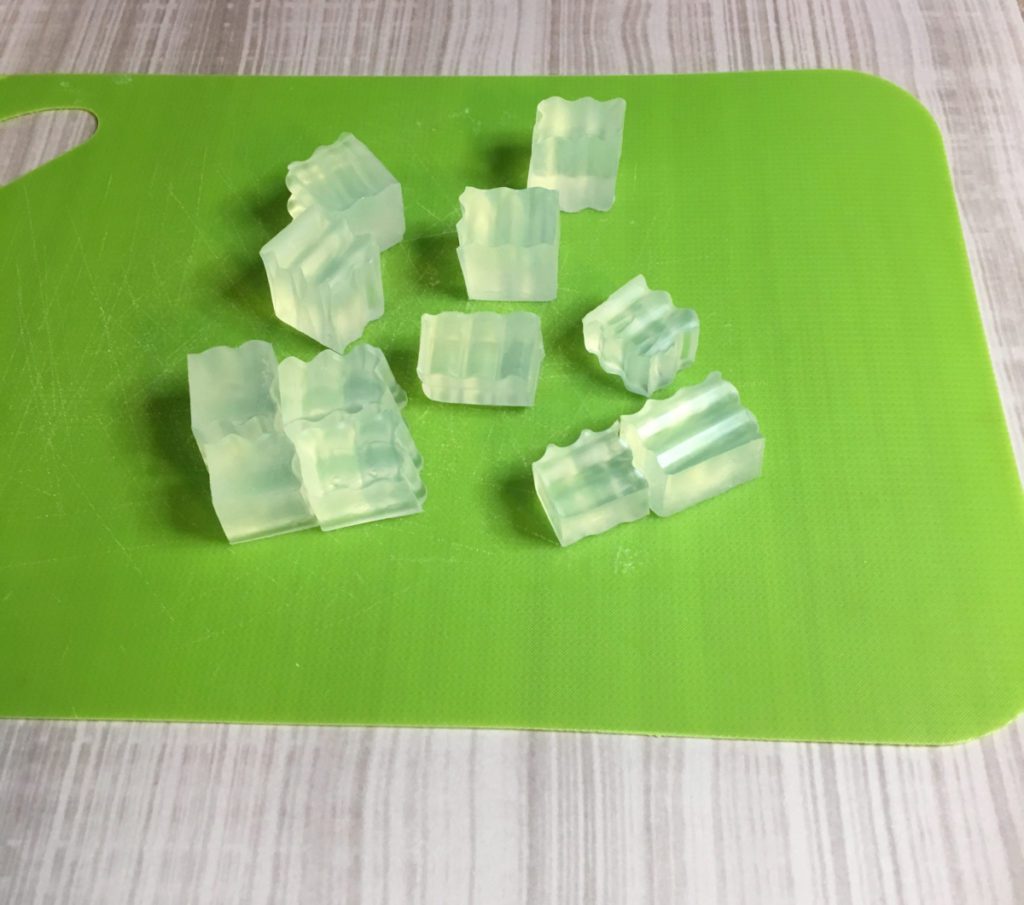
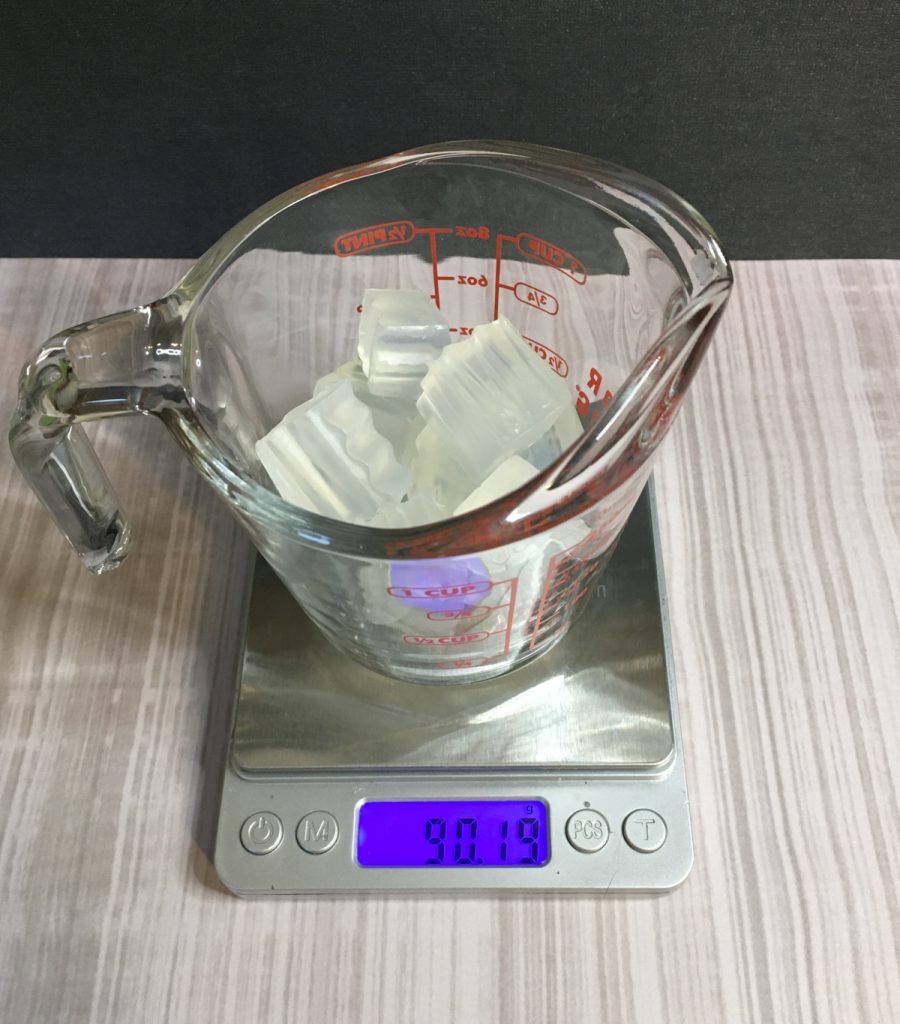
Zero out your scale with a microwave safe container on it, I normally use a measuring cup. Then add the soap base cubes to the scale until you are roughly at your desired amount for your mold. Being over or under by a cube of soap is fine.
Step 2 – Melt It
You are going to want to put the measuring container with the soap into the microwave for 30 seconds.
After the timer goes off, pull the soap out and mix it. Return to the microwave for 20 second bursts, until the soap is completely melted. Be sure to stir it well in between each 20 second interval.
You will want to be kind of careful when you are heating your soap base. If it gets above 160° F, you can wind up with a weird rubbery like bar of soap. Melting in these short burts and stirring in between, will prevent your from overheating it.
Step 3 – Add Colorant
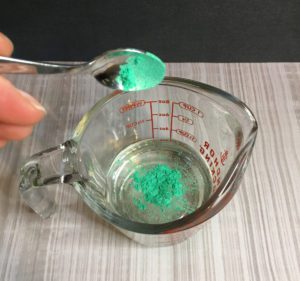
Add mica powder to the melted soap base. Be sure to fully mix.
Step 4 – Fragrance
Weigh out your fragrance oil. You are going to want to use about 2-3% in your soap.

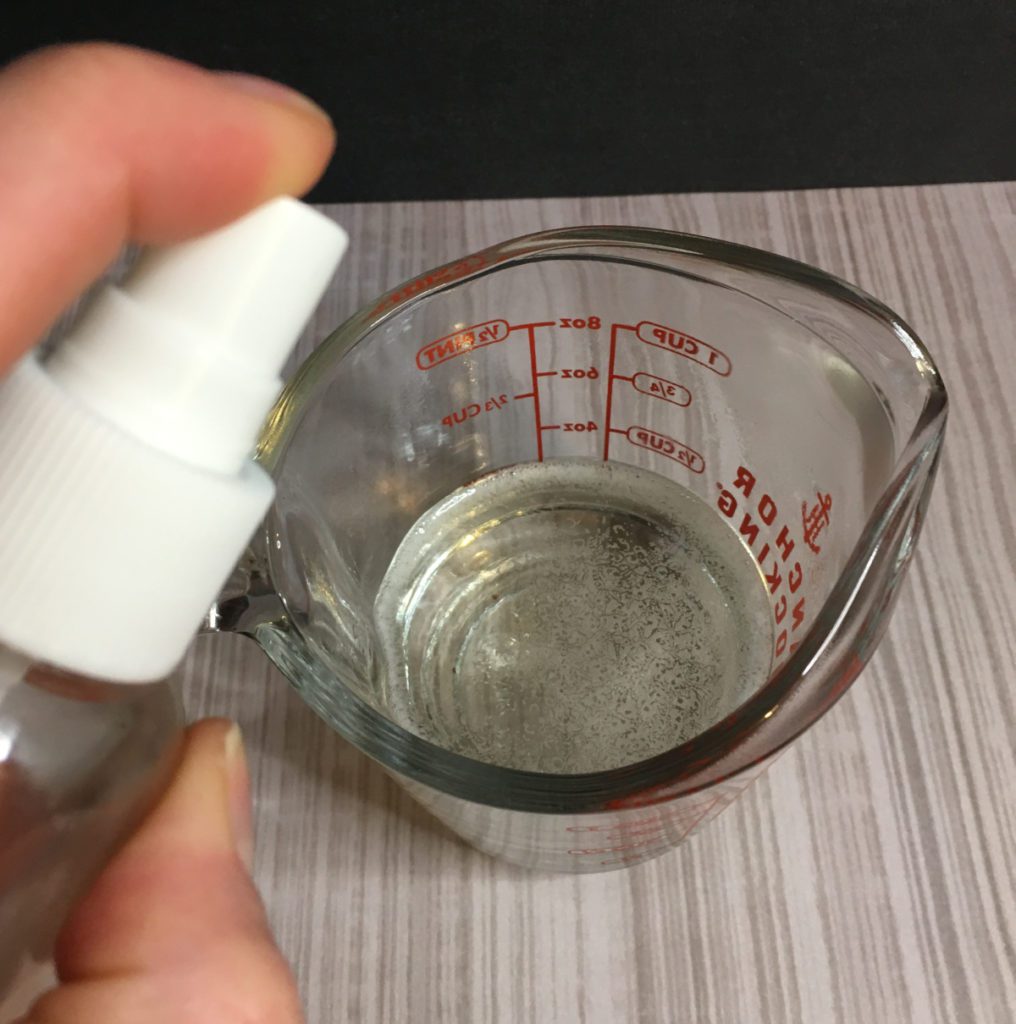
Be sure to stir the melted soap until the fragrance is fully incorporated. You want to stir gently to prevent getting air bubbles in your soap. However, if you get a little wild and wind up with bubbles, you can mist the soap with rubbing alcohol to get rid of them.
Step 5 – Pour into mold
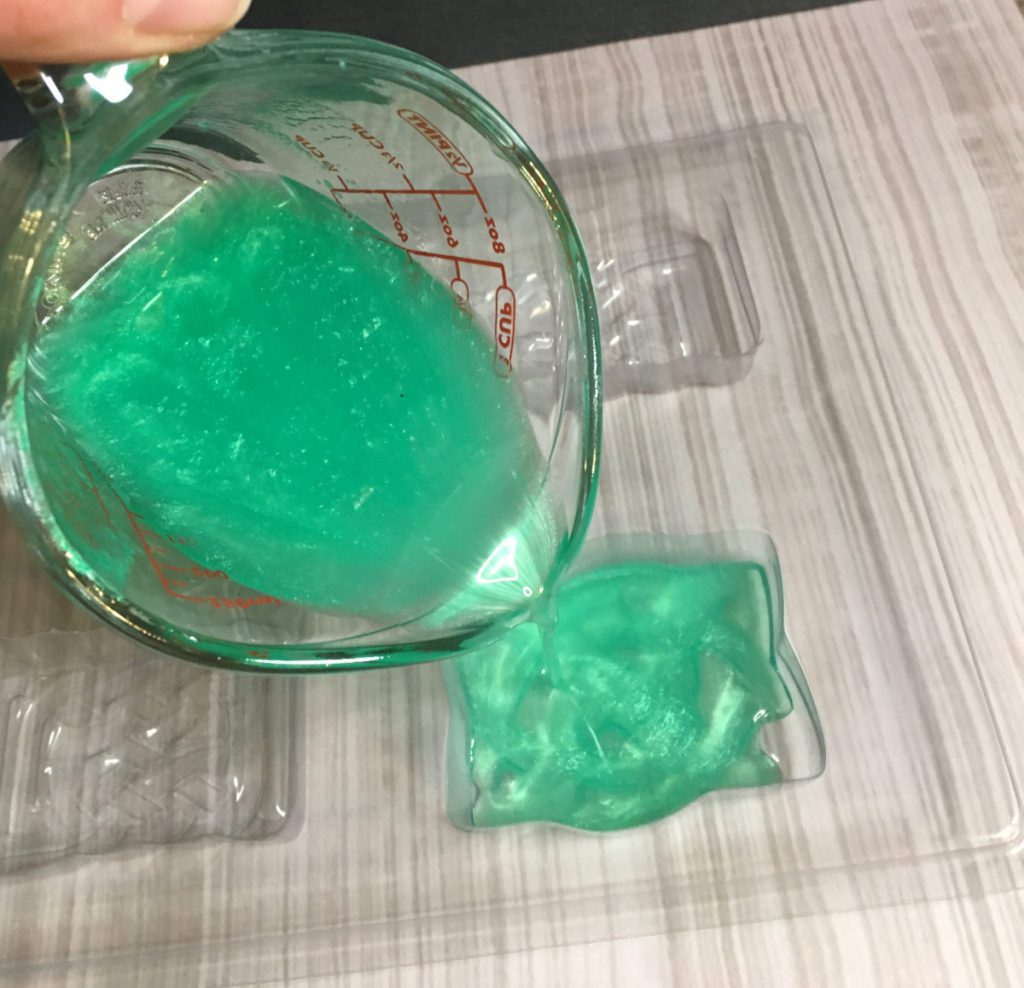
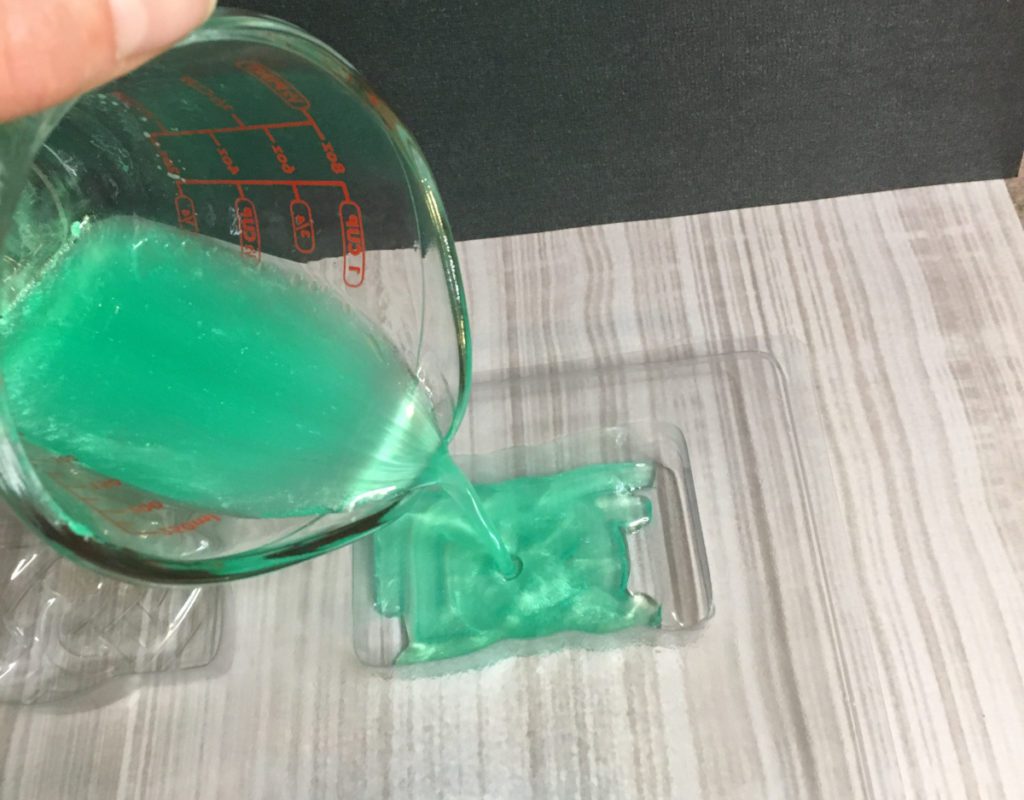
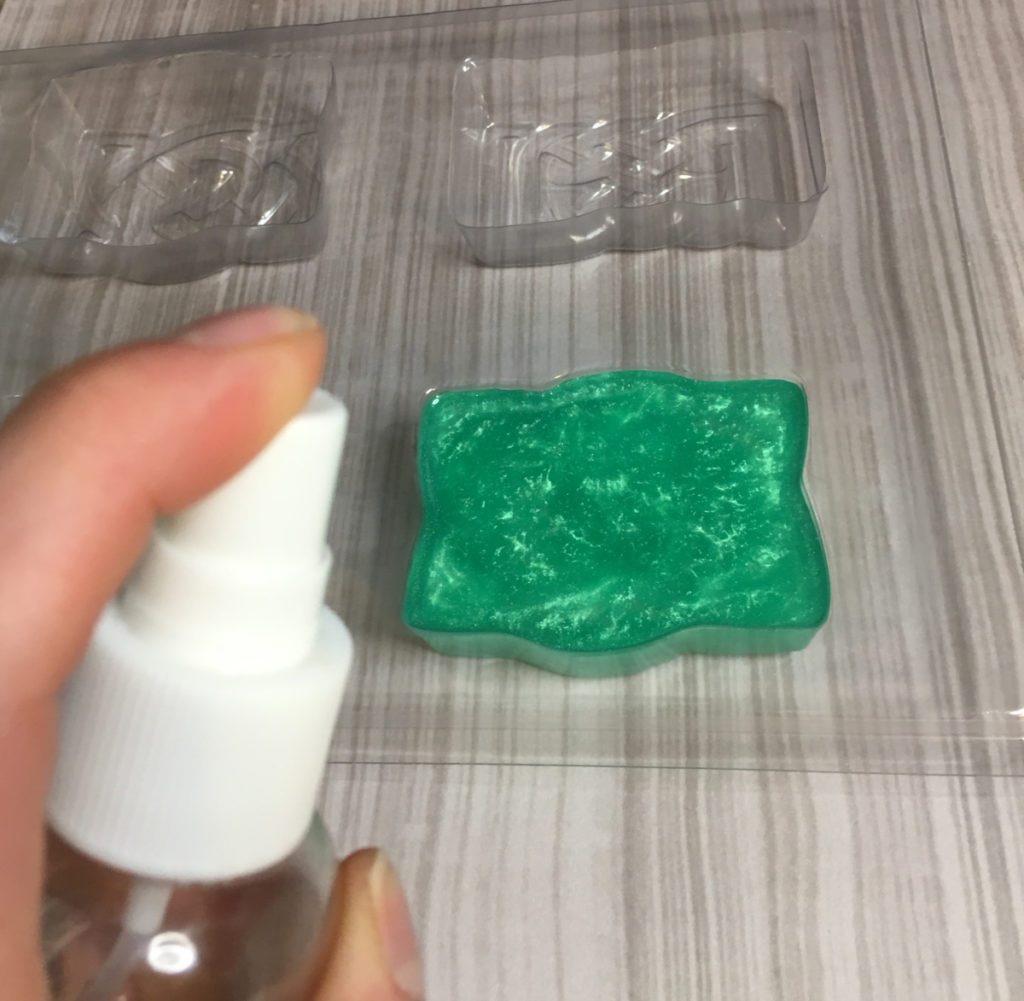
Carefully pour your soap into your mold. Once poured, spray the top of the soap with rubbing alcohol to get rid of any bubbles.
Step 6 – Unmold
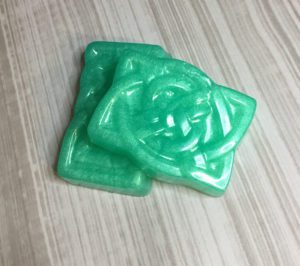
After your soap has hardened all the way, remove it from the mold. The thing about melt and pour is that it will get “glycerin sweat” on it. This is the glycerin in the soap that draws the moisture from the air to your soap.
If left uncovered, it will literally look the the soap is all sweaty. To prevent this, it is important to keep the soap covered in saran wrap.
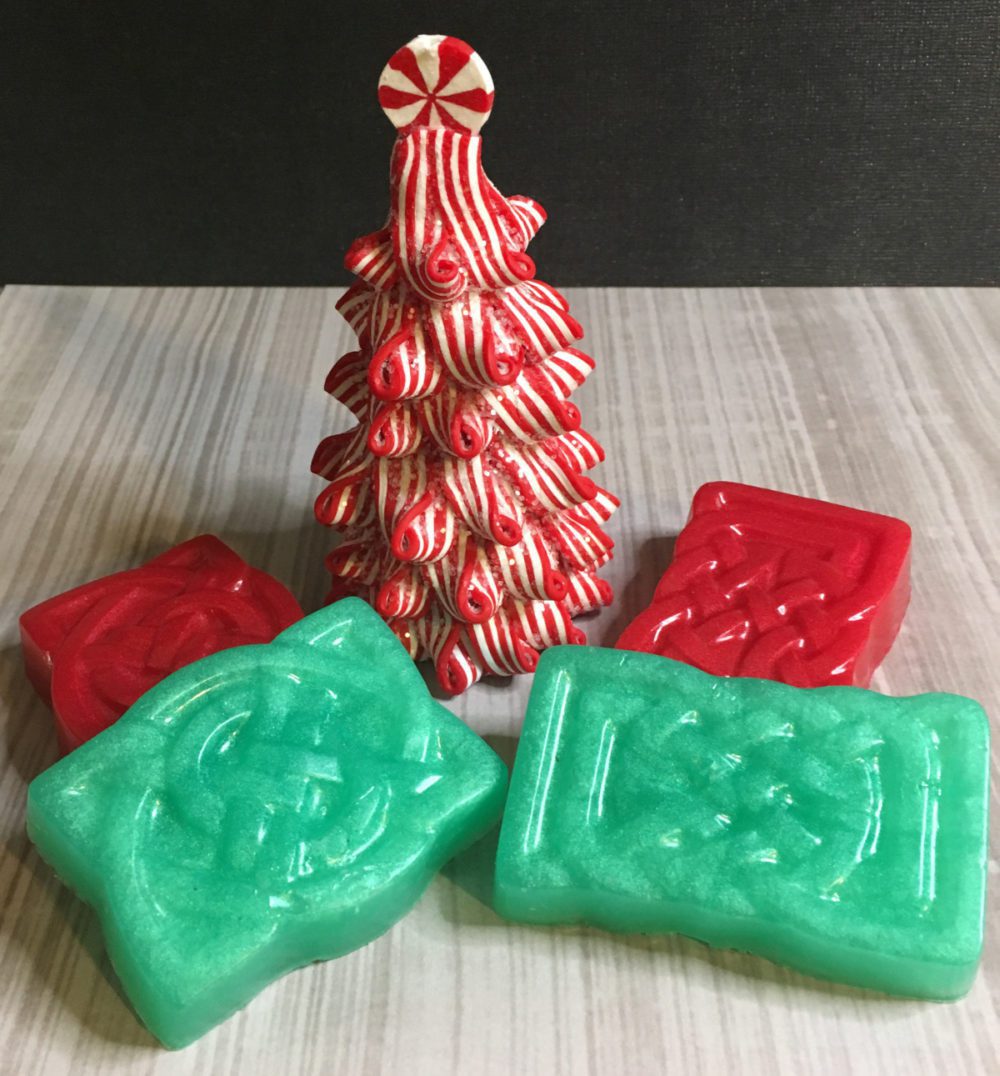
Melt and Pour Recipes:
Some links are “affiliate links” because I am an Amazon Associate and I earn from qualifying purchases. There is no additional cost to you, the price of the item is the same whether it is an affiliate link or not.


Comments are closed.