
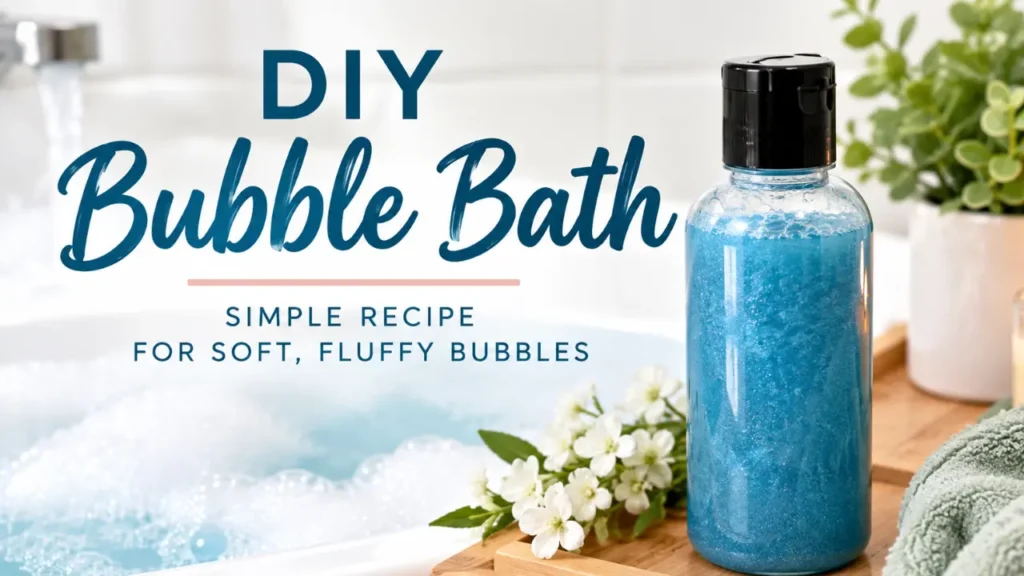
There is something especially relaxing about a warm bath filled with lots of soft, fluffy bubbles. If you have ever wondered how to make your own bubble bath at home, this recipe is a great place to start.
This homemade bubble bath is a simple liquid formula made with two surfactants, vegetable glycerin, preservative, fragrance, and optional mica for color. The combination creates a bath product that produces plenty of bubbles when it is added correctly to running bath water.
But making a good bubble bath is about more than simply mixing ingredients together.
Why do some bubble baths create huge amounts of bubbles while others barely foam? Why do the bubbles disappear so quickly? Does the pH matter? And why is a preservative necessary when there isn’t water listed in the recipe?
I’ll walk you through all of those questions, explain what each ingredient does, and then show you exactly how to make this homemade bubble bath.
If you are new to making your own bath and body products, you may also want to start with my Skincare Formulation for Beginners guide. Understanding the purpose of each ingredient makes it much easier to create your own formulas later.
Prefer to watch this project instead of reading it?
If you would rather watch me make this bubble bath, you can follow along with the video tutorial.
Some links on this website are affiliate links, meaning I may earn a small commission if you click and make a purchase. This comes at no additional cost to you.
What Makes a Good Bubble Bath?

Before we get into the recipe, let’s talk about what we are actually trying to accomplish.
A good bubble bath needs to do a few things:
- Produce plenty of bubbles.
- Create bubbles that don’t disappear immediately.
- Be easy to pour and use.
- Have a skin-friendly pH.
- Be properly preserved.
- Allow you to add fragrance and color if you want them.
The bubbles come primarily from the surfactants.
Surfactants are ingredients that help reduce the surface tension of water. They are used in products such as body wash, shampoo, bubble bath, hand wash, and many other cleansing products.
For this formula, we’re using two different surfactants: Cocamidopropyl Betaine and Coco Glucoside.
Using a combination of surfactants instead of relying on just one can help create a more balanced formula.
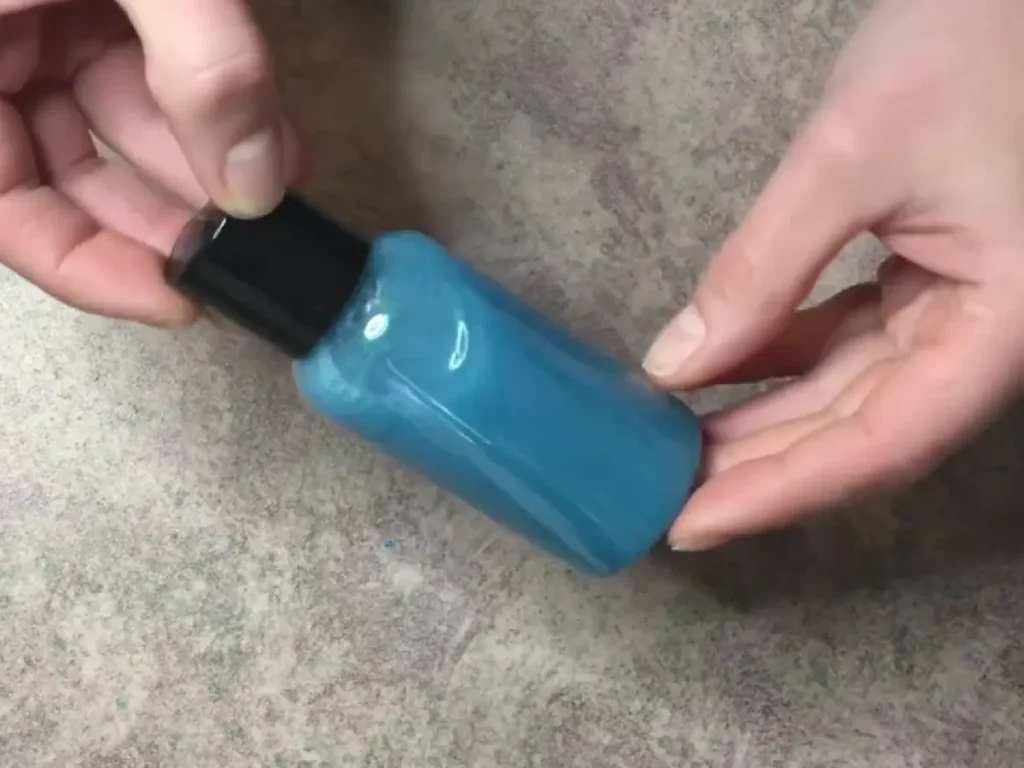
Ingredients in This Homemade Bubble Bath
This recipe uses a relatively short ingredient list, but each ingredient has a specific job.
Understanding those jobs is important if you eventually want to modify the recipe or create your own bubble bath formula.
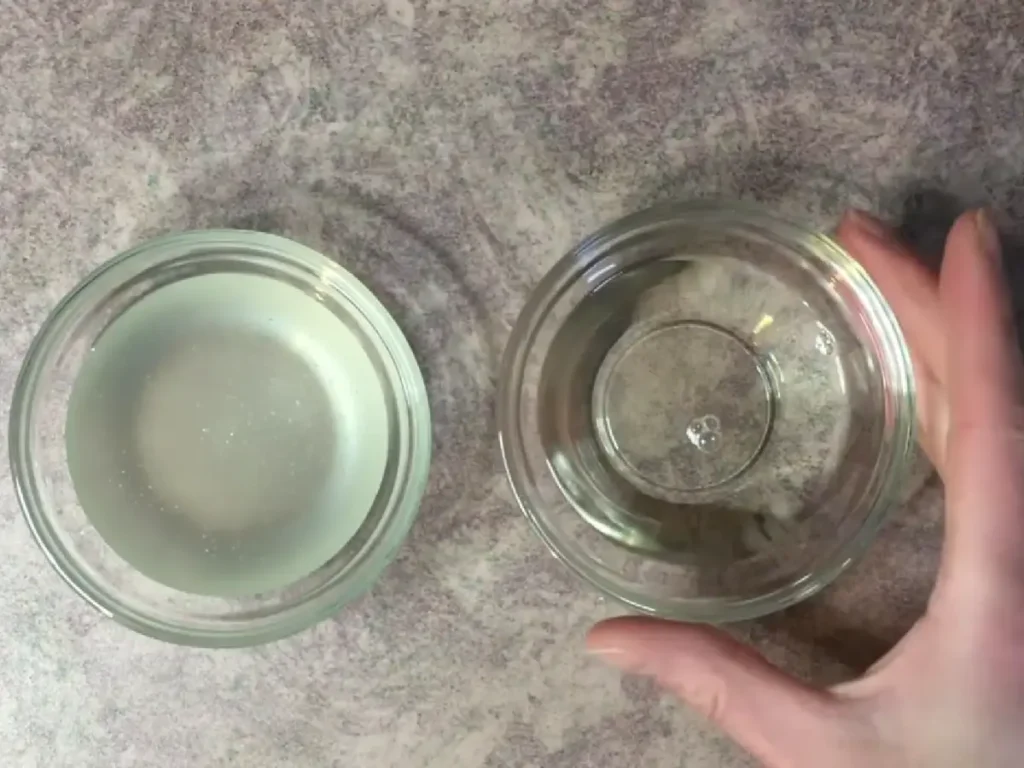
Cocamidopropyl Betaine
Cocamidopropyl Betaine is an amphoteric surfactant.
It is commonly used in cleansing products because it is compatible with several different types of surfactants and works well as part of a surfactant blend.
In this recipe, it works alongside the Coco Glucoside to create the bubbly base.
Cocamidopropyl Betaine is also a liquid, which makes it convenient for a liquid bubble bath formula.
Coco Glucoside
Coco Glucoside is a nonionic surfactant made from coconut-derived fatty alcohols and glucose.
It is known for being mild and producing good foam, making it a useful ingredient in a bubble bath.
Here, the Coco Glucoside makes up the largest portion of the formula and works together with the Cocamidopropyl Betaine to create the bubbles.
Why Use Two Surfactants?
You might wonder why we don’t simply use one surfactant.
Different surfactants have different characteristics. Combining surfactants allows you to build a formula with properties that you may not get from one surfactant alone.
For this bubble bath, Cocamidopropyl Betaine and Coco Glucoside create the surfactant system that produces the foam.
If you’re interested in learning more about how different ingredients work in formulations, take a look at What Each Ingredient Does in Skincare Formulation.
Vegetable Glycerin
Vegetable glycerin is a humectant.
Humectants attract and hold onto water, which is why glycerin is commonly found in skincare and personal-care products.
You will notice that this recipe uses a higher percentage of glycerin than you might see in some leave-on skincare formulas.
Why?
Because bubble bath is used diluted in a large amount of bath water.
The finished product isn’t sitting on your skin in the same way that a lotion or serum would.
Glycerin also contributes to the overall feel of the finished product.
One thing to keep in mind is that glycerin can feel sticky when used at high percentages in some leave-on products. In a bubble bath, the product is quickly diluted into a tub full of water, so that isn’t as much of a concern.
Why Does Bubble Bath Need a Preservative?
This is an important question.
You may look at this recipe and think, “There isn’t any water in the ingredients, so why does it need a preservative?”
The answer is how the product is going to be used.
Bubble bath is going to be used in a wet environment. Water can be introduced into the bottle during normal use, especially if someone is using wet hands or pouring it near a bathtub.
Once water gets into the product, microorganisms have an opportunity to grow.
That is why this formula includes a broad-spectrum preservative.
Do not leave the preservative out simply because the original formula doesn’t contain added water.
Always follow the manufacturer’s recommended usage rate and processing instructions for the particular preservative you are using.
If you are new to preservatives, I recommend reading Why Preservatives Matter in DIY Skincare.
Fragrance Oil
Fragrance is completely optional.
You can make an unscented bubble bath if you prefer, or choose a fragrance oil that is approved for use in bath and body products.
For this recipe, the fragrance is used at 2%.
Make sure the fragrance you choose is appropriate for the intended application and follow the supplier’s recommended usage rate.
A bubble bath is a fun place to experiment with different scents. You could use something fresh and clean, a fruity fragrance, floral fragrance, or a relaxing spa-inspired scent.
Can You Use Essential Oils Instead?
I would not simply substitute an essential oil for the fragrance oil at the same percentage without checking its safety information first.
Essential oils are highly concentrated and have different usage recommendations depending on the oil and the intended application.
If you want to use an essential oil, check the supplier’s recommended usage rate and make sure it is appropriate for a rinse-off bath product.
Also keep in mind that adding an essential oil directly to bath water isn’t necessarily the same thing as properly dispersing it in a finished bath product.
Mica Powder
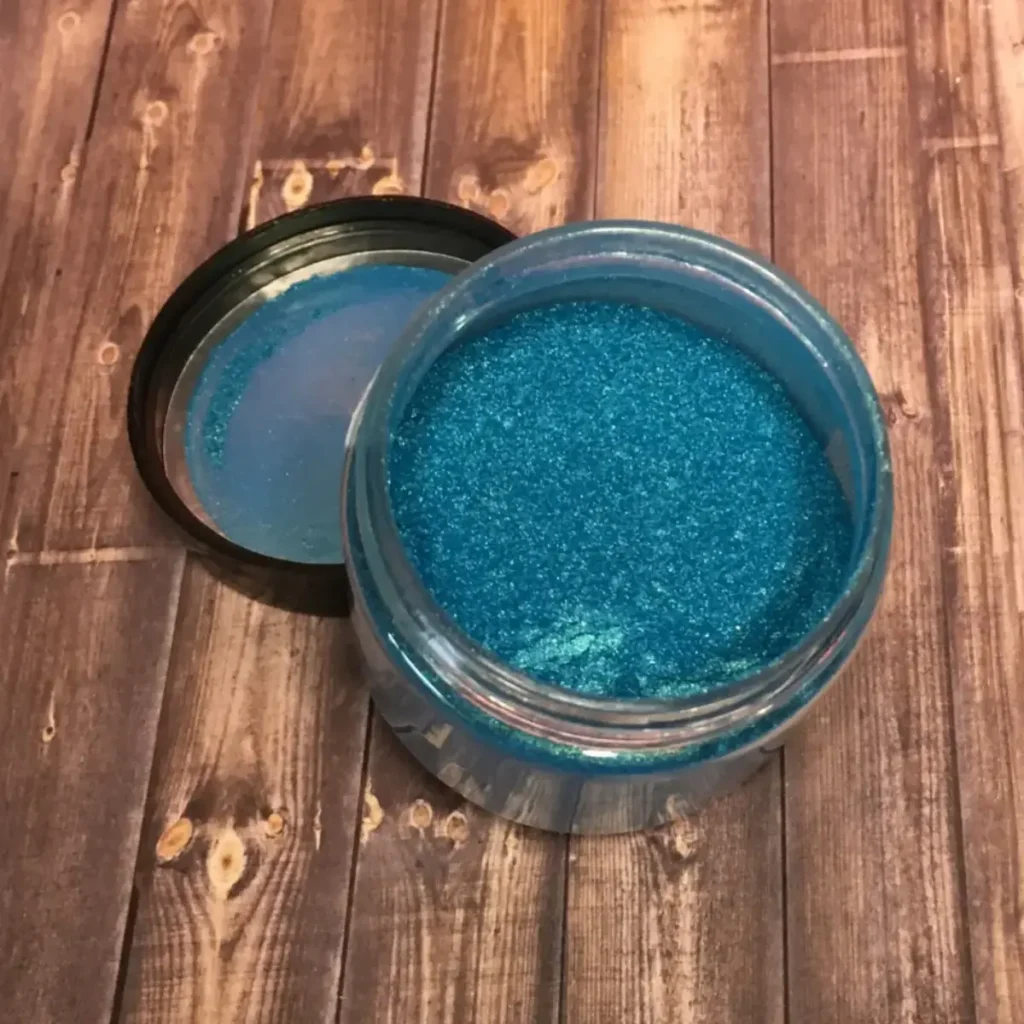
Mica is optional.
I like adding a little color because it makes the finished bubble bath more visually appealing, but you don’t need it for the recipe to work.
Mica won’t necessarily turn your entire bathtub into a strongly colored bath. The amount used here is primarily for giving the bubble bath itself some color.
If you are making bubble bath as a gift, choosing a color that coordinates with the fragrance can be a fun finishing touch.
Always use colorants intended for cosmetic or bath-and-body applications.
Why Does the pH of Bubble Bath Matter?
The pH of a product is something you should pay attention to when making personal-care products.
Our skin has a naturally acidic surface, so we don’t want to make a product that is unnecessarily alkaline.
For this recipe, the goal is a pH of approximately 5.5.
The exact amount of citric acid you’ll need cannot be given as a fixed amount because it depends on the starting pH of your ingredients and the finished product.
That’s why pH adjustment needs to be done gradually.
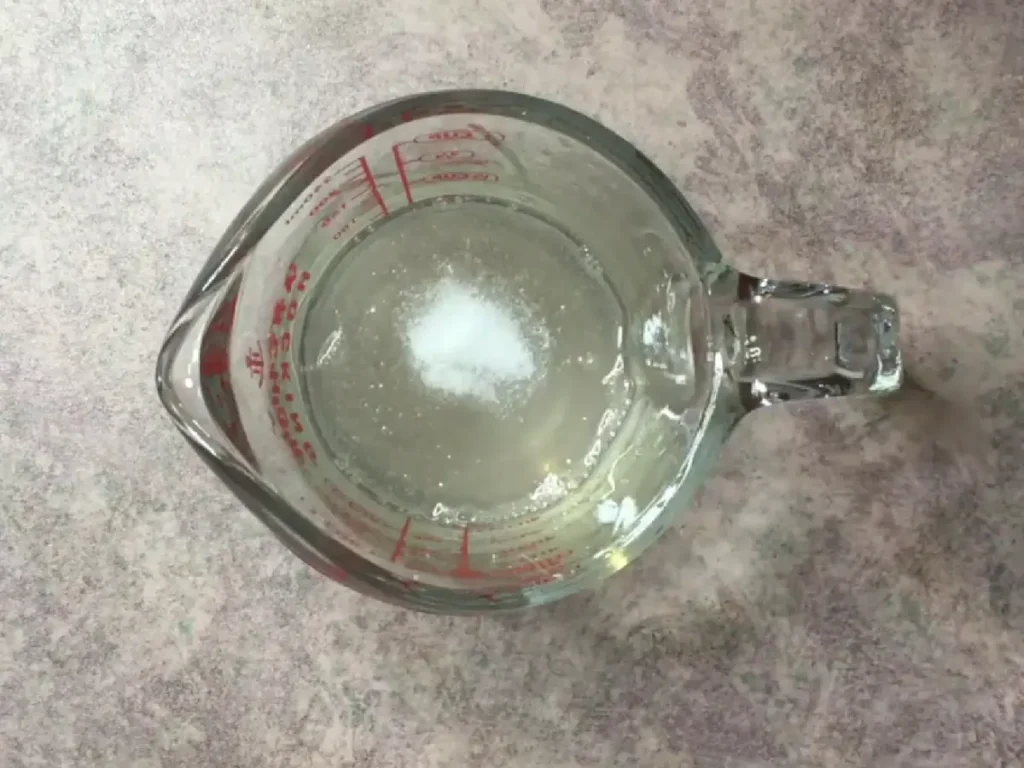
How to Lower the pH of Bubble Bath
Citric acid is used to lower the pH.
The important thing is not to add a large amount all at once.
Instead:
- Test the pH of your finished bubble bath.
- Add a very small amount of citric acid.
- Mix thoroughly.
- Allow the mixture to sit for a few minutes.
- Test the pH again.
- Repeat as necessary until you reach approximately 5.5.
It’s much easier to lower the pH gradually than it is to correct a product that you’ve accidentally made too acidic.
Homemade Bubble Bath Recipe
Ingredients
| Ingredient | Amount | Percentage | Purpose |
|---|---|---|---|
| Cocamidopropyl Betaine | 3.2 oz | 40% | Surfactant and foam |
| Coco Glucoside | 4 oz | 50% | Surfactant and foam |
| Vegetable Glycerin | 0.56 oz | 7% | Humectant |
| Broad-Spectrum Preservative | 0.08 oz | 1% | Preservative |
| Fragrance Oil | 0.16 oz | 2% | Fragrance |
| Citric Acid | As needed | — | Adjusts pH |
| Mica Powder | As desired | — | Optional color |
Total: 8 ounces, plus any very small amount of citric acid and mica used.
Important: Follow the manufacturer’s recommended usage rate for your specific preservative. If your preservative has a different recommended percentage, adjust the formula accordingly.
Equipment
You don’t need a lot of equipment to make this recipe.
You’ll need:
- Digital scale
- Mixing container
- Spatula
- pH meter or suitable pH testing method
- Finished-product bottle
I recommend weighing your ingredients rather than measuring them by volume. A digital scale makes small-batch formulation much more accurate.
How to Make Homemade Bubble Bath
Step 1: Weigh Your Ingredients
Before you start mixing, weigh each ingredient separately.
This makes the process much easier and helps prevent accidentally adding too much of one ingredient.
Because surfactants can be thick and sticky, it is especially helpful to have everything ready before you begin.
Step 2: Combine the Surfactants
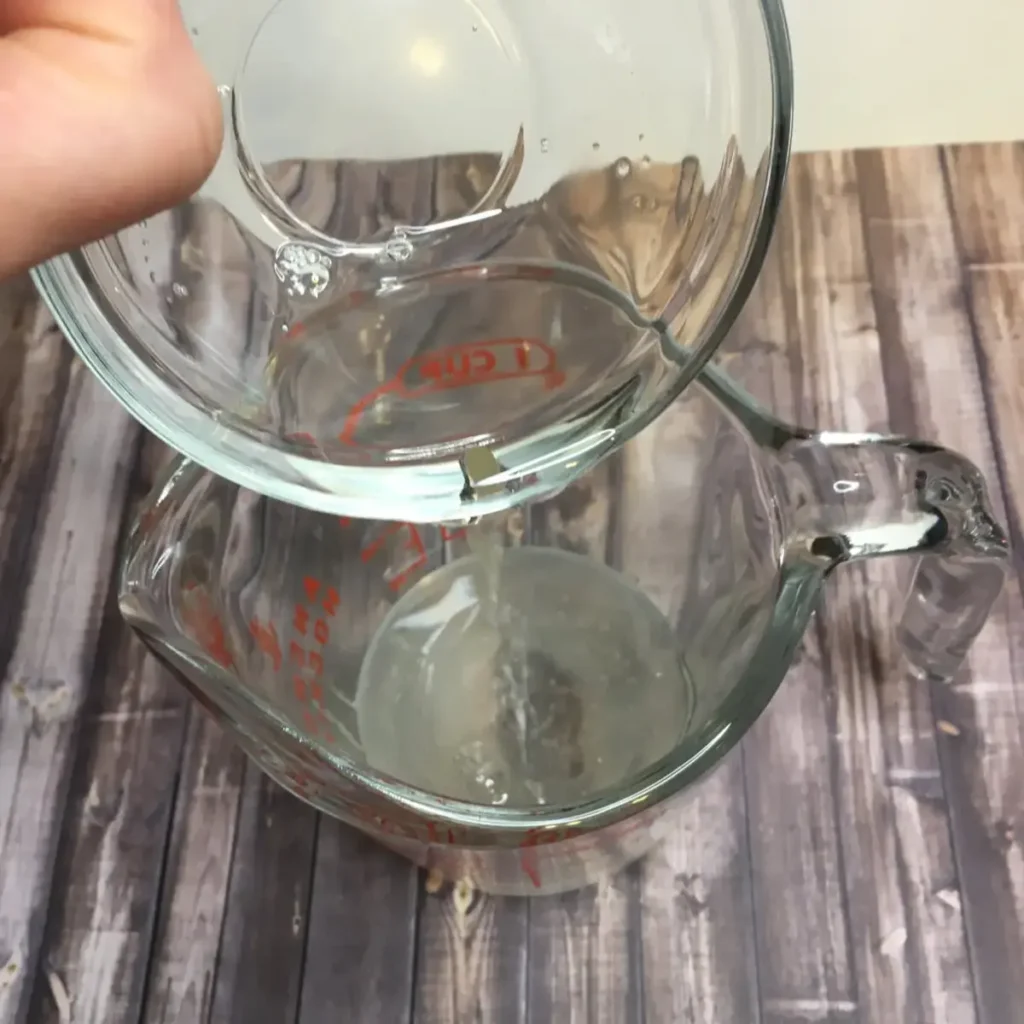
Add the Coco Glucoside to your mixing container.
Then add the Cocamidopropyl Betaine.
Gently mix the two surfactants together.
Try not to whip or aggressively stir the mixture. Excessive mixing can introduce a lot of air, which can make the finished product difficult to work with and make it harder to tell how much product you actually have.
Slow and gentle mixing is your friend when working with surfactants.
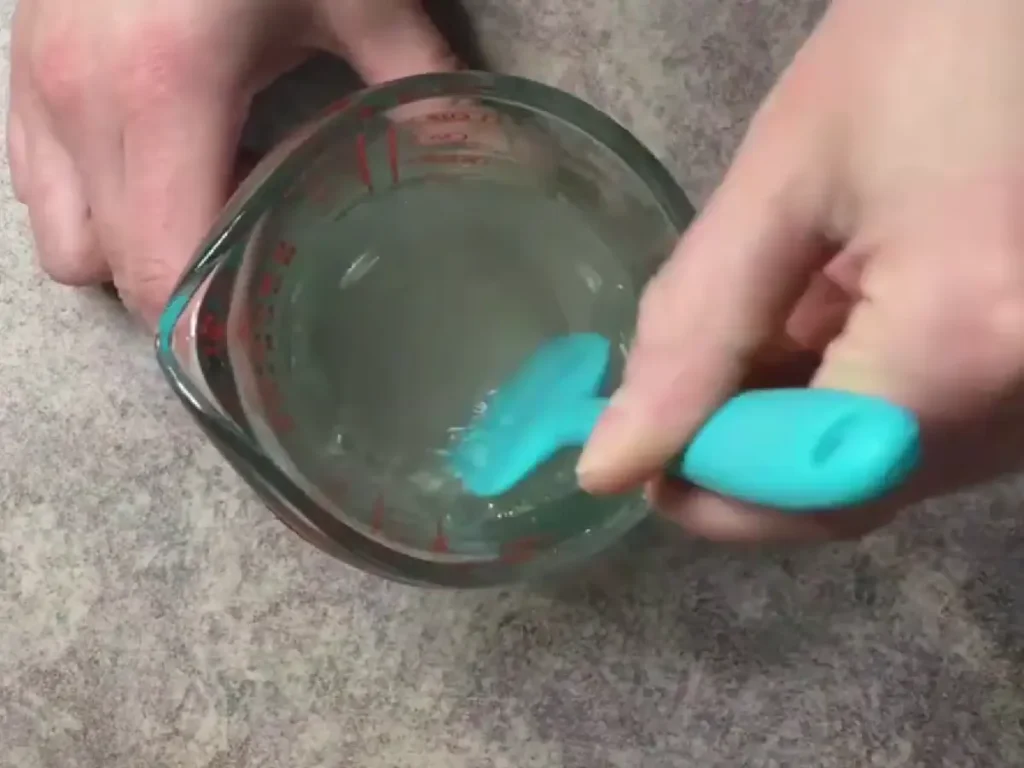
Step 3: Add the Vegetable Glycerin
Add the vegetable glycerin to the surfactant mixture.
Mix thoroughly until the glycerin is evenly incorporated.
At this point, you should have a smooth liquid mixture.
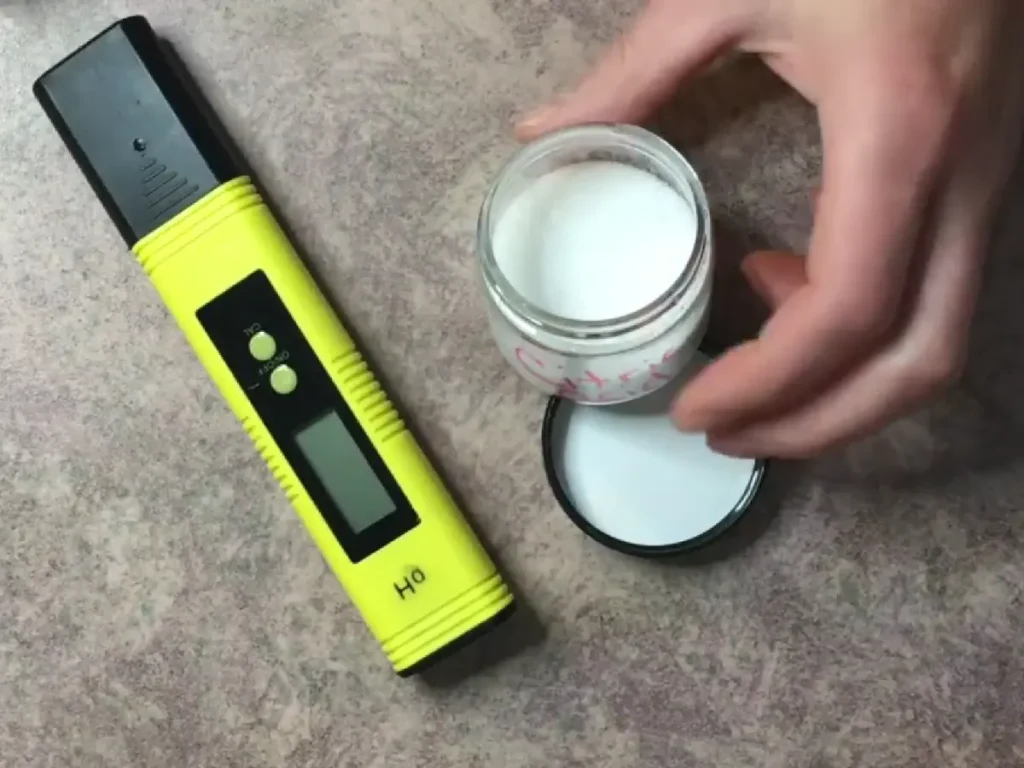
Step 4: Check the pH
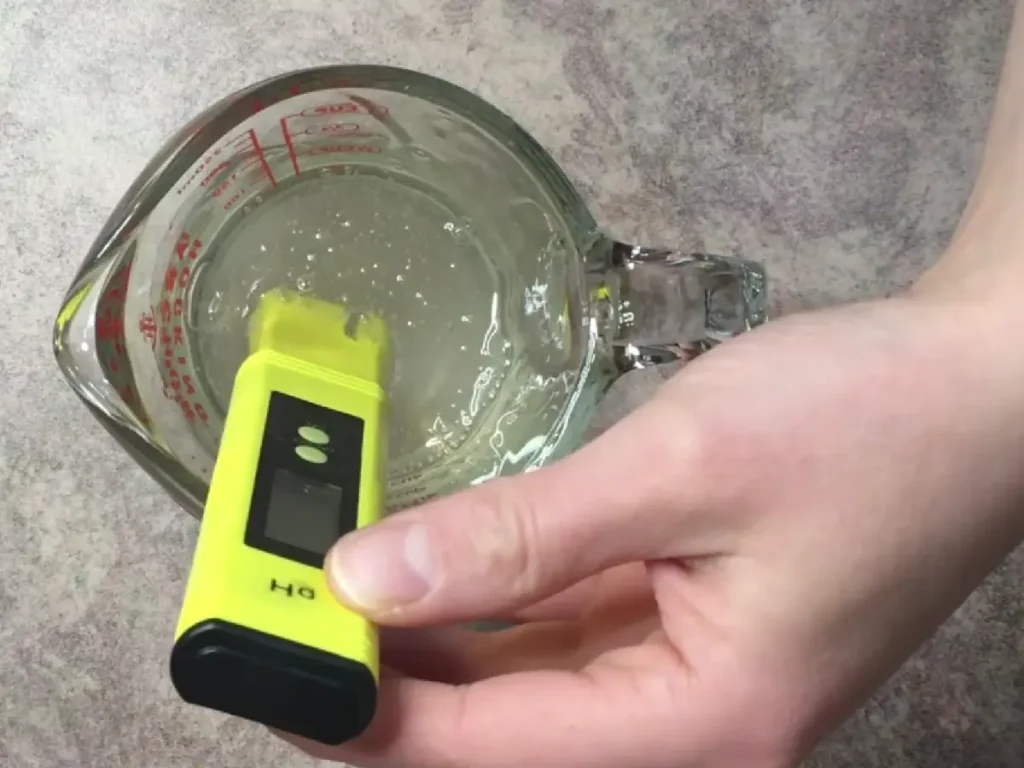
Before adding the final ingredients, check the pH of your bubble bath.
The target for this recipe is approximately 5.5.
If the pH is too high, add a very small amount of citric acid.
Mix thoroughly and wait a few minutes before testing again.
Continue gradually until the pH is where you want it.
Why wait between pH tests?
When you add citric acid, you want to give it time to fully disperse throughout the product before deciding whether you need more.
Adding several amounts quickly without testing in between makes it much easier to overshoot your target.
Step 5: Add Your Color and Fragrance
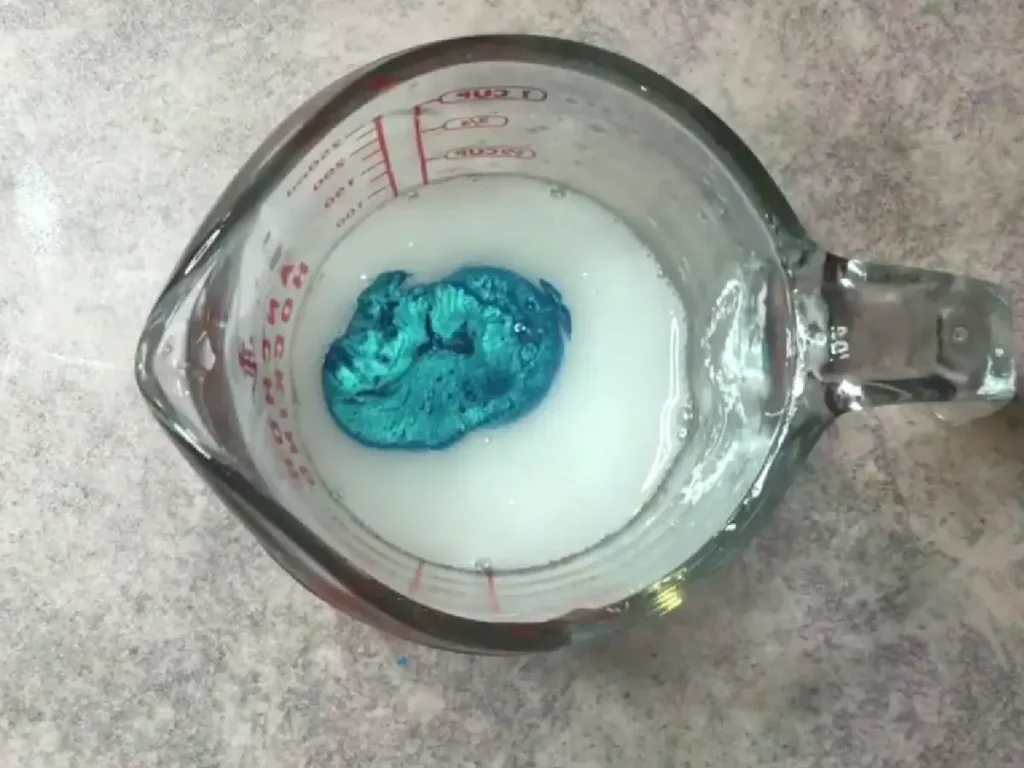
If you are using mica, mix a small amount of mica with your fragrance oil first.
This helps disperse the mica before you add it to the bubble bath.
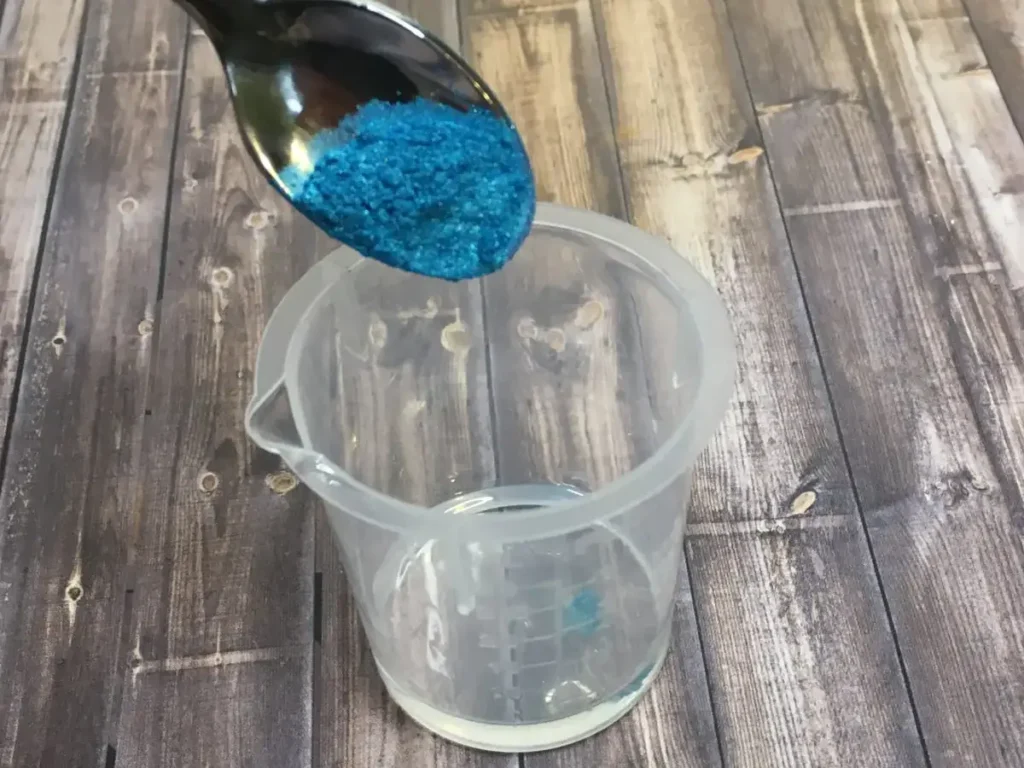
Once combined, add the fragrance and mica mixture to your bubble bath.
Mix gently but thoroughly.
Remember that mica is optional. You can leave it out completely if you want an uncolored bubble bath.
Step 6: Add the Preservative
Add your broad-spectrum preservative and mix thoroughly.
Make sure the preservative you are using is compatible with your formula and follow the manufacturer’s recommended usage rate and processing instructions.
Do not skip this step just because the recipe doesn’t contain added water.
The product will be used around water, and contamination can be introduced during use.
Step 7: Bottle Your Bubble Bath
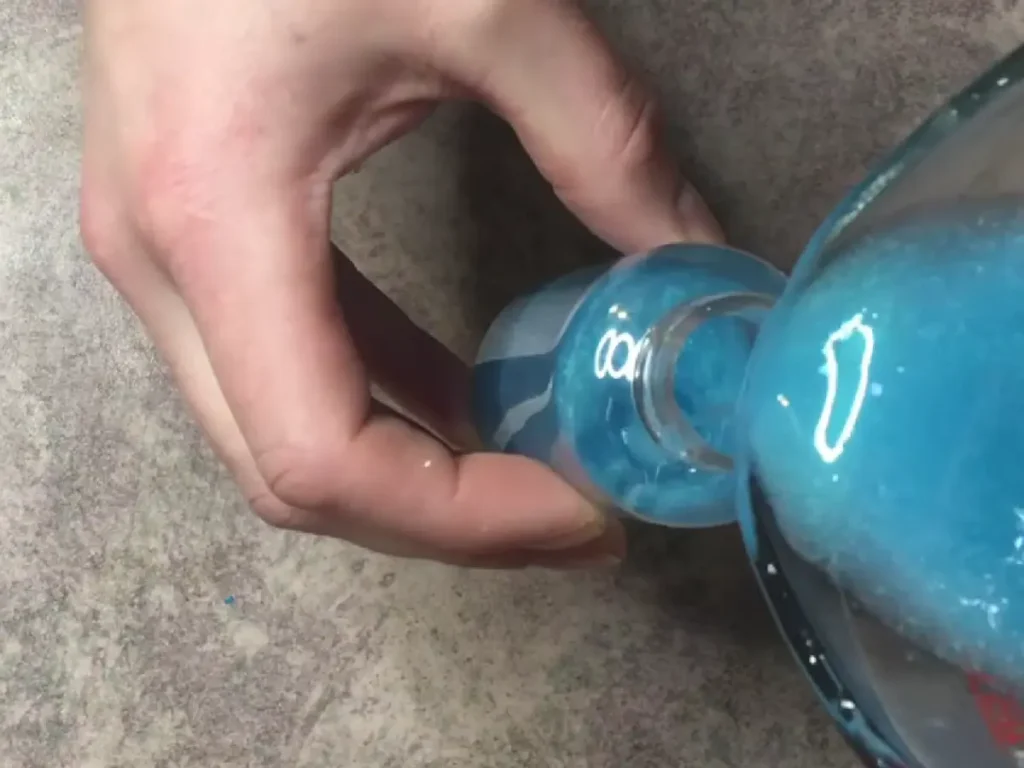
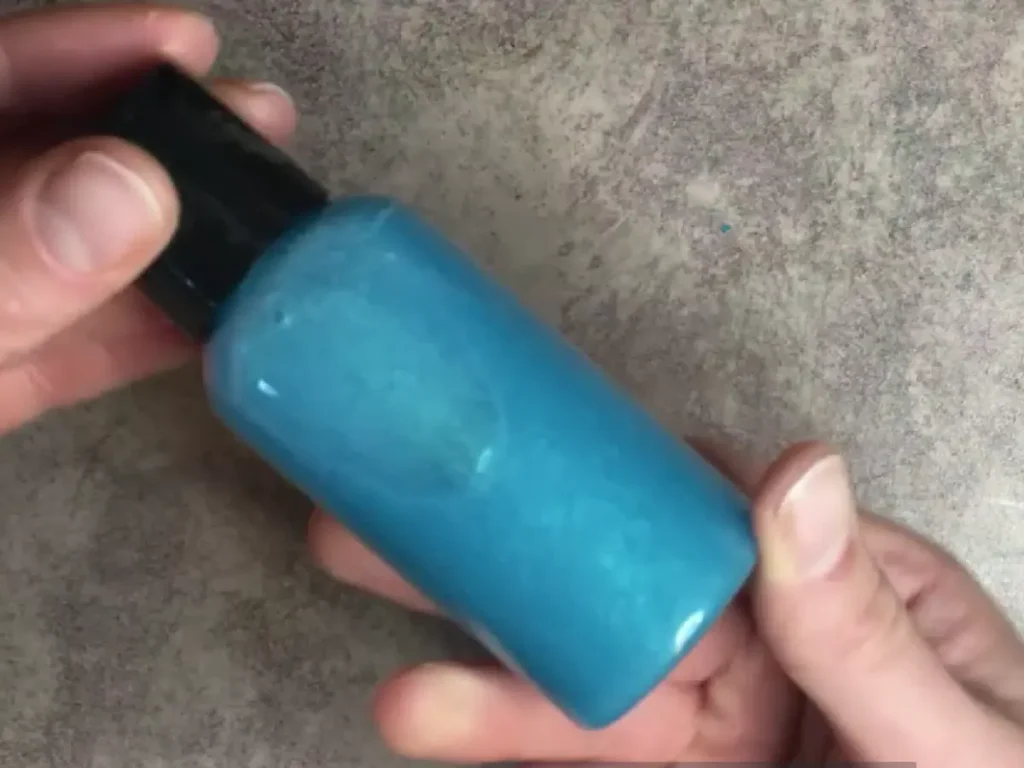
Once everything is thoroughly mixed, transfer the finished bubble bath into a clean, suitable bottle.
A flip-top bottle or pump bottle can work well for this type of product.
Label the bottle with the product name and the date you made it.
If you’re giving the bubble bath as a gift, you can also add the fragrance name and directions for use.
How to Use Homemade Bubble Bath
This is one of the easiest ways to get more bubbles from your finished product.
Start filling your bathtub.
Once you have a few inches of water in the tub, pour your bubble bath directly underneath the running faucet.
The force of the water will help agitate the surfactants and create foam.
You can also move your hand through the running water to encourage even more bubbles.
Once the tub is filled to your preferred level, it’s time to relax.
How Do You Get Big Bubbles in Homemade Bubble Bath?
This is one of the most important parts of making bubble bath, and it has nothing to do with adding more ingredients.
How you add the bubble bath to your tub matters.
Don’t pour your bubble bath into a completely full, still bathtub and expect it to suddenly turn into a mountain of bubbles.
Instead, start filling the bathtub and allow a few inches of water to collect. Then pour the bubble bath directly underneath the running faucet.
The movement of the water helps whip air into the surfactants and creates the bubbles.
You can also move your hand through the water underneath the running faucet to help create even more foam.
How much bubble bath should you use?
Start with a small amount and adjust from there.
For a regular bathtub, try approximately 1–2 ounces of bubble bath. If you want more bubbles, you can add more.
The amount you’ll need will depend on the size of your tub, how much water you’re using, and how much foam you prefer.
Adding more product doesn’t always mean dramatically more bubbles, though. How the product is introduced into the water has a huge effect on the amount of foam you get.
Why Do Bubble Baths Make Bubbles?
The ingredients responsible for the bubbles in this recipe are surfactants.
If you’ve never worked with surfactants before, the word can sound much more complicated than it really is.
Surfactants have a water-loving portion and a water-repelling portion. When they are mixed with water, they arrange themselves at the surface and help reduce the surface tension of the water.
When air gets incorporated into the mixture, the surfactants help stabilize that thin layer of liquid around the air, creating bubbles.
That’s why agitation is so important when using bubble bath.
The faucet isn’t just filling the bathtub. It is also helping create the foam.
Why Didn’t My Bubble Bath Make Enough Bubbles?
If you made the recipe and expected a giant mountain of bubbles but didn’t get the results you wanted, don’t immediately assume the formula failed.
The way you use the bubble bath can make a surprisingly big difference.
Did you add it after the tub was already full?
If you pour bubble bath into a still bathtub, you’re missing the agitation that helps create the foam.
Try adding it while the water is running instead.
Did you use enough water pressure?
A strong stream of running water generally creates more agitation than slowly filling the tub.
Try pouring the bubble bath directly under the faucet.
Did you add too much product?
More isn’t necessarily better.
Adding a huge amount of bubble bath won’t automatically produce proportionally more bubbles. Start with a reasonable amount and experiment with your particular bathtub.
Are your bubbles disappearing quickly?
Some bubble loss is completely normal.
Bubbles are not permanent. Heat, oils, bath products, water chemistry, and physical agitation can all affect how long the foam lasts.
If you’re using other bath products at the same time, they can also change the behavior of the bubbles.
Can I Make This Bubble Bath Unscented?
Absolutely.
Fragrance is optional, so you can leave it out if you prefer an unscented bath product.
If you remove the fragrance, remember that you are changing the total batch weight slightly.
For the most accurate formulation, you would recalculate the formula rather than simply removing the ingredient without adjusting anything else.
Can I Change the Fragrance?
Yes, as long as the fragrance you choose is suitable for use in bath and body products and you stay within the supplier’s recommended usage rate.
Different fragrance oils can also behave differently in surfactant formulas.
Some may make the product cloudy, change the color, alter the viscosity, or affect the amount of foam.
That doesn’t necessarily mean something went wrong. It simply means fragrance oils are not always interchangeable from a formulation standpoint.
Can I Leave Out the Mica?
Yes.
Mica is completely optional and is included only to add color.
If you prefer a clear or naturally colored bubble bath, simply leave it out.
Does Homemade Bubble Bath Need to Be Preserved?
Yes, this formula should be preserved.
Even though the recipe does not have water listed as one of the main ingredients, it is a product that will be used around water.
Water can be introduced into the bottle during use, and contamination can occur.
A proper broad-spectrum preservative helps protect the product from microbial growth.
For more information about why preservation matters in homemade personal-care products, read Why Preservatives Matter in DIY Skincare.
How Should I Store Homemade Bubble Bath?
Keep your finished bubble bath tightly closed when you’re not using it.
Store it in a cool, dry location and avoid introducing water directly into the bottle.
Use clean hands when handling the product and don’t leave the bottle sitting open near the bathtub.
Always follow the manufacturer’s storage recommendations for your preservative and other ingredients.
Because homemade products don’t have the same controlled manufacturing and stability testing as commercially manufactured products, I recommend making small batches and paying attention to any changes in appearance, smell, texture, or performance.
If you notice an unusual odor, discoloration, separation that wasn’t present originally, mold, or another obvious change, discard the product.
A Few Tips for Making Bubble Bath Successfully
Don’t rush the mixing
Surfactants can create a lot of foam when they’re mixed aggressively.
Gentle mixing gives you a much easier product to work with.
Don’t guess your pH
If you’re making a personal-care product, pH testing is an important part of the process.
Don’t simply assume that the pH is correct because you used a particular amount of citric acid.
Test the finished product.
Add citric acid slowly
A little can make a significant difference.
Add small amounts, mix thoroughly, wait, and test again.
Don’t skip the preservative
A product that is going to be used around water needs appropriate protection against microbial contamination.
Add the bubble bath under running water
This is probably the simplest tip in the entire recipe, but it can make a huge difference in the amount of foam you get.
Can I Make Other Bath Products at Home?
Absolutely.
Once you start making your own bath products, there are so many different things you can experiment with.
If you enjoy bubble bath, you might also want to try making a whipped foaming sugar scrub.
Looking for something that doesn’t require a jar? Try Lotion Dots.
And if you’re interested in making your own bath and skincare products from scratch, my Skincare Formulation for Beginners guide is a great place to continue learning.
Homemade Bubble Bath FAQ
How much homemade bubble bath should I put in my bathtub?
Start with approximately 1–2 ounces and adjust based on the size of your bathtub and how much foam you want.
For the best bubbles, add the bubble bath underneath the running faucet rather than waiting until the tub is full.
Why aren’t my bubbles lasting?
Bubble longevity depends on several factors, including water temperature, agitation, the surfactant system, and other products in the bath.
Some bubble loss is normal.
Can I add more glycerin to make it more moisturizing?
I wouldn’t recommend simply adding more glycerin to this recipe.
Increasing one ingredient changes the balance of the entire formula. If you want to create a different formula, it’s better to formulate the recipe intentionally rather than adding ingredients until you get the result you’re looking for.
Can I use this as body wash?
I wouldn’t use this recipe as a substitute for a properly formulated body wash.
Although both products contain surfactants, they are designed for different applications.
This recipe was created specifically as a bubble bath.
Can I use essential oils in my bubble bath?
You can formulate a bubble bath with essential oils, but you should not simply substitute an essential oil for fragrance oil at the same percentage.
Check the safety information and recommended usage rate for the specific essential oil and intended bath application.
Why is my bubble bath cloudy?
Cloudiness can happen for several reasons, including the ingredients used, fragrance, colorants, or interactions between the components.
A cloudy bubble bath isn’t necessarily a sign that the product is bad.
Can I make a larger batch?
Yes, but scale every ingredient proportionally rather than simply adding random amounts.
For example, if you want to double the recipe, double the ingredients.
When scaling a formula, it’s still important to check the finished product’s pH and follow the preservative manufacturer’s instructions.
Final Thoughts
Making your own bubble bath doesn’t have to be complicated.
Once you understand what the surfactants are doing, the rest of the formula starts to make much more sense.
The Cocamidopropyl Betaine and Coco Glucoside create the bubbles, glycerin adds humectant properties, fragrance gives you the scent you want, mica can add color, and the preservative helps protect the finished product from microbial growth.
The biggest trick for getting lots of bubbles isn’t necessarily adding more bubble bath. It’s using the product correctly.
Add it underneath the running faucet, let the water create the agitation, and then enjoy your homemade bubble bath.
And once you’ve gotten comfortable with this formula, you can start learning more about formulation and why different ingredients are used together. That’s where making your own bath and skincare products becomes even more interesting.
Have fun experimenting, and happy bathing!
Printable Bubble Bath Recipe
Homemade Bubble Bath
Equipment
- Scale
- Spatula
- PH tester
- Mixing container
Ingredients
- 3.2 ounces | 40% Cocamidopropyl Betaine
- 4 ounces | 50% Coco Glucoside
- 0.56 ounce | 7% Vegetable Glycerin
Cool Down Phase
- 0.08 ounce | 1% Broad Spectrum Preservative *follow manufactures use rate
- 0.16 ounce | 2% Fragrance Oil
- Citric Acid *as needed to lower ph
- Mica Powder *as desired for coloring
Instructions
Phase 1
- Weight out all of your ingredients into separate containers.
- Pour the Coco Glucoside into a mixing container.
- Add Cocamidopropyl Betaine in with the Coco Glucoside.
- Mix well.
- Add in the Vegetable Glycerin and mix thoroughly.
Phase 2: PH Phase
- Check the ph of the bubble bath.
- Add a small amount of citric acid and mix. Let stand for a few minutes.
- Re-check the ph. You want it to be about 5.5. (If need be, repeat the previous step a few times until you get the ph to 5.5).
Phase 3
- Add your mica powder into the container with the fragrance oil.
- Pour that into the bubble bath mixture and mix well.
- Add the preservative and mix again.
- Bottle and enjoy!