
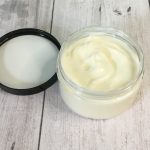
The number one focus of this diy face cream is hydration. I don’t know about you, but this winter weather is wreaking havoc on my skin. Especially my face! So, today I felt it would be fitting to combat my dry winter skin with a nourishing DIY face cream.
Prefer to watch this project instead of reading it?
Some links are “affiliate links,” because I am an Amazon Associate and I earn from qualifying purchases. There is no additional cost to you, the price of the item is the same whether it is an affiliate link or not.
How often should I use this face cream?
The rule of thumb with face creams is to use twice a day: once in the morning and once at night. The daytime face cream will help to protect and hydrate. The night cream is the one that does the corrective work.
How to apply the diy face cream?
You always want to start with a freshly cleaned face before application of a face cream. You can find a face wash recipe here. Start by applying the diy face cream with your fingertips. You should use large upward strokes until the cream is absorbed into your face.
Let’s go over the ingredients that we are going to be using in this face cream.
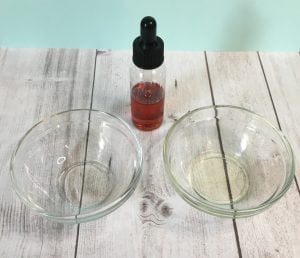
We have 3 phases: Water Phase, Oil Phase and Cool Down Phase.
Water Phase

Ok, before we get too far into going over these ingredients, feel free to leave out any ingredients that you do not have in this phase. If these products are not something that you have on hand, they can get kinda pricey. If you were going to leave out the Aloe Vera, just add the extra 5% to the Distilled Water.
Distilled Water
It is super important to use distilled water, when making cosmetics. When I am making them, I want to make sure that the quality of the recipe is the same every time. Remember, all water is not created equal; by using distilled water you can have a consistent ingredient for your face cream. Plus, when troubleshooting you can be sure it’s not an issue with the water.
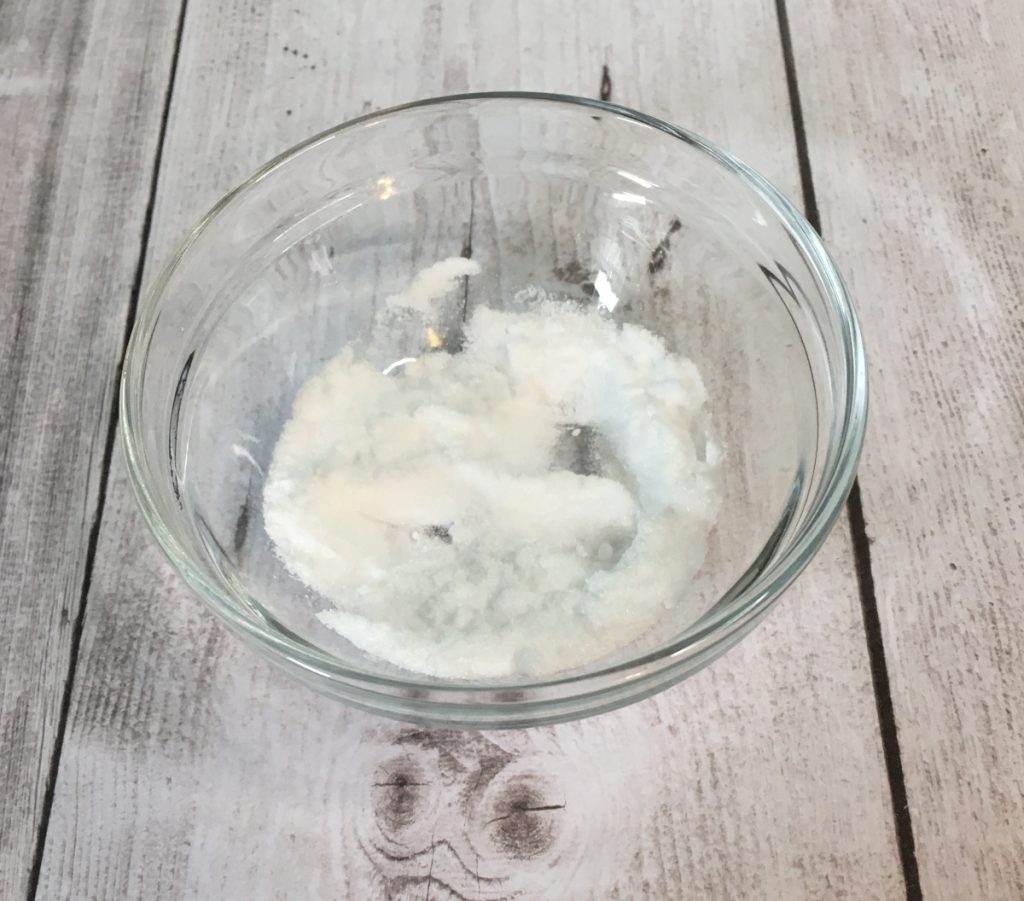
Vitamin B3 (Niacinamide)
Vitamin B3 is a white powder that is odorless. It is soothing for blemished skin, can reduce the sign of fine lines and wrinkles. It can improve the appearance of aged, hyperpigmented and photodamaged skin.
Provitamin B5
Provitamin B5 is a clear viscous liquid that has no odor. It has moisturizing and softening properties. It is also known to be soothing for irritated and blemished skin.
Vegetable Glycerin
Vegetable Glycerin is a clear, syrup like consistency that is viscous. We use this because it is a natural humectant, meaning it draws moisture to itself from the air. It also creates a sort of barrier to prevent moisture loss, but does not clog your pores.
Aloe Vera
Aloe Vera is a clearish tan liquid, with a faint floral aroma. It comes from inside the aloe plant’s hollow leaves. The one that I use is 10 times concentrated. I love this ingredient, because of it’s moisturizing abilities and it’s soothing abilities. It is said to be able to improve the appearance of aging skin.
Oil Phase
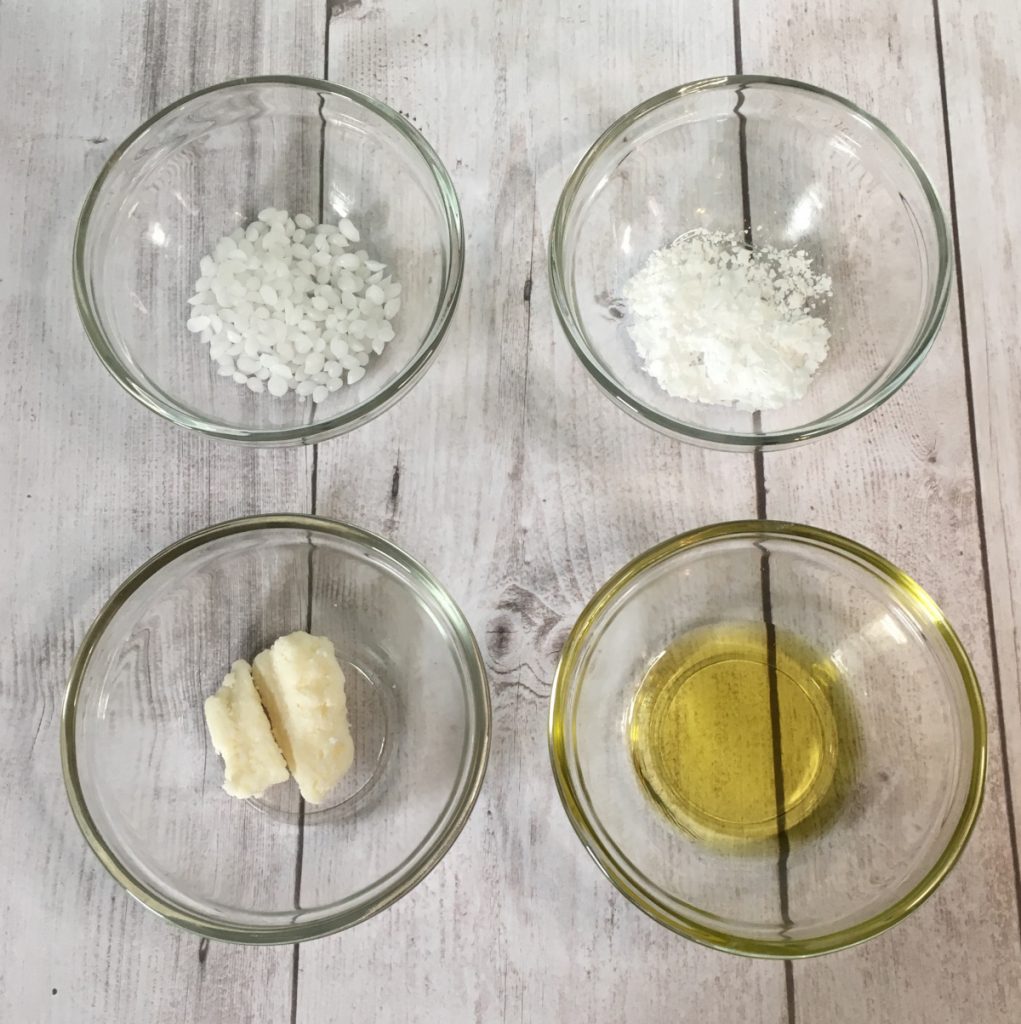
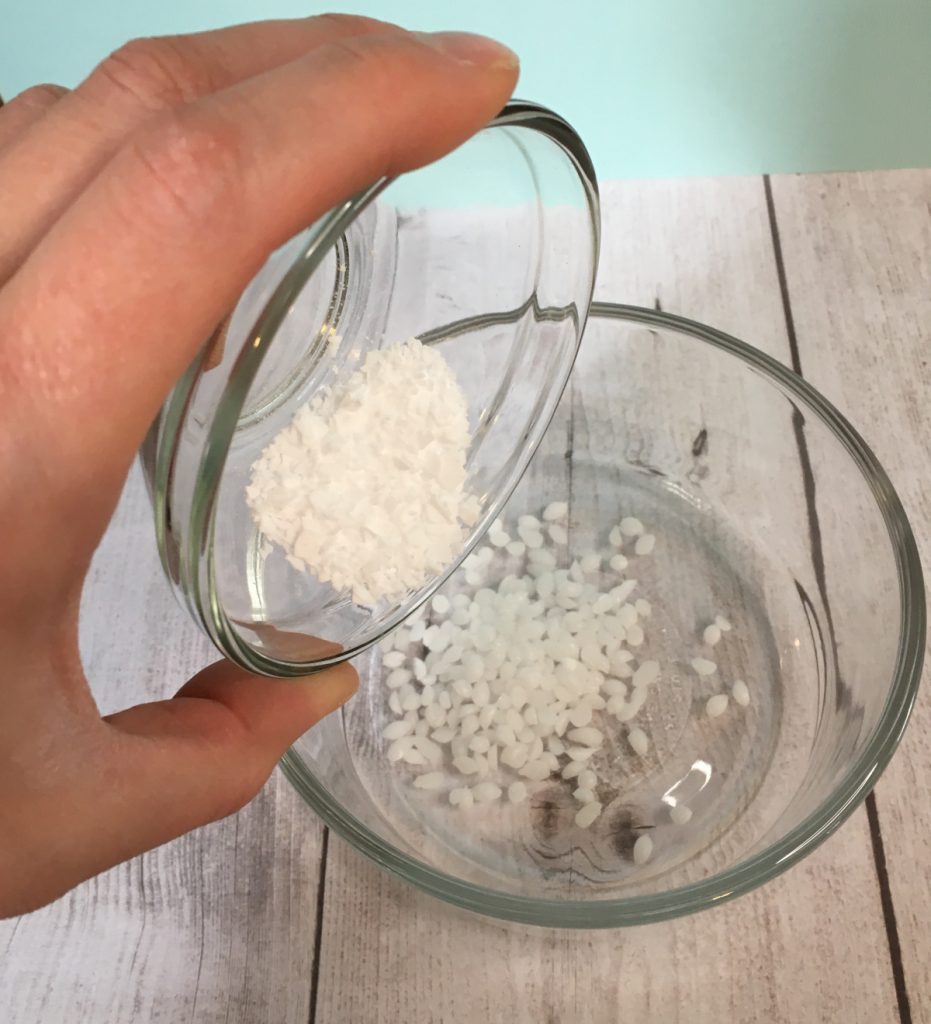
BTMS 50 : White beads that have an unusual odor. Trust me, you will smell it right away, but the smell does not carry into the finished product. This is our emulsifier; which means that it is what gets the water and oil to mix together into an emulsion.
Cetyl Alcohol
Cetyl Alcohol is hard, white flakes, with no odor. This is used for 2 reasons: as a thickener and to help moisturize.
Mango Butter
Mango Butter is an off-white color that is a soft but solid oil. It is made from the mango seeds. The thing that I love about Mango Butter, is that it is such a rich oil that it does not soak in right away. Rather, it has some time on your face to help create a protective layer while hydrating and healing. At the same time, it is non-comedogenic, meaning it doesn’t clog pores, which is why I choose it for this diy face cream recipe.
Olive Oil
Olive Oil is probably a staple in most cupboards, olive oil is a golden yellow color. It is derived from the fruit of the olive tree. This oil is packed full of antioxidants and vitamins. Annndddd, it is an amazing moisturizer that is non-comedogenic.
This is my absolute favorite oil for my face.
Cool Down Phase
Broad Spectrum Preservative
Anytime you are using water or if your finished product will come into contact with water, you have to use a broad spectrum preservative. I use Optiphen Plus, which is a broad spectrum preservative. It is paraben and formaldehyde-free.
If you do not use a preservative, you are going to end up growing some nasty stuff in your finished products.
Vitamin E Oil
Vitamin E Oil or Tocopherol T-50 is a viscous liquid that is a light yellow brownish to a red brownish color. It turns a darker brown when subjected to sunlight, it is still fine to use, it just changes color. The antioxidants will help to extend the life of your products, by slowing down the oils from going rancid.
You do not need to add any fragrance or essential oil to this product, if you don’t want to. I like to add essential oils for both the scent and the added benefits.
Tea Tree Oil
Tea Tree Oil is said to have antifungal properties and antibacterial properties. I go more in depth about this ingredient in an Ingredient Spotlight on Tea Tree post. Plus, personally I love the scent of it.
Chamomile Essential Oil
Chamomile essential oil contains azulene, which is proven to help moisturize and reduce inflammation. Also said to be able to fight free radicals that can age our skin.
DIY Face Cream
Equipment
- Scale
- Double boiler
- Immersion Blender
- Spatula
- Heat Safe Container
- Empty Jar
Ingredients
Water Phase
- 2.45 ounce | 61.25% Distilled Water
- 0.20 ounce | 5% Vitamin B3 – Niacinamide
- 0.20 ounce | 5% Provitamin B5 – D Panthenol
- 0.12 ounce | 3% Vegetable Glycerin
- 0.20 ounce | 5% Aloe Vera 10x concentrated
Oil Phase
- 0.08 ounce | 2% Cetyl Alcohol
- 0.20 ounce | 5% BTMS 50
- 0.20 ounce | 5% Mango Butter
- 0.20 ounce | 5% Olive Oil
Cool Down Phase
- 0.03 ounce | .75% Broad Spectrum Preservative
- 0.04 ounce | 1% Vitamin E
- 0.04 ounce | 1% Tea Tree Oil
- 0.04 ounce | 1% Chamomile Essential Oil
Instructions
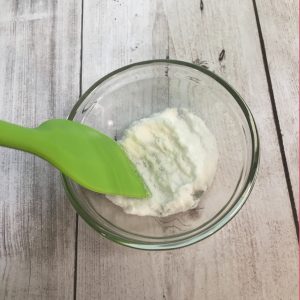
Water Phase
- Start by weighing out all of you water phase ingredients.
- Put your distilled water to a heat safe container and set aside.
- Take your container with vegetable glycerin and add your Vitamin B3. Mix thoroughly.
- Add the Provitamin B5 and Aloe to the glycerin slurry. Then mix well.
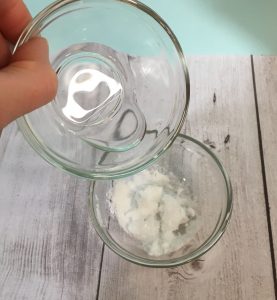
- Add the slurry to the distilled water.
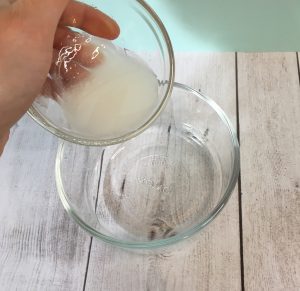
- Place on a double boiler.
Oil Phase
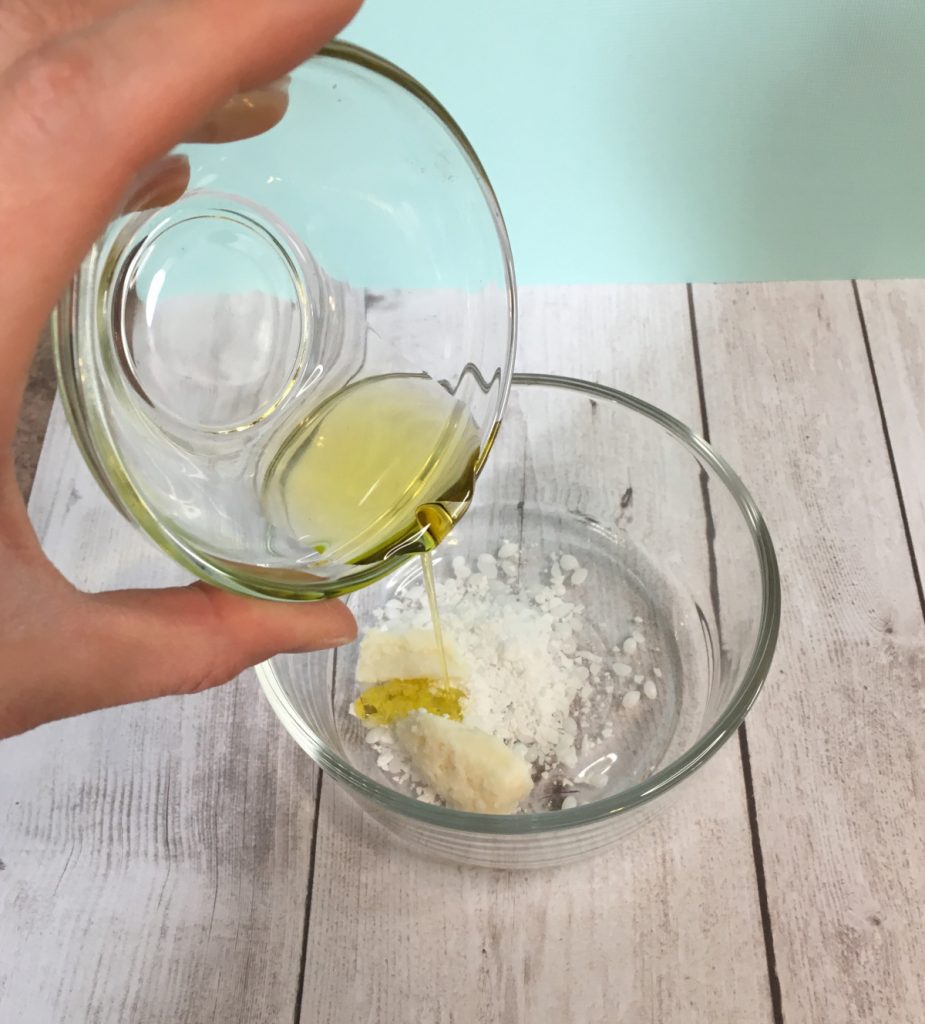
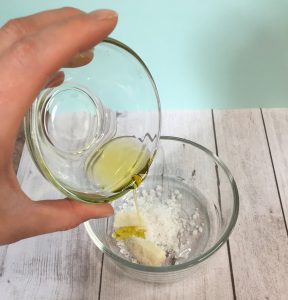
- Weight all of your oil phase ingredients and place in a heat safe container on a double boiler.
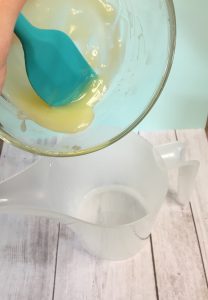
- After the oil phase ingredients are fully heated, remove both the oil and the water phase from the double boiler.
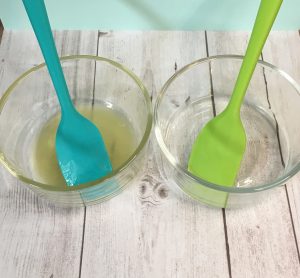
- Add the oil phase ingredients into the water phase. .
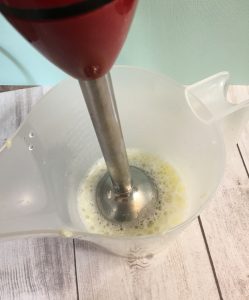
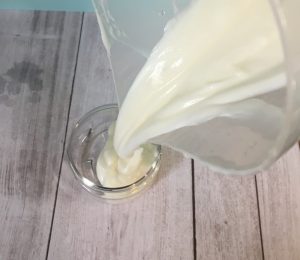
- Mix well with an immersion blender.
Cool Down Phase
- Check to make sure that the temperature has dropped to below 120°F.
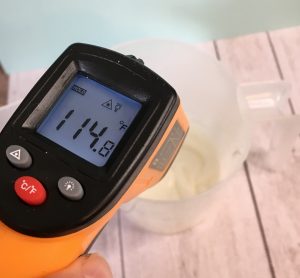
- When it is below 120°F, add your cool down ingredients and mix well.
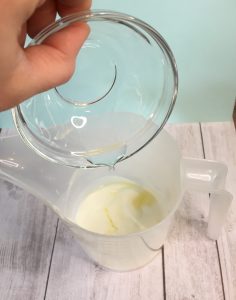
- Pour into a container and enjoy!

Comments are closed.