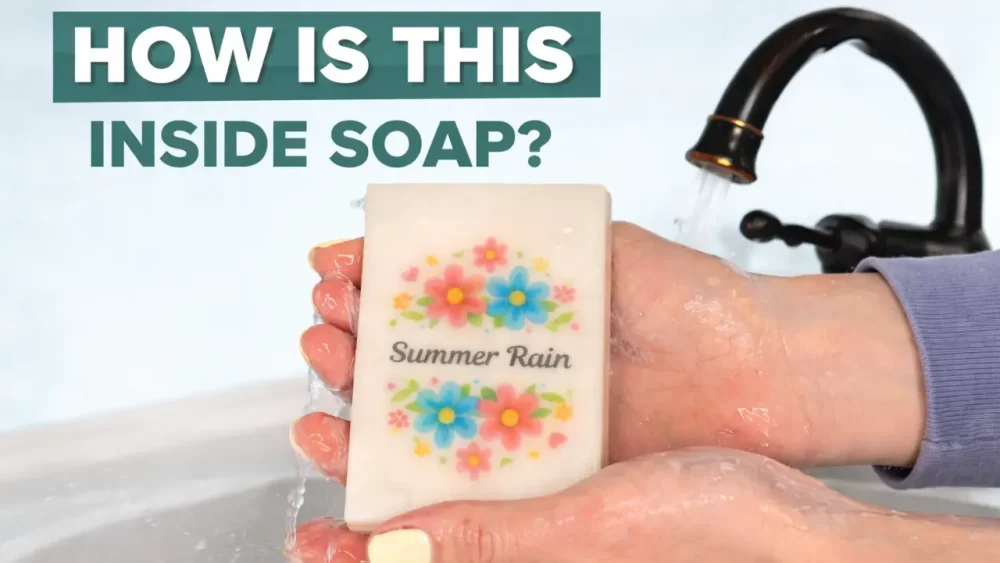
Picture embed soap is a simple way to create custom melt and pour soaps with logos, artwork, or photos inside the bar. This technique works especially well for gifts, small businesses, or themed soaps.
The key to making this work is using special dissolvable embed paper designed for soap making. When the soap is used, the paper dissolves quickly in water.
If you’re new to melt and pour soap making, you may want to read Learn the Basics of Melt and Pour Soap first for a full overview of the process.
Watch the full video making Embed Melt and Pour Soap
Some links on this website are affiliate links, meaning I may earn a small commission if you click and make a purchase. This comes at no additional cost to you.
Why You Must Use Dissolvable Embed Paper
Regular paper will not work in soap. Instead, you need special water-soluble embed paper that dissolves when the soap is used.
A few important tips:
- Use inkjet printers only
- Do not use laser printers (the paper can damage the printer)
- Allow the ink to fully dry before cutting
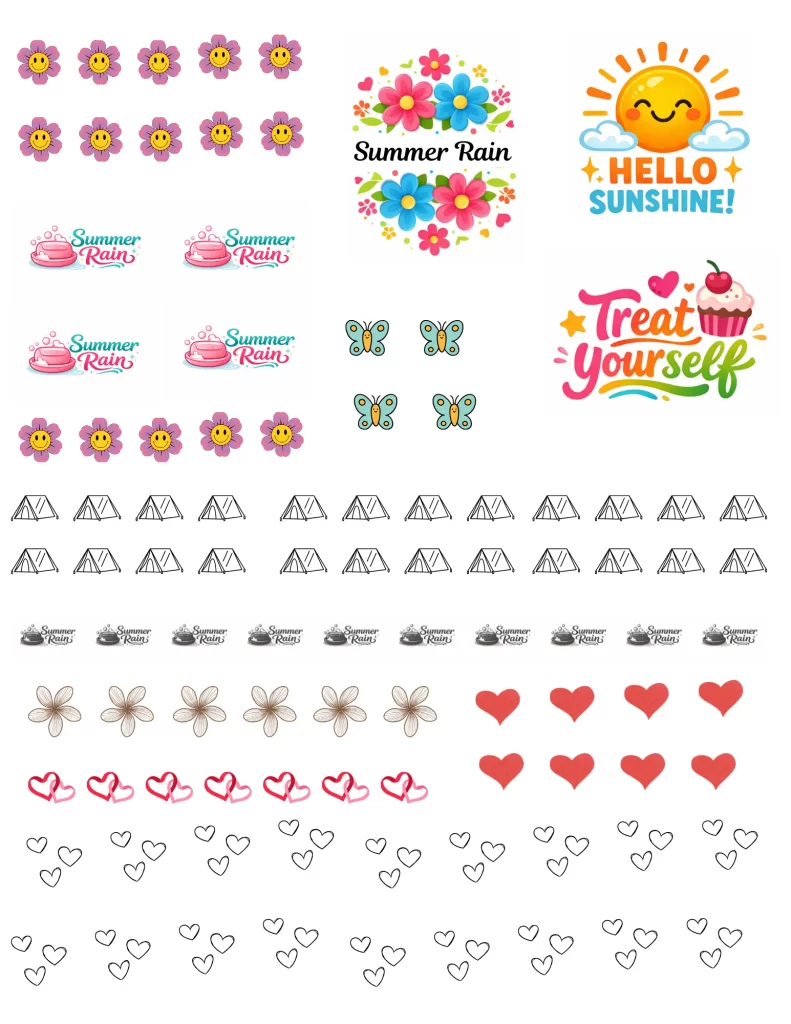
I design my images in Canva because it’s easy to resize graphics to fit my molds.
I used one sheet for multiple projects. This was the 8.5 X 11 design I made. It was also used for my Single Use melt and pour soap.
Ingredients
The batch below makes one 80 g soap bar.
| Ingredient | Percentage | Weight (80 g Batch) |
|---|---|---|
| Clear Melt and Pour Soap | 25% | 20 g |
| White Melt and Pour Soap | 75% | 60 g |
| Fragrance Oil | 5% | 4 g |
| Total | 100% | 80 g |
Fragrance used: Honey Baby fragrance oil (4–6% usage rate)
Supplies
- Dissolvable soap embed paper
- Inkjet printer
- Soap mold
- Digital scale
- Microwave safe containers
- Rubbing alcohol spray bottle
- Thermometer
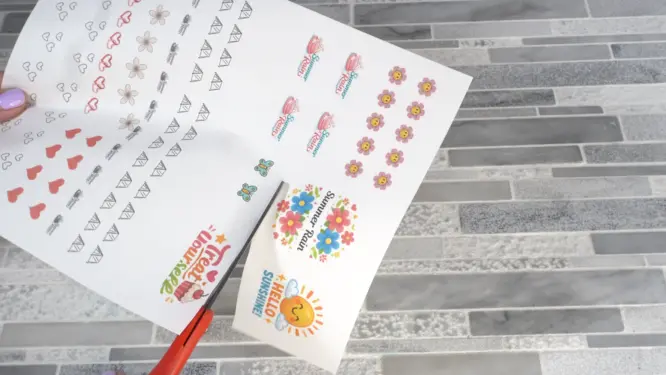
Step 1: Print and Cut Your Image
Design your image and print it on the dissolvable paper using an inkjet printer.
Allow the ink to fully dry before cutting the image to size.
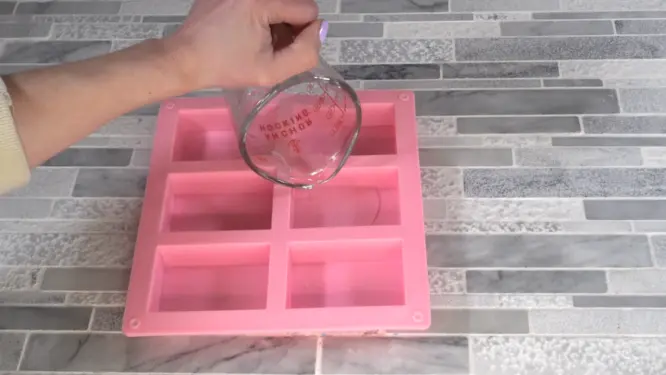
Step 2: Pour the Clear Soap Layer
This layer allows the design to show through the finished soap.
- Weigh 20 g clear melt and pour soap base
- Melt in short microwave bursts
- Add 1 g fragrance oil
- Pour into the mold
Allow the soap to sit for a minute until a thin skin forms.
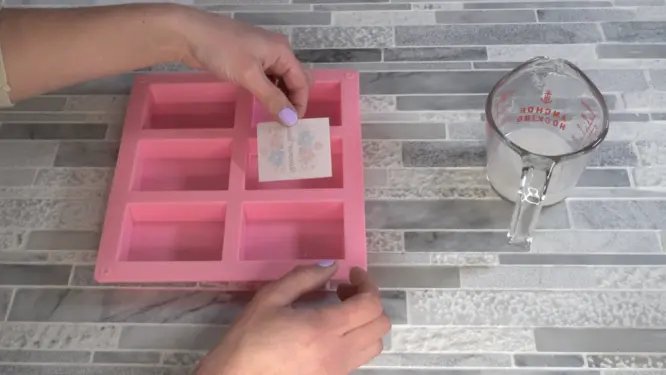
Step 3: Place the Image
Place the printed image picture side down on the clear soap.
This allows the image to appear correctly when viewed through the soap.
If the paper curls, lightly spray it with rubbing alcohol to help it lay flat.
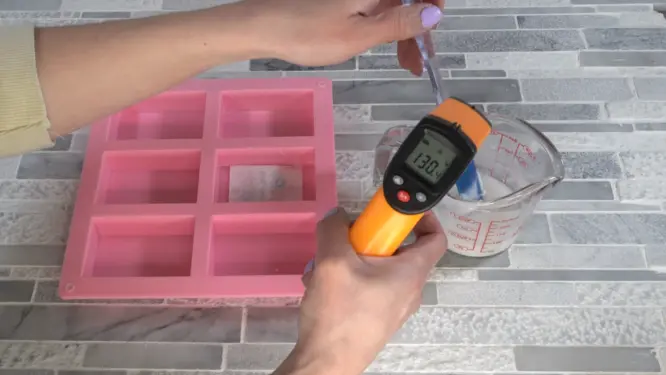
Step 4: Prepare the White Soap Layer
- Melt 60 g white melt and pour soap
- Add 3 g fragrance oil
- Allow the soap to cool to 120–130°F
Cooling is important because soap that is too hot can distort the paper.
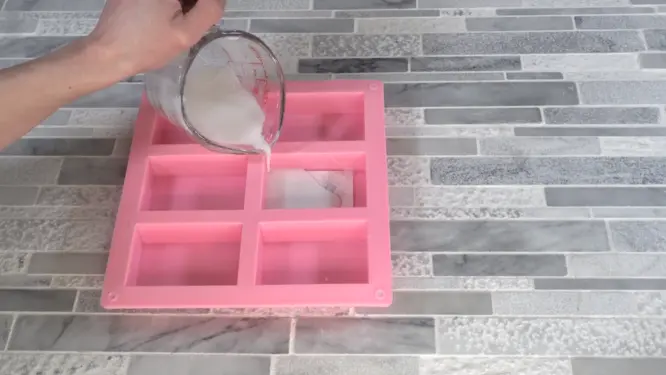
Step 5: Pour the Final Layer
Slowly pour the white soap from one corner of the mold.
Pouring slowly prevents the image from shifting or trapping bubbles underneath.
Allow the soap to cool completely before unmolding.
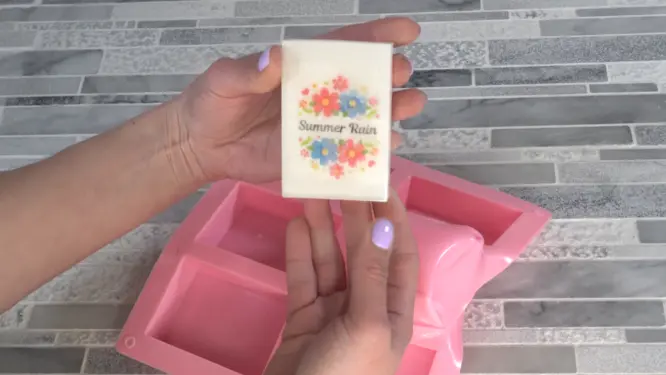
Step 6: Unmold the Soap
Once the soap has hardened, remove it from the mold.
You should see the image clearly through the clear layer of soap.
Tips for Better Picture Embed Soaps
Watch your pouring temperature
Pouring above 130°F can cause the paper to wrinkle.
Avoid air bubbles
Spray the embed with rubbing alcohol to remove trapped air.
Prevent Soap Sweating
Melt and pour soap can develop moisture on the surface called glycerin dew.
To prevent this, wrap your soaps once they are fully cooled.
You can read more about that here: Soap Sweating or Glycerin Dew
More Melt and Pour Soap Tutorials
If you enjoyed this project, you might also like:
These tutorials show different layering and embed techniques you can use with melt and pour soap.
Final Thoughts
Picture embed melt and pour soap is one of the easiest ways to create professional-looking custom soap bars. With dissolvable paper and careful temperature control, you can add almost any design inside your soap.
This technique works great for:
- custom gift soaps
- seasonal soaps
- business logos
- party favors
Once you try it, you’ll see how easy it is to turn simple melt and pour soap into something truly unique.


