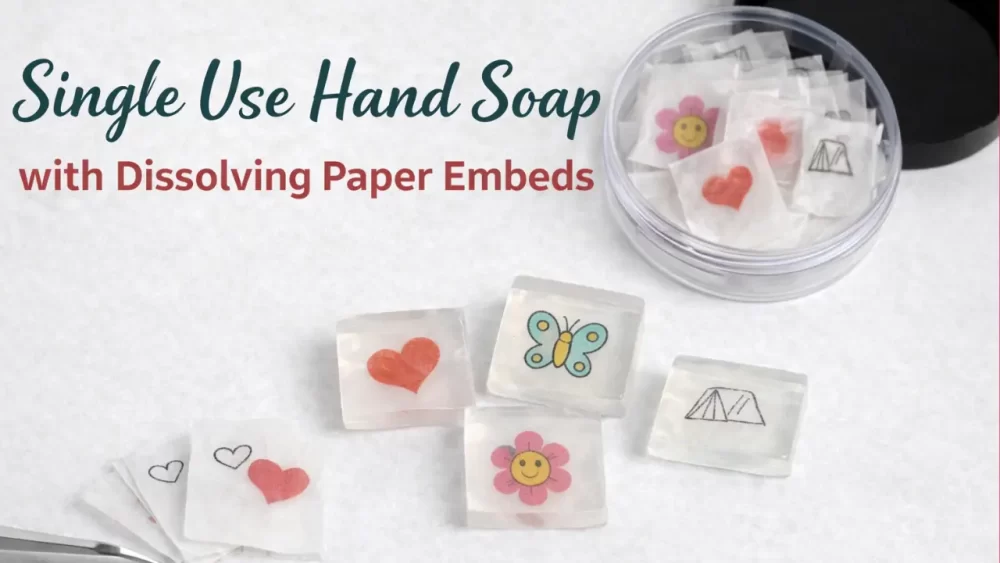
These single use hand soaps with dissolving paper embeds are one of the most fun melt and pour projects you can make. The soap contains a printed image inside and the paper dissolves when introduced to water.
Because the image dissolves quickly, the soap still lathers and washes normally without leaving paper behind.
This project is simple, beginner friendly, and a great way to make custom soaps for gifts, parties, or guest bathrooms.
If you enjoy melt and pour projects like this, you may also like my
👉 Coffee Melt and Pour Soap or my Succulent Melt and Pour Soap with Embeds
Prefer to Watch Instead of Read?
Some links on this website are affiliate links, meaning I may earn a small commission if you click and make a purchase. This comes at no additional cost to you.
Why You Need Special Dissolving Paper
The most important part of this project is the paper used for the embed.
You must use water soluble paper designed to dissolve quickly. Regular paper will not dissolve properly and can leave paper fibers behind when the soap is used.
This dissolving paper is specifically designed to:
• dissolve rapidly in water
• be thin enough to embed in soap
• disappear while washing hands
Inkjet Printers Only
Most dissolving papers are designed for inkjet printers only.
Laser printers use heat to fuse toner to paper. Because dissolving paper is very thin, it can melt or damage the printer rollers. Always check the instructions for your paper, but in general:
✔ Use an inkjet printer
✘ Avoid laser printers
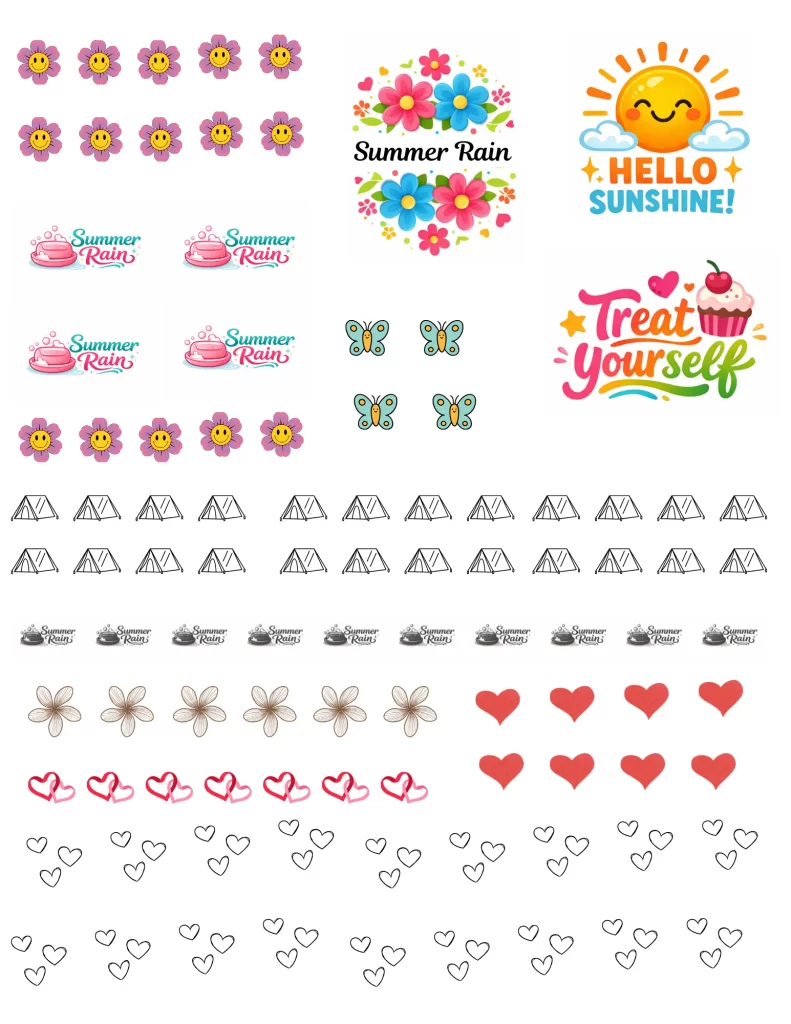
Designing the Soap Images
I designed my images using Canva on a standard 8.5 × 11 sheet.
This allows you to print many small images at once, then cut them out individually for the soap embeds.
Small designs work best because they:
• fit easily in small soap molds
• dissolve faster
• are easier to embed in the soap
Why Clear Melt and Pour Soap Works Best
For this project you want to use clear melt and pour soap.
Clear soap allows the image to be visible inside the soap.
Opaque bases such as goat milk or white soap will hide the image.
If you enjoy working with melt and pour soap bases, you might also like this recipe for Lavender Melt and Pour Luffa Soap
Ingredients
| Ingredient | Amount |
|---|---|
| Clear Melt and Pour Soap | 50 g |
| Fragrance Oil | 2 g |
| Dissolving Paper | as needed |
Equipment
| Equipment |
|---|
| Scale |
| Microwave Safe Container |
| Tweezers |
| Spatula |
| Inkjet Printer |
Step 1: Print the Dissolving Paper
Create your designs and print them on the dissolving paper using an inkjet printer.
I designed my sheet in Canva using an 8.5 × 11 template and filled it with multiple small designs.
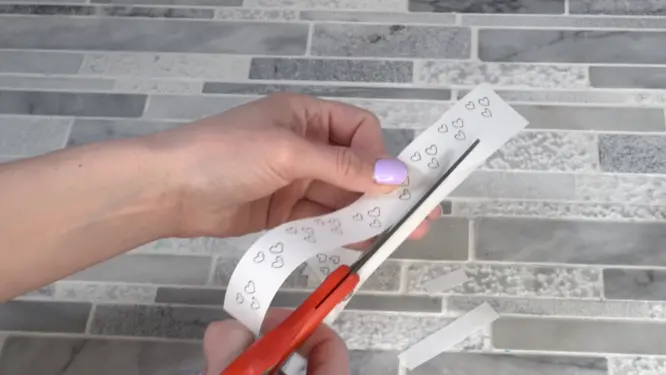
Step 2: Cut Out the Designs
Carefully cut out each image that you want to place inside your soap.
Smaller designs work best because they dissolve faster and are easier to embed.
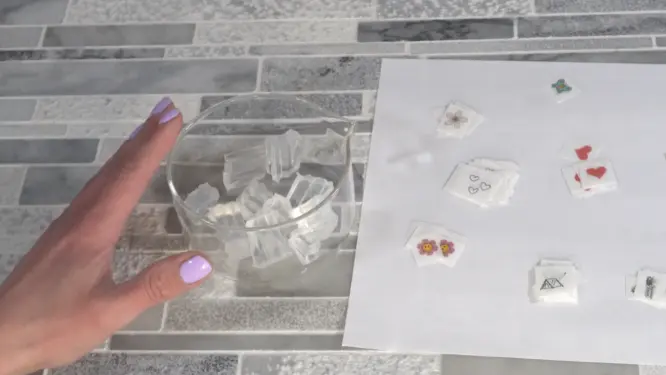
Step 3: Melt the Soap
Cut your melt and pour soap into small cubes.
Place the soap into a microwave safe container and heat in 10–15 second intervals until completely melted.
Stir between each interval to prevent overheating.
Step 4: Add Fragrance
Once the soap is melted, add your fragrance oil and mix thoroughly.
For this recipe I used:
| Ingredient | Amount |
|---|---|
| Melt and Pour Soap | 50 g |
| Fragrance Oil | 2 g |
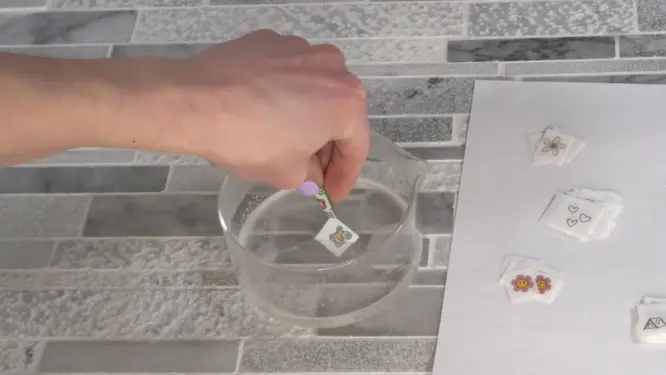
Step 5: Coat the Paper Embed
This is the trick that makes the embed work inside the soap.
Using tweezers, hold the corner of the dissolving paper and dip it into the hot melted soap.
Move the paper back and forth slightly to coat it, then pull it out and shake off any excess soap.
The soap coating dries in just a few seconds.
Repeat this process for each paper design.
If the soap begins to harden while you are working, simply reheat it in the microwave for a few seconds.
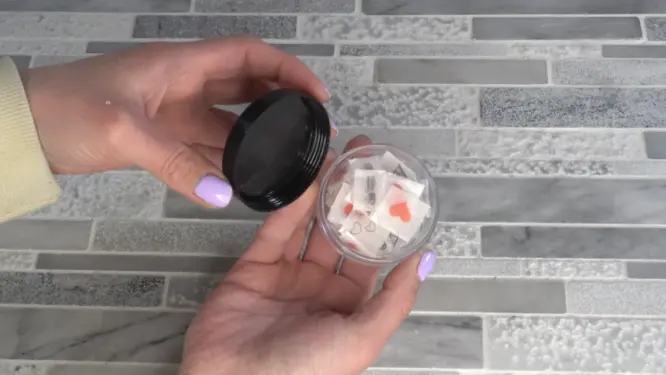
Finished Soap
Once the soap has hardened, it is done!
You will now have a clear single use soap with the image inside.
When the soap is used, the paper quickly dissolves and disappears while washing.
Tips for Success
Use clear soap
Opaque soap bases will hide the image.
Keep embeds small
Small images dissolve faster and are easier to embed.
Coat the paper first
Dipping the paper one at a time in soap prevents it from curling.
Reheat the soap as needed
Melt and pour soap thickens quickly, but can be reheated easily.
More Soap Tutorials
If you enjoy melt and pour soap making, you might also like:
• Coffee Melt and Pour Soap
https://summerrain.website/coffee-melt-and-pour-soap/
• Succulent Melt and Pour Soap
https://summerrain.website/succulent-melt-and-pour-soap/
• Lavender Melt and Pour Luffa Soap
https://summerrain.website/lavender-melt-and-pour-luffa-soap/


