
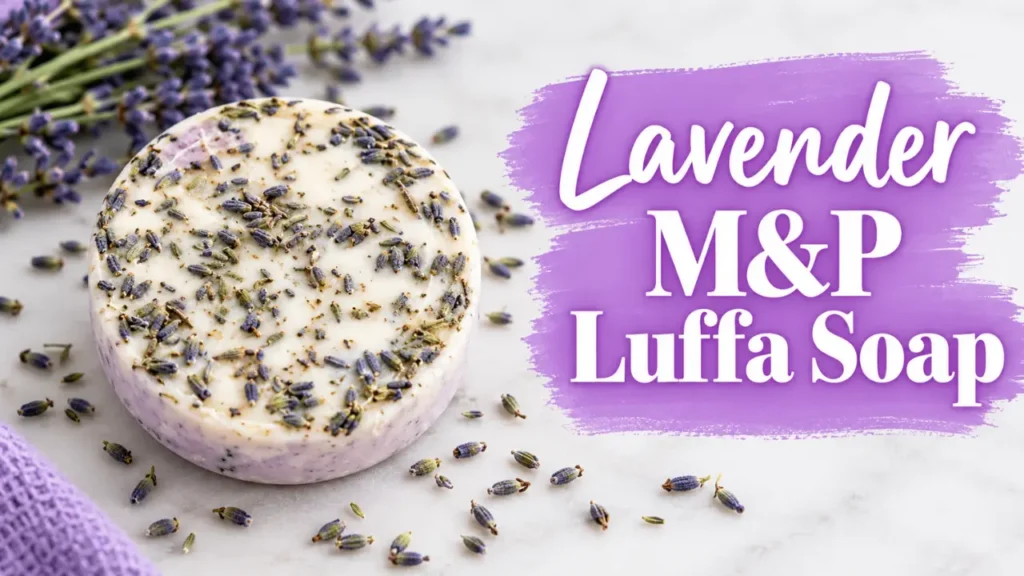
These lavender melt and pour luffa soaps combine a lovely lavender and sage fragrance, decorative lavender buds, and a natural luffa sponge for a handmade bar that looks beautiful and provides physical exfoliation. The luffa creates a textured surface for washing, while the melt and pour soap base cleanses the skin.
The best part is that you don’t need to make soap from scratch. Melt and pour soap is already made, so you can focus on melting the base, adding fragrance and color, and arranging the luffa inside your mold.
In this tutorial, I’ll show you how to make lavender luffa soap at home, explain why I pour the soap in layers, and share tips for getting a smooth finish and storing your finished bars.
Prefer to watch this project instead of reading it?
Some links in this post are affiliate links. As an affiliate I earn from qualifying purchases at no additional cost to you.
Why Make Luffa Soap?
Luffa soap is a little different from an ordinary bar of soap because it contains a natural sponge. A luffa comes from the fibrous interior of a mature luffa gourd. Once dried and prepared, those fibers create a textured surface that helps exfoliate the skin as you wash.
Here are a few reasons to try this project:
- Physical exfoliation: The textured luffa helps remove loose dead skin cells from the skin’s surface.
- Lavender fragrance: Lavender fragrance oil gives the soap a pleasant scent.
- Decorative appearance: Lavender buds and purple mica create an attractive layered design.
- Beginner-friendly process: Melt and pour soap doesn’t require you to make a soap base from scratch or handle lye during this project.
- Handmade gift idea: These bars are a lovely addition to a handmade bath and body gift basket.
Keep in mind that luffa can be abrasive, particularly on sensitive skin. Use gentle pressure, avoid broken or irritated skin, and don’t assume that more scrubbing produces better results. Lavender buds are primarily decorative and may loosen as the soap wears down.
Ingredients for Lavender Melt and Pour Luffa Soap
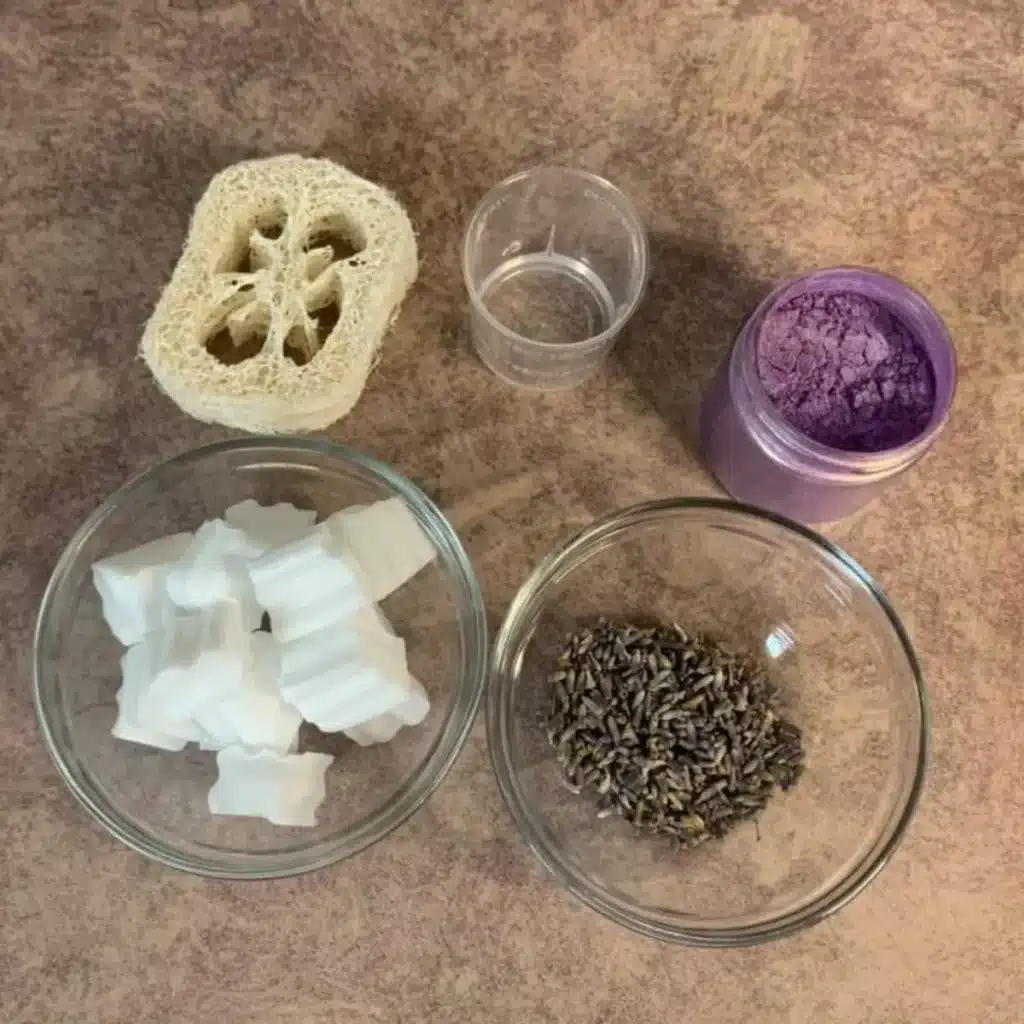
Before starting, gather your ingredients and weigh them according to the printable recipe at the bottom of this post. Having everything ready makes the process easier because melted soap begins to cool and harden as you work.
- Lavender Buds – Add a decorative botanical detail to the bottom of the soap.
- White Melt and Pour Soap Base – Forms the cleansing base of the soap and helps hold the luffa in place.
- Lavender and Sage Fragrance Oil – Gives the soap its lavender scent. Choose a fragrance suitable for rinse-off soap products.
- Luffa Sponge – Creates the textured exfoliating surface.
- Mica Powder – Adds color to the soap.
You’ll also need a soap mold, a microwave-safe heat-resistant container, a utensil for stirring, a knife for cutting the soap base, and a spray bottle containing rubbing alcohol.
Be sure to check out more melt and pour soap recipes!
A note about fragrance: Follow the fragrance supplier’s recommended usage rate for rinse-off soap and the specific soap base you’re using. Measure fragrance by weight rather than estimating by eye.
How to Make Lavender Melt and Pour Luffa Soap
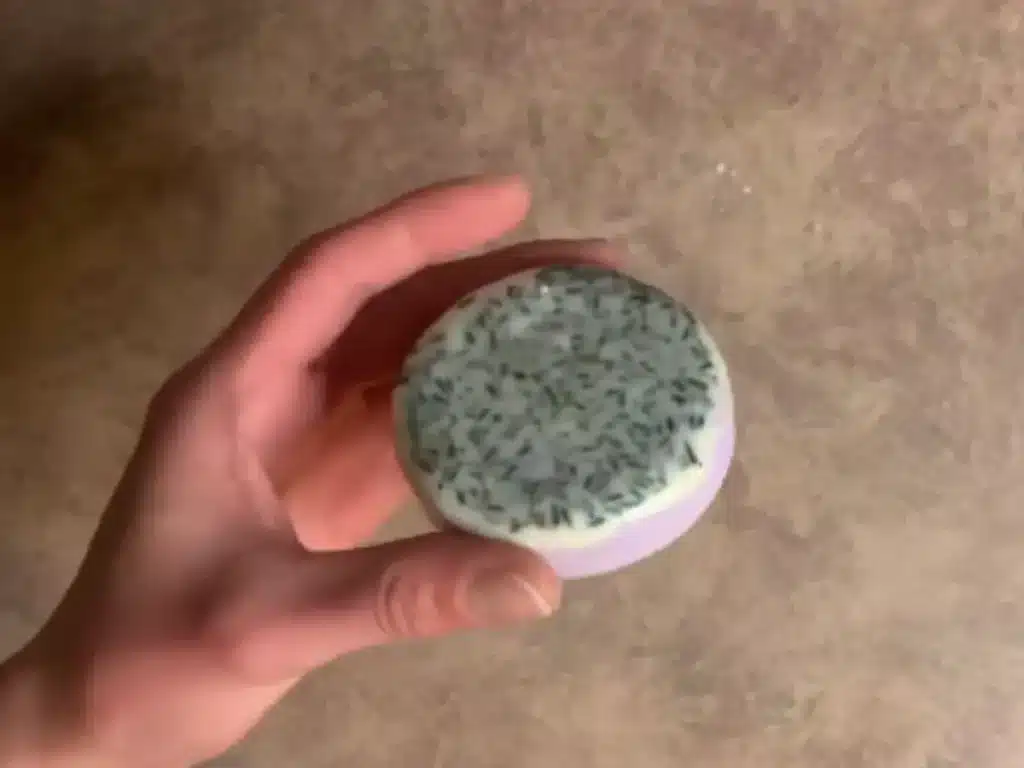
Step 1: Weigh Your Ingredients
Weigh all your ingredients before you begin. Cut the melt and pour soap base into small, evenly sized pieces so it melts more quickly and evenly.
Make sure your mold is clean and dry. Prepare the luffa sponge by cutting it to fit your mold if necessary. The sponge should sit securely inside the mold without extending so far that the soap cannot surround it.
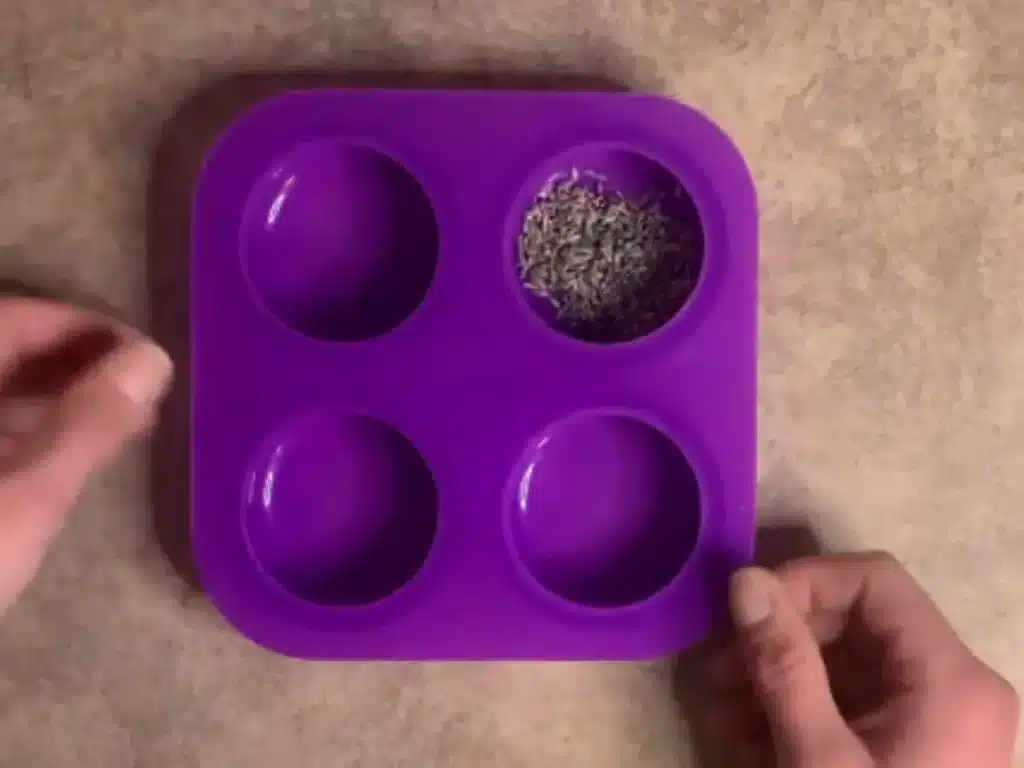
Step 2: Add the Lavender Buds to Your Mold
Place the lavender buds in the bottom of your mold, spreading them into an even layer.
You can cover the bottom with buds for a more botanical appearance, as shown in this tutorial. However, you don’t need to pack them tightly. A lighter scattering can still give you the decorative effect without leaving as much loose plant material in the finished bar.
Dried lavender buds are not necessary for the soap to cleanse or exfoliate. They are included for appearance, and their color may change over time or with repeated exposure to water.
Step 3: Melt the First Portion of Soap
Place 1 ounce of melt and pour soap base into a microwave-safe container.
Heat it in 10–15 second intervals, stirring between each interval until the soap has completely melted.
Melt and pour soap can overheat if you leave it in the microwave for too long. Short intervals give you more control and help prevent scorching or unnecessary moisture loss. Handle the container carefully because it may become hot.
Step 4: Add Fragrance and Pour the First Layer
Add your lavender fragrance oil to the melted soap and stir gently to distribute the fragrance evenly.
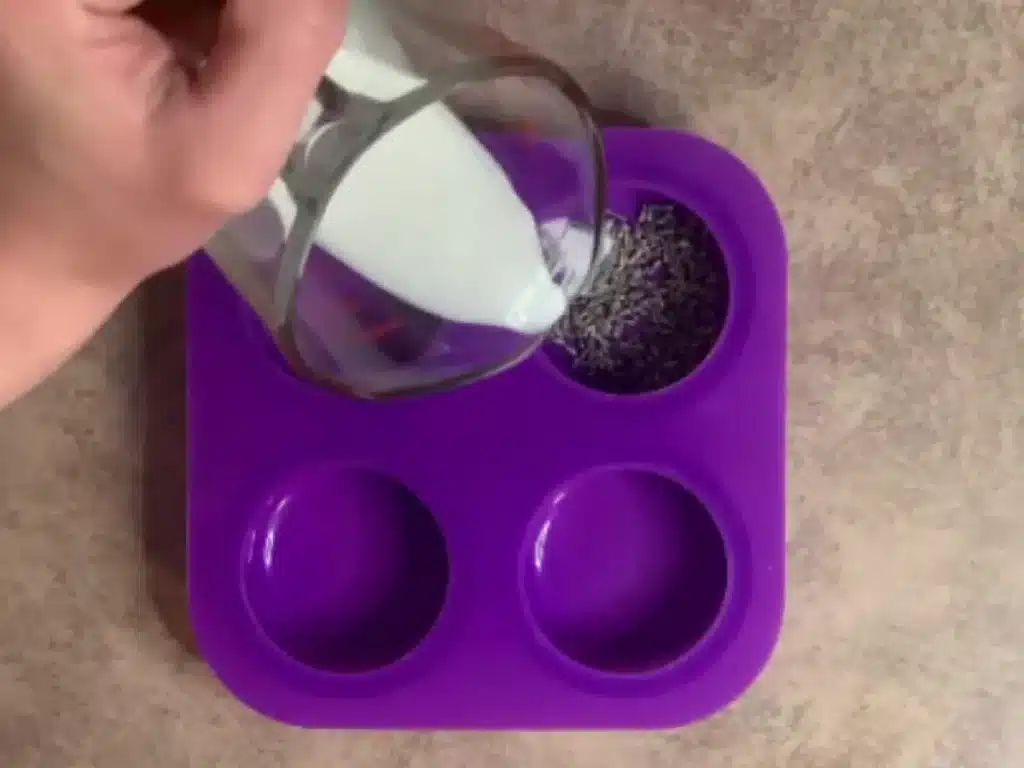
Pour the melted soap into the mold until the lavender buds are covered.
Lightly spray the surface with rubbing alcohol to help pop any bubbles.
Why pour the soap in layers?
The first layer helps hold the lavender buds in place. If you pour all the soap into the mold at once, the buds may float or move around, making the finished bar less even.
Allow the first layer to cool enough to support the luffa. If it becomes completely firm before you add the next layer, lightly spray the surface with rubbing alcohol to help the layers adhere.
Step 5: Position the Luffa Sponge
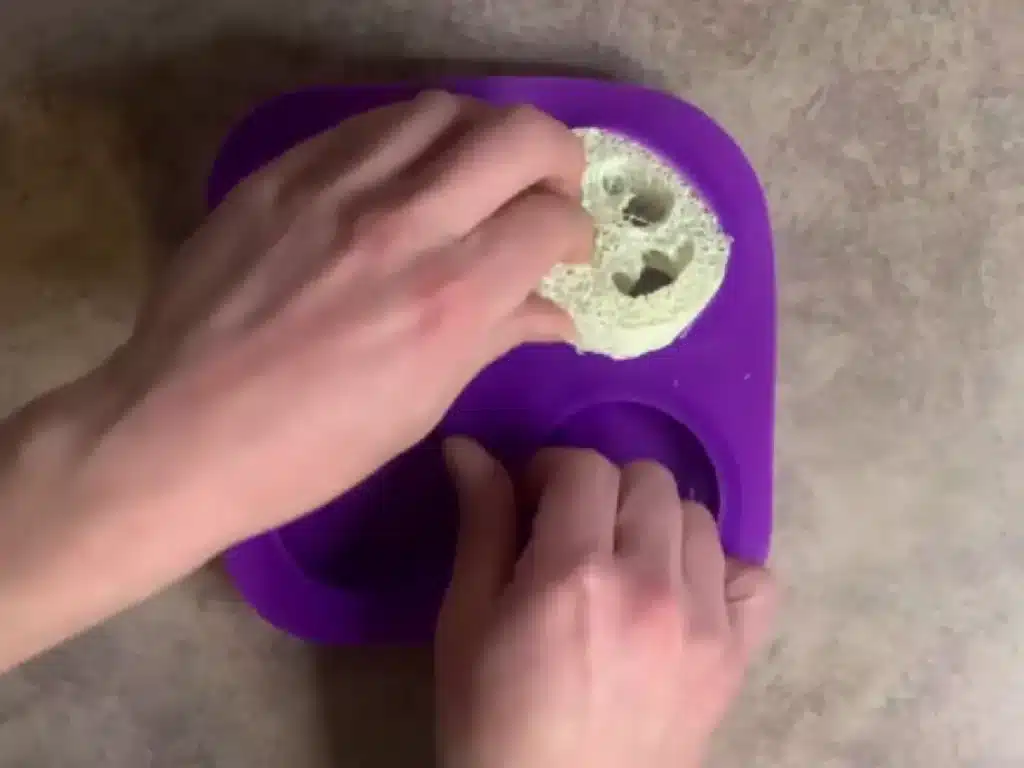
Carefully place the luffa sponge into your mold, positioning it where you want it to sit in the finished bar.
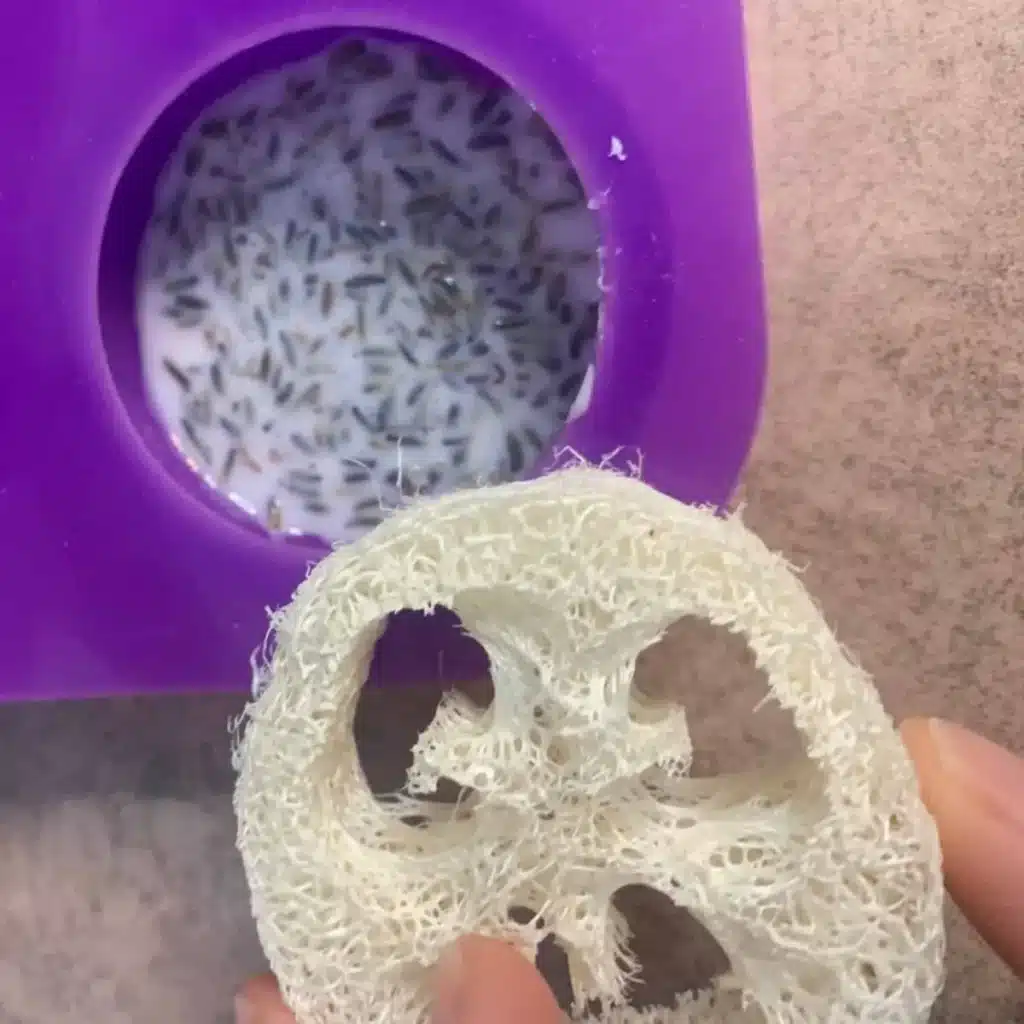
Make sure the luffa is positioned securely. If it shifts while you pour the remaining soap, the finished bar may have uneven coverage or exposed areas.
If your luffa is particularly thick, check that there is enough room around it for the melted soap to flow into the openings between the fibers.
Step 6: Melt the Remaining Soap Base
Place 2 ounces of melt and pour soap base into your microwave-safe container.
Heat it in 10–15 second intervals, stirring between each interval until the soap is completely melted.
Avoid overheating the base. It only needs to become liquid, and excessive heat can affect the appearance and quality of the finished soap.
Step 7: Add Fragrance and Mica Powder
Add the lavender and sage fragrance oil to the melted soap and stir gently.
Next, add mica powder and mix until the color is evenly distributed.
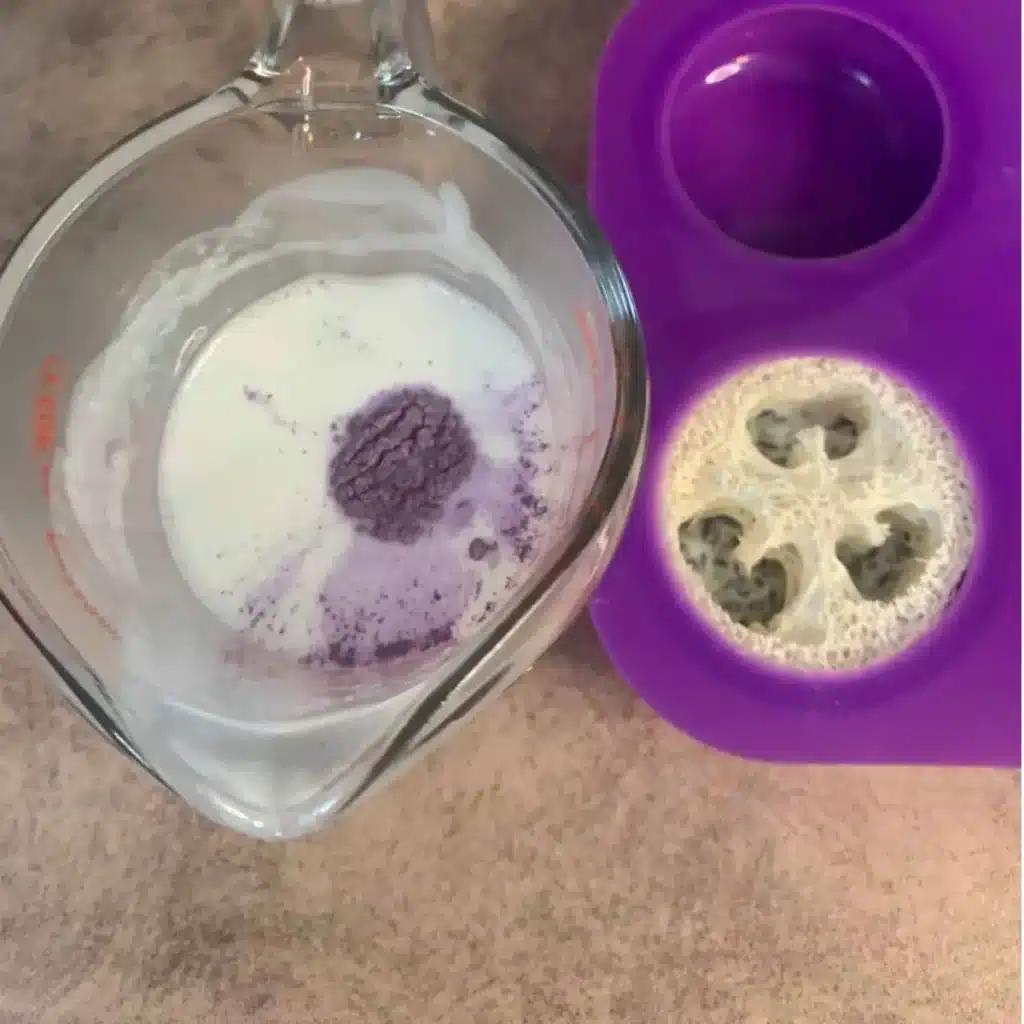
If you notice clumps, continue mixing gently until the color is smooth. You can spray with rubbing alcohol to help mix it in.
Tip: Use mica powder intended for cosmetic use and suitable for your intended application. Add the color gradually so you can control the intensity of the finished shade.
Step 8: Pour the Colored Soap Around the Luffa
Lightly spray the exposed luffa and the first soap layer with rubbing alcohol.
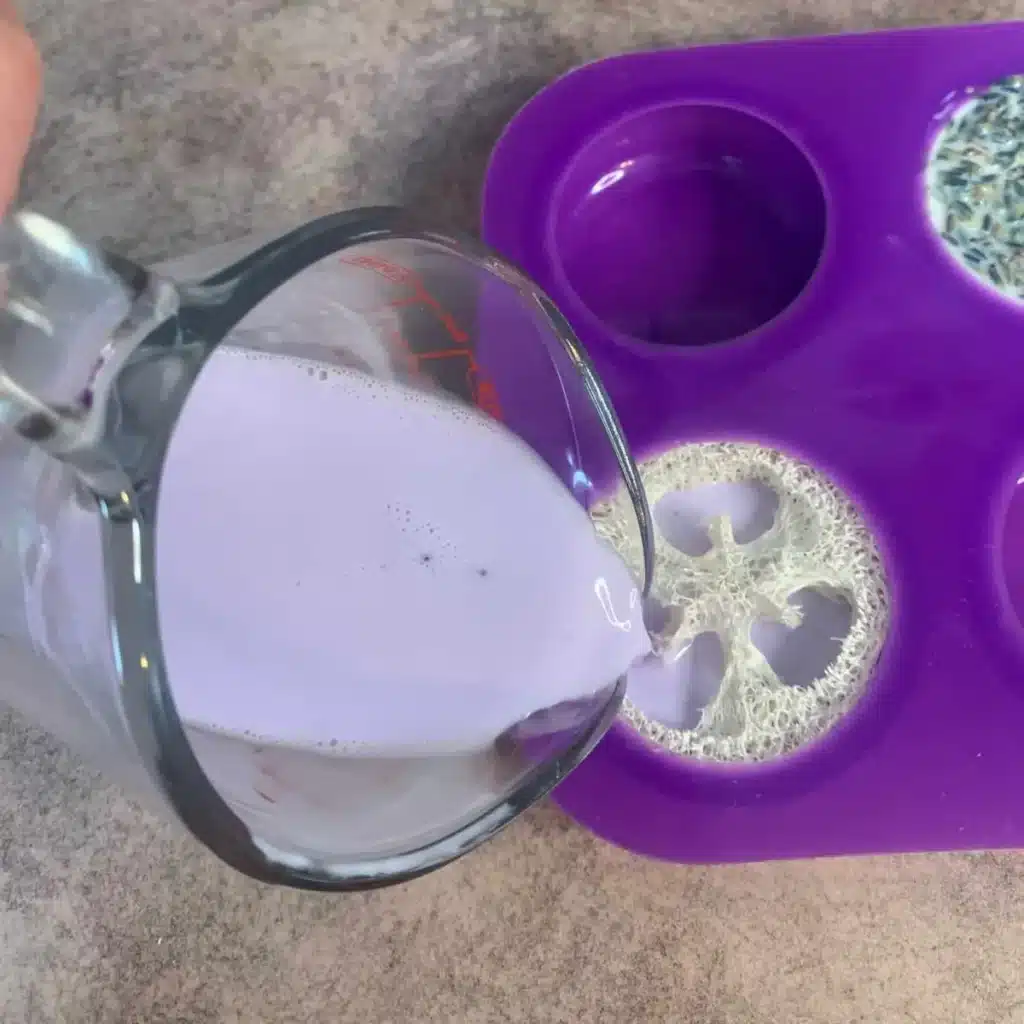
Slowly pour the colored soap into the mold, directing it around the luffa so the liquid soap fills the spaces between the fibers.
Pouring slowly helps reduce air pockets and makes it easier to keep the luffa in position. Gently tap the sides of the mold to encourage trapped bubbles to rise.
Finish by lightly spraying the top of the soap with rubbing alcohol to help remove surface bubbles. Keep rubbing alcohol away from heat sources and never spray it into or near a running microwave.
Step 9: Let the Soap Cool Completely
Set the mold aside on a level surface and allow the soap to cool and harden completely.
Cooling time depends on the size of your mold, the amount of soap used, and the room temperature. Avoid moving the mold while the soap is still soft, as this can shift the luffa or affect the appearance of the layers.
Wait until the soap is firm throughout before unmolding it.
Step 10: Unmold and Wrap Your Soap
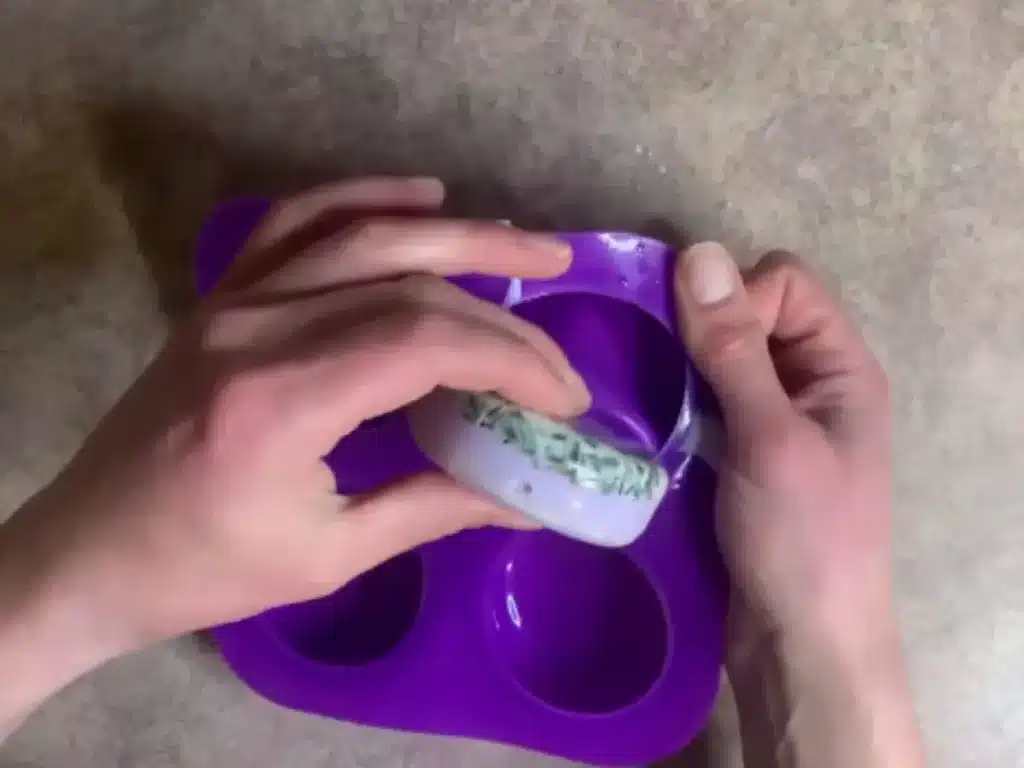
Once the soap has hardened, gently remove it from the mold.
Melt and pour soap contains glycerin, which attracts moisture from the surrounding air. When the soap is exposed to humid conditions, tiny droplets can form on the surface. This is commonly called glycerin dew.
Learn more about Glycerin Dew in this guide
To help prevent glycerin dew, wrap the finished soap in plastic wrap or suitable airtight packaging once it has cooled completely and the surface is dry.
Store the wrapped bars in a cool, dry place away from direct sunlight and excess humidity.
If you enjoy making handmade soap, try my Massage Soap next.
Tips for Making Better Luffa Soap
Use a suitable mold. The mold needs to be large enough to accommodate the luffa and leave room for the soap to surround it.
Don’t overheat the soap base. Melt the soap slowly in short intervals. Excessive heat can cause moisture loss and affect the finished texture.
Pour slowly around the luffa. This helps the soap reach the openings in the sponge and reduces the chance of large air pockets.
Keep fragrance within the recommended usage rate. Different fragrance oils have different usage limits. Always check the supplier’s guidance for your specific fragrance and soap application.
Wrap the bars after cooling. Airtight packaging helps protect melt and pour soap from moisture in the air.
Let the soap dry between uses. Place your used bar on a draining soap dish instead of leaving it in standing water. Rinse the luffa thoroughly after use and allow it to dry.
Replace the soap if the luffa deteriorates. If the sponge develops an unpleasant odor, visible mold, or signs of deterioration, discontinue use and discard the bar.
Frequently Asked Questions
Can a beginner make lavender luffa soap?
Yes. Melt and pour soap is a beginner-friendly option because the soap base is already made. You simply melt it, add compatible fragrance and color, and pour it into a mold. The main challenge is keeping the luffa in position while filling the mold.
Can I leave out the lavender buds?
Yes. The lavender buds are decorative and aren’t required for the soap to work. You can omit them if you prefer a simpler appearance or want to avoid loose botanical material as the soap wears down.
Can I use a different fragrance or color?
Yes. You can use another fragrance suitable for rinse-off soap and a compatible soap colorant. Follow the supplier’s recommended usage rates, and remember that the finished color may look different depending on the soap base and amount of mica used.
Why do I need to wrap melt and pour soap?
Melt and pour soap can develop glycerin dew when exposed to humid air. Wrapping the soap in airtight packaging helps limit moisture exposure and keeps the surface looking better during storage.
How should I store luffa soap between uses?
Keep the soap on a draining soap dish where water can run away from the bar. Allow it to dry between uses, and avoid leaving the luffa constantly wet.
Is luffa soap suitable for your face?
Luffa soap is generally better suited to areas of the body that tolerate physical exfoliation. The textured sponge can be too abrasive for delicate or sensitive facial skin. Avoid using it on irritated, broken, or inflamed skin.
Printable Lavender Melt and Pour Luffa Soap Recipe

Lavender Melt and Pour Luffa Soap
Equipment
- Microwave Safe Container
- Spatula
- Rubbing Alcohol
- Circle silicone mold
Ingredients
Layer 1
- Lavender Buds
- 1 ounce White Melt and Pour Soap
- 0.05 ounce Lavender Fragrance Oil
- Luffa
Layer 2
- 2 ounce White Melt and Pour Soap
- 0.10 ounce Lavender Fragrance Oil
- Lavender Mica Powder
Instructions
- Weigh out all of your ingredients.
- Place lavender buds in the bottom of your mold, so that the bottom is completely covered.
- Take 1 ounce of melt and pour soap and place it into a microwave safe container.
- Place in the microwave in 10-15 second intervals until it is completely melted.
- Add fragrance oil to the melt and pour soap and mix well.
- Pour the soap into the mold, until the lavender buds are covered.
- Spray the top with rubbing alcohol.
- Carefully place the luffa sponge into your mold.
- Take 2 ounces of melt and pour soap and place it in the microwave safe container.
- Place in the microwave in 10-15 second intervals until it is completely melted.
- Add fragrance oil and mix well.
- Add mica powder and mix. *Tip: You can spray the mica powder to h
- Spray the luffa sponge with rubbing alcohol.
- Slowly pour the melt and pour soap into your mold. While pouring, tap the edges a bit to release any air bubbles.
- Spray the top of the soap with rubbing alcohol.
- Allow to cool completely, then unmold.
- Be sure to wrap in saran wrap to prevent glycerin dew.