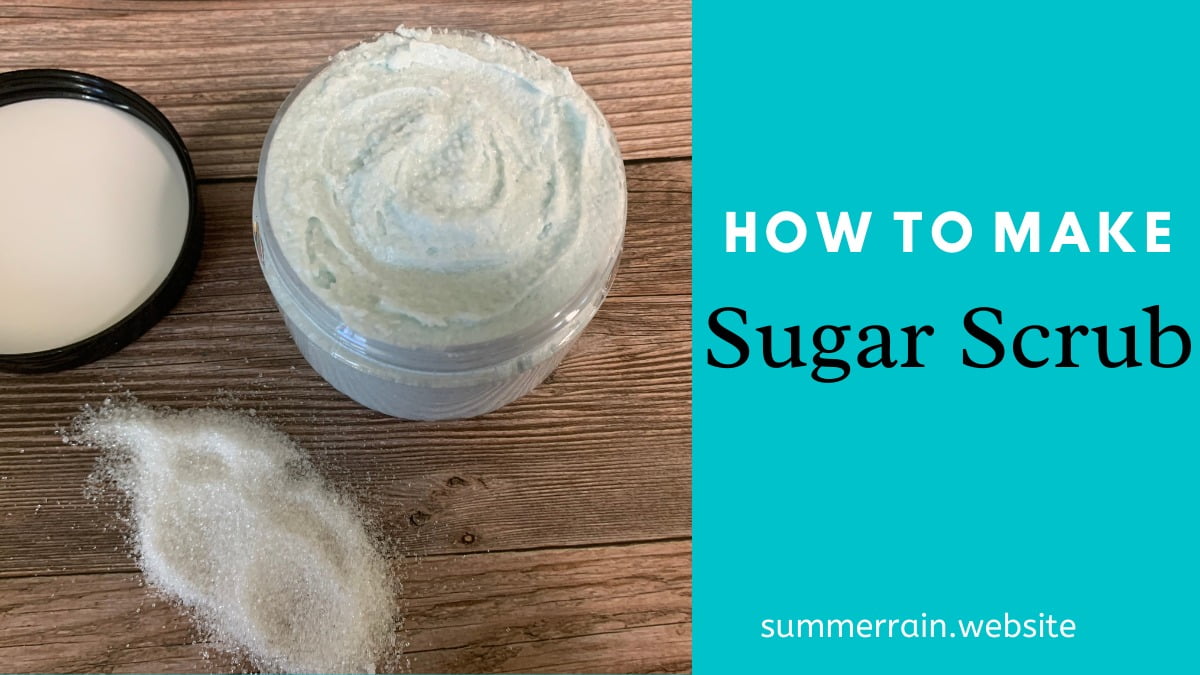
Learn how to make a sugar scrub that exfoliates and moisturizes all at one time. I love the way it leaves your skin feeling fresh and new. The sugar gently sloughs off the dead skin cells, leaving your skin feeling silky smooth. It is simple to make with just a few ingredients and is less expensive than the store-bought sugar scrubs.
What is a sugar scrub?
Let’s start by going over what exactly a sugar scrub is. Well, it is a scrub that is made with sugar. The sugar is used as a gentle exfoliator when you rub it on your skin. Exfoliating is important for keeping your skin healthy by removing dead skin cells, washing away dirt and excess oil, and stimulating circulation.
Prefer to watch this project instead of reading it?
Some links are affiliate links because I am an associate and I earn a small commission on them.
Sugar Scrub Ingredients
Basically this scrub can be broken down into 4 groups of ingredients:
1st group – You have the sugar (which ever one that you decide on) that is the base / exfoliator.
2nd group – Next we have our oils, both the carrier oil and the butter that brings the hydration to the scrub.
3rd group – is the emulsifier that helps to prevent a dangerous shower slip!
4th group – the extras! This is where the color, fragrance oil or any other additives go. They are by no means necessary in the recipe, they just enhance the scrub.


Types of sugar to use for sugar body scrubs
Sugar is the exfoliator in this scrub. I love that we are able to use an item that is readily available in your pantry for this recipe. It is easily switched out for a variety of other ingredients depending on the type of exfoliating you need.
Granulated Sugar
Granulated sugar is a fine sugar that is used to help gently turn over some of the dead skin cells and allow moisture on your skin.
Brown Sugar
Brown sugar is slightly finer what granulated sugar and provides a milder exfoliation.
Adjusting the scrubbing power
You can simply adjust the amount of exfoliating power in this scrub to make it less scrubby. Just add less sugar after your oils are cooled and whipped. I suggest weighing the exfoliator out, so you know how much to use to re-make your customized sugar scrub.
Types of oils to use for sugar scrubs
Seriously, when you are first starting out, use whatever carrier oil you have on hand. From there you can start testing the different oils to see which the best fit is for you. Here are a few of my favorite oils to use, but the list goes on and on.
Avocado oil
Avocado oil has antioxidants and anti-inflammatory properties that are good for your skin.
Grapeseed Oil
Grapeseed oil will penetrate your skin quickly without leaving it feeling oily. It is suitable for all skin types, even acne-prone skin.
Olive Oil
Olive oil is commonly used in sugar scrubs because it is found right in your kitchen. It is packed with hydrating abilities and antioxidants that help with aging.
Shea Butter
Shea butter has a unique texture. It is solid at room temperature but melts on contact with the skin. Unlike coconut oil (which also melts at skin temperature) it is not a super greasy oil. Plus, I love the intense moisturizing that shea butter adds to this recipe.
Emulsifier
We use an emulsifier for a few different reasons. I love to use my sugar scrub in the shower, but when if you don’t have an emulsifier it tends to be a slippery mess. The oils will just pool on the bottom of the shower and you are risking slipping and falling. To prevent this, we use an emulsifying wax nf in our sugar scrub.


Making the sugar scrub thicker
Stearic acid
Stearic acid is used to help to harden the sugar scrub up a little bit and make it thicker.
Do I need a preservative?
It’s kind of a dealer’s choice on whether you need a preservative or not in this scrub. Since there is no water in this formula, technically you do not need a preservative. I only suggest adding one because of the way that it is used.
If you are dipping wet hands into the container, you will need to add a preservative. On the flip side, if you just scooped out what you need before you got your hands wet, then you wouldn’t need a preservative.
Storing the sugar scrub
You want to store your sugar scrub in an air tight container. I like to store it out of the shower and just grab a bowl of the sugar scrub when I am going to use it in the shower.
How To Make Sugar Scrub
Equipment
- Scale
- Double boiler
- Electric hand blender
Ingredients
Heat Phase
- 0.8 ounce | 10% Emulsifying wax
- 0.4 ounce | 4% Stearic acid
- 1.92 ounce | 24% Olive oil
Cool Phase
- 0.8 ounce | 10% Shea butter
- 0.16 ounce | 2% Fragrance oil
- 4 ounce | 50% Granulated sugar
- Mica powder
Instructions
- Weigh out all of your ingredients.
- Put the emulsifying wax, stearic acid and olive oil in a heat safe container.
- Melt on a double boiler.
- When removed from the heat, add the shea butter and allow it to melt.
- Mix with your hand mixer.
- Place in the fridge for 20 minutes to allow everything to cool completely.
- Mix with your hand mixer.
- Add fragrance oil.
- Add mica powder and mix.
- Slowly add your sugar to the mixture, while mixing.
- Package and enjoy.
Sugar Scrub Recipes to Try
Now that you have the sugar scrub down, here are some more scrubs you might want to try.