Melt and pour soap is easy for a beginner because all you really have to do is melt the premade soap base. As you become more comfortable you can add colors, scents and learn more advanced techniques.
Table of Contents
Prefer to watch this project instead of reading it?
Some of the links are affiliate links, because I am an associate and I earn a small commission on them.
Making cold process soap is a process where you combine oils with lye to create a reaction (saponification) that makes it soap. Since melt and pour soap has already gone through the saponification process, you don’t have to mess with the lye or making the soap base.
Another benefit of melt and pour soap is that there is no cure time. Once the soap has cooled, it is ready to be used. With cold process soap, it is at least a few weeks before you can use it. This is because it takes time for the saponification process to finish and the lye to be neutralized.
Types of melt and pour bases:
There are all kinds of melt and pour bases for you to choose from. Each one brings it’s own unique benefits. To simplify this I am going to focus on the main two types of bases: clear and white. To learn more about how the finished soap looks, check out this video.
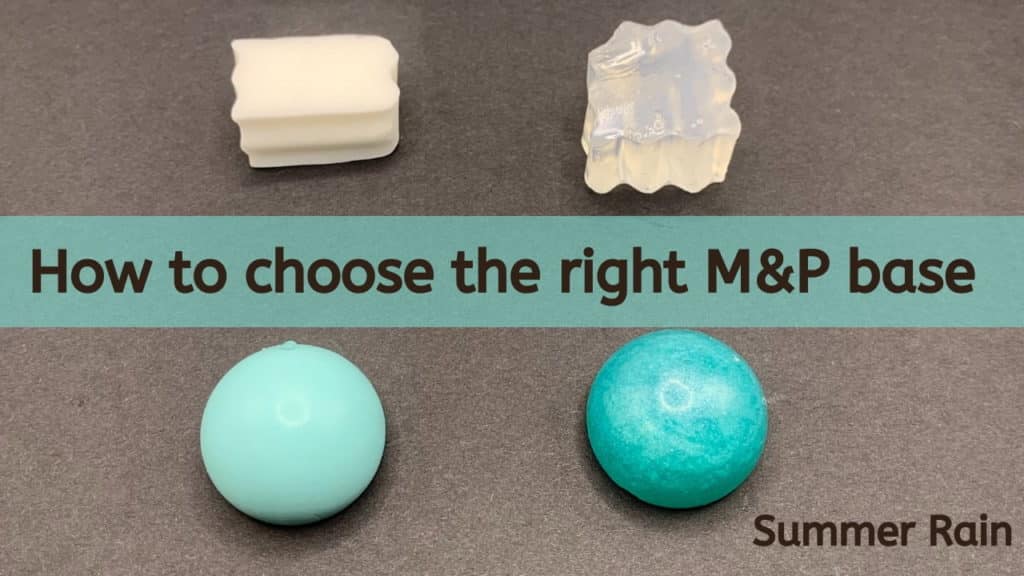
White – The white soap base is opaque in clarity, and you end up with lighter more pastel colors. (The embed on the left).
Clear – Clear melt and pour soap is perfect for embeds. Since it is uncolored you wind up with more vibrant colors. (The embed on the right).
Types of molds
You can use plastic or silicone molds for your soap. Personally, I prefer to use silicone molds because I find them easier to get the soap out of and they are less likely to break. I have broke more than one of the thin plastic ones. Here is the bar mold I was using.
How much soap do I need for my mold?
Figuring out how much soap you need for each mold can be kind of a challenge at first. Unfortunately, I do not have a formula for this. Over time I have gotten pretty good at guessing about how much soap I need for my molds. If you have no clue on where to start, you can get a close estimation by weighing water. To do this, put your mold on the scale and press the ‘tare’ button. Then fill the soap cavity with water. That is going to be roughly how much soap you need to fill the mold.
If there are multiple cavities, that are all the same size, you would just multiply that amount by the number of cavities.
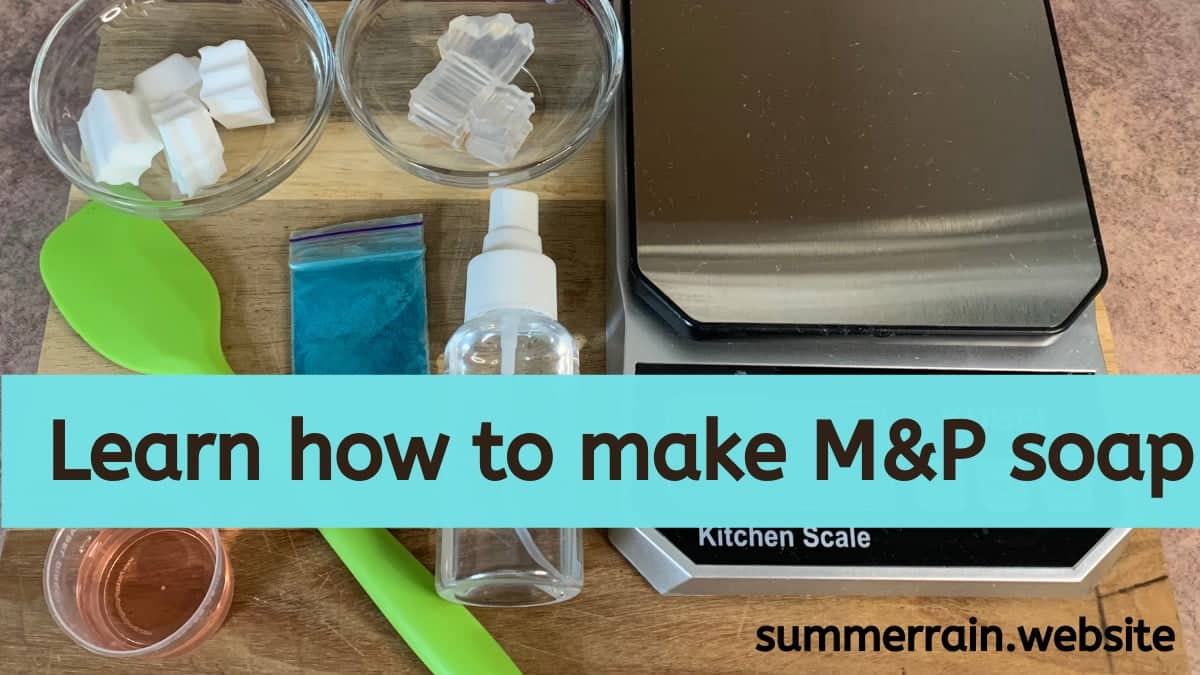
Melt and Pour Soap Making Supplies List
Most of the supplies that you need to make melt and pour soap can be found around your house.
Making Melt and Pour Soap Steps
Clean Work Area
Weather you are making melt and pour soap for yourself or for a business, you always want to start out with clean equipment and a clean working area. Wash all of you supplies in warm soapy water before using. Clean the work area with a bleach solution. I will normally make a 5% bleach solution to clean my counters with.
Preparing the base
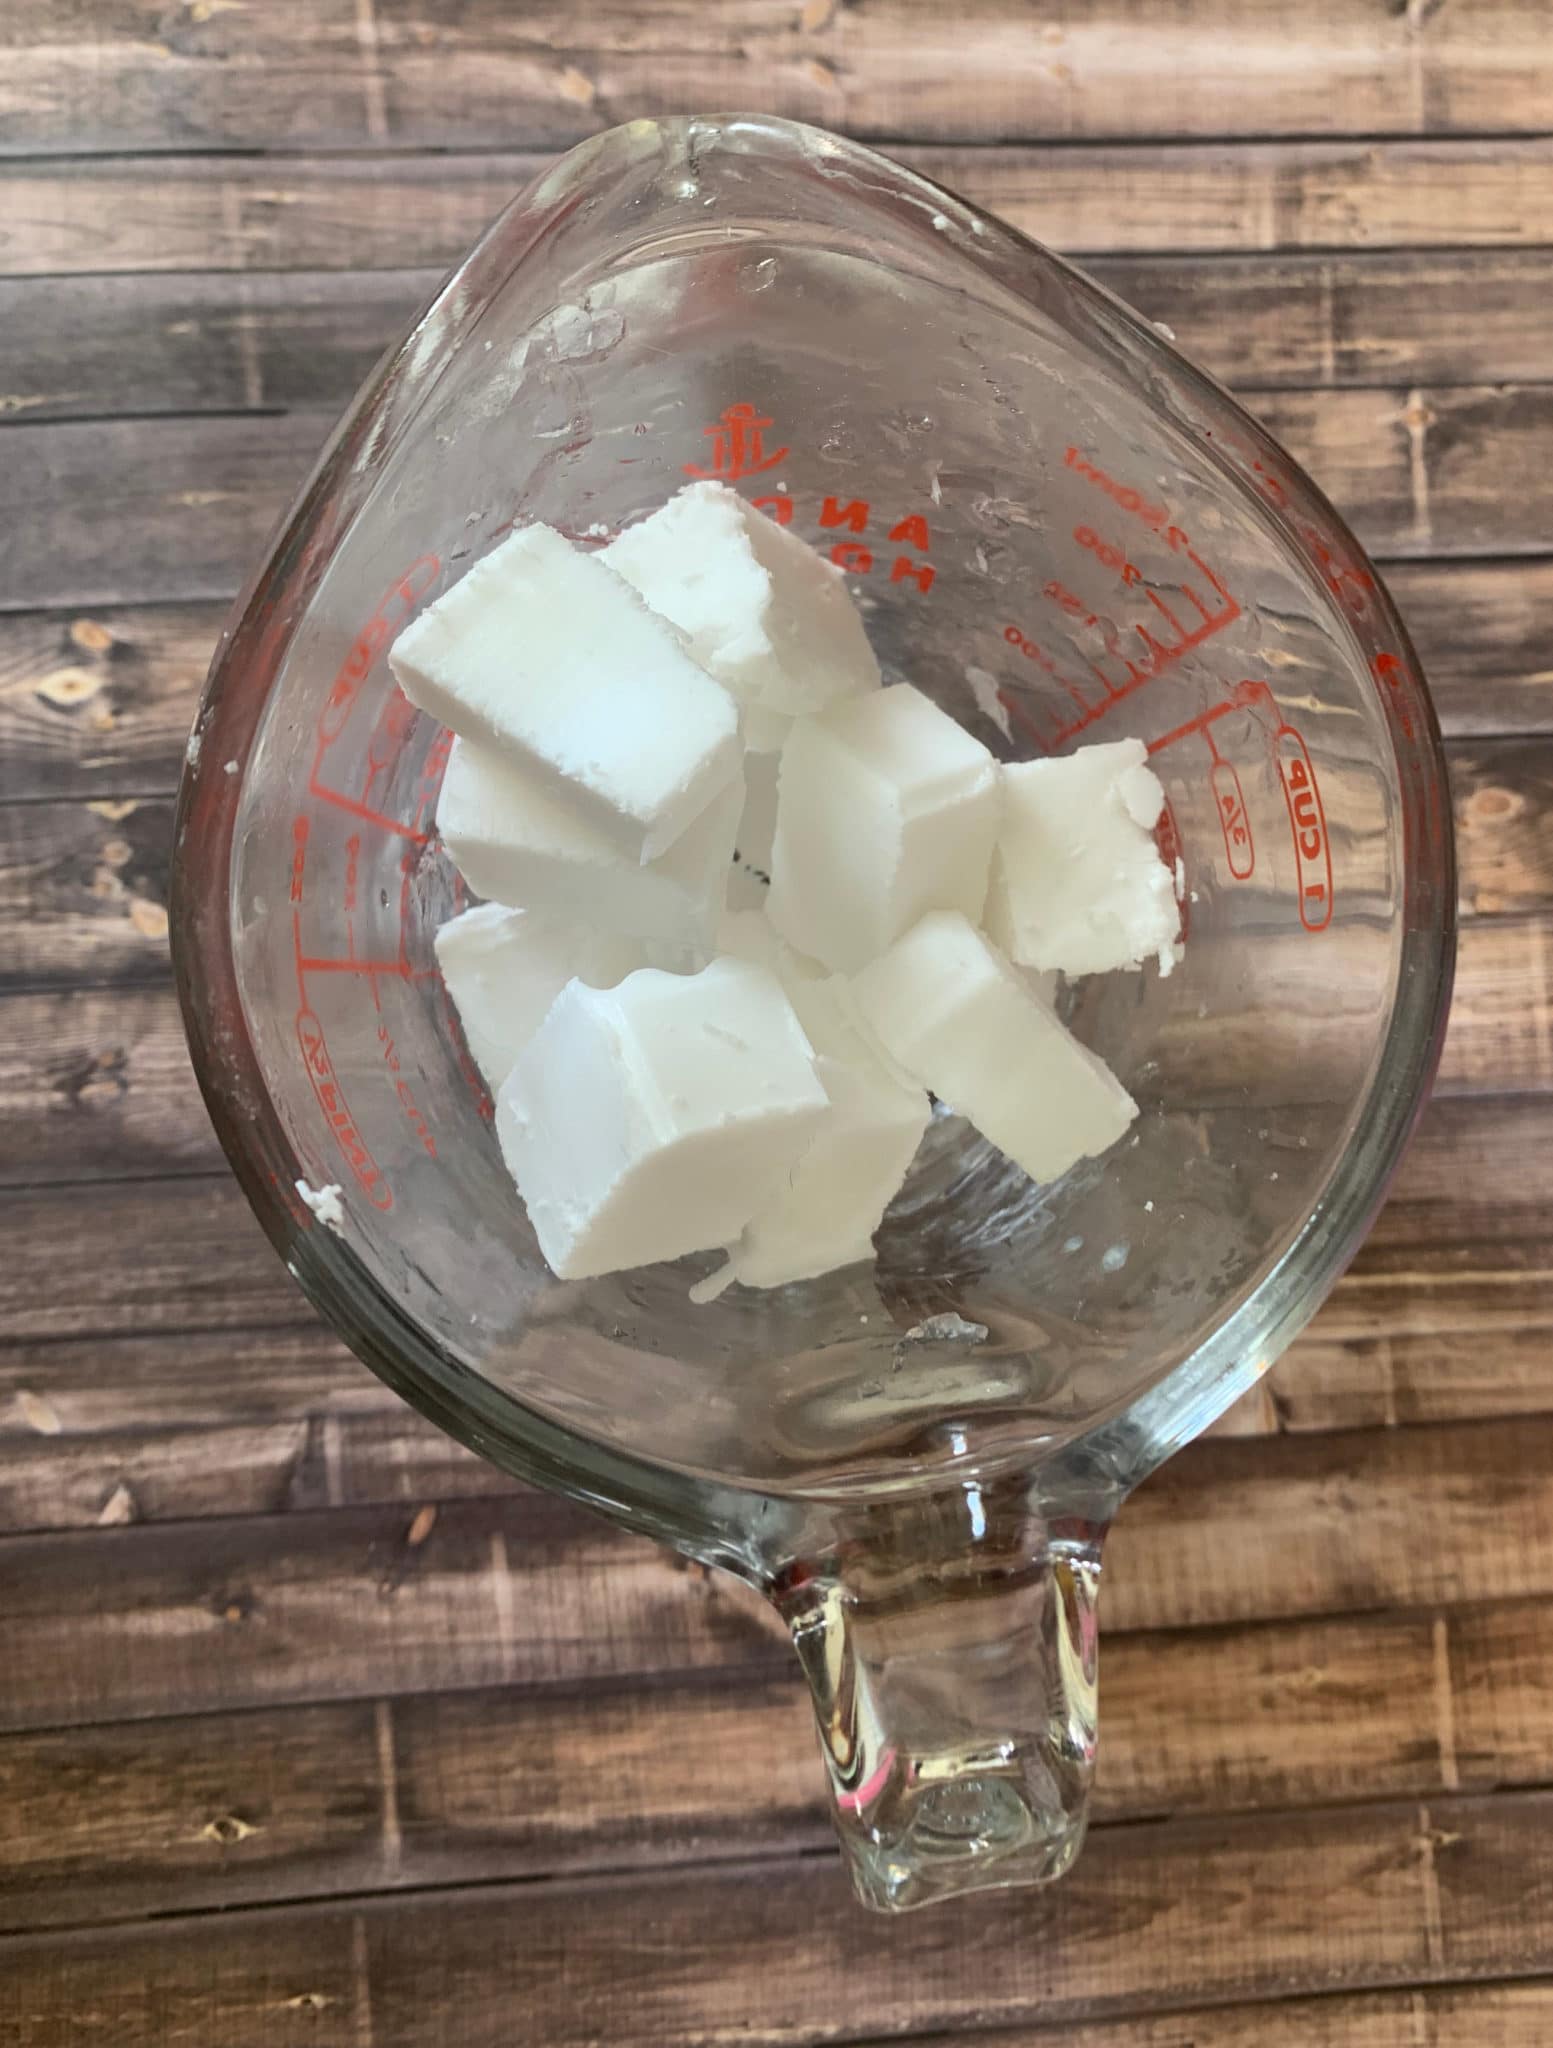
Grab a cutting board. Place your melt and pour soap base on it. You can cut it with a knife, but I find it is way easier to use a soap cutter. (And they are relatively inexpensive to buy). When cutting your soap base, the most important thing to do is to cut the soap into chunks that are all roughly the same size. I like to aim for 1 inch cubes when I am cutting.
Next you will need to figure out how much soap you are going to be using, you will have to know the weight of your soap when it is time to add the fragrance oil.
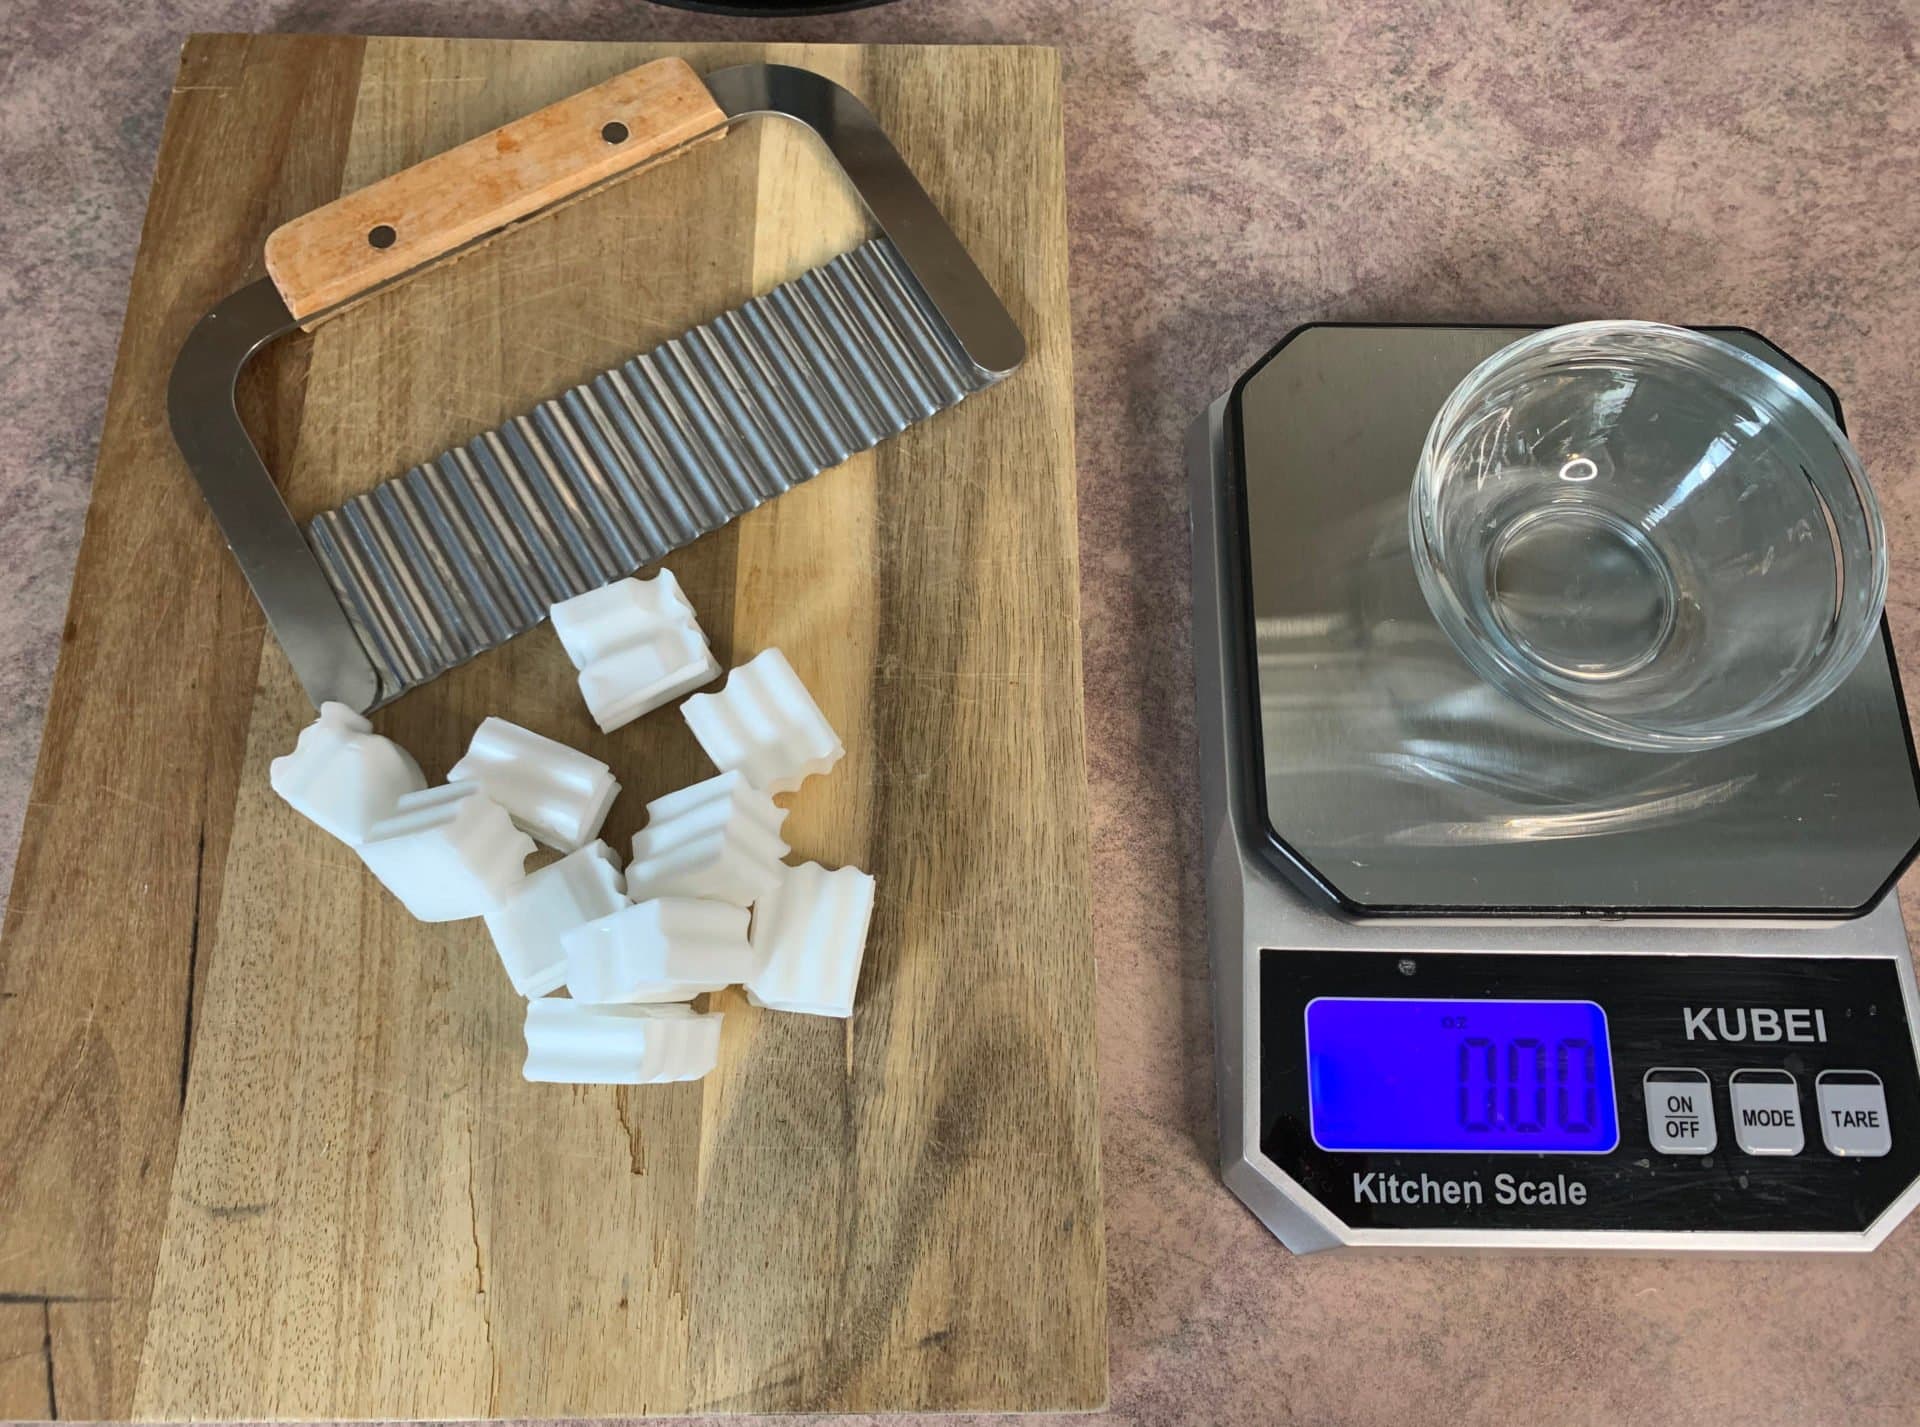

To determine the weight of your soap, you will need to put a bowl on your scale. Then you will press the ‘tare’ button. This will make your scale show a weight of ‘0’ while the bowl is on it. Now, put your soap in the bowl and make note of the weight.
The mold that I am using held, 3.60 ounces of water.
I am using 3.66 ounce of melt and pour soap and pink grapefruit and citrus fragrance oil. This fragrance oil has a use rate of 2%. We can now calculate how much fragrance oil is needed for our soap.
Formula: Soap weight * fragrance oil use rate = amount of fragrance oil needed
Example: 3.66 ounce * 0.02 (this is the 2% use rate) = 0.07 ounce fragrance oil
We are going to weigh this the same way that we did with the soap base. Place your container on your scale and press the ‘tare’ button. Put fragrance oil into the container until you are at 0.07 ounce.
Melting your soap
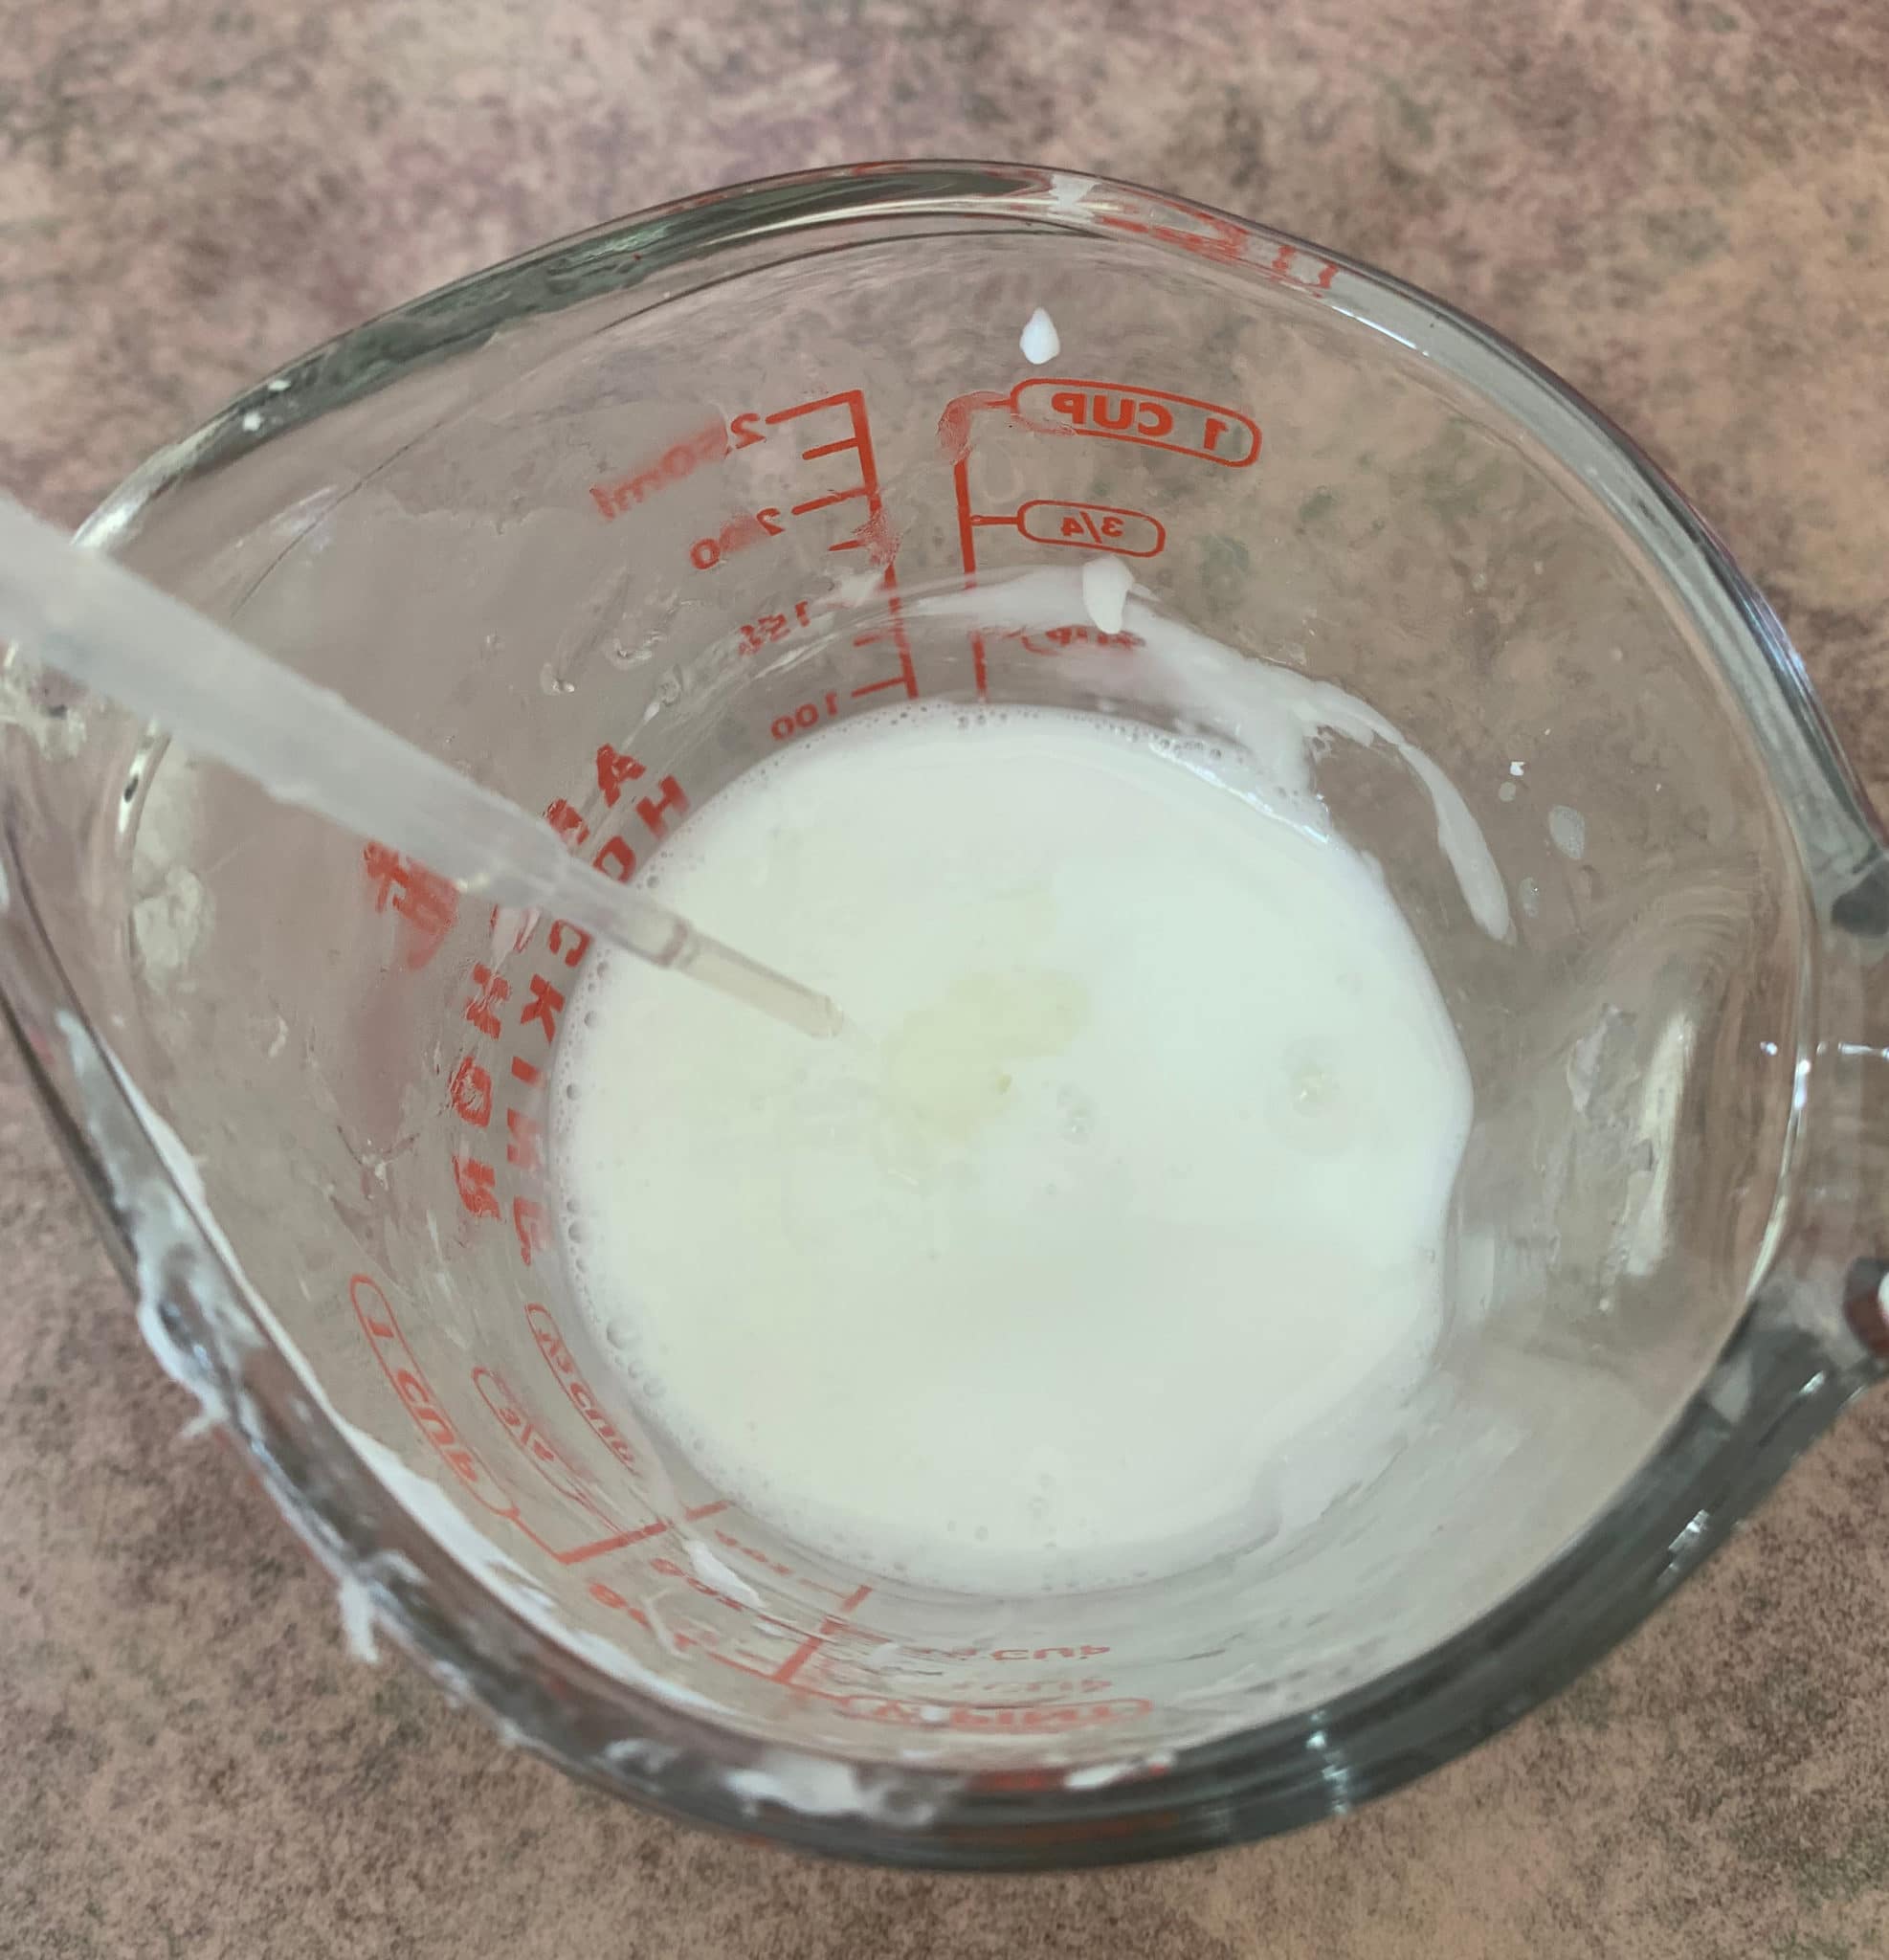
When you are ready to melt your soap, place it in the microwave for 10-15 second intervals, mixing well in between each interval. The reason why it is important to melt the soap this way, is because if it gets too hot, it can burn the soap and you wind up with a rubbery bar of soap. Often times, when you are melting the soap, you will have some small un-melted chunks that will melt as you stir it.
Colorant
You have a lot of choices for how you would like to color your soap. You can use any skin safe colorant that you would like. Personally, I prefer to use mica powder. The only downside of using mica powder is that sometimes it can be challenging to get it to mix in all the way. When you have some little bits of mica that don’t want to mix in, spray the top of the soap with rubbing alcohol. You will notice that the mica powder will start to break up right away.
If at any point you notice that your soap is starting to cool down on you, it is completely fine to pop it back into the microwave for 3-5 seconds.
Pouring your soap
Once the soap is melted, you have added your fragrance oil and color, it is time to pour it into your mold. I like to pour the soap close to the mold and to pour it slowly, to prevent bubbles. Once you are done pouring your soap, you will want to spray the top of the soap with rubbing alcohol to pop any bubbles. You only need a few sprays to pop the bubbles.
Cooling
After you have made your soap, you will need to allow it to cool completely. For a regular bar of soap, it is going to take about 30 minutes to cool. To test if the soap is cooled down, simply touch the bottom of the mold and if it is cool to the touch the soap is cooled.
Unmolding your melt and pour soap
After it has cooled, you can remove it from the mold. I will carefully pull the sides of the silicone mold to release the soap a bit. Then it will pop out pretty easy if you press on the bottom on the mold.
Wrapping your soap
To prevent soap sweating or glycerin dew, it is necessary to wrap your soap until you are ready to use it. You can use saran wrap or shrink wrap. For more details on soap sweating, check out this post.
Troubleshooting Clear Soap
If you notice that your clear soap is cloudy, it can be a result of the fragrance oil that you are using. Often this will be because the fragrance has vanilla in it. You can add Vanilla Color Stabilizer to it. The cloudy soap can also be a result of over stirring your soap, because the more you stir your soap the more bubbles you are creating.