By combining the liquid oil with the wax, we end up with a lip balm that is harder than the carrier oil and softer than the wax. The ratio of the ingredients and the ingredients that you use, are what ultimately determines the consistency of your DIY lip balm.
Prefer to watch this project instead of reading it?
Some of the links are affiliate links, because I am an associate and I earn a small commission on them.
Clean Up Tip: The easiest way to clean up the container is to wipe the container out with a paper towel right away. If the remaining lip balm has already hardened, just heat it up and then wipe the container out with a paper towel. After you have most of the oils out of the container, wash it in warm soapy water.
Measuring
I read something that said the only time that you should measure by volume is if you never want to recreate it again. This is such a true statement. Think about when you are measuring by volume, with a brittle butter like cocoa butter, it is going to be very difficult getting the same amount each time. So in order to create a consistent lip balm, we always measure by weight.
By measuring by weight, you can easily scale the recipe up or down. You can go from making one lip balm to 30 very easily. It is also easier to track the changes that you make to the recipe as you go. (That way you can make it again).
What ingredients do you need to make diy lip balm
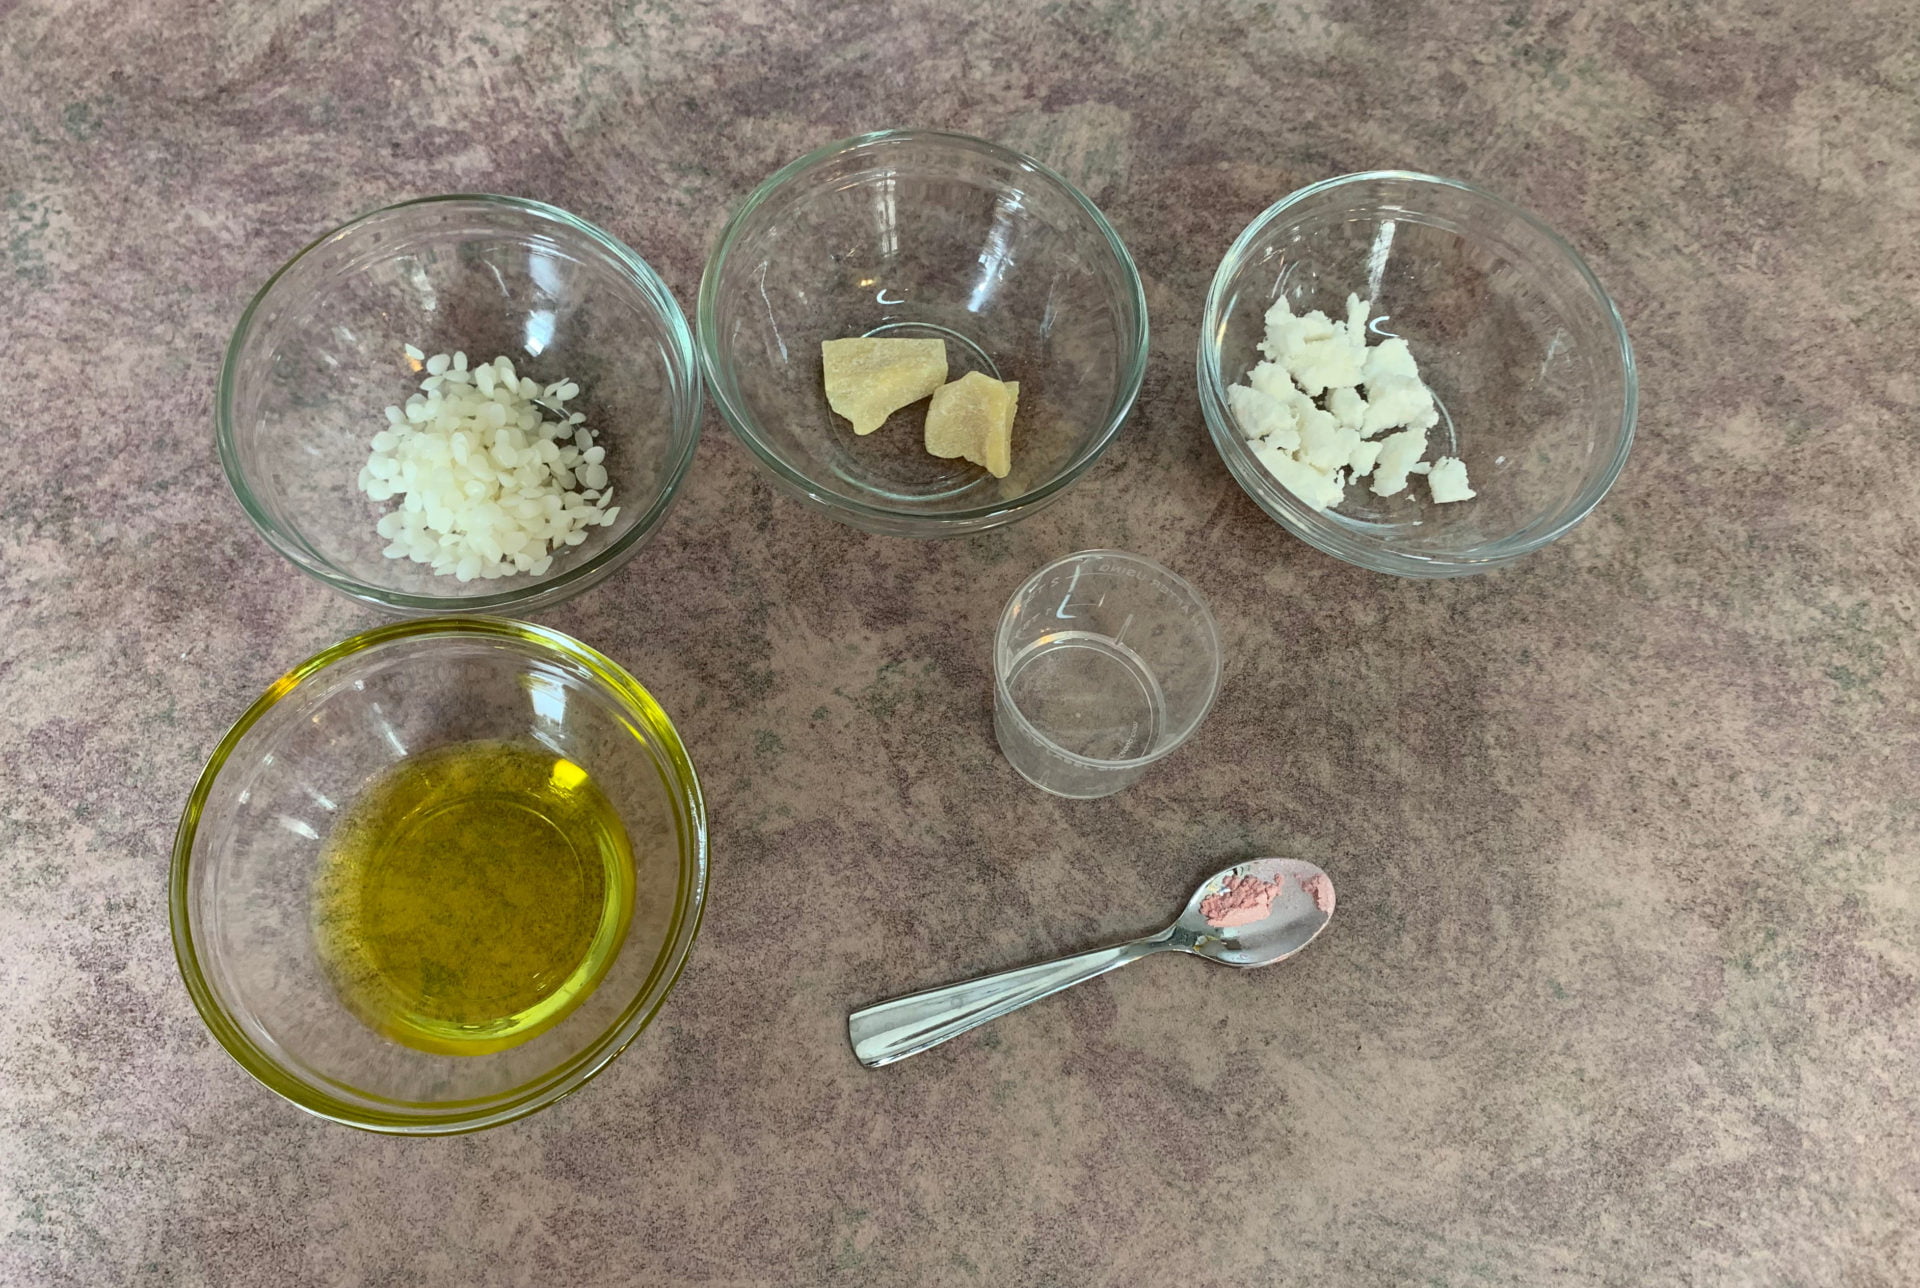
Basically, you need three main ingredients to make a lip balm: oils, butter and wax. Whether you are going for a naturally scented lip balm with essential oils or one that is a little sweeter, you are going to start out with the same base recipe. From there, you can add in you variations.
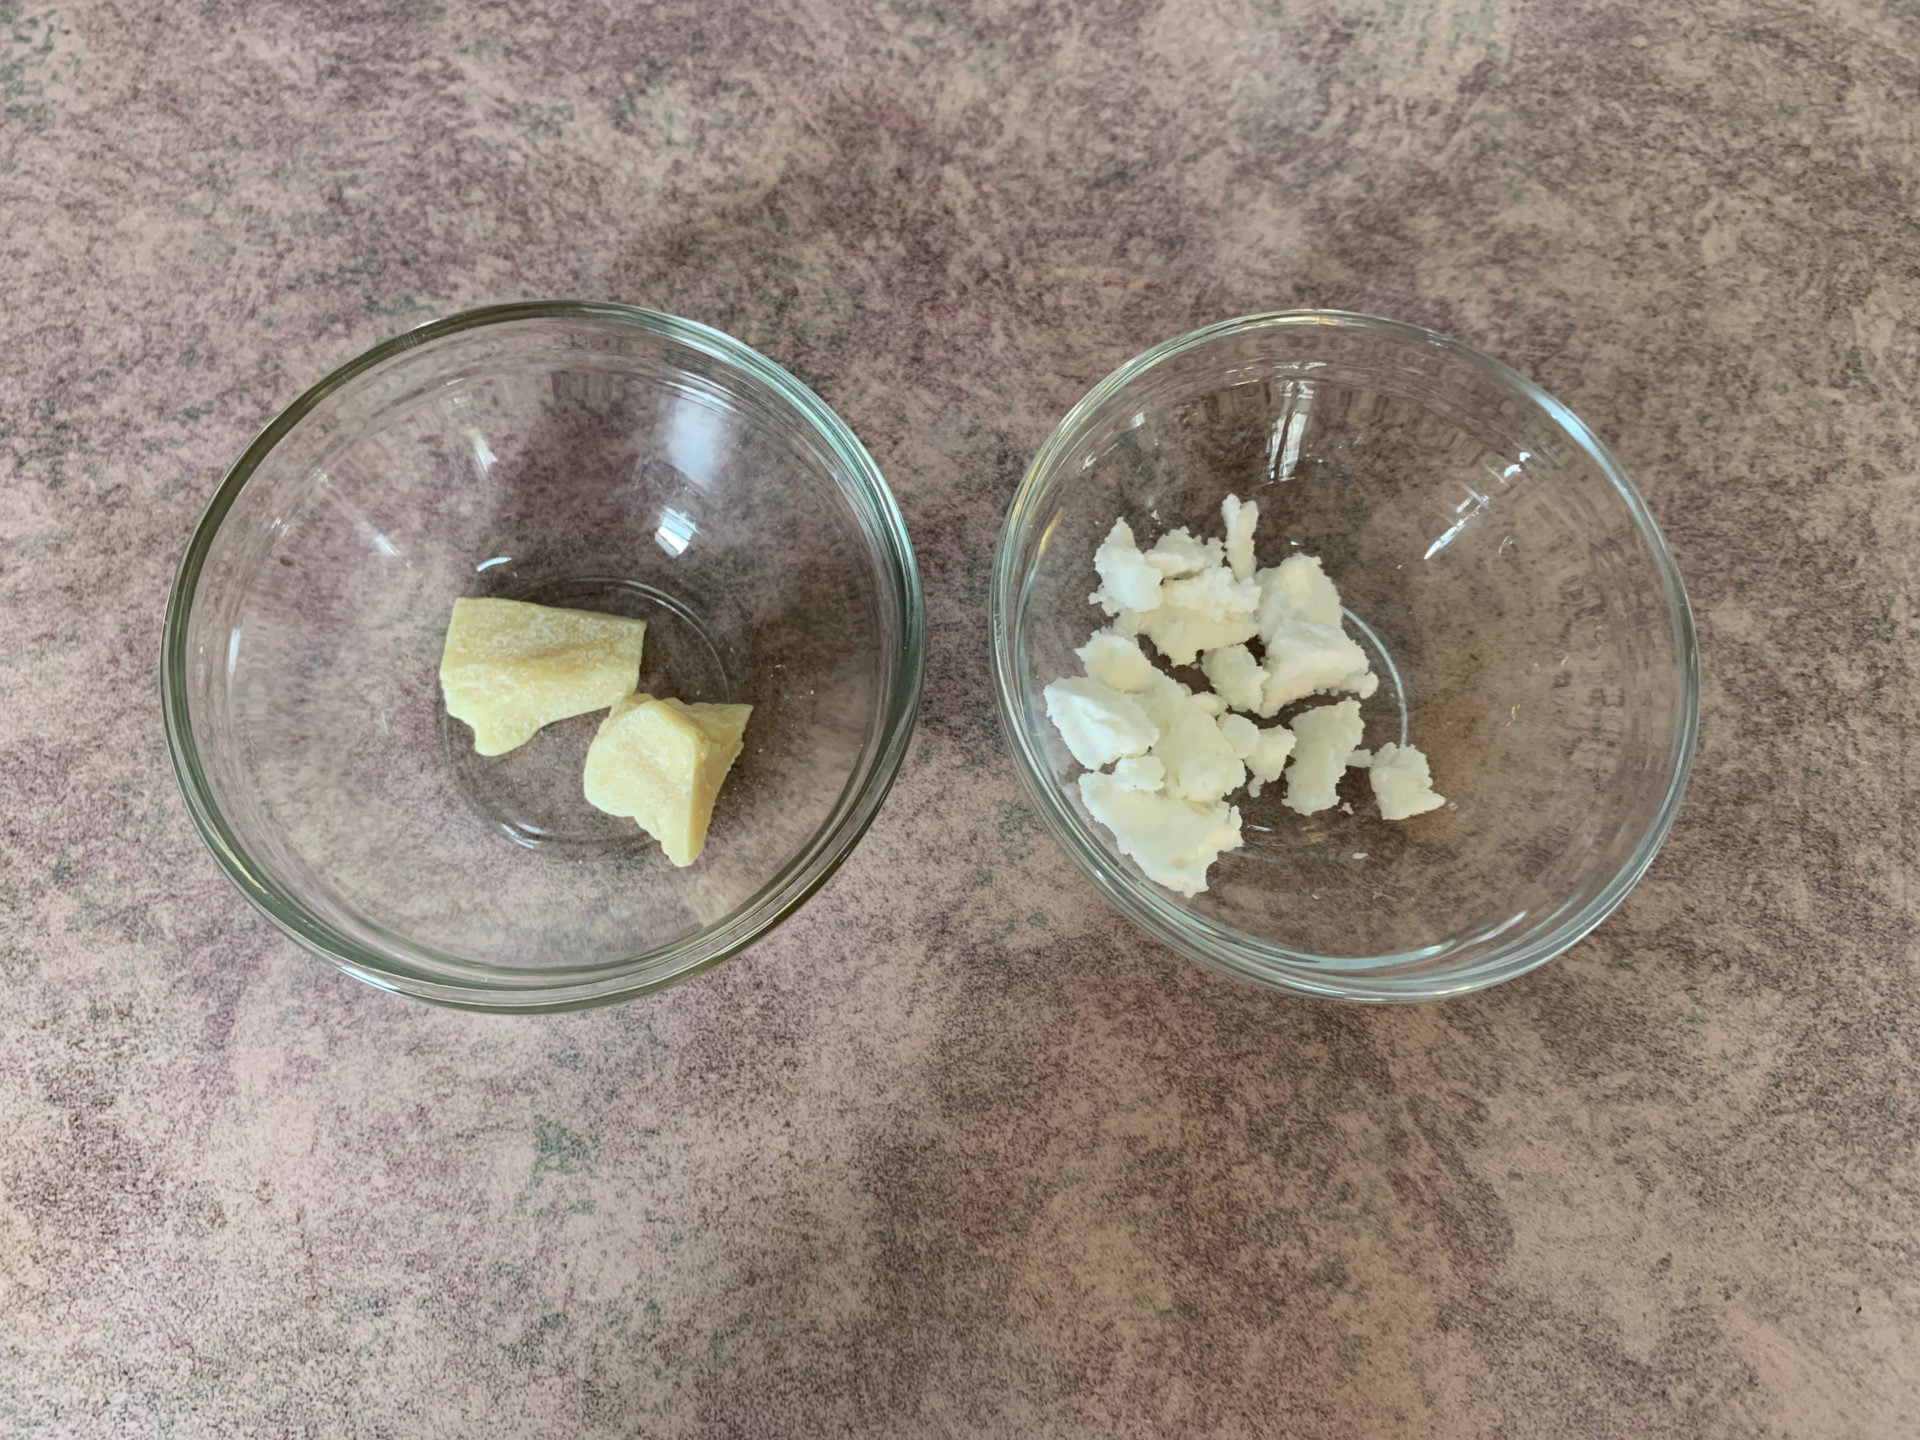
Solid Butters: Solid butters add structure a creamy like texture / consistency to your lip balm. There are two types of butters, solid butters (shea butter and coconut oil) and brittle butters (cocoa butter and kokum butter) The more of the brittle butters that you use, the more carrier oil you will need to soften the lip balm.
Wax: There are three main types of wax that are commonly used in lip balms: beeswax, candelilla wax and carnauba wax. They are used to harden the lip balm and to prevent it from melting. Each one of these waxes have their own properties. The softest one is the beeswax and the carnauba wax is the hardest. The beeswax creates a natural barrier on your lips and protects them from the elements and it also prevents moisture loss.
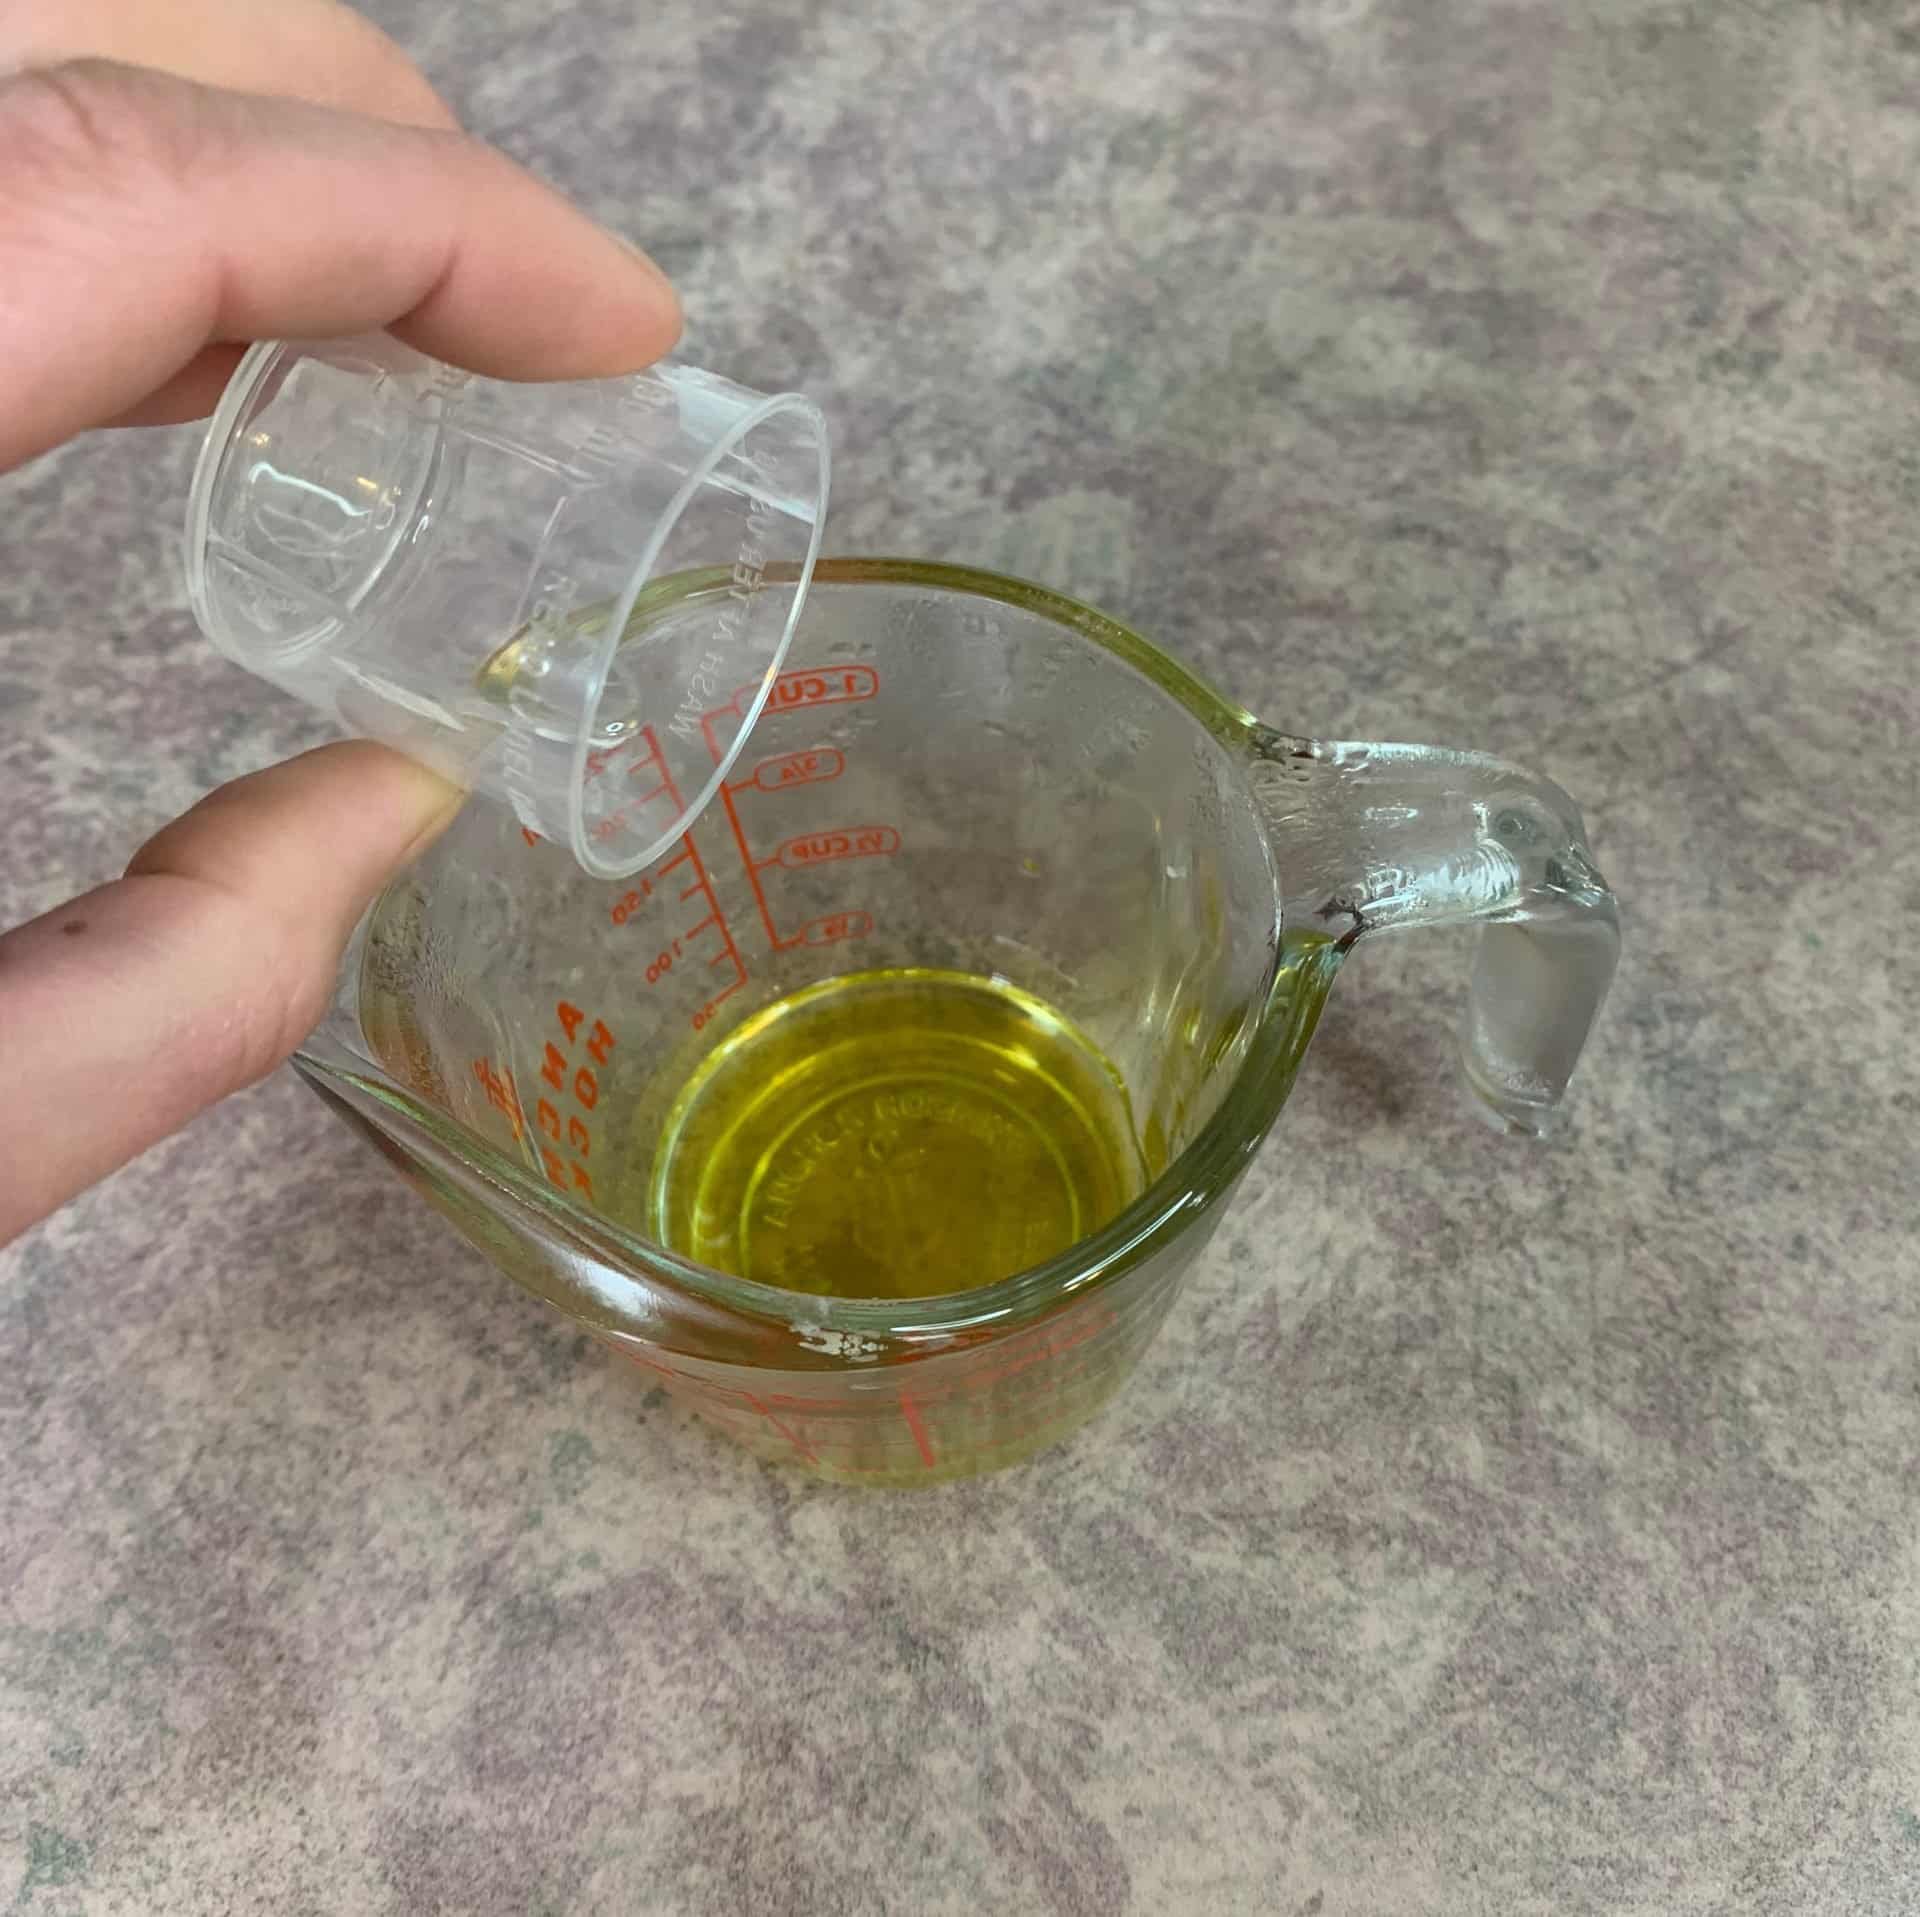
Oils: You can use any carrier oil that you would like. I am using olive oil to add a little bit of a shine to my lips and also because it is hydrating.
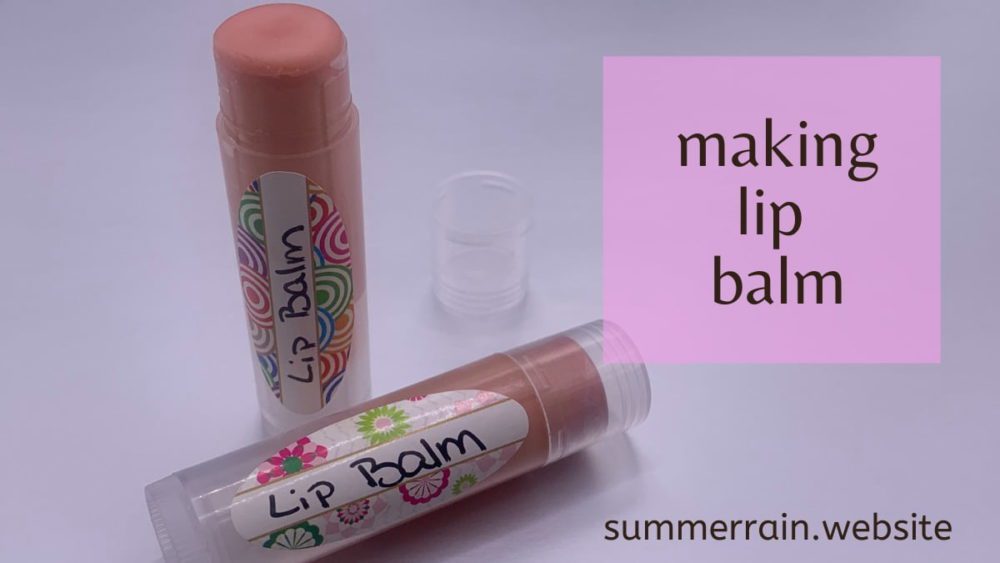
Making DIY Lip Balm
Step 1: Melt the Oils
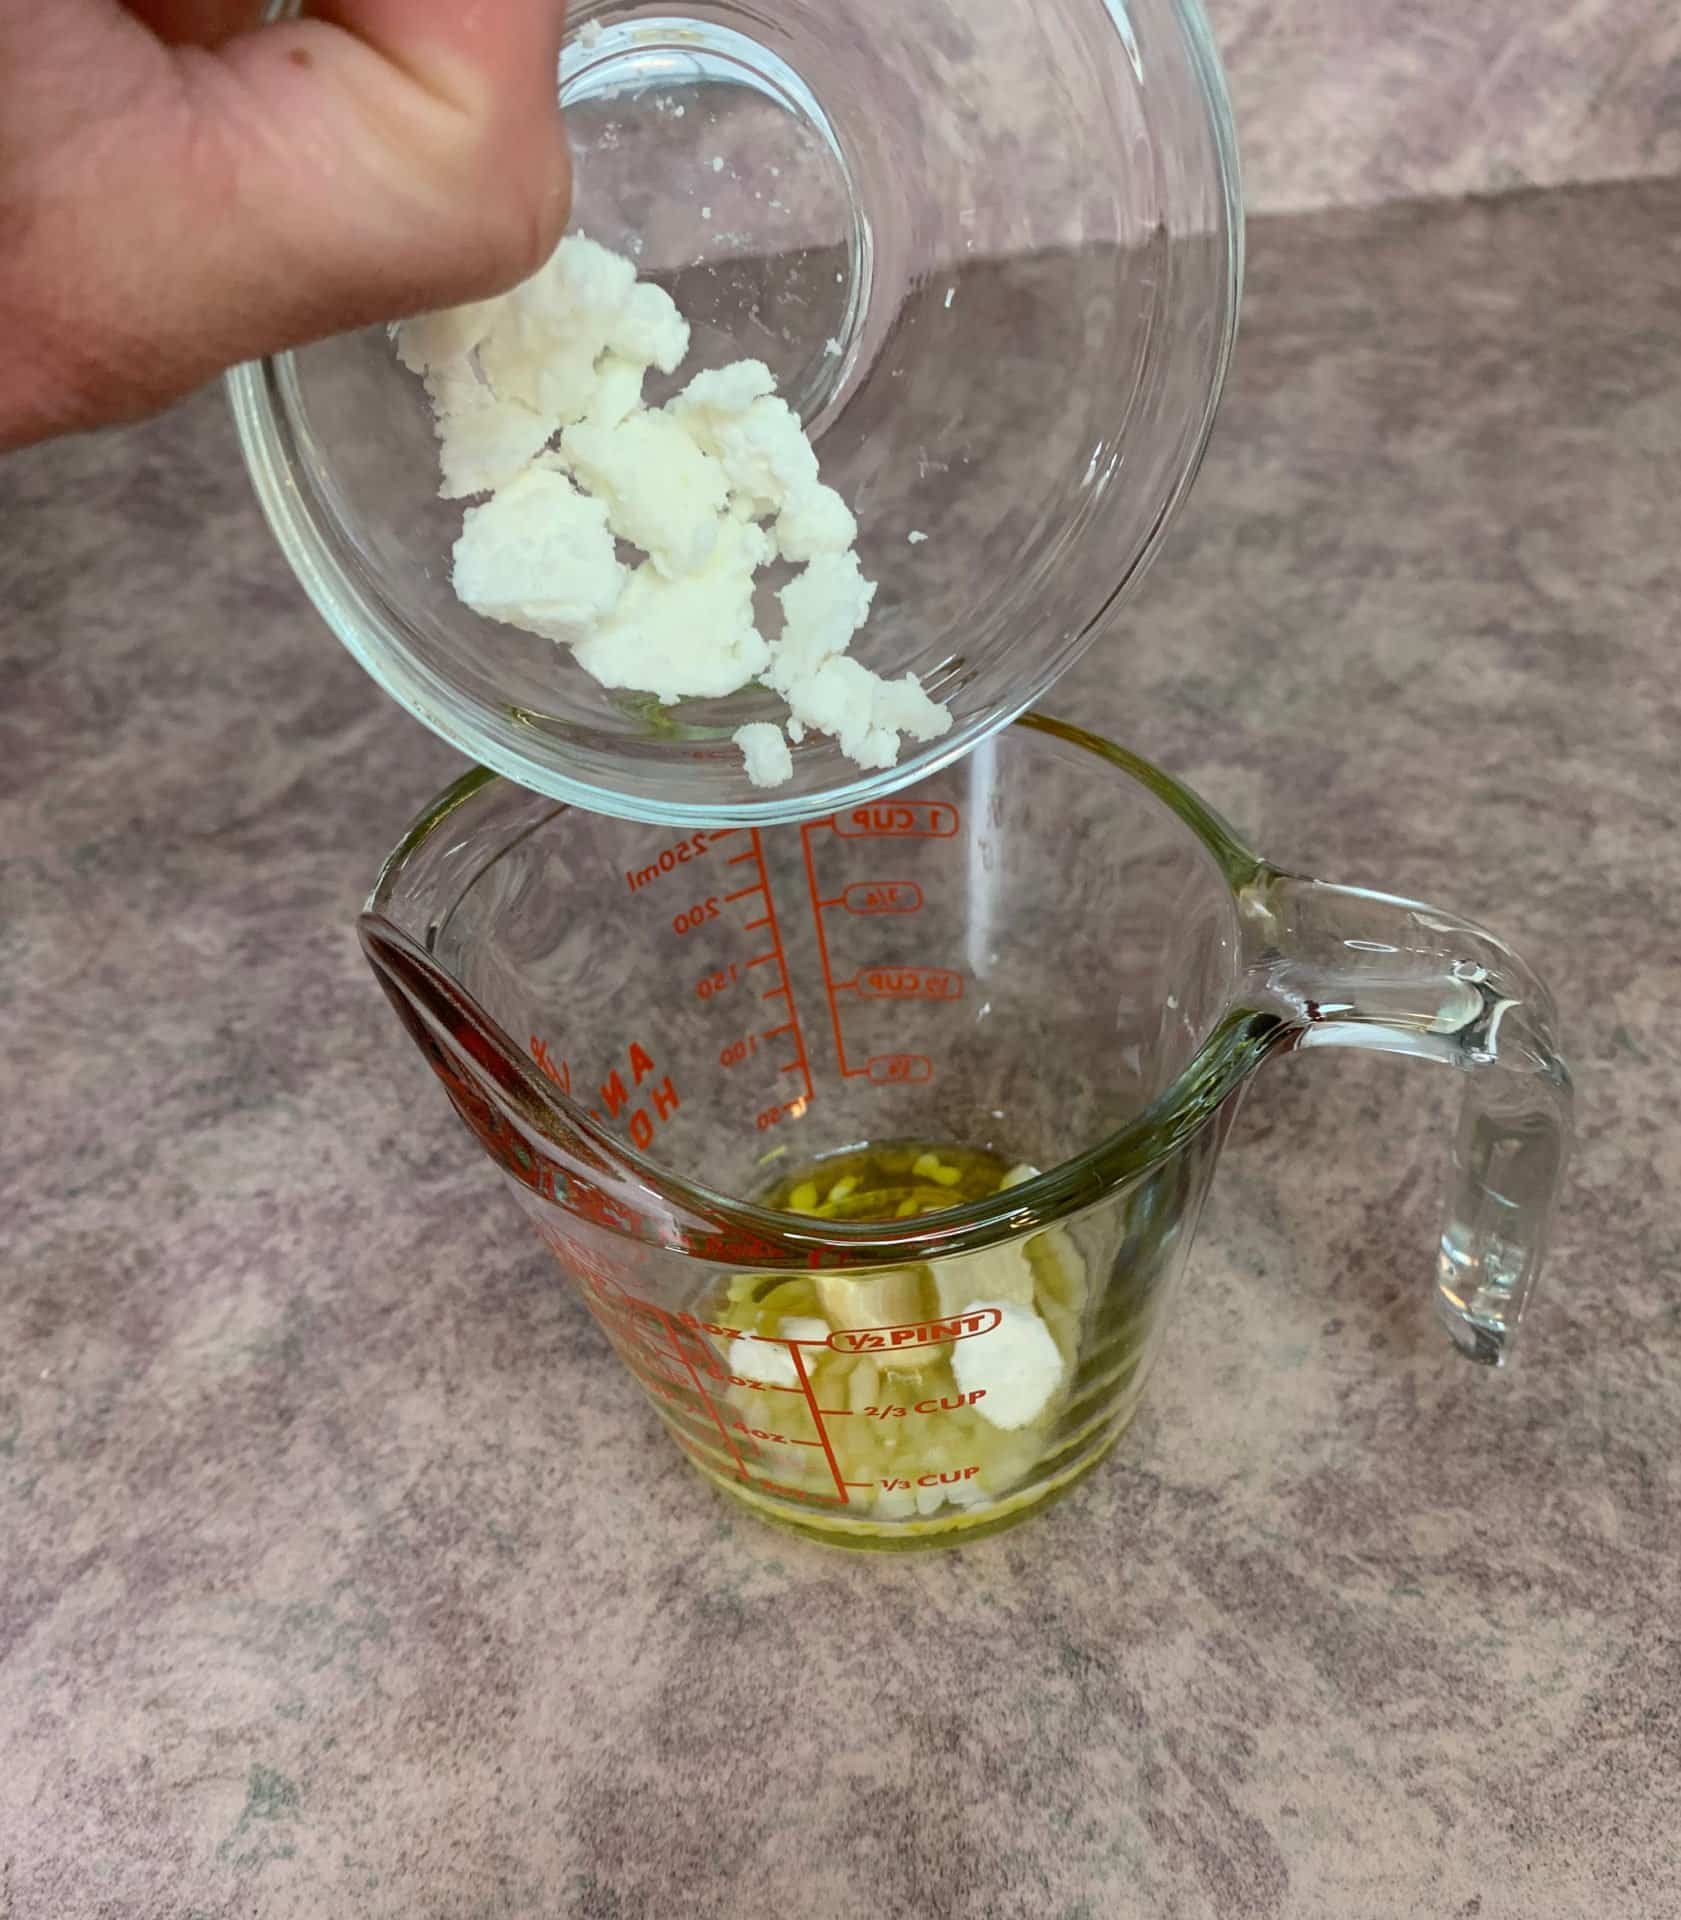
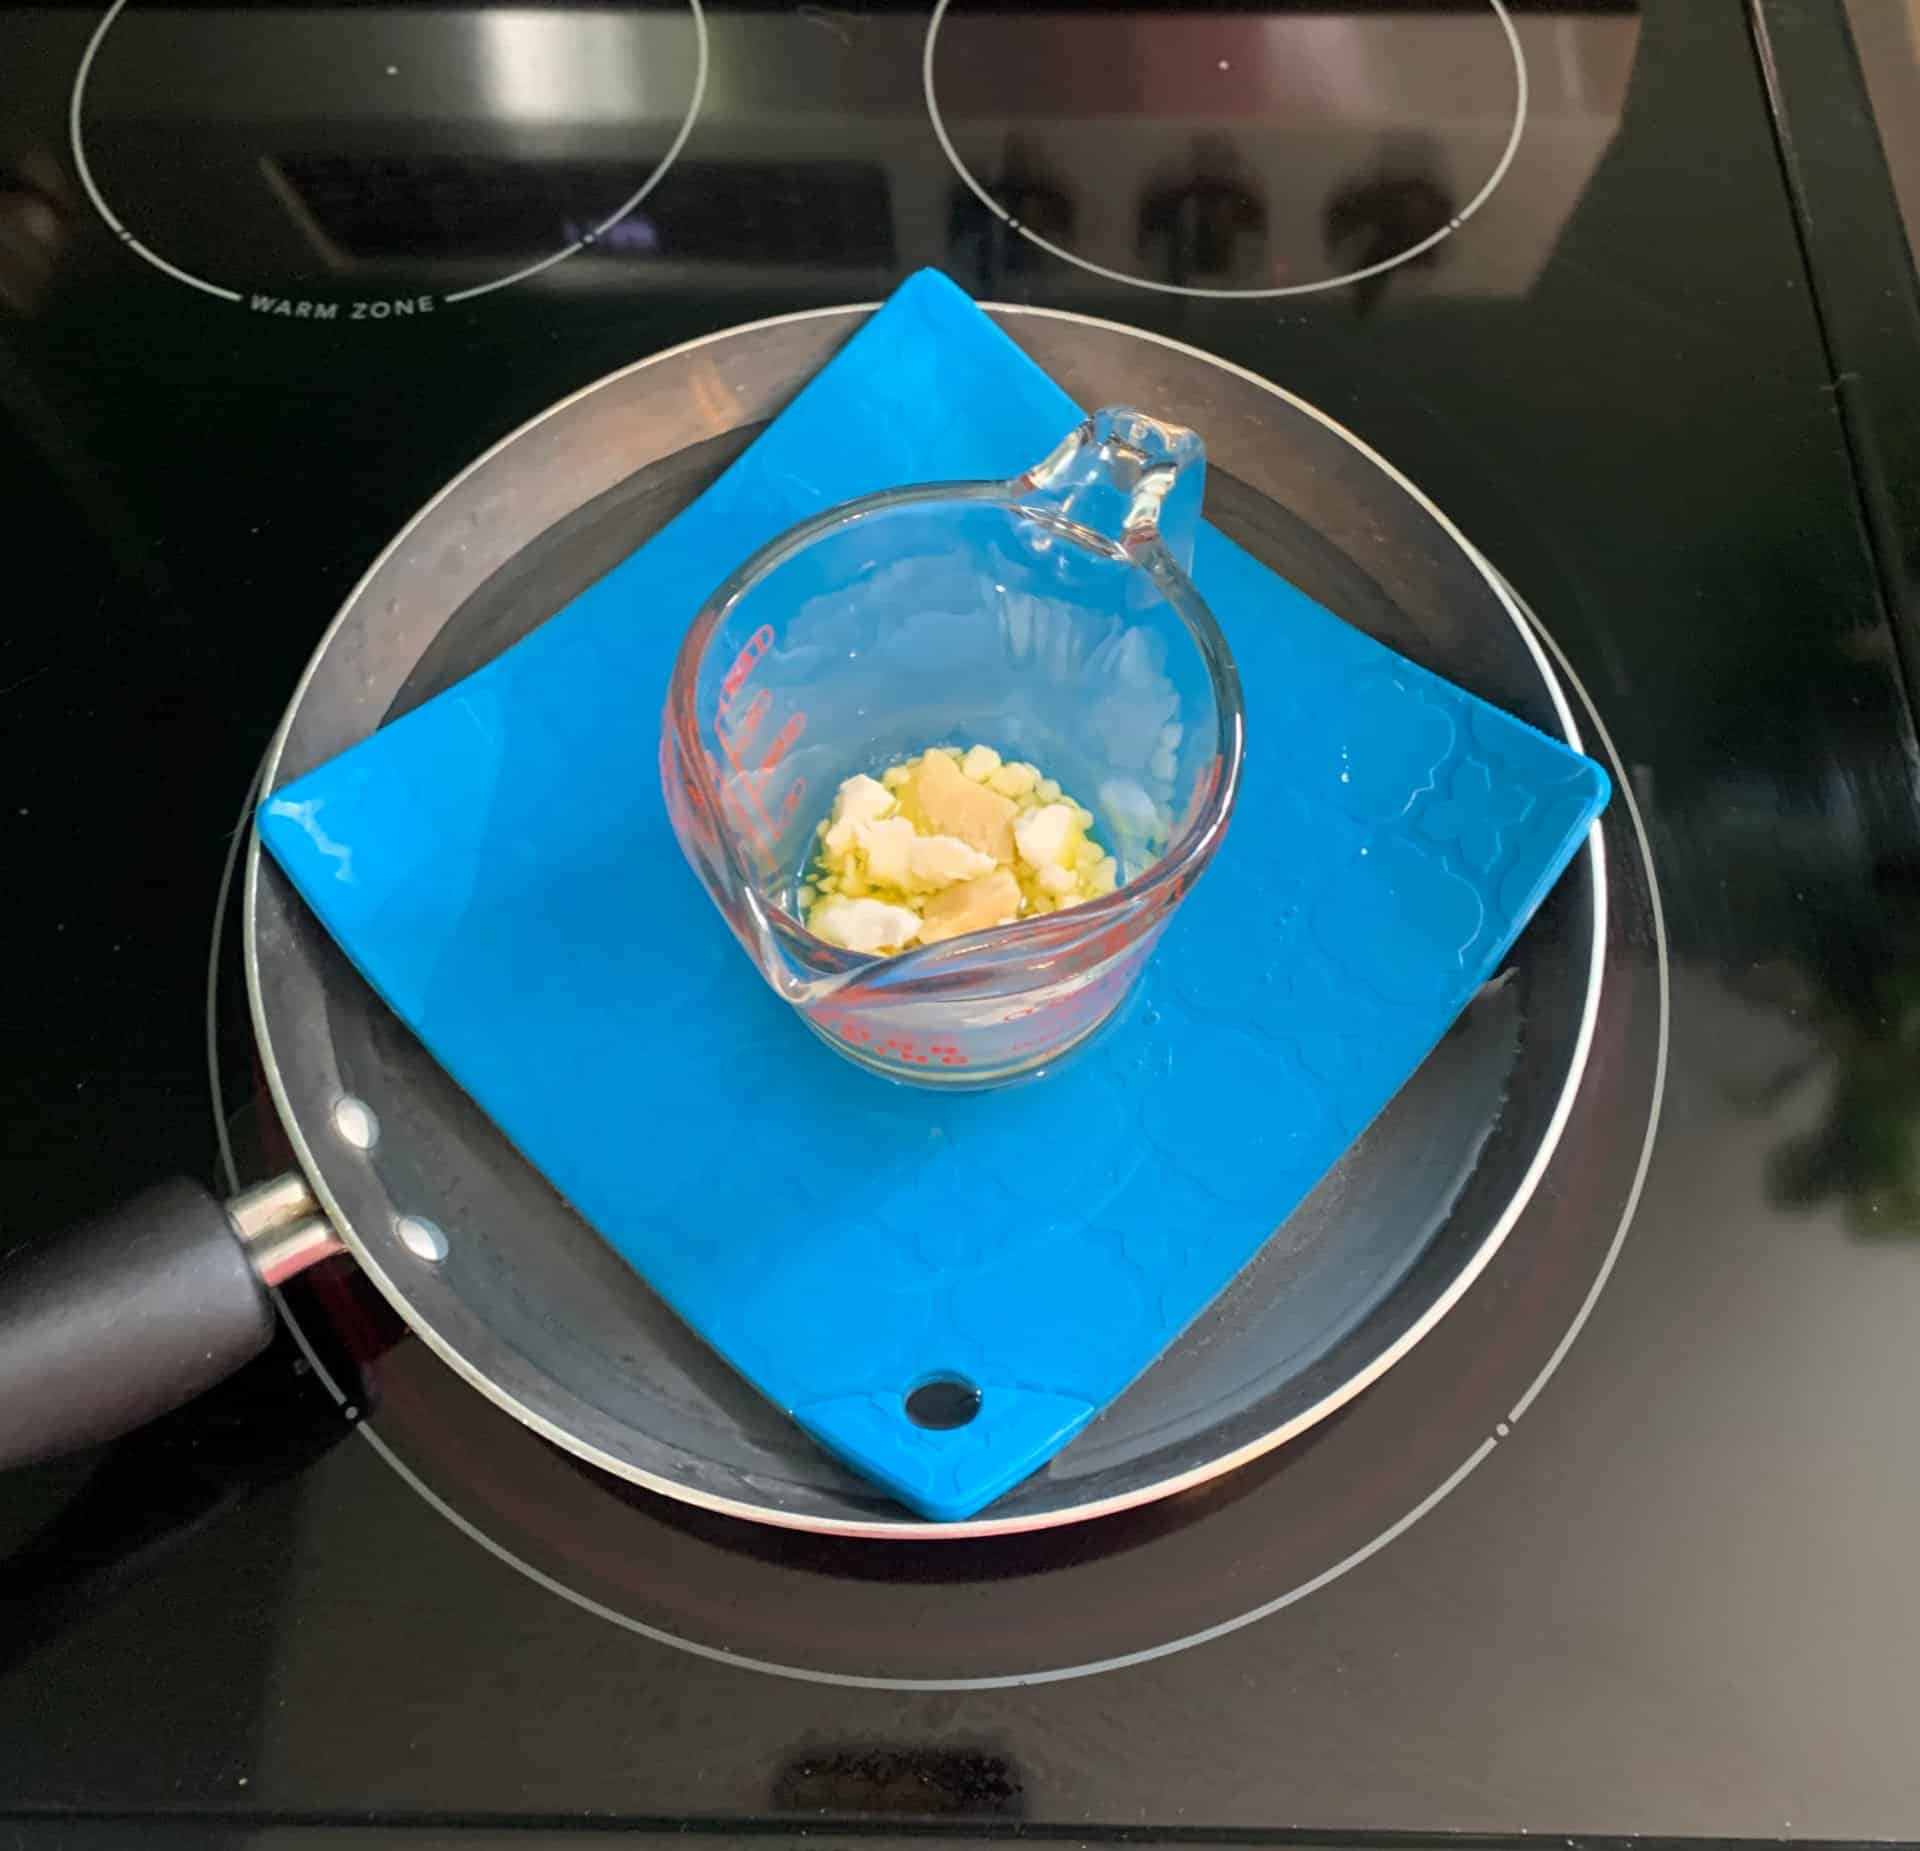
Place the beeswax, cocoa butter, shea butter and olive oil in a heat safe container. Then place the container on a double boiler. I create my own double boiler by using a pan with a silicone mat in it. Then I add just a bit of water to the bottom of it. We heat our ingredients this way because it allows them to melt slowly and evenly without getting them too hot.
Step 2: Consistency
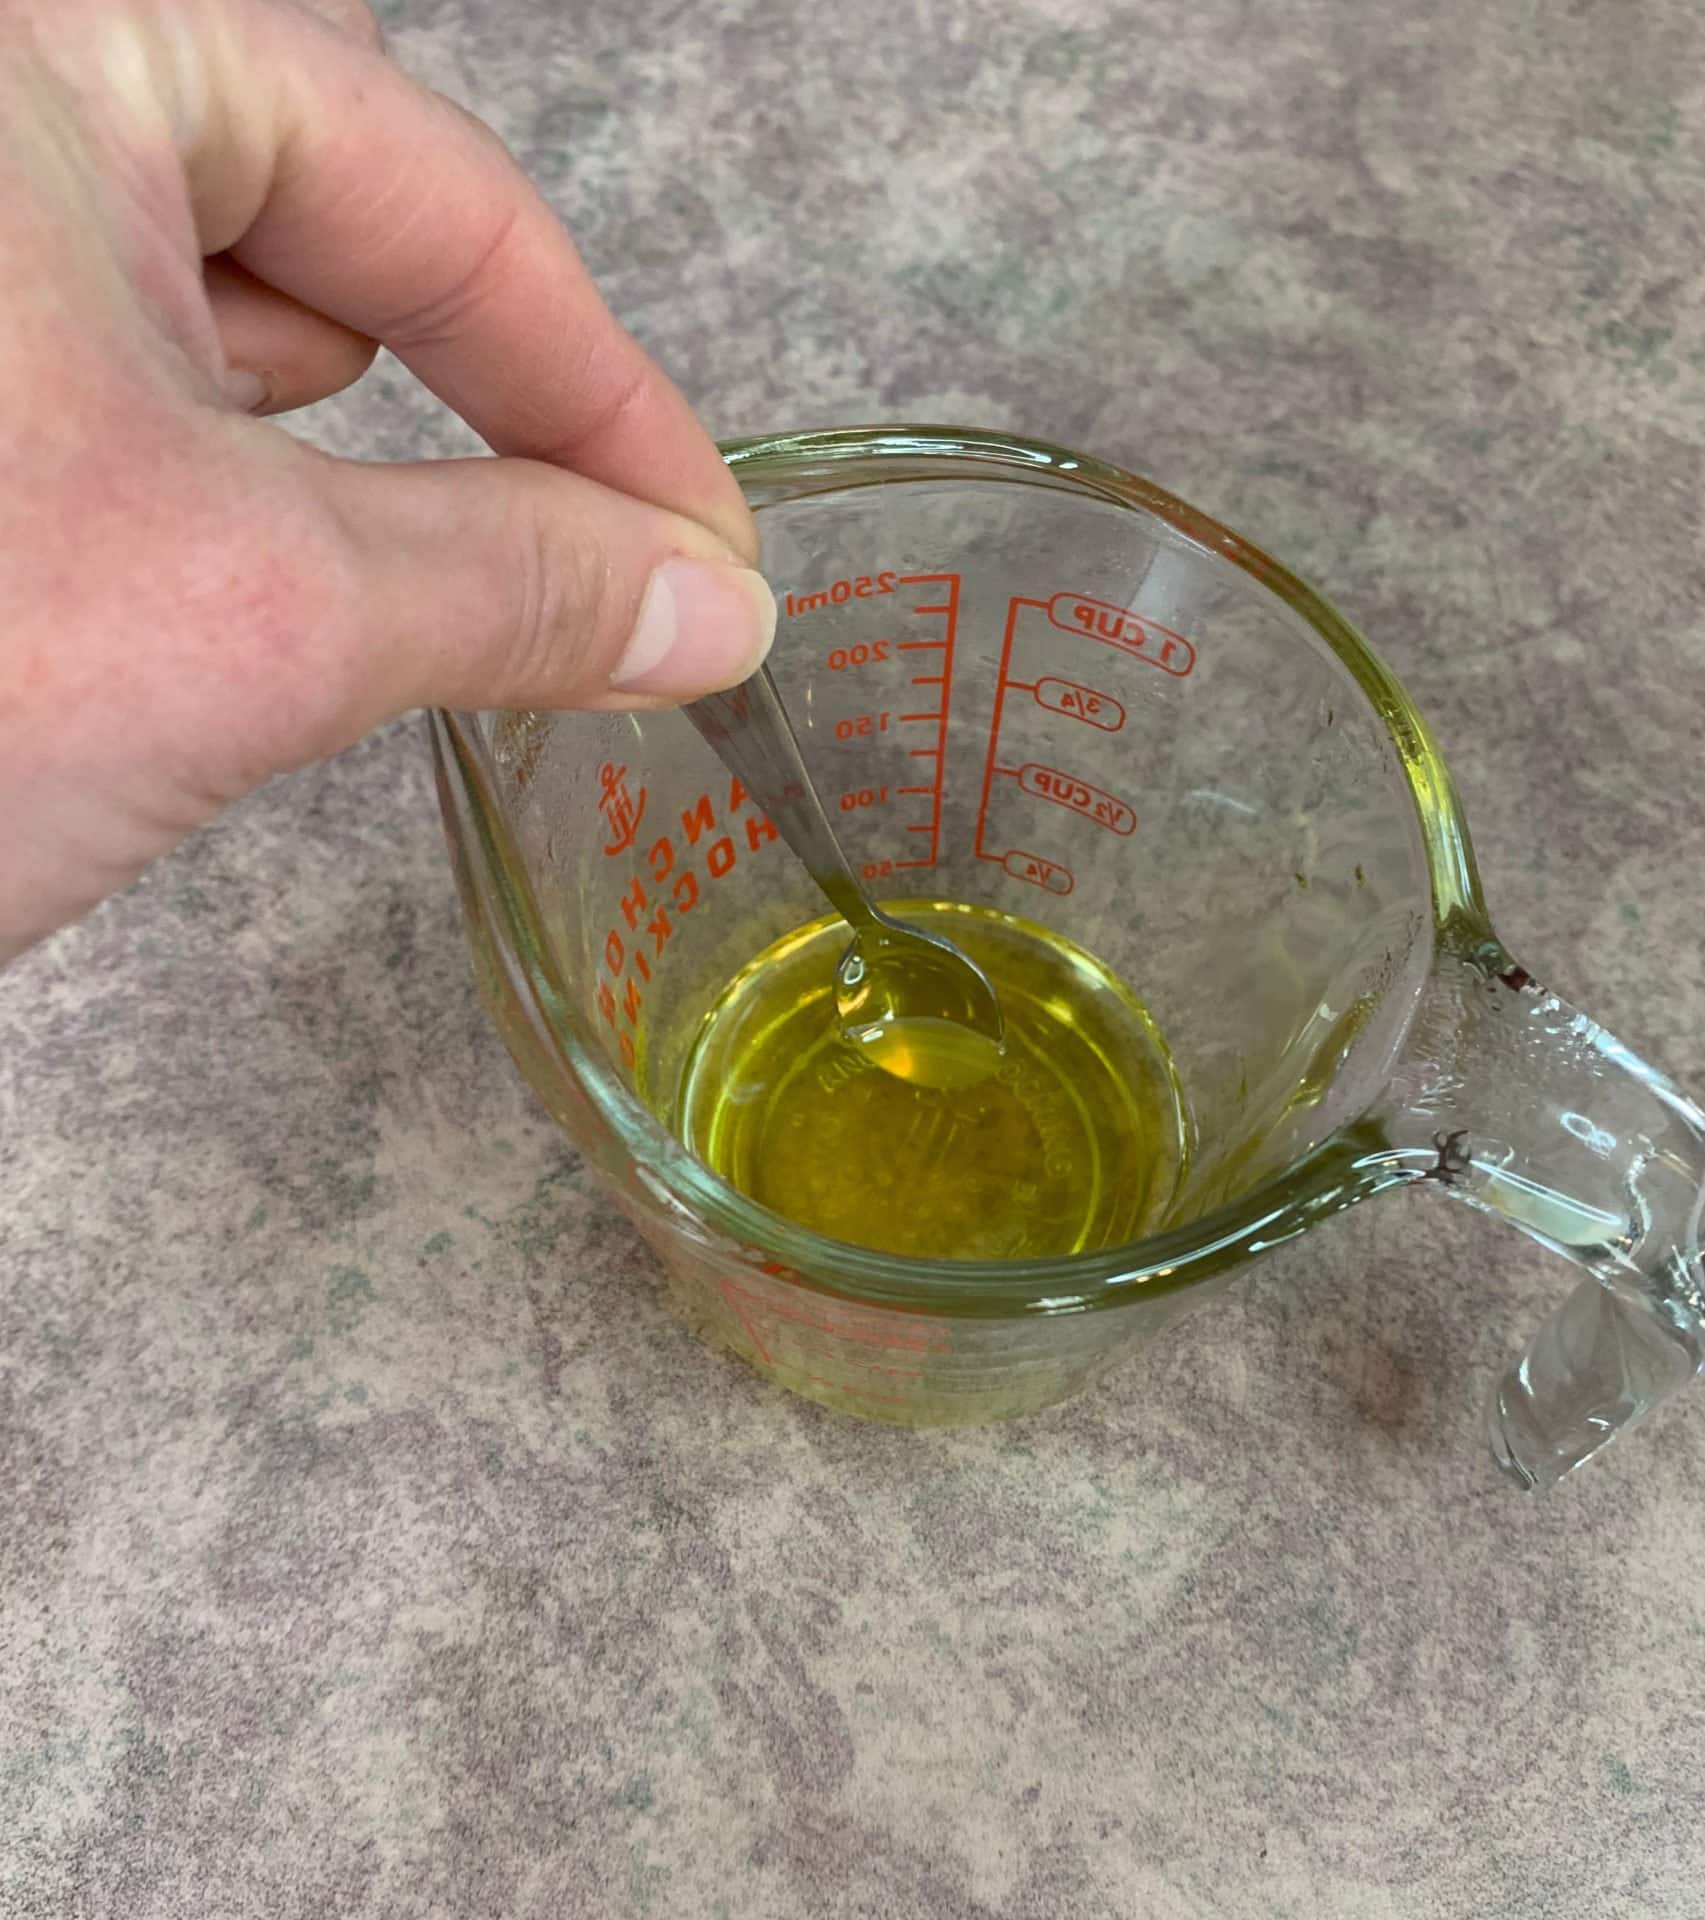
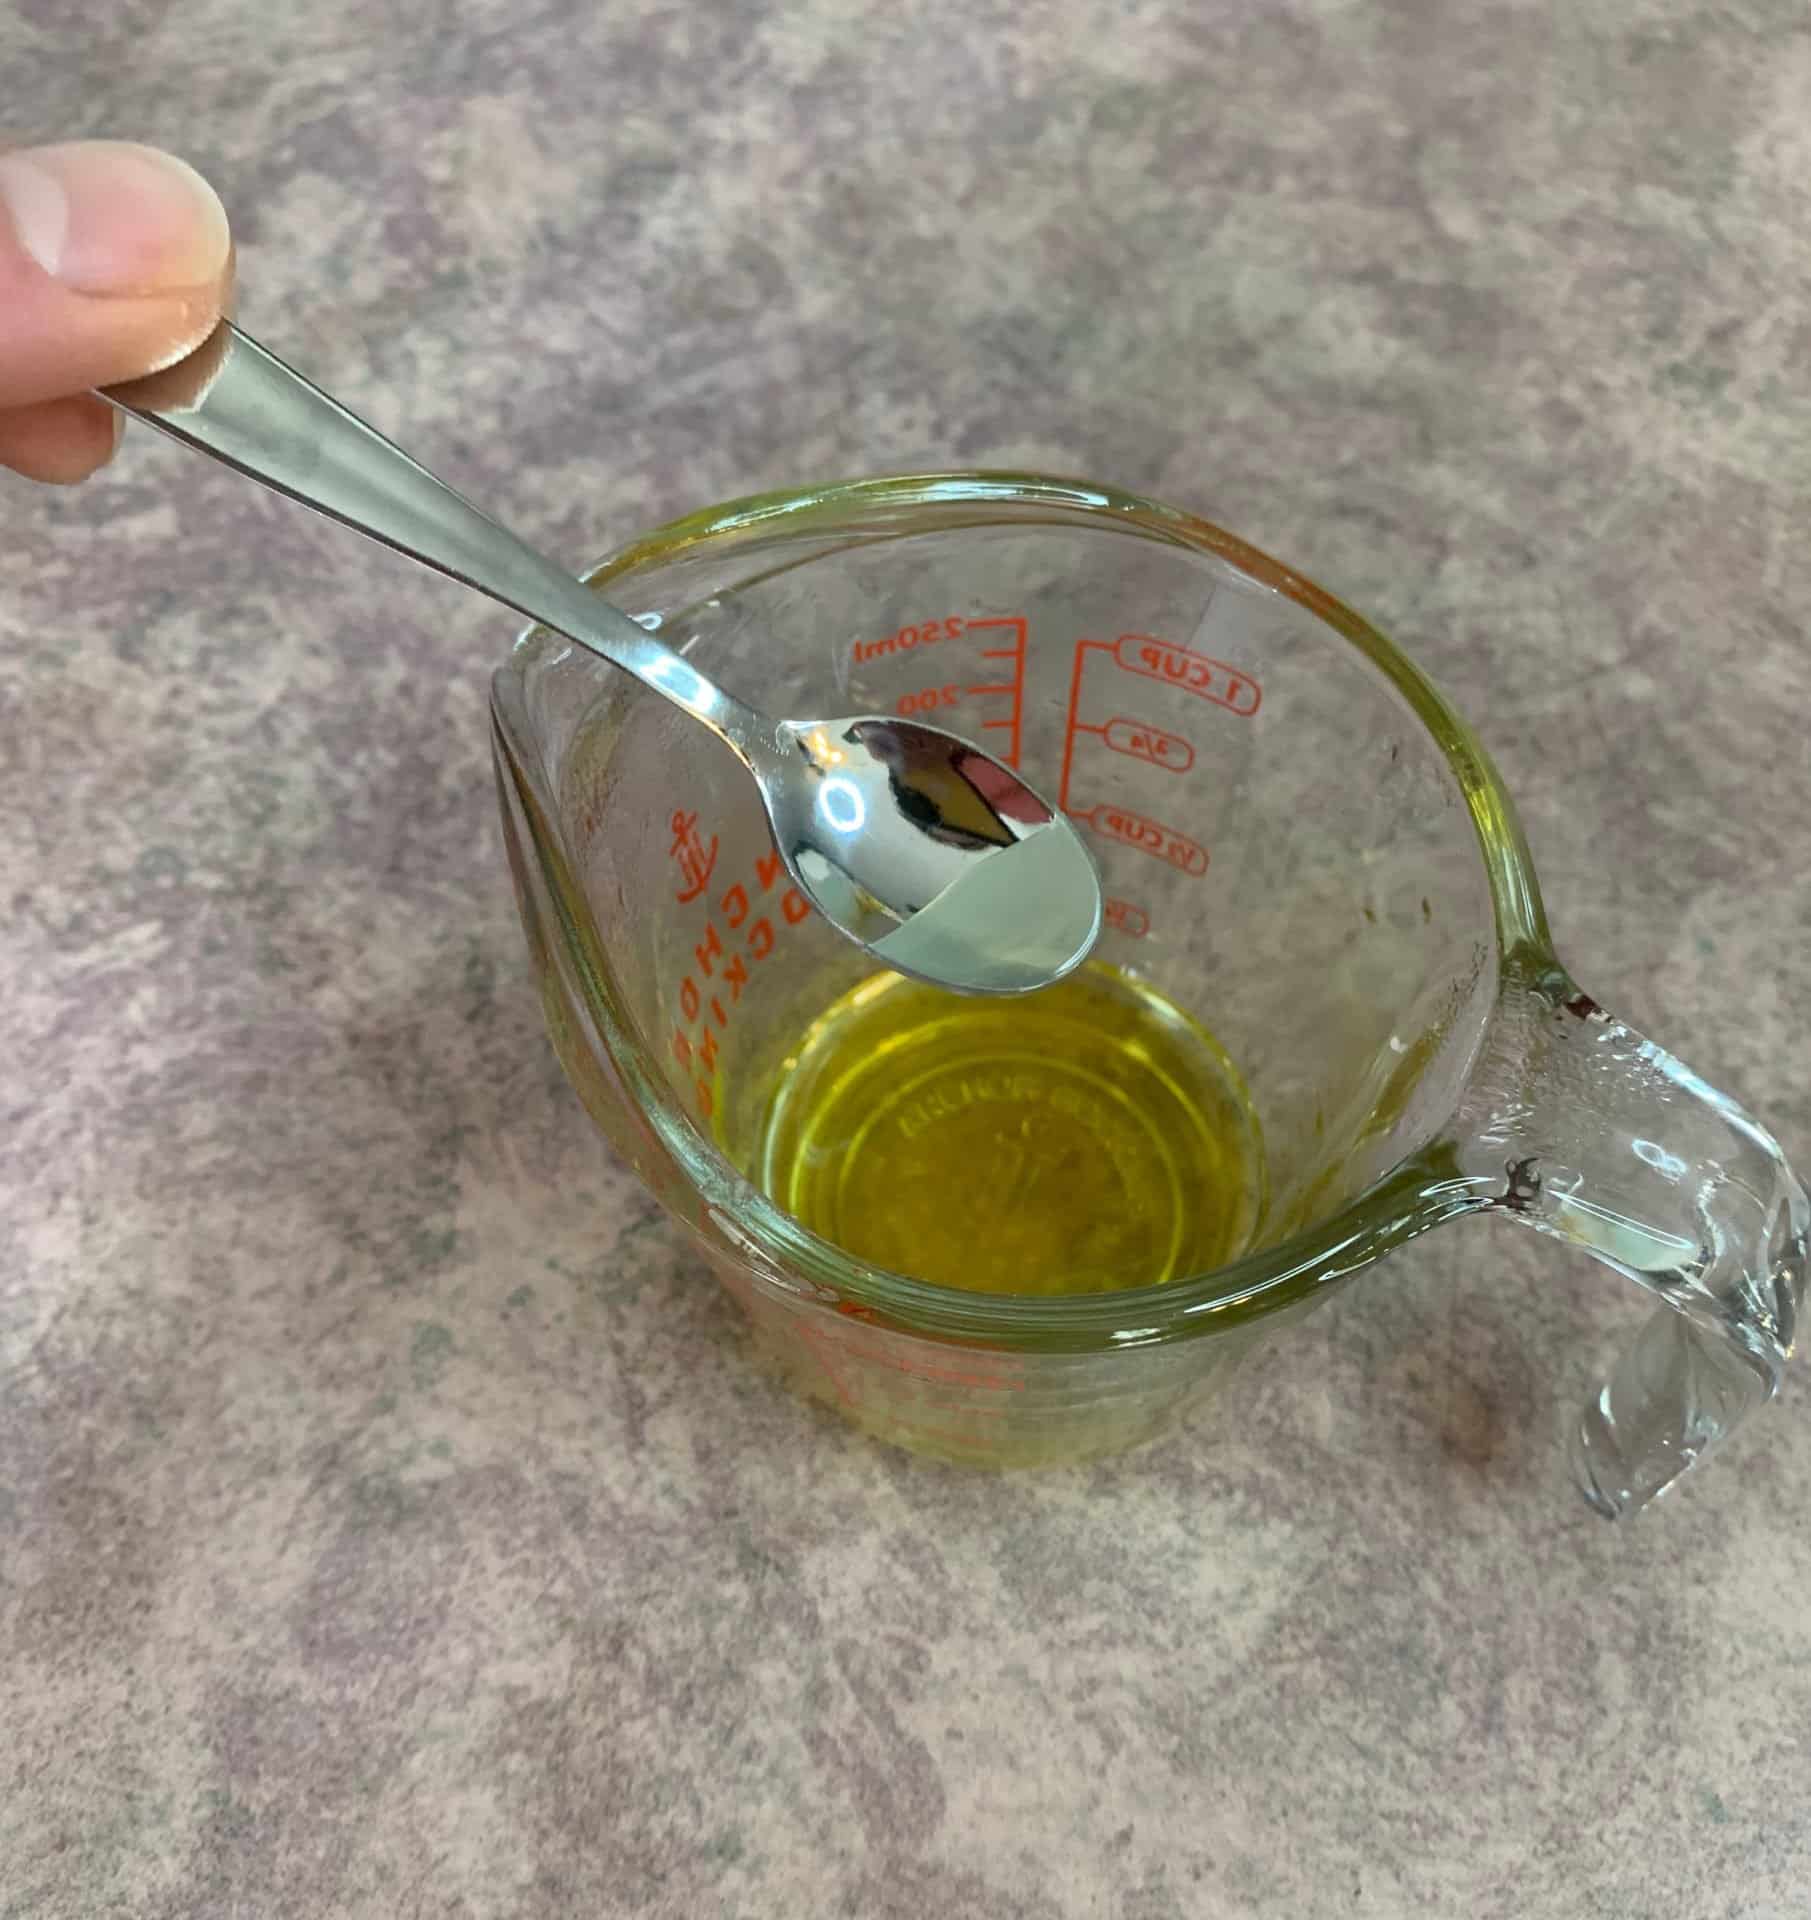
One of the cool things about making a DIY lip balm is it can be easily adjusted. I like to test the consistency of that balm before I actually pour it into my containers. To do this, you are going to dip a spoon into the melted lip balm. Allow it to cool for a few minutes.
If it is too soft you can add a bit more wax or butters to harden it up.
If it is too hard you can add a bit more carrier oil to soften it a bit.
Once it is to the consistency that you want, reheat it a bit to get it back into liquid form.
Step 3: Cool Down
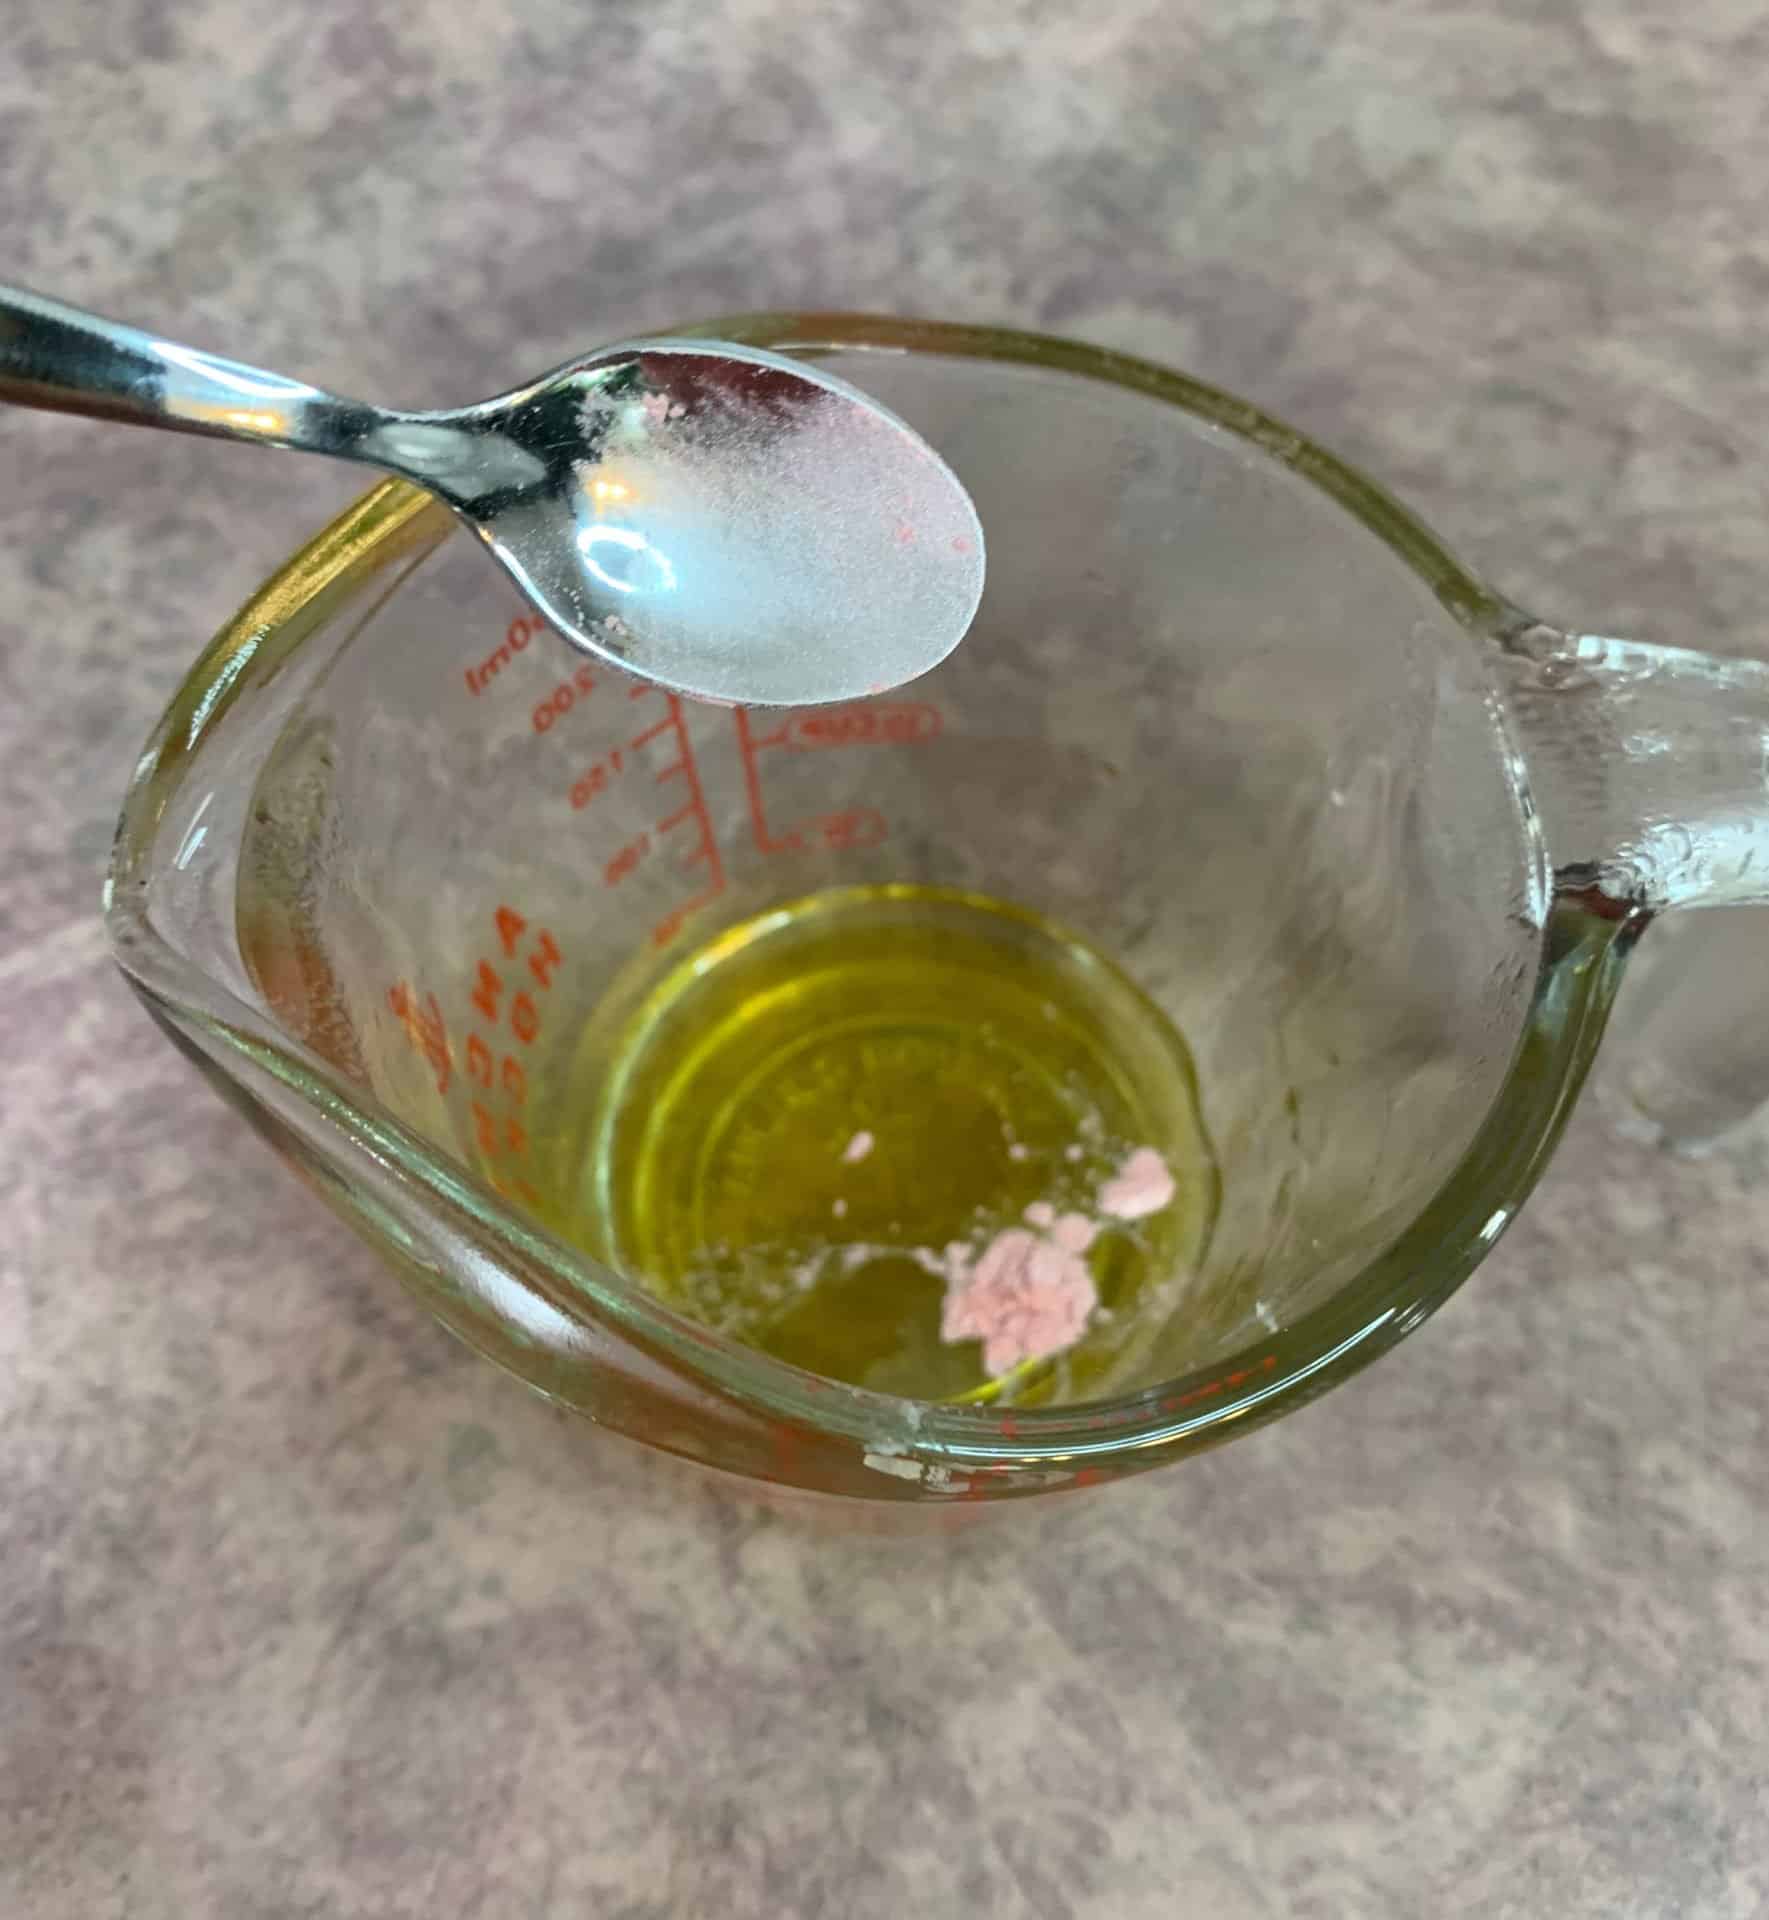
Now that the lip balm is at our desired consistency, we can add the mica powder and strawberry flavoring oil. You are going to want to mix well.
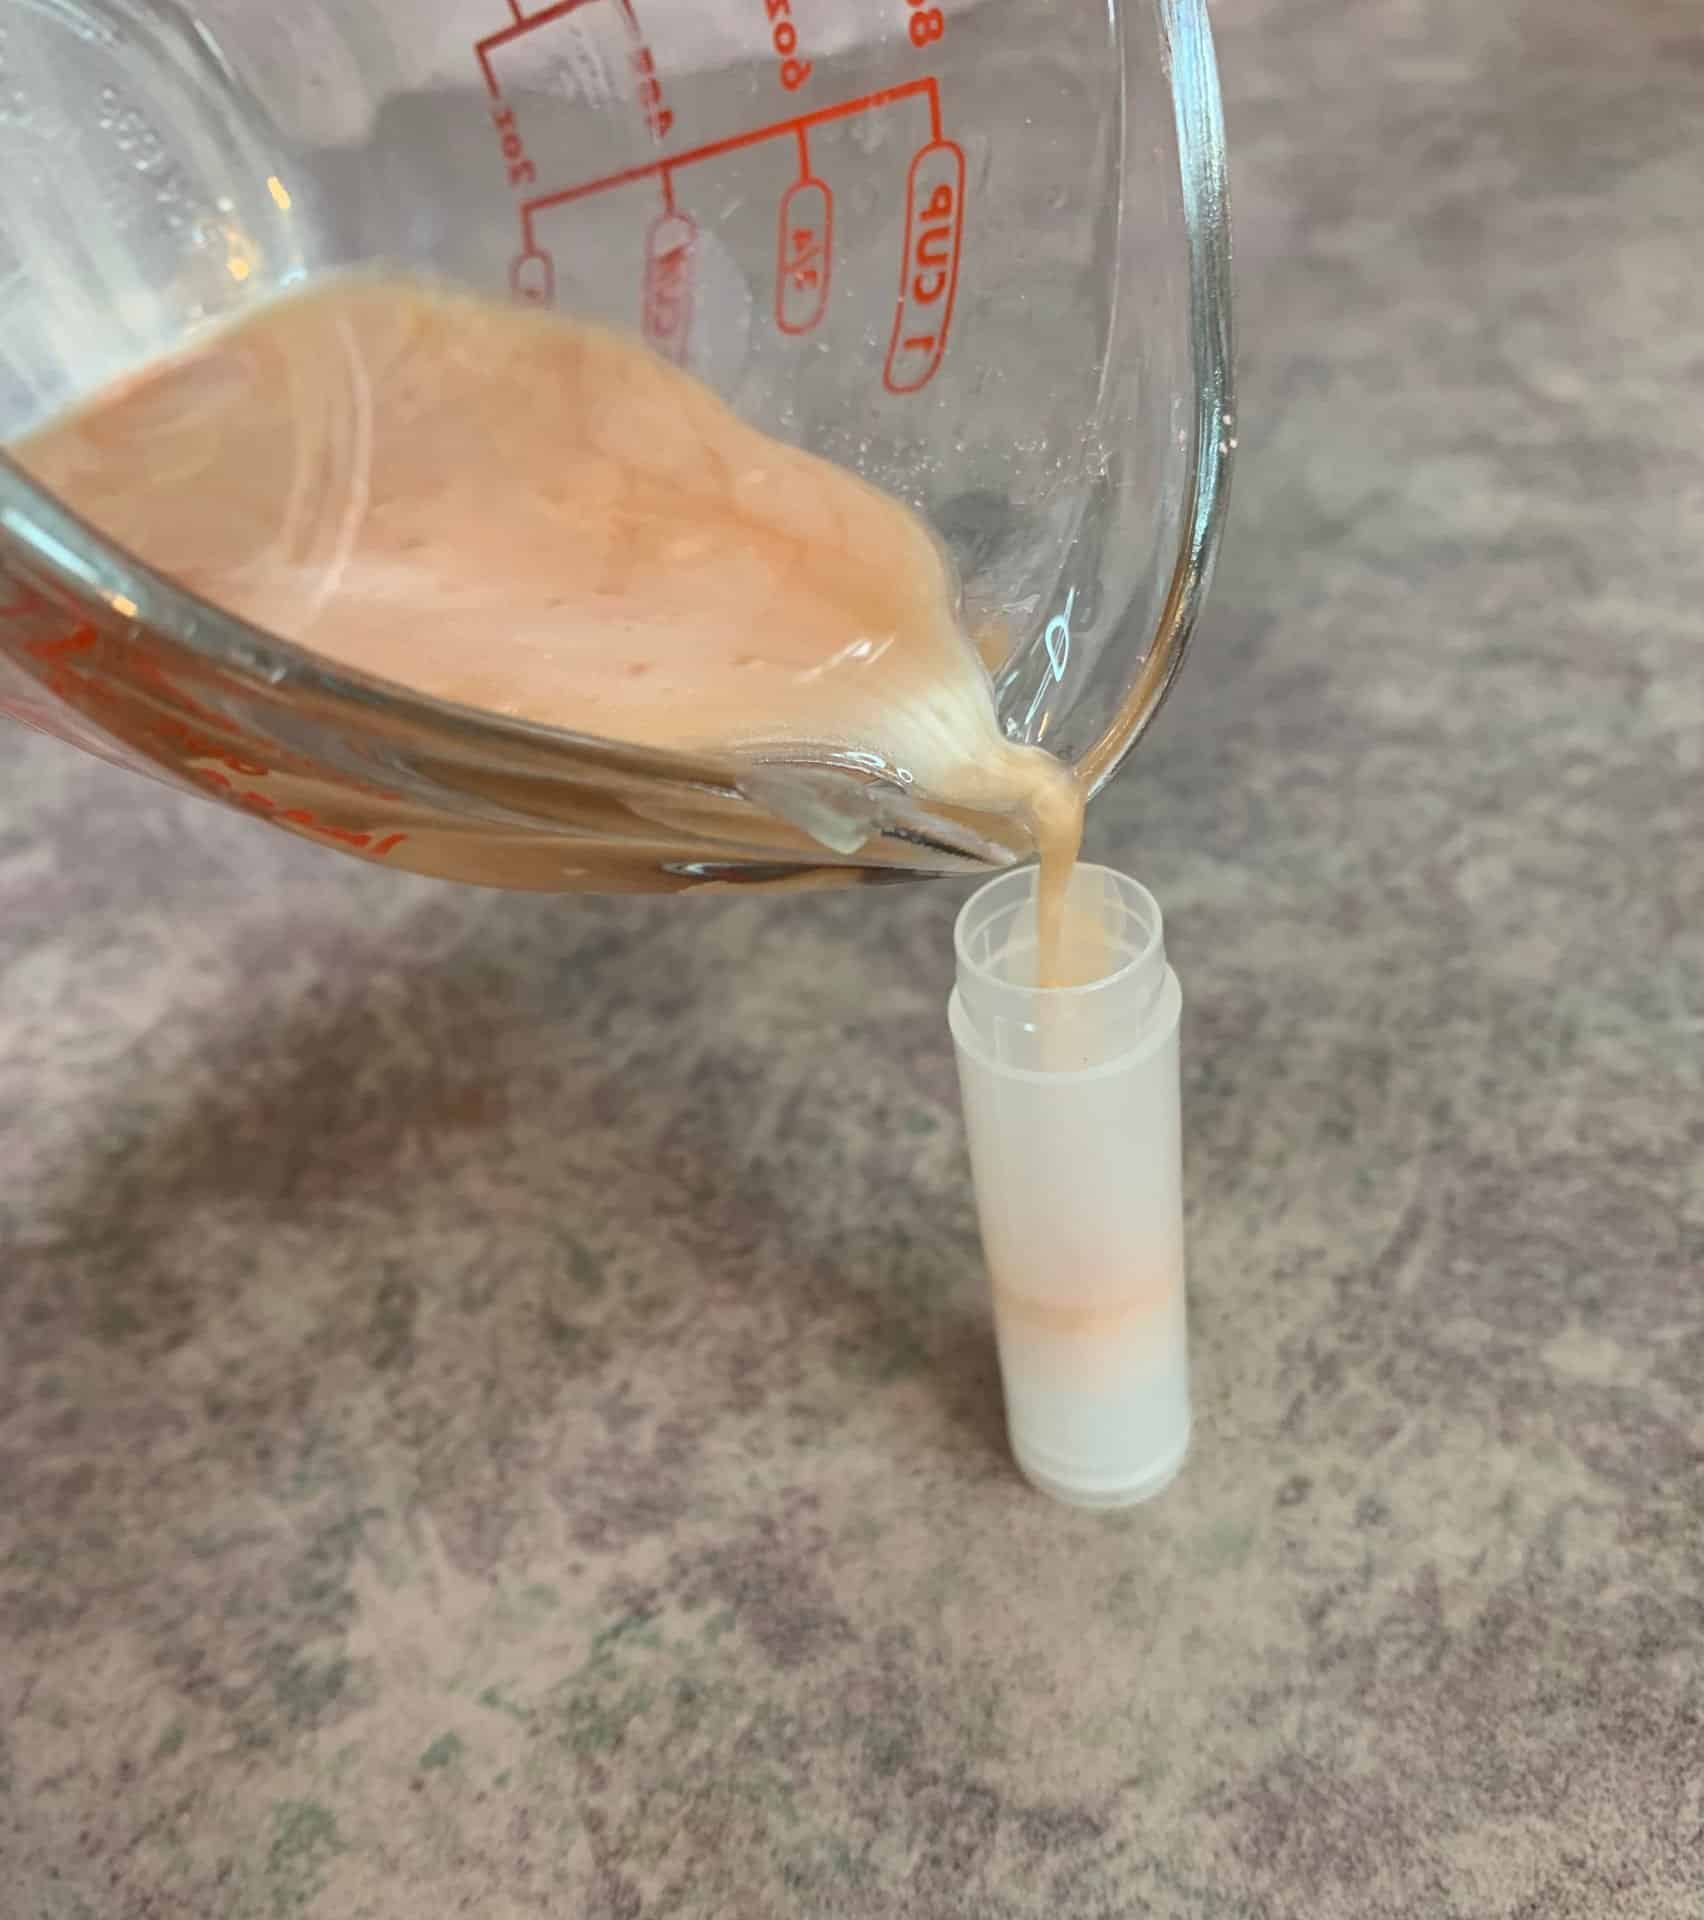
Step 4: Pouring
Moving quickly, because the lip balm sets up pretty fast, pour the lip balm into your container. Allow it to cool completely.
After it has cooled down to room temperature, you can put the lids on. The reason why we wait to put the lids on is if you put the lid on while it is hot, it can cause condensation to form.

Often times you will have sink holes in your lip balm. Simply re-heat the left over lip balm and repour the top.
Step 5: Label
Now that your lip balm has cooled all the way, you can label it.
DIY Lip Balm
Equipment
- Scale
- Heat Safe Container
- Lip balm tubes
Ingredients
- 0.20 ounce | 20% Beeswax
- 0.15 ounce | 15% Cocoa Butter
- 0.25 ounce | 25% Shea Butter
- 0.39 ounce | 39% Olive Oil
- 0.01 ounce | 1% Strawberry Flavoring
- Mica Powder
Instructions
- Weigh out all of your ingredients.
- Place the beeswax, cocoa butter, shea butter and olive oil in a heat safe container. Then place the container on a double boiler.
- To test the consistency, you are going to dip a spoon into the melted lip balm. Allow it to cool for a few minutes.
- Reheat on a double boiler.
- Add the mica powder and flavoring oil and mix well.
- Pour into your lip balm tubes.
- Allow to cool completely.
- If there are sink hoels, re-pour the lip balm.
- Label and enjoy.