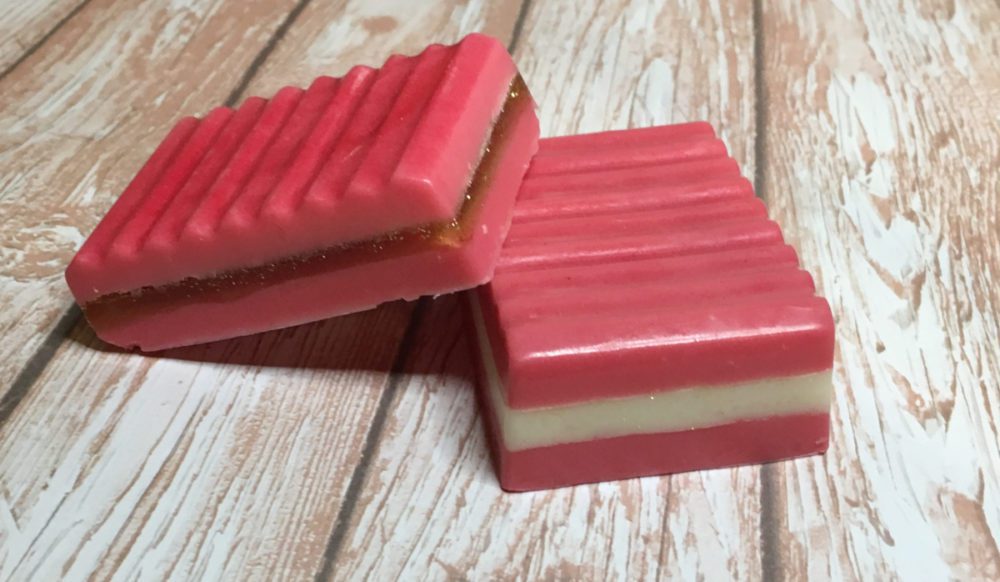
There are soooooo many different things that you can do with melt and pour soap. Last week’s post was a beginner melt and pour soap tutorial. This week, I want to add to and show you how to layer melt and pour soap.
Prefer to watch this project instead of reading it?
When making the layers for a layered melt and pour soap, you have to be mindful about the temperature. Seriously, the most important part of layering, is temperature.
Temperature
Temperature is everything when making layer melt and pour soap. Seriously, don’t let a layer cool enough and your layers no longer exist.
The last layer that you have poured into the mold has to have cooled down enough to have formed a small layer of skin on the top, before you can pour another layer on top of it. It is important that the skin layer is thick enough to hold the weight of the next layer.
If you are not sure if the layer is thick enough, you can lightly press your finger in the center of the soap layer. If you make a dent, wait a little longer. That small dent will not be visible in the final soap, as it’s going to be covered with the next layer of soap.
**However, you do not want to just leave it to cool completely, because then your soap will not be a solid bar and most likely will separate at the seams later.
Be sure to let the melt and pour cool a little before pouring
The melt and pour that you are getting ready to pour needs to be cooled down enough that it will not melt the layer below it. To control the temperature of the soap, be sure to heat it on small bursts in the microwave and stir well in between.
One of the great things about melt and pour, is that if it cools too much, you can just reheat it. More times than not I find myself throwing the melt and pour back in the microwave for 2-3 seconds to remelt the soap.
Layer size
For ascetic reasons you will probably want to make sure that you have even layers. Until you feel comfortable enough to just eyeball the layers, I would recommend measuring everything separately.
Remember, you will have to weigh the soap and fragrance for each layer. The cool thing with the layers is that each layer could be a different fragrance and color, if you wanted to.
Layer Color
To make sure we have the same color shade, I will use a small measure scoop for the mica powder for each layer. If you are using a liquid colorant, you could also measure by drops.
I will only bother measuring the layers that have another one that is the same color. For example, in this soap I measured the red layers but did not bother with the glitter layer.
Rubbing alcohol
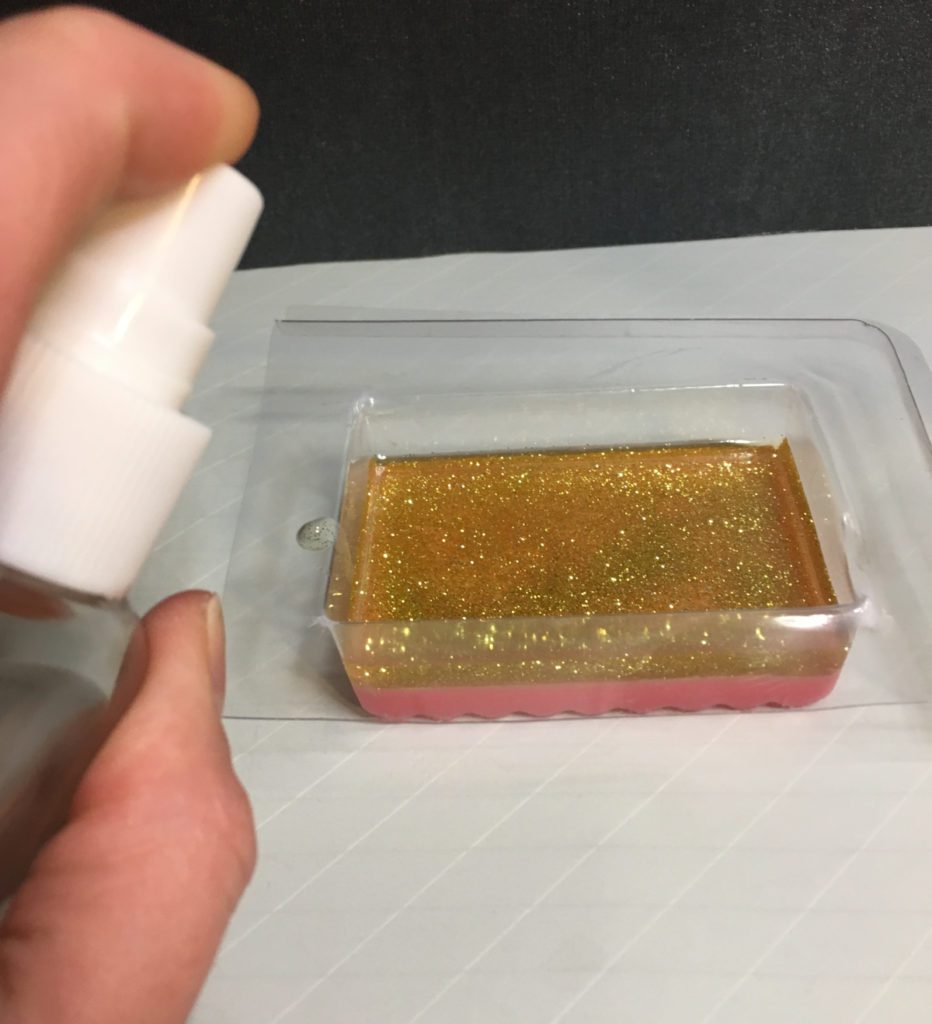
You have to have rubbing alcohol in a spray bottle. You need to spray your soap to get rid of the bubbles for each layer.
And, most importantly, you will need it to adhere the different layers together. It really gets the different layers to adhere together into one layer.
Equipment Needed
- Scale
- Heat safe containers
- Spatula
- Small measuring scoop
- Mold
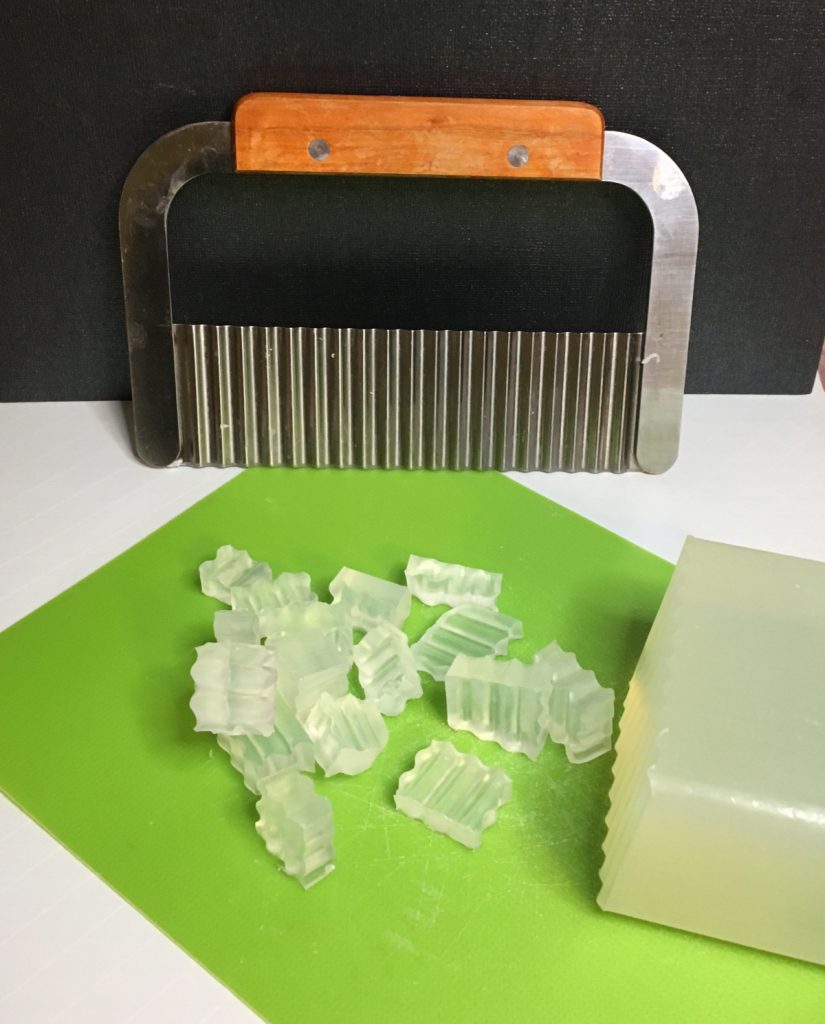

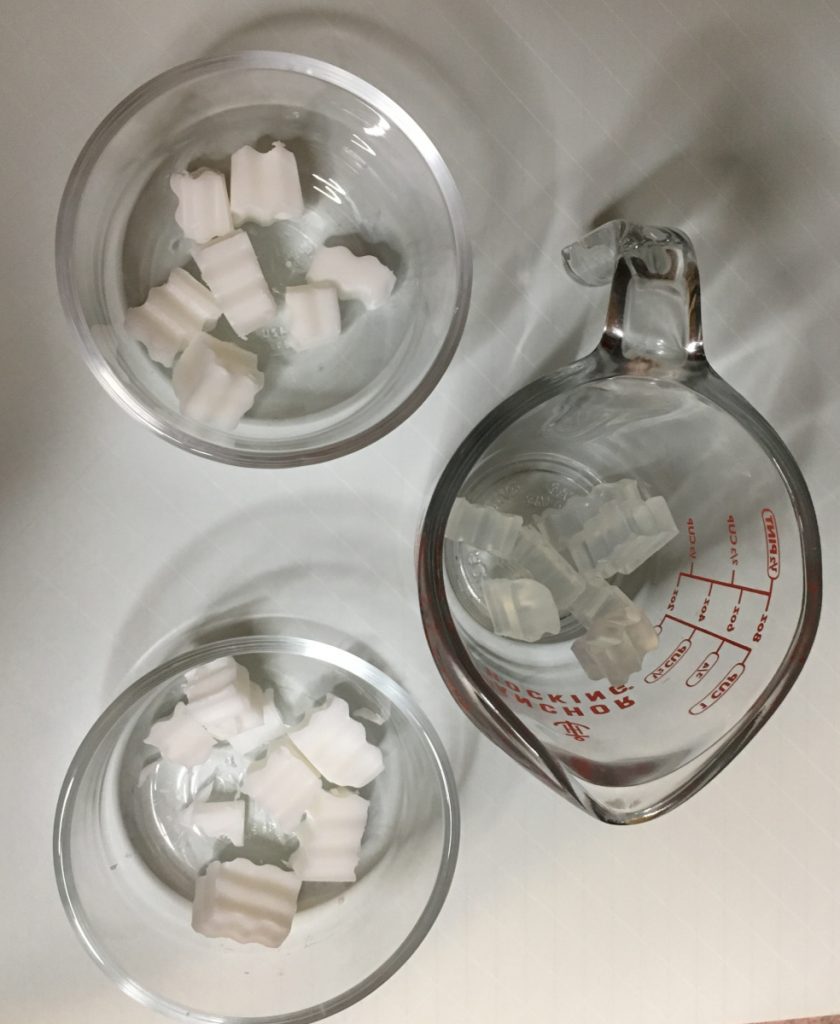
1 – Cut your melt and pour soap base and weigh into heat safe containers. You will need 3 different containers, all with the same amount of melt and pour base.
2 – Melt 1 of the soap base that you prepared in the microwave. I only left mine in for about 6 seconds at a time, since it is such a small amount of soap base.
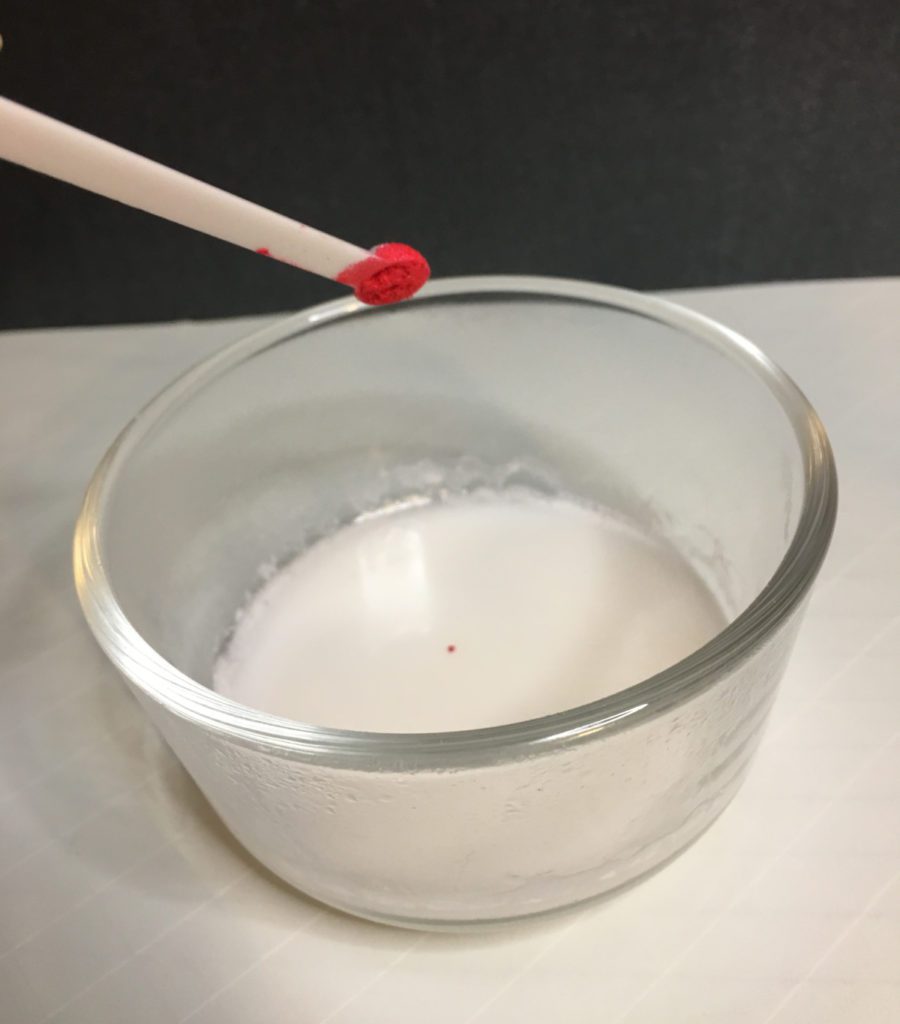
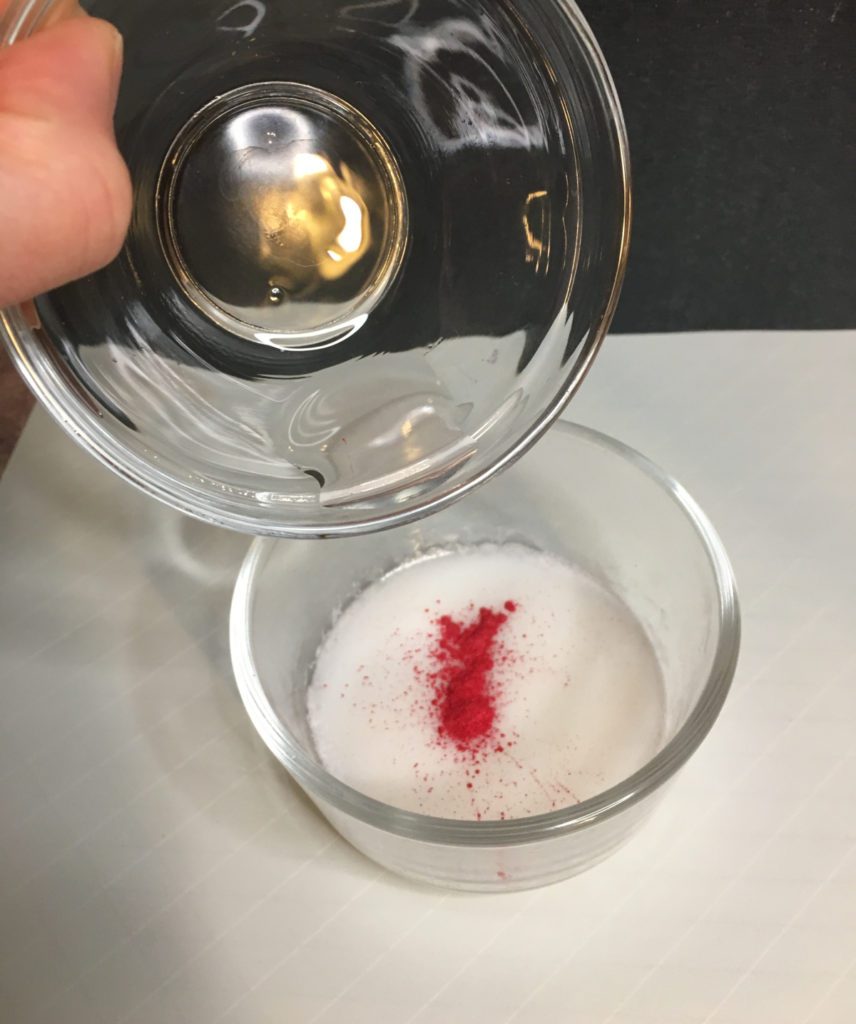
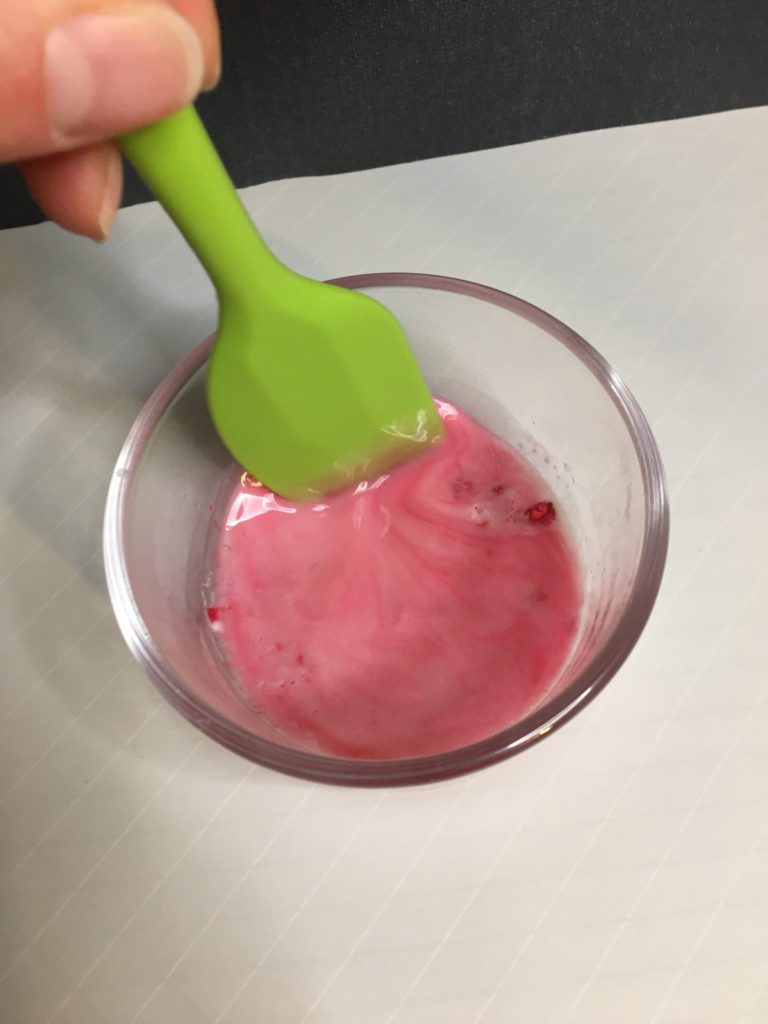
3 – Add your fragrance and red mica powder. Mix well.
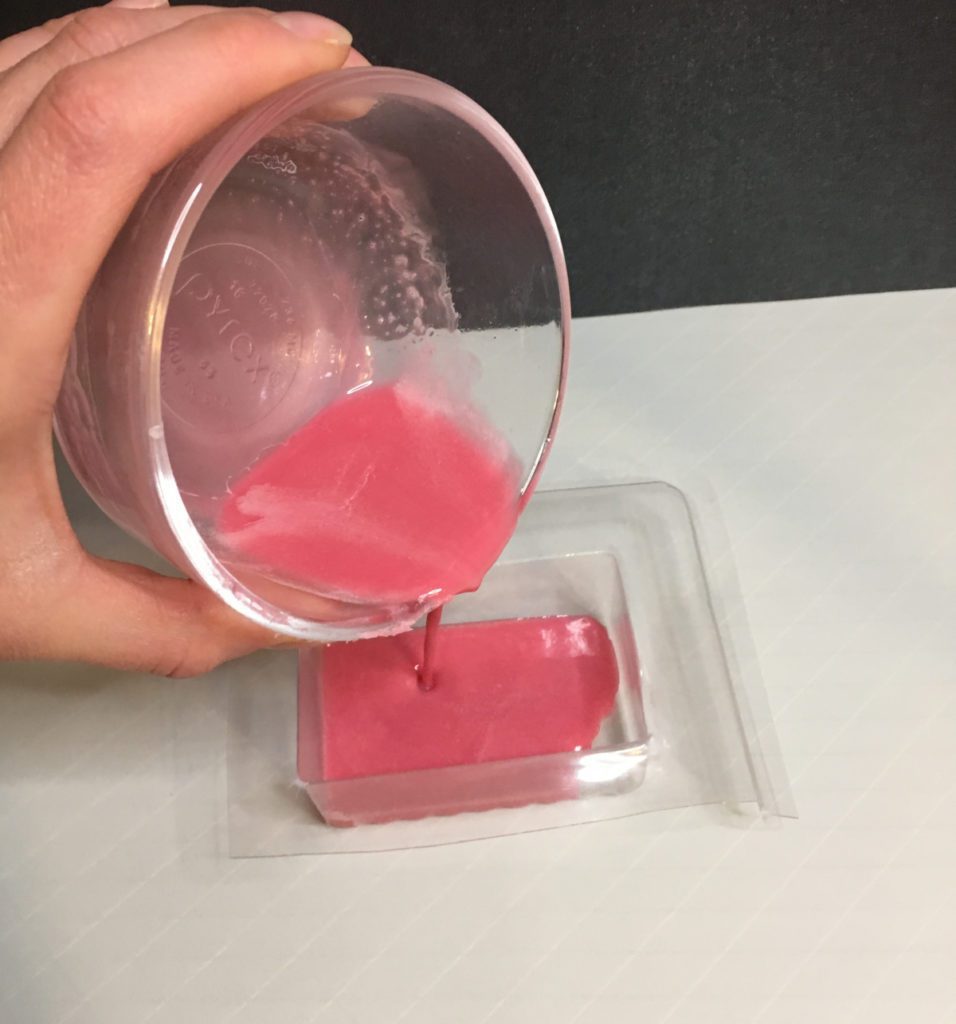
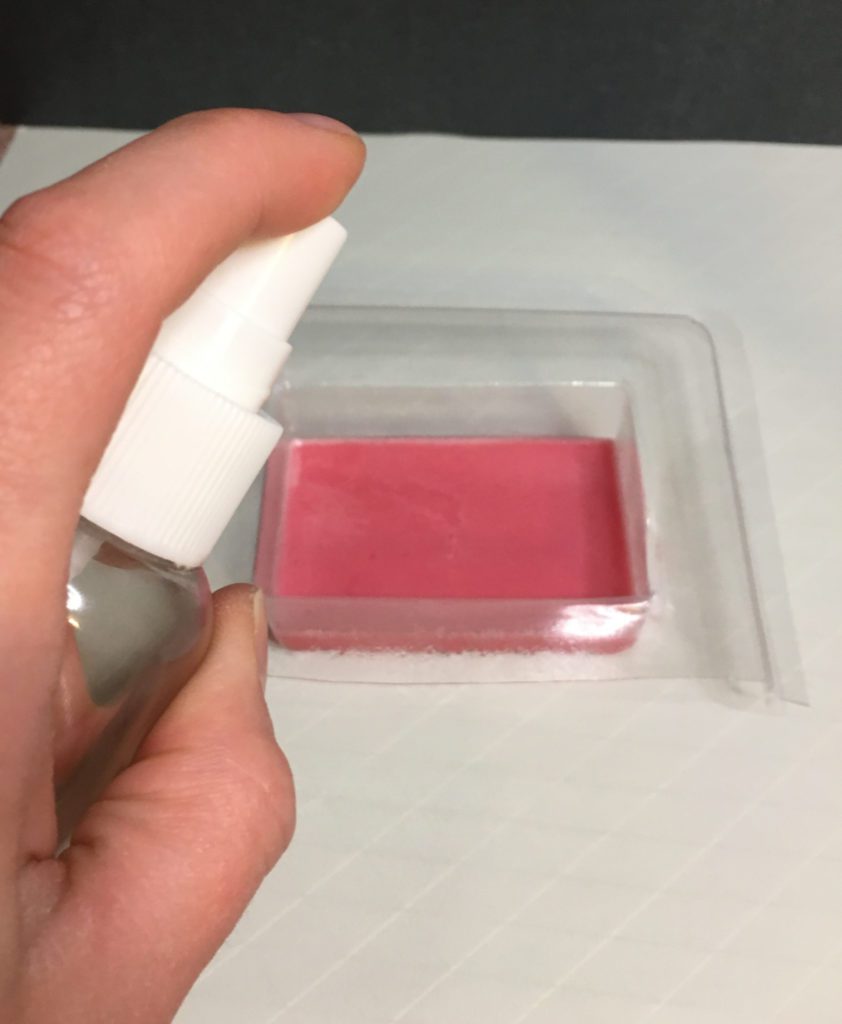
4 – Pour the mixture into your mold filling it 1/3 of the way. Then spray the layer with your rubbing alcohol to get rid of any bubbles.
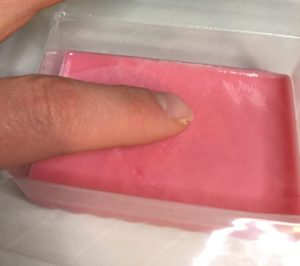
5 – Test the layer that you poured to ensure it has cooled down enough to form a small layer on the top. If it has, move to the next step.
Step 6 – Melt the next soap base you prepared.
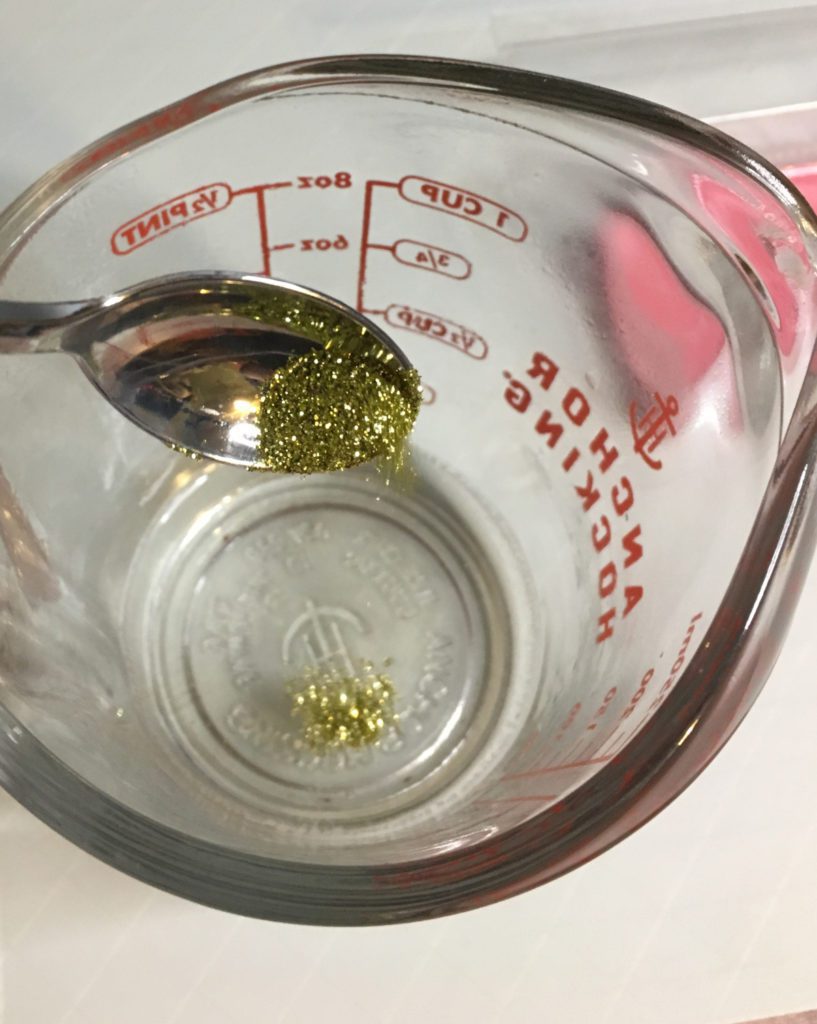
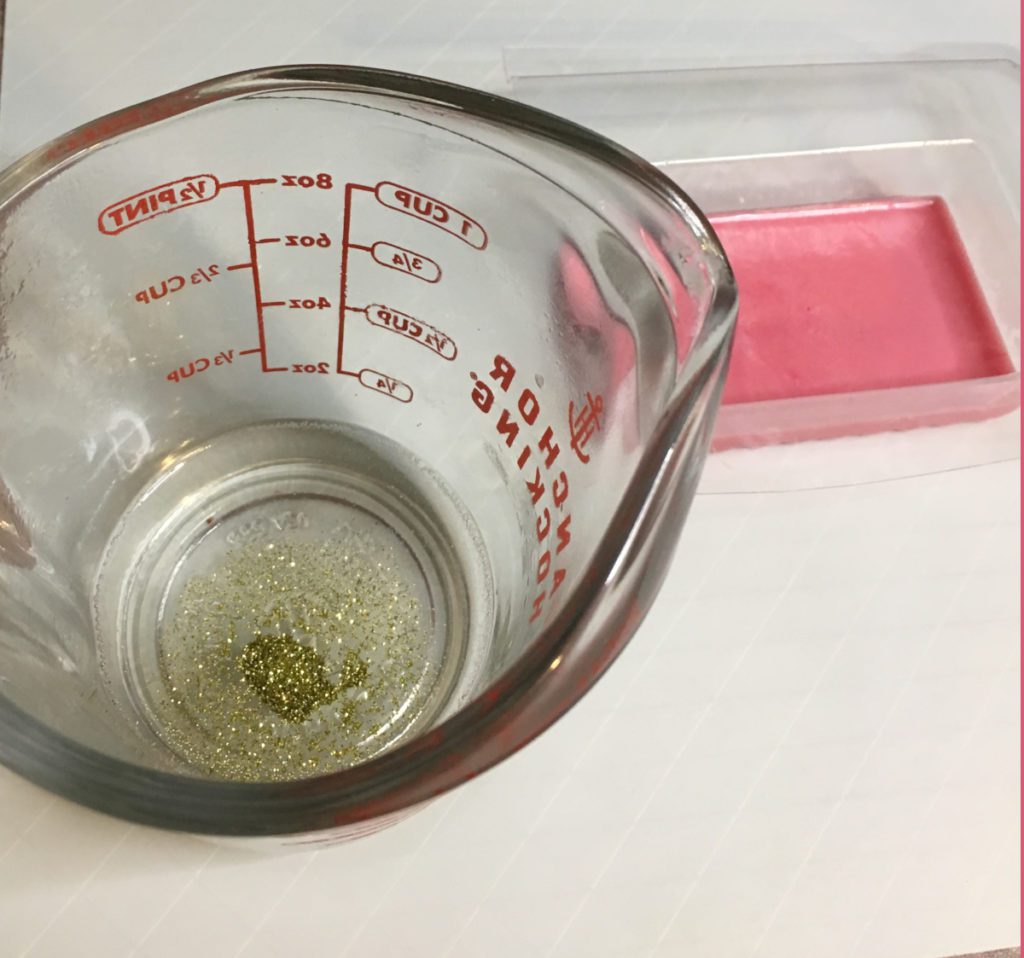
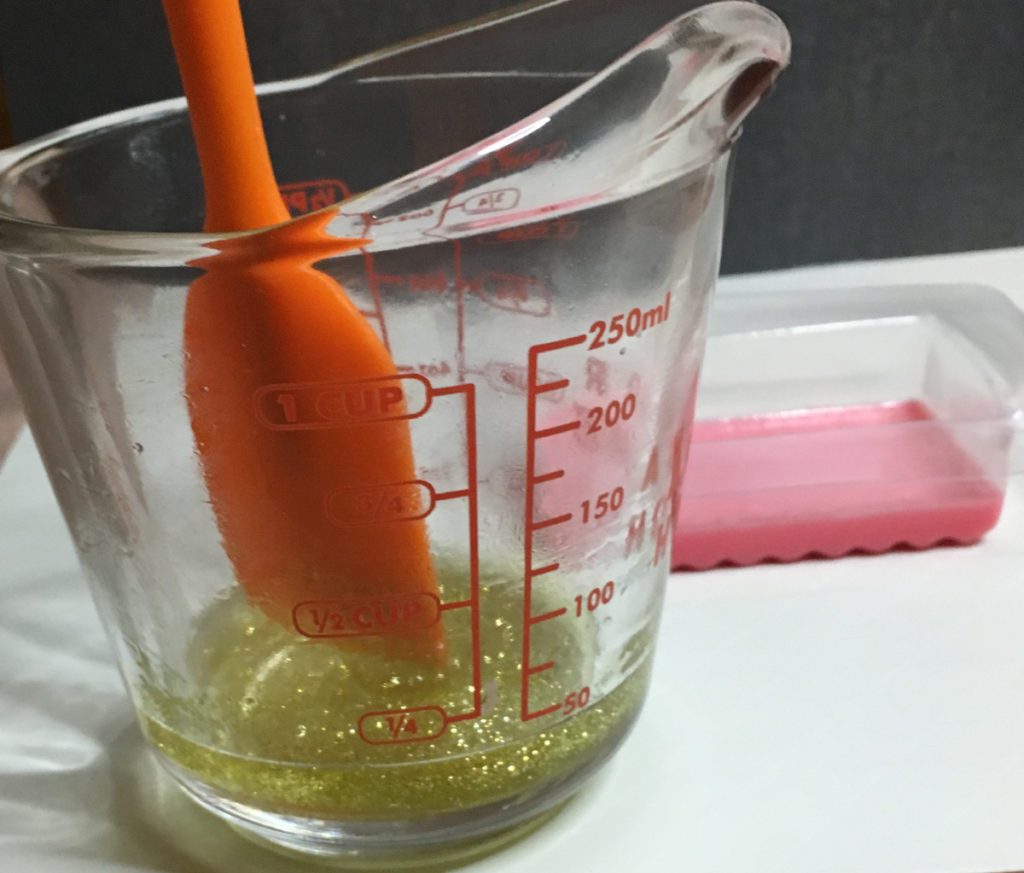
7 – Add you biodegradable glitter and fragrance oil, then mix well.

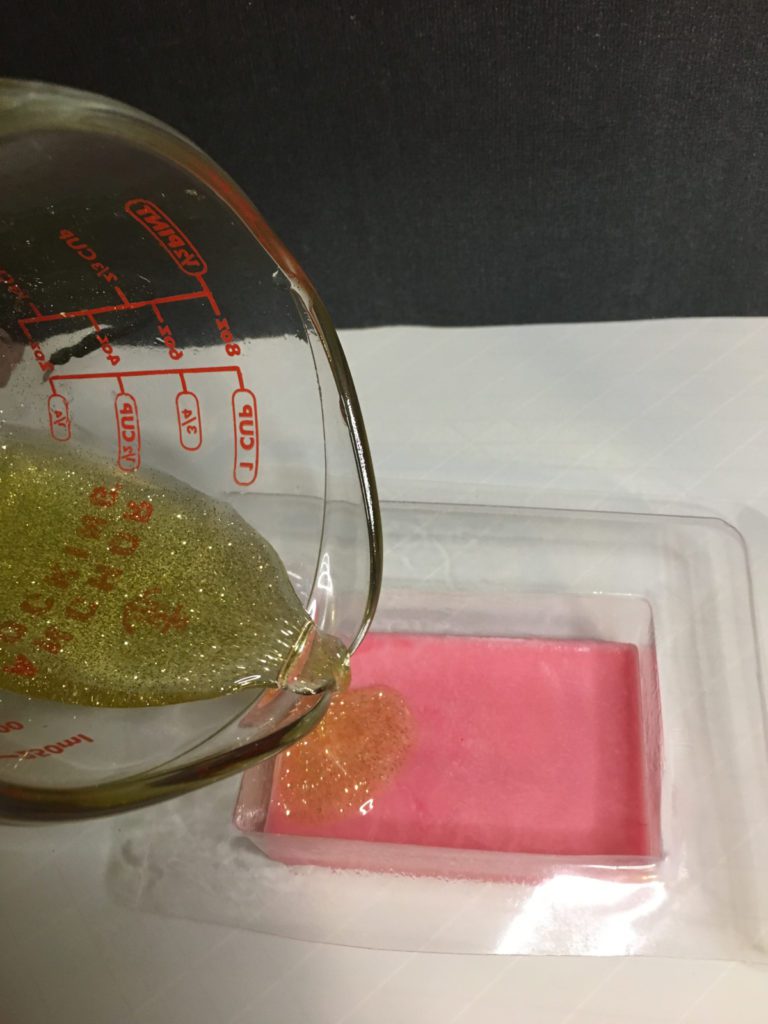
8 – Spray the first layer (red layer) that you poured with rubbing alcohol. I normally will spray it 3-4 times. Immediately after, pour in the next layer. Then, spray again with rubbing alcohol to get rid of any bubbles.
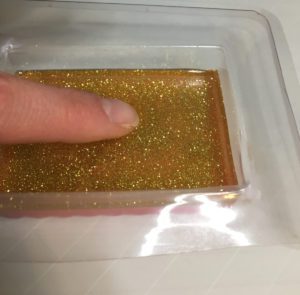
9 – Test the layer that you poured (glittery layer) to ensure it has cooled down enough to form a small layer on the top. If it has, move to the next step.
10 – Melt the last soap base you prepared.
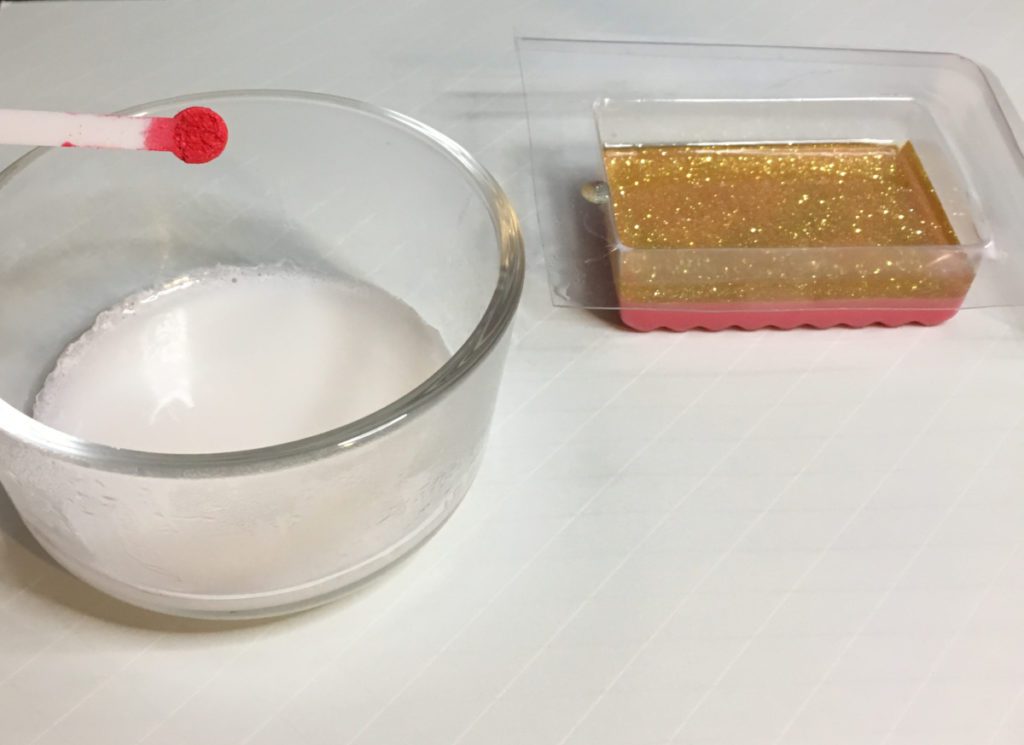
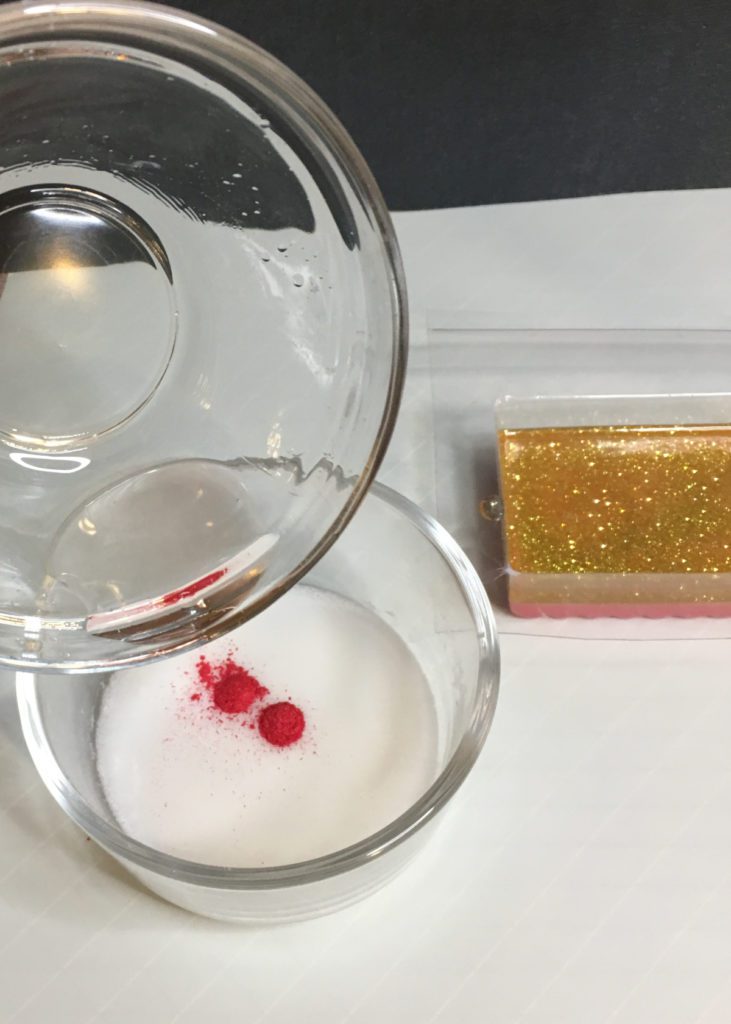
11 – Add your red mica powder and fragrance oil and mix well.
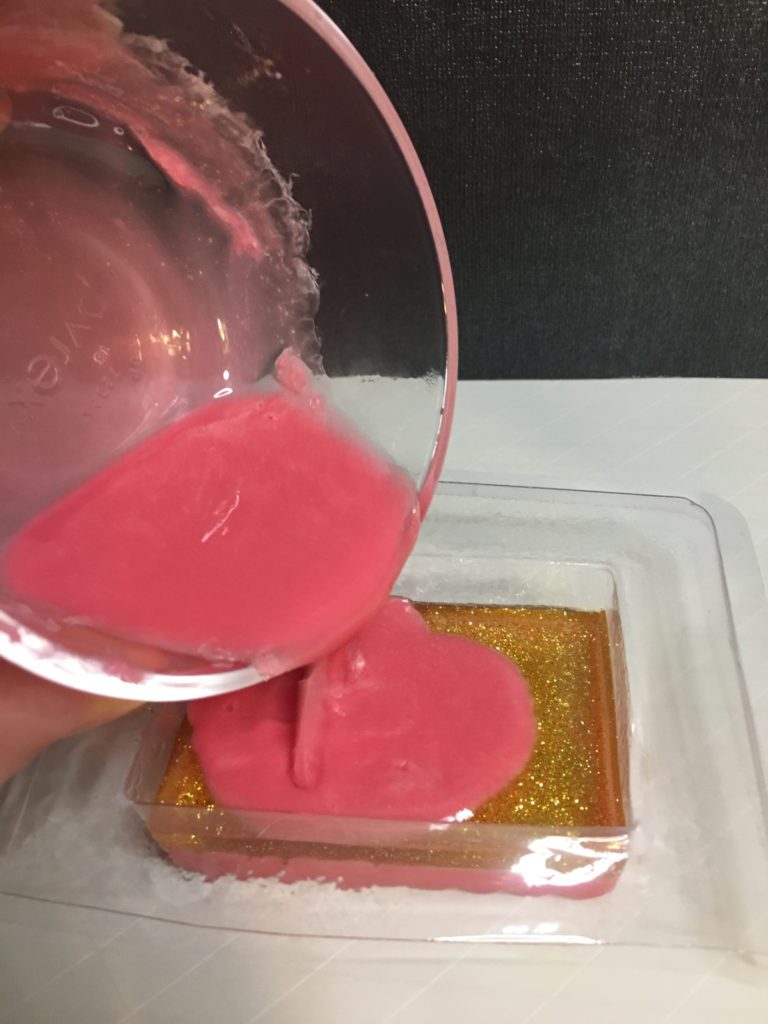
12 – Spray the glittery layer that you poured with rubbing alcohol. Then, pour in the last red layer.
13- Spray with rubbing alcohol. Leave to fully cool.
14 – Remove from mold and enjoy.
Some links are “affiliate links,” because I am an Amazon Associate and I earn from qualifying purchases. There is no additional cost to you, the price of the item is the same whether it is an affiliate link or not.

Comments are closed.