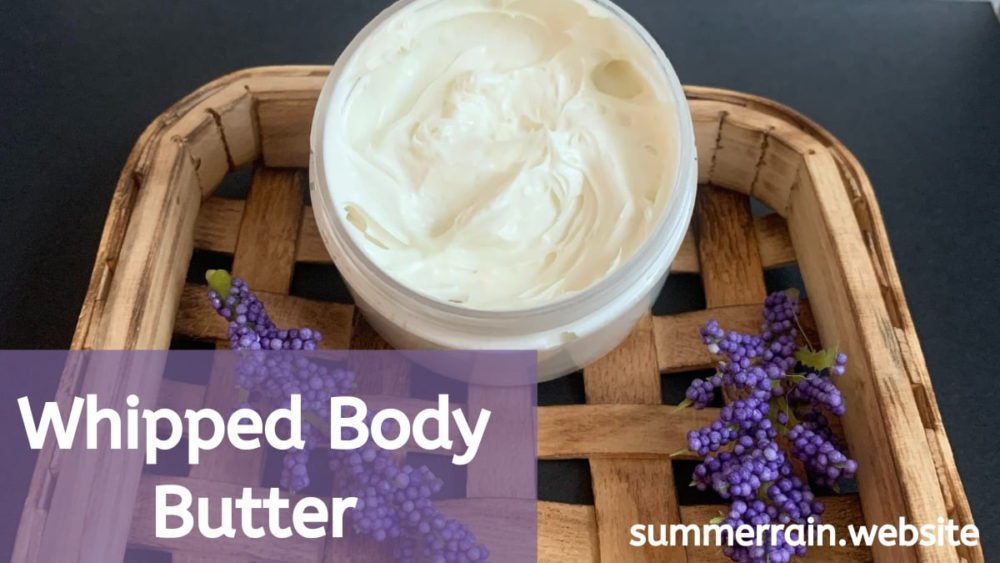
Learn how to make this DIY Whipped Body Butter that will nourish your skin with a few simple ingredients. This is the perfect starter recipe if you want to make your own skin care, but are not comfortable with using emulsifiers and preservatives yet. I’ve found that body butters are perfect for combating dry skin in the winter months.
Prefer to watch this project instead of reading it?
Some of the links are affiliate links, because I am an associate and I earn a small commission on them.
What is a body butter?
Body butters are anhydrous, meaning they do not contain any water, they are completely oil based. Since these butters are often very thick, we will whip them to make them lighter and easier to use.
Best time to use
Since body butters do not contain any water, they are best used right after you get out of the shower. They will create a barrier over your skin and help to hold in the moisture that is left on your skin.
Preserving
One of the great things about DIY whipped body butter is, since it does not contain any water, just oils so, it does not require a preservative.
Shelf Life
One of the questions that I get the most often, is what is the shelf life. The shelf life is going to vary a little but, depending on what oils you are using and when you got them. The rule of thumb is the body butter will stay good as long as the oil with the shortest shelf life.
Cocoa Butter – 30 months
Shea Butter – 18 months
Grapeseed Oil – 24 months
If all of these were opened at the same time, the shelf life would be 18 months. If we opened the shea butter 12 months ago, the shelf life would be 6 months.
Extending Shelf Life
One way that you can extend the shelf life of your body butter is to add Vitamin E to your body butter. The Vitamin E slows down the oxidation process that makes the oils go rancid.
Ingredients
Shea Butter
Shea Butter is of my favorite emollients and it known for its smoothing and softening properties. Personally, I do not love the smell of the unrefined shea butter, so I always use the refined shea butter. It can be a little tricky with heating and cooling because it can get a bit grainy if you don’t heat enough and cool quickly.
Cocoa Butter
I love that cocoa butter is high enough in fatty acids to thicken up our whipped body butter without it becoming stiff. Also, the melting point is roughly right at skin temperature so when you use the body butter it will literally melt on your skin.
Grapeseed Oil
I like to add a dry oil to our body butter to off set the greasiness. Grapeseed Oil absorbs really fast and it also will help with offsetting the greasiness of the heavier butters.
Arrowroot Powder
Arrowroot Powder has a mattifying and degreasing effect on our skin and adding it helps cut down on some of the greasy feeling. It is a finer and silkier powder than cornstarch, but you can substitute with cornstarch if that is all that you have. Arrowroot powder is suitable for all skin types, even sensitive skin.
Fragrance Oil
For this DIY whipped body butter, I am using White Tea & Pear Fragrance Oil. It smells like a sweet tea with bergamot and a touch of pear. You can swap this out for a different fragrance oil, just be sure to check the manufactures use rate.
Making DIY Whipped Body Butter
Melt the cocoa butter and grapeseed oil in a double boiler over a low to medium heat. I just use a pan with a silicone mat on the bottom and a little bit of water in it.
Remove the oils from the double boiler and add the shea butter. Mix until the butter is completely melted. You might need to pop this in the warm water (from the double boiler) if it does not melt all the way.
Add the arrowroot powder and mix well.
Pop in the freezer. I will leave it in there until there is a solid top on the butters but if you press through it is still liquid in the center.
When it gets to this consistency, you are going to mix it with an electric whisk until it is the consistency of a silky butter. I will start out by scrapping the butters off of the side of the container and then whisk it.
Add your fragrance oil and whip it again.
Normally, I am going to go back and forth a few times between whipping and popping the mixture back into the freezer. You are going to need to do this until when it is whipped, it holds its shape.
Scoop or pipe the diy whipped body butter into your container. Store in a container with a lid, preferably a wide mouth one as this will make it easier to use.
DIY Whipped Body Butter
Equipment
- Scale
Ingredients
- 1.96 ounce | 49% Shea Butter
- 0.78 ounce | 19% Cocoa Butter
- 1.16 ounce | 29% Grapeseed Oil
- 0.04 ounce | 1% Arrowroot Powder
- 0.06 ounce | 1.5% White Tea & Pear Fragrance Oil
Instructions
- Melt the cocoa butter and grapeseed oil in a double boiler over a low to medium heat. I just use a pan with a silicone mat on the bottom and a little bit of water in it.
- Remove the oils from the double boiler and add the shea butter. Mix until the butter is completely melted. You might need to pop this in the warm water (from the double boiler) if it does not melt all the way.
- Add the arrowroot powder and mix well.
- Pop in the freezer. I will leave it in there until there is a solid top on the butters but if you press through it is still liquid in the center.
- When it gets to this consistency, you are going to mix it with an electric whisk until it is the consistency of a silky butter. I will start out by scrapping the butters off of the side of the container and then whisk it.
- Add your fragrance oil and whip it again.
- Normally, I am going to go back and forth a few times between whipping and popping the mixture back into the freezer. You are going to need to do this until when it is whipped, it holds its shape.
- Scoop or pipe the diy whipped body butter into your container. Store in a container with a lid, preferably a wide mouth one as this will make it easier to use.
Troubleshooting
Greasiness
Although we do our best to make the body butter as least greasy as possible, really it is par for the course. If you are looking for something that leaves behind no greasy residue, a lotion might be a better option for you. Try this lotion that is made with only 6 ingredients!
To combat the greasiness more, you can definitely add a bit more arrowroot powder. You can also use a “dry” oil or those oils that are fast absorbing, such as grapeseed oil.
Melting
If you find your body butter is melting, you will want to make sure to store it at a cooler temperature. Since we are working with an oil based product, anytime it gets too warm, it is going to melt a bit.
One thing that you can do is to lesson the amount of shea butter and increase the amount of cocoa butter. As cocoa butter is a harder butter and has a slightly higher melting point it will help to keep it more solid in warmer climates.
Preventing Graininess
Shea butter will often become grainy if heated too much and then leaving it to cool slowly. Rapidly cooling in the freezer or an ice bath will help to prevent this. This is one of the reasons that I add the shea butter in later, to make sure it does not get too hot.
If your body butter ends up grainy, you can re-melt it and whip it again. I would recommend cooling in an ice bath as you can cool it evenly and quickly this way.


