Imagine a relaxing evening where the soft glow of a candle casts a warm light, filling your space with a delightful fragrance. Now, picture that same candle not only enhancing the ambiance but also providing nourishing oils for your skin. This is the beauty of a massage oil candle!
In this blog post, I will guide you through the delightful process of creating your massage oil candle using natural ingredients like soy wax, cocoa butter, shea butter, and hazelnut oil, all infused with the delicious White Tea and Pear Fragrance Oil. You’ll discover how easy it is to make a candle that serves a dual purpose: illuminating your home while pampering your skin.
Making your own candles is not just a fun craft; it’s also a cost-effective and rewarding way to enjoy customized scents that cater to your personal preferences. Whether you want to unwind after a long day or give a thoughtful gift to a friend, a DIY massage oil candle is the perfect solution.
Get ready to embark on this creative journey and enjoy the benefits of your handcrafted relaxation tool!
Table of Contents
Prefer to watch this project instead of reading it?
Certain links on this website are affiliate links, as I am an associate. Clicking on these links and making a purchase may earn me a small commission. Rest assured, there is no extra cost to you.
Understanding the Ingredients
When crafting your massage oil candle, understanding the properties and benefits of each ingredient is essential for creating a luxurious and effective product. Here’s a closer look at the key components and how they benefit your skin:
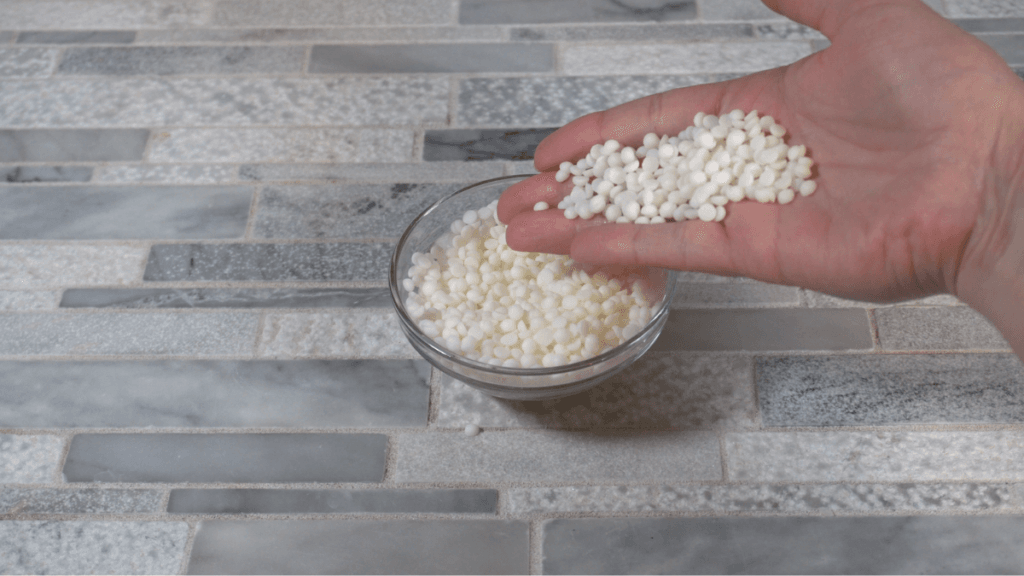
Soy Wax
Benefits:
Soy wax is not only eco-friendly but also burns cleanly, making it a healthier option for indoor use. It is skin-safe, meaning it can be safely applied to the skin once melted, making it ideal for massage oil candles. Additionally, it holds fragrance well, allowing the delightful scent to fill your space as it melts, creating a relaxing and inviting atmosphere.
Melting Point:
Soy wax typically melts between 120°F to 180°F (49°C to 82°C), providing a comfortable warmth when used for massage.
Cocoa Butter
Benefits:
Cocoa butter is well-known for its rich moisturizing properties. It forms a protective barrier over the skin, locking in moisture and helping to improve skin elasticity. Cocoa butter is packed with antioxidants that nourish the skin and promote a smooth, supple texture, making it a perfect addition to massage oil candles.
Melting Point:
Cocoa butter has a melting point of around 93°F to 100°F (34°C to 38°C), although this is a higher melting point we use it in a very small amount. This gives it a luxurious, silky feel when applied to the skin during a massage.
Shea Butter
Benefits:
Shea butter is rich in vitamins A, E, and F, making it an excellent choice for nourishing and healing the skin. It is known for its anti-inflammatory properties, which help soothe irritated or dry skin. Its creamy texture allows for a smooth application, enhancing the overall massage experience.
Melting Point:
Shea butter melts at approximately 89°F to 100°F (32°C to 38°C), making it ideal for a warm, soothing massage oil that glides effortlessly over the skin.
Hazelnut Oil
Benefits:
Hazelnut oil is rich in essential fatty acids, vitamin E, and antioxidants, making it an excellent choice for moisturizing and nourishing the skin. Its lightweight texture allows it to absorb quickly without leaving a greasy residue, perfect for a smooth and hydrating massage. Hazelnut oil also has natural astringent properties, which help tone and tighten the skin.
Melting Point:
While hazelnut oil is a liquid at room temperature, it blends seamlessly with the solid butters in your candle to create a balanced, skin-loving oil when melted. It enhances the overall moisturizing effect and adds a silky finish to your massage oil candle.
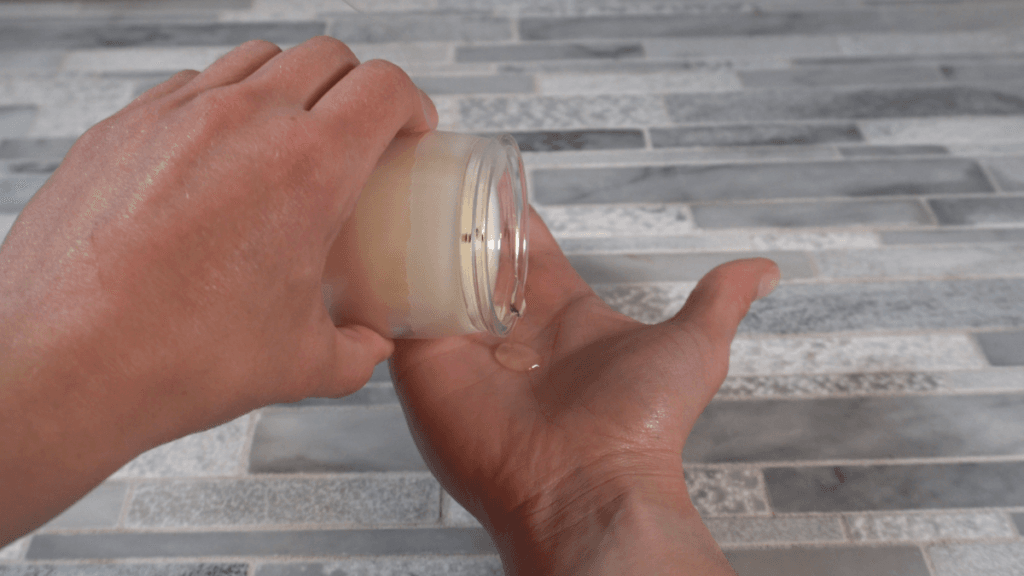
White Tea and Pear Fragrance Oil
White tea and pear fragrance oil offers a fresh, calming aroma that can enhance relaxation during massages. The delicate, clean notes of white tea combined with the subtle sweetness of pear create a soothing, tranquil atmosphere. This sophisticated scent adds a touch of elegance to your self-care routine, making the experience more serene and rejuvenating.
In addition to your ingredients, make sure you have the following equipment:
- Pouring pot
A heat-safe container for melting your wax and butters. A double boiler or a dedicated candle-making pot works best. - Candle wick (with holder)
Essential for ensuring your candle burns evenly. Choose a wick suitable for the diameter of your jars. - Thermometer
To monitor the temperature of your melted wax and oils, ensuring they are at the optimal pouring temperature. - Stirring utensil
A wooden spoon or spatula for mixing the ingredients thoroughly. - Candle jars
Choose jars or molds that can withstand heat. Glass containers work well and add an elegant touch to your finished product.
Having all your supplies ready will make the candle-making process smoother and more enjoyable. Let’s move on to the next steps to create your massage oil candle!
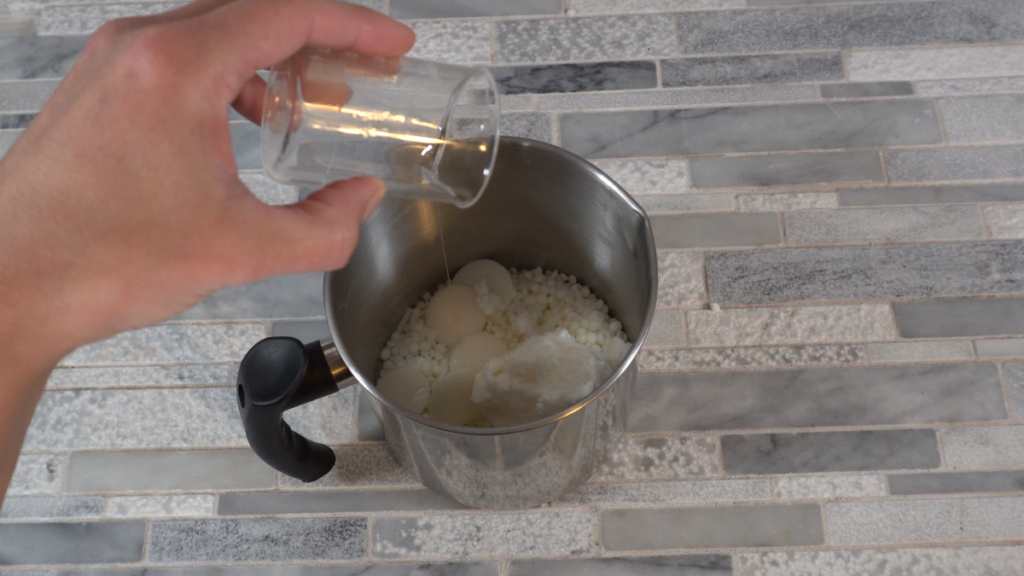
Making the Massage Oil
Now that you have gathered all your supplies, it’s time to dive into the preparation steps for creating your relaxing massage oil candle. Follow these instructions closely to ensure a successful outcome.
1. Measure Ingredients
Begin by accurately measuring your ingredients. For all ingredients, use a kitchen scale to weigh out the appropriate amount, as precision is key to achieving the right consistency. I like to use a pipette for my fragrance oil as it makes it a little easier to control how much I put into the container.
2. Melt the Soy Wax and Butters
Start out by adding soy wax, cocoa butter, shea butter, and hazelnut oil into a pouring pot designed for candle making. Place your pouring pot inside a larger pot filled with a few inches of water, creating a simple double boiler effect. Stir occasionally until everything is fully melted.
3. Add Fragrance
After combining the oils, it’s time to add the White Tea and Pear fragrance oil. Allow the mixture to cool slightly before adding the fragrance—ideally when the temperature drops to around 160°F. This helps retain the fragrance’s potency. Stir the mixture thoroughly to ensure the fragrance oil is evenly distributed throughout the wax. You will want to give it a good mix, usually a few minutes.
5. Wick Preparation
Prepare your candle jars by attaching the wick. Use a small amount of melted wax or hot glue to secure the wick at the bottom center of each jar. If you’re using a wick holder, place it in the center of the jar before pouring the wax. This will help keep the wick upright as you pour the candle mixture in.
Pouring the Candle
Now that your candle mixture is ready, it’s time to pour it into the jars and create your beautiful massage oil candle. Follow these steps to ensure a smooth and professional-looking finish.
Temperature Check
Before pouring, check the temperature of your candle mixture. The optimal pouring temperature for a smooth finish is around 140°F to 150°F. At this temperature, the mixture will be cool enough to avoid warping the wick but warm enough to flow easily into your jars. Using a thermometer will help you achieve this ideal temperature for pouring.
Pouring Technique
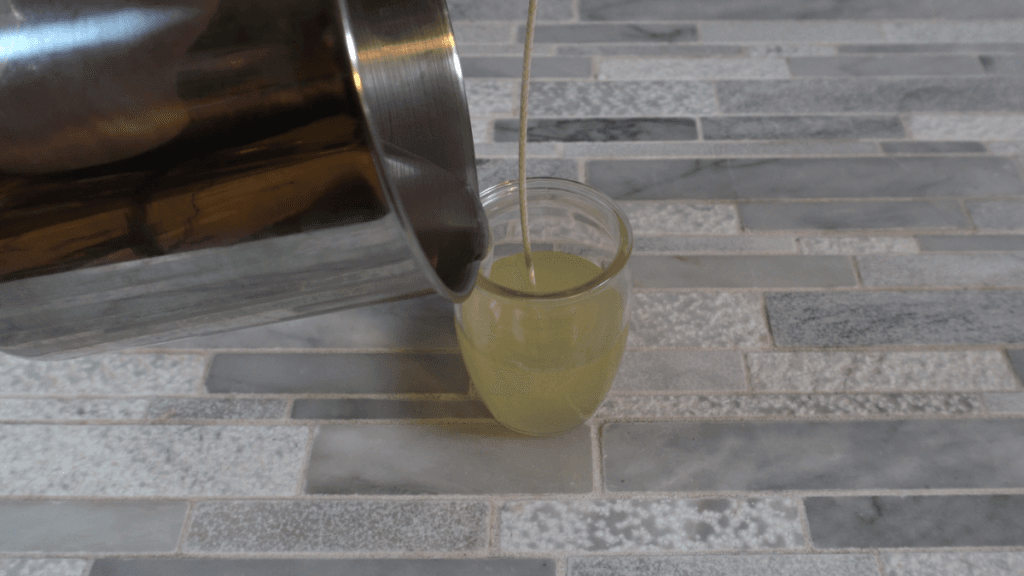
When you’re ready to pour, take your pouring pot or container and gently tilt it to create a steady stream. Begin by pouring the mixture slowly into the center of the jar, ensuring that the wick remains secured in the center. To prevent the wick from moving, you can hold it in place with your fingers or use a wick holder. Fill the jar until it’s nearly full, leaving about 1/4 inch of space at the top to allow for expansion as the wax cools.
Cooling Time
Once you have poured the mixture into the jars, allow the candles to cool at room temperature. This process usually takes a few hours, depending on the size of your jars. Avoid moving or touching the candles during this time, as any disturbance could create unsightly surface imperfections. For best results, let the candles cool completely before trimming the wick.
Finishing Touches
With your candles poured and set, it’s time to add the finishing touches that will enhance their functionality and presentation.
Trimming the Wick
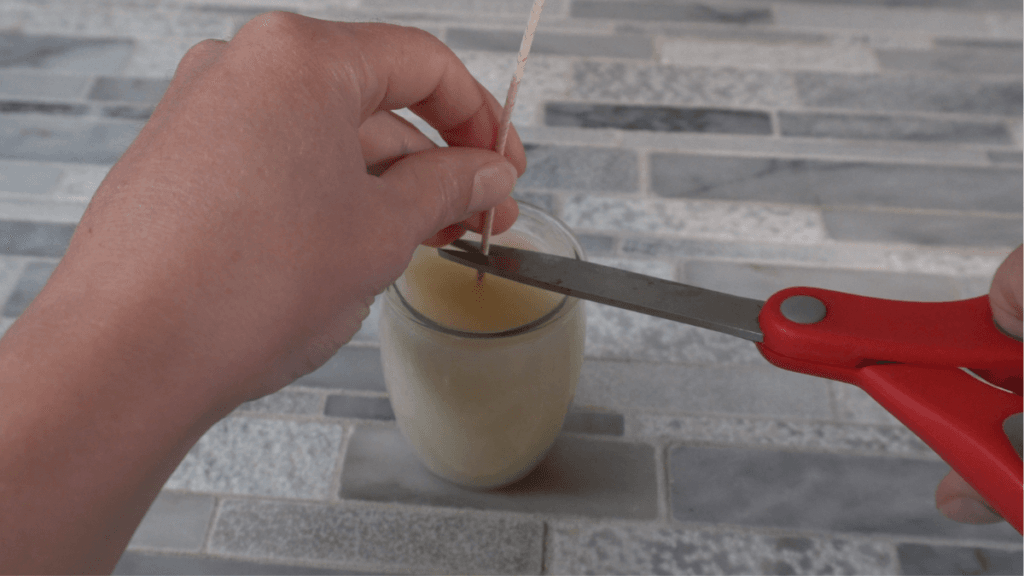
Once your candles are completely cooled and solidified, the first step is to trim the wick. This is an essential practice for optimal burning. A properly trimmed wick, ideally about 1/4 inch long, helps prevent soot, ensures an even burn, and reduces the risk of excessive flickering. Regularly trimming your wick before each use will enhance the candle’s performance and longevity.
Labeling and Storing
After trimming the wicks, consider labeling your candles. Use decorative labels to indicate the contents and scent, such as “Massage Oil Candle – White Tea & Pear,” along with any special instructions for use. You can also include the date of creation for reference. Labeling adds a personal touch, especially if you plan to give these candles as gifts.
When it comes to storage, keep your candles in a cool, dark place away from direct sunlight to maintain their scent and quality. Avoid areas with extreme temperatures, as heat can cause the candle to melt or lose its fragrance. If you want to ensure your candles remain dust-free, you can cover them with a lid or place them in a sealed container.
How to Make a Relaxing Massage Oil Candle with Soy Wax and Butters
Equipment
- Scale
Ingredients
- 43% | 2.58 ounce Soy Wax
- 10% | 0.60 ounce Cocoa Butter
- 40% | 2.40 ounce Shea Butter
- 5% | 0.30 ounce Hazelnut oil
- 2% | 0.12 ounce White Tea and Pear Fragrance Oil
Instructions
- Measure IngredientsBegin by accurately measuring your ingredients. For all ingredients, use a kitchen scale to weigh out the appropriate amount, as precision is key to achieving the right consistency. I like to use a pipette for my fragrance oil as it makes it a little easier to control how much I put into the container.
- Melt the Soy Wax and ButtersStart out by adding soy wax, cocoa butter, shea butter, and hazelnut oil into a pouring pot designed for candle making. Place your pouring pot inside a larger pot filled with a few inches of water, creating a simple double boiler effect. Stir occasionally until everything is fully melted.
- Add FragranceAfter combining the oils, it’s time to add the fragrance oil. Allow the mixture to cool slightly before adding the fragrance—ideally when the temperature drops to around 160°F. This helps retain the fragrance’s potency. Stir the mixture thoroughly to ensure the fragrance oil is evenly distributed throughout the wax. You will want to give it a good mix, usually a few minutes.
- Wick PreparationPrepare your candle jars by attaching the wick. Use a small amount of melted wax or hot glue to secure the wick at the bottom center of each jar. If you’re using a wick holder, place it in the center of the jar before pouring the wax. This will help keep the wick upright as you pour the candle mixture in.
- Pouring The Candle When you're ready to pour, take your pouring pot or container and gently tilt it to create a steady stream. Begin by pouring the mixture slowly into the center of the jar, ensuring that the wick remains secured in the center. To prevent the wick from moving, you can hold it in place with your fingers or use a wick holder. Fill the jar until it's nearly full, leaving about 1/4 inch of space at the top to allow for expansion as the wax cools.

