Welcome to the captivating world of candle making! Ever wondered how those flawless candle wicks are crafted? Delve into this extensive guide, exploring the meticulous art of crafting candle wicks from scratch. Join me as we navigate step-by-step instructions, empowering you to personalize your candle-making journey with custom-crafted wicks. Ignite your creativity and discover the secrets behind creating the ideal wick for your stunning candles!
Prefer to watch this project instead of reading it?
Some of the links are affiliate links, because I am an associate and I earn a small commission on them. There is no additional cost to you, I earn a commission if you click through and make a purchase.

Curious about the candle projects you can undertake once you’ve made your wicks? Explore projects such as How to Whip Candle Wax – Whipped Candle Frosting, Island Oasis Candle with Vybar 260, Lotion Candle Recipe.
Why do you prime the wick?
Priming a wick involves applying a coat of wax, ensuring an even burn and protecting the wick. Without priming, a cotton wick might struggle to burn, potentially absorbing moisture. Additionally, a wax-coated wick aids in centering and steadying it within the candle.
Essential Equipment
- Double boiler
- Pouring pot (or heat safe container)
- Wax Paper or Freezer Paper
- Pliers
Ingredients
How to Make Candle Wicks
Prepare wick:
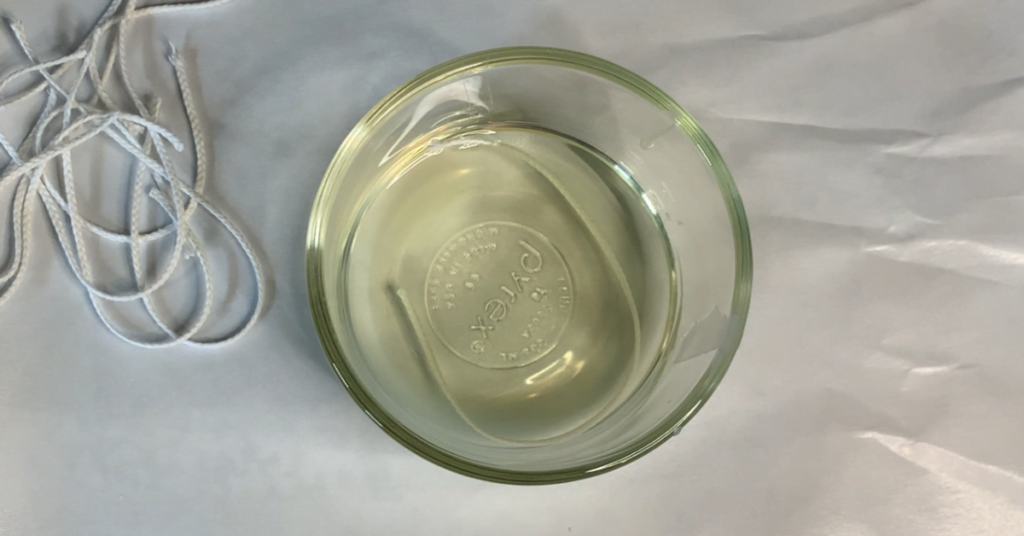
1: Cut your desired length wicks from the spool.
Melt Wax:
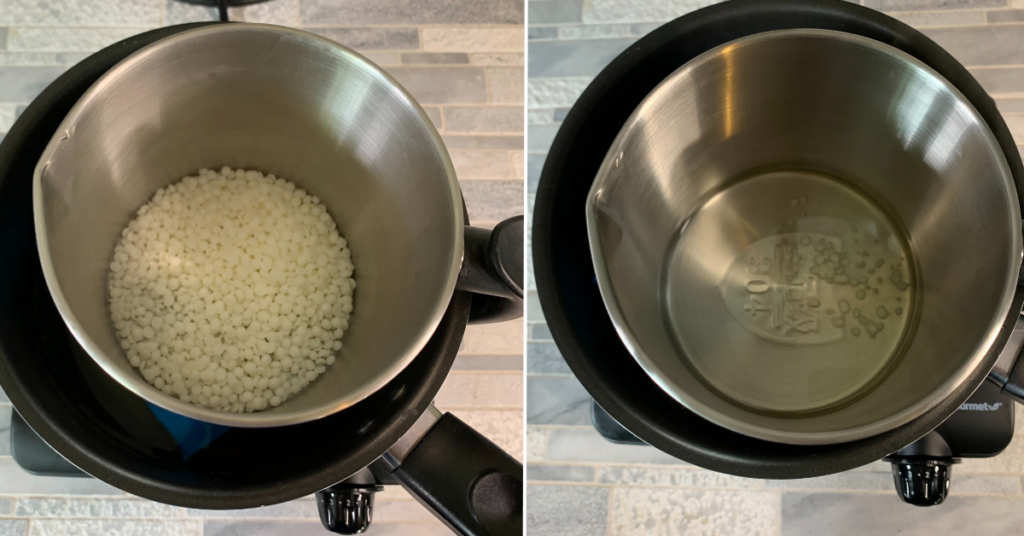
2: Place a small amount of wax into a pouring pot. I will pour this into a smaller container to make it easier to grab the wicks out of it.
3: Heat the wax until it is fully melted using a double boiler.
Dip the Wicks:
4: Submerge your wicks in the melted wax, ensuring complete coverage.
5: Using pliers (or tweezers), remove the wicks from the wax one at a time. Allow any excess wax to drip back into the bowl.
Dry the Wicks:
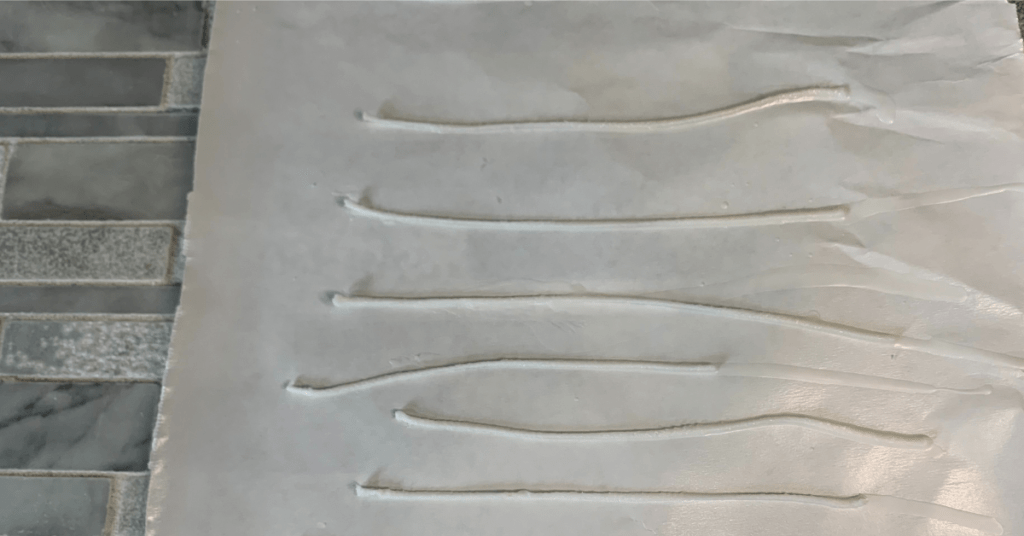
6: Lay flat on a piece of freezer paper.
.7: Once cooled, remove the wicks from the paper.
8: Remove any excess wax from the tip of the wick by pinching it off with your nail.
Tab the Wicks:
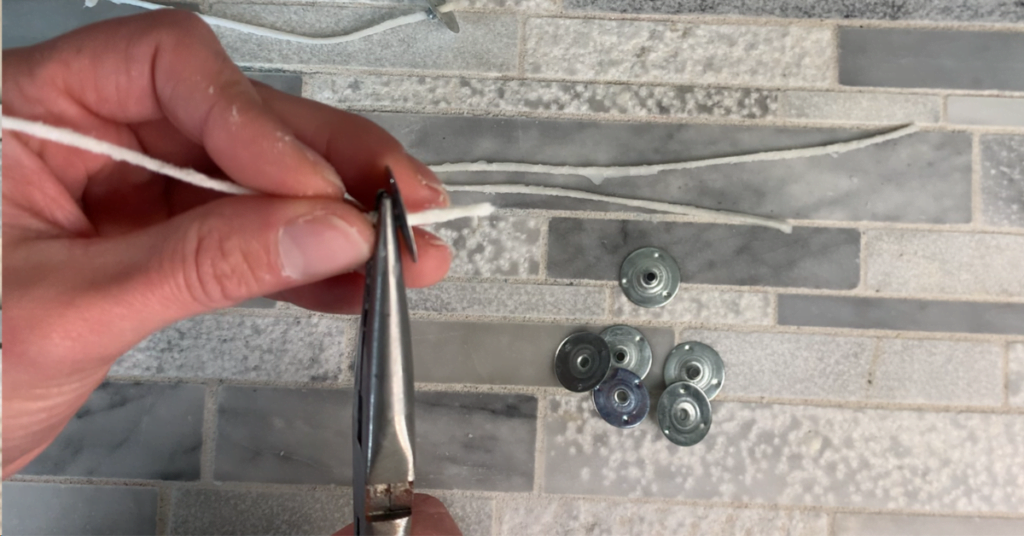
9: Thread the wick through the tab center.
10: Use pliers to secure the tab onto the wick.
11: Revel in your spool-tabbed wicks!