
Whipped candles are one of the most popular candle styles—and for good reason. They’re eye-catching, customizable, and incredibly fun to make once you understand the why behind each step. In this tutorial, I’ll walk you through exactly how to make a whipped soy wax candle, including the base candle, blueberry wax embeds, and a perfectly piped whipped top that holds its shape.
This is the same whipped candle method I use and teach on SummerRainDIY, designed to give you consistent, professional-looking results, check out the video below.
Some links on this website are affiliate links, meaning I may earn a small commission if you click and make a purchase. This comes at no additional cost to you.
Table of Contents
What Is a Whipped Candle?
A whipped candle uses partially cooled wax that’s whipped with a mixer until it reaches a frosting-like texture. This whipped wax is then piped on top of a poured candle base, creating decorative swirls that look like whipped cream or frosting.
Whipped candles are popular because they:
- Add height and texture to candles
- Allow for detailed piping designs
- Create a high-end, bakery-style look
- Are perfect for embeds, sprinkles, and decorative toppings
Supplies You’ll Need
Wax & Additives
- Soy wax (for both base and whipped top)
- Fragrance oil (used at 10%)
- Optional candle dye (for base or embeds)
Measurements Used
- 163 grams soy wax – base candle
- 16.3 grams fragrance oil
- 100 grams soy wax – whipped top
(Always make more whipped wax than you think you’ll need) - 10 grams fragrance oil
Tools
- Heat-safe pouring pitcher
- Digital scale
- Hand mixer
- Silicone spatula
- Piping bag + piping tip
- Candle jar
- Wick
Step 1: Make the Soy Wax Base Candle (163g)
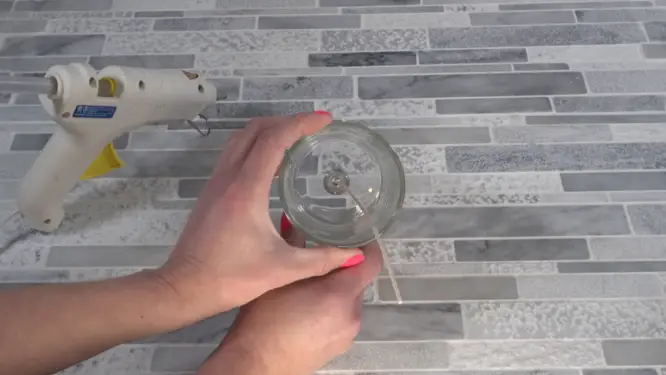
Start by preparing your candle container. Secure your wick and make sure it’s centered.
Melt 163 grams of soy wax using a double boiler being sure to stir it while on the stove. Once fully melted, allow the wax to cool slightly before adding fragrance oil. I use this time to color the candle wax.
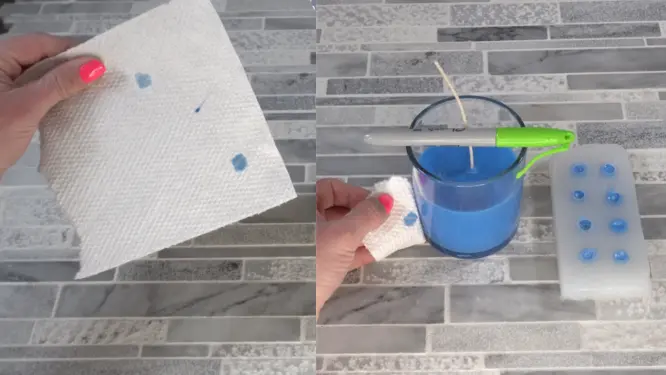
A tip is if you are unsure of the final color, put a drop of colored wax on a paper towel. That will show you what the final color will be.
Why this step matters:
- Pouring too hot can cause sinkholes or poor adhesion later
Add fragrance oil at 10% and stir gently but thoroughly. Pour the wax into your container and allow it to cool completely before moving on.
Center your candle wick. I like to use a sharpie to get it centered.
Step 2: Pour Soy Wax Blueberry Embeds
While your base candle is cooling, prepare your embeds.
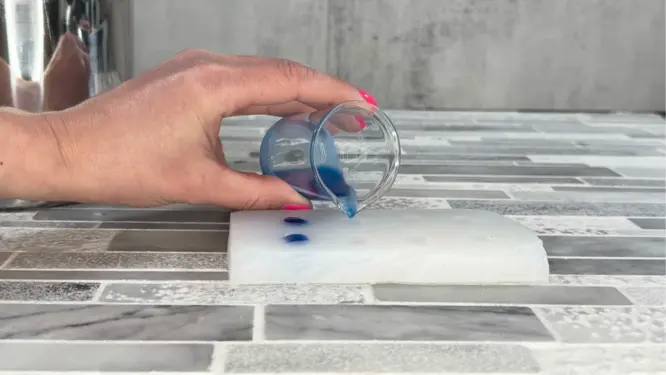
Melt soy wax and add blue dye if desired. Carefully pour the wax into your blueberry embed mold. Allow the embeds to fully harden before removing them from the mold. Since my embeds were the same color as the base candle, I poured them before I poured the candle.
Set the finished embeds aside.
Step 3: Prepare Wax for Whipping (100g)
Melt 100 grams of soy wax for the whipped topping. Once melted, remove it from heat and allow it to cool.
This cooling stage is critical.
Why cooling matters:
- Wax that’s too hot won’t whip
- Wax that’s too cold will harden instead of fluffing
You’re looking for wax that is opaque, thickened, and slightly slushy but still soft.
You are going to scrape the wax off the sides and bottom of your container.
Step 4: Whip the Wax
Using a hand mixer or stand mixer, begin whipping the wax on low speed. Gradually increase speed as the wax thickens.
What you’re looking for:
- Light, fluffy texture
- Holds soft peaks
- Similar to buttercream frosting
If the wax looks runny, let it cool a bit longer. If it becomes too stiff, allow it to warm slightly and whip again.
Be sure to whip it enough because the wax can be a little tricky.
Step 5: Achieve the Perfect Whipped Wax Consistency
This is the most important step.
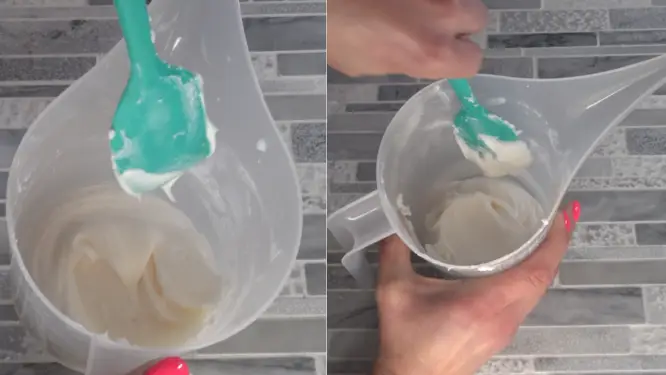
Perfect whipped wax should:
- Hold its shape on a spatula
- Not drip or collapse
Why consistency is everything:
- Too soft = droopy, unstable piping
- Too stiff = rough texture and broken swirls
Take your time here—this step determines how professional your candle looks.
The first image is too thin, and the second is the perfect consistency.
Step 6: Fill the Piping Bag
Transfer the whipped wax into a piping bag fitted with your chosen tip.
Tips:
- Don’t overfill the bag
- Press out air pockets
- Twist the top closed tightly
Air bubbles can cause uneven piping, so this step helps ensure smooth results.
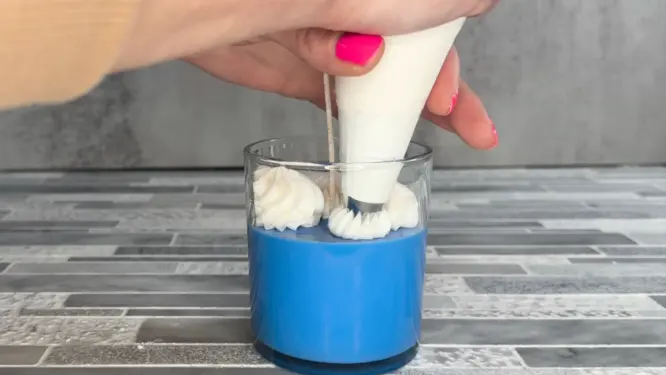
Step 7: Pipe the Whipped Candle Top
Pipe the whipped wax onto the fully cooled base candle using steady pressure. I like to make little blobs of the wax lift up and do it again.
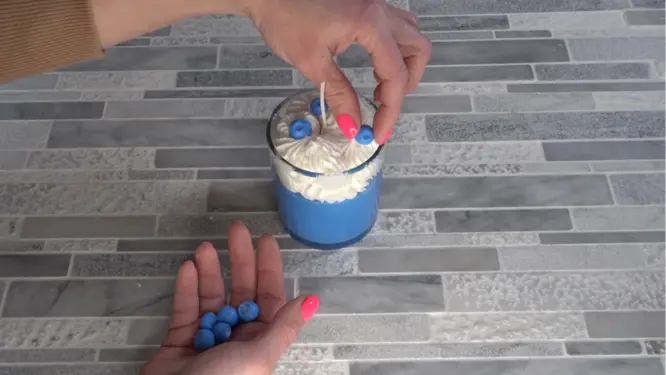
Add your blueberry embeds while the whipped wax is still soft so they adhere properly.
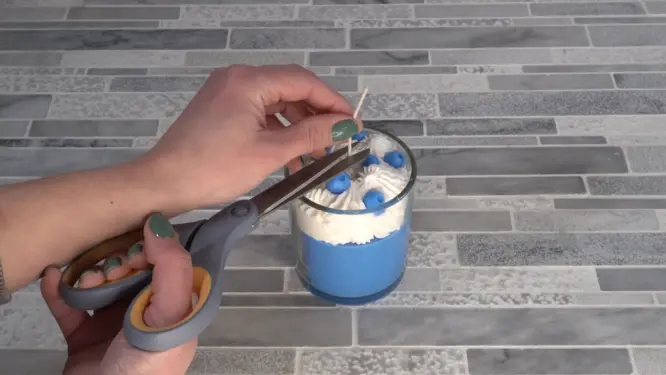
Once finished, allow the candle to fully harden. Then trim the candle wick.
Final Tips for Success
- Always make extra whipped wax
- Clean your piping tip immediately after use
- Allow candles to cure before burning
Frequently Asked Questions
Why do I need more wax for the whipped top?
Whipped wax increases in volume but you’ll lose some during mixing and piping. Running out mid-pipe leads to uneven designs.
Can I use other waxes besides soy?
Yes, but results vary. Soy wax whips well and holds texture. Paraffin and blends may behave differently.
Why did my whipped wax collapse?
This usually happens if the wax was too warm or over-whipped. Letting it cool slightly before piping helps.
Can whipped candles be burned safely?
Yes, when properly wicked and tested. Always test burn any candle before selling or gifting.
How long should I let the candle cure?
Allow at least 7–14 days for best scent throw with soy wax.
More Candle Tutorials
Looking for more beginner-friendly candle tutorials?


One thought on “How to Make Whipped Soy Wax Candles (Step-by-Step Tutorial)”
Comments are closed.