
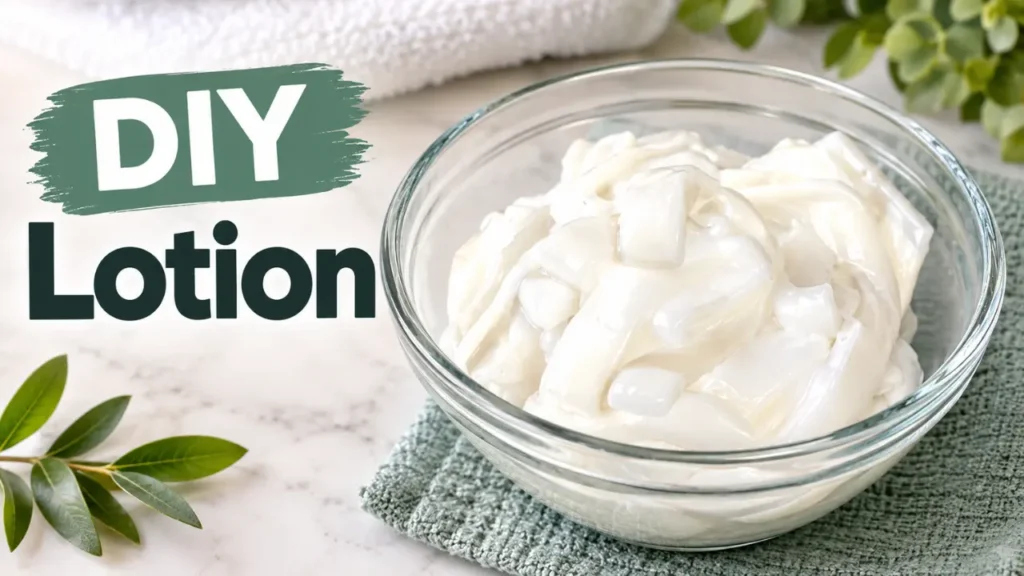
Making lotion from scratch can sound and feel a lot more complicated than it actually is.
At its most basic, a lotion is an emulsion made from water, oils, an emulsifier, and a preservative. Once you understand what each part is doing, the process becomes much easier to follow—and you can start understanding how to create and adjust your own formulas instead of simply following recipes.
In this guide, I’ll walk you through the basic ingredients that make up a lotion, how they work together, how to read the formula, and how to make this beginner-friendly lotion from scratch.
If you’re completely new to DIY skincare formulation, I recommend starting with my Skincare Formulation for Beginners guide first. It gives you a bigger picture of how water, oils, emulsifiers, preservatives, and other ingredients fit together.
What Makes a Lotion a Lotion?
A lotion is an emulsion, which means we’re combining two things that normally don’t want to stay together: water and oil.
If you have ever mixed oil and water in a glass, you’ve already seen the problem. They separate.
An emulsifier helps bring those two phases together so we can create a smooth, creamy product instead of a bottle of water with a layer of oil floating on top.
There are several pieces to the formula, and each one has a job:
- Water provides the water phase.
- Oils and butters provide emollience, richness, and skin feel.
- An emulsifier helps combine the oil and water phases.
- A co-emulsifier or fatty alcohol can add structure and improve texture.
- A preservative protects a water-containing product from microbial growth.
- Optional ingredients can be used to customize the formula.
If you want to go deeper into what an emulsion actually is, read Emulsions – What Are They and How Do They Work?.
Prefer to Watch How to Make A Lotion from Scratch?
Affiliate disclosure: This post may contain affiliate links. If you purchase something through one of these links, I may earn a small commission at no additional cost to you. These commissions help support Summer Rain and allow me to continue creating free tutorials and recipes.
The Ingredients in a Lotion
Let’s look at each part individually before we make the lotion. Understanding the ingredients is one of the most useful things you can learn when you start formulating.
Water
Water usually makes up the largest portion of a lotion.
For this formula, I’m using distilled water. Distilled water gives us a more consistent starting point than tap water, which can contain varying amounts of minerals and other components.
You can also use ingredients such as a hydrosol in place of some or all of the water, depending on the formula.
The amount of water also affects the overall character of the lotion. In this formula, water makes up 74.5% of the total formula.
If you’re learning formulation, this is an important concept: the percentage of each ingredient tells you much more about a formula than the amount in ounces or grams alone.
That’s why I recommend learning Percentages vs. Grams in Skincare Formulation before you start changing the size of your batches.
Oils
The oil you choose can make a surprisingly big difference in the finished lotion.
Different oils have different textures, absorption rates, and skin feel. A lightweight oil can produce a very different lotion than a heavier oil or a rich butter.
For this formula, I’m using sunflower oil as the liquid oil.
You don’t need to use a dozen different oils to make a good lotion. In fact, when you’re learning, I think it’s much more useful to start with a simple formula and learn what each ingredient contributes.
If you’re interested in experimenting with different oils later, take a look at my guide to choosing carrier oils for skincare.
Butters
Butters can add richness and structure to a lotion.
I’m using kokum butter in this formula. Kokum is a relatively firm butter, so it contributes more structure than a very soft butter would.
This is one of the fun parts of formulation: changing an ingredient doesn’t just change what is printed on the ingredient list. It can change the texture, consistency, and feel of the finished product.
Emulsifier
This is the ingredient that makes the lotion possible.
Oil and water naturally separate, so we need an emulsifier to help create a stable mixture.
For this lotion, I’m using Olivem 1000.
Olivem 1000 is an oil-in-water emulsifier commonly used in lotions and creams. If you’re unfamiliar with it, I have a separate Olivem 1000 guide that explains what it does and how it is used in skincare formulas.
It’s important to remember that an emulsifier isn’t simply a thickener. A lotion can be thick and still be unstable. The entire formula—including the oil phase, emulsifier, processing method, and other ingredients—works together to determine the finished emulsion.
Cetyl Alcohol
I’m also using cetyl alcohol.
Despite the word “alcohol” in the name, cetyl alcohol is a fatty alcohol. It isn’t the same type of alcohol that you might associate with drying or stripping the skin.
Cetyl alcohol can help add thickness, structure, slip, and a smoother feel to emulsions.
Learn more about Thickeners in Skincare where I go over what they are and how to use them.
It’s a good example of why learning what an ingredient actually does is more useful than judging it by its name.
Preservative
This is one part of lotion making that you should not skip.
Because lotion contains water, it can support the growth of bacteria, yeast, and mold. A broad-spectrum preservative is needed to help protect the finished product.
For this formula, I’m using Liquid Germall Plus at 0.5%.
Preservatives aren’t interchangeable, though. Different preservatives have different recommended usage rates, pH ranges, and processing requirements. Always follow the supplier’s instructions for the specific preservative you’re using.
If you’re new to this topic, read Why Preservatives Matter in DIY Skincare before making water-based products.
Optional Ingredients
Once you understand the basic structure of a lotion, you can start experimenting with optional ingredients.
Depending on the formula, this could include things like:
- Humectants
- Fragrance
- Essential oils
- Botanical extracts
- Colorants
- Other skin-care additives
You don’t need to add a long list of extras to make a good lotion, though.
One of the biggest lessons I have learned with formulation is that every ingredient should have a reason for being there.
If you want to understand the difference between ingredients that hydrate, soften, and help reduce moisture loss, read Humectants, Occlusives and Emollients Explained.
The Lotion Formula
If you are not familiar with converting a formula to a recipe, check out this video where I go over how to create one.
Now that we know what the ingredients are doing, let’s look at the actual formula.
This is written as a percentage formula, rather than just a list of measurements.
| Ingredient | Percentage |
|---|---|
| Distilled Water | 74.5% |
| Sunflower Oil | 13% |
| Kokum Butter | 3% |
| Olivem 1000 | 5% |
| Cetyl Alcohol | 3% |
| White Tea & Pear Fragrance Oil | 1% |
| Liquid Germall Plus | 0.5% |
| Total | 100% |
Why percentages?
Because a formula written in percentages can be scaled to whatever batch size you need.
For example, this same formula can be made as a small test batch or a much larger batch without changing the proportions of the ingredients.
That is the difference between thinking of something as a recipe and thinking of it as a formula.
If percentages are new to you, my Percentages vs. Grams in Skincare Formulation guide walks through exactly how to make that conversion.
How to Make Lotion From Scratch
Once your formula is ready, the actual process is fairly straightforward.
The important part is to be precise and pay attention to the phases and temperatures.
1. Clean Your Work Area
Start with a clean workspace and clean equipment.
Because we’re making a water-containing product, good sanitation practices are important from the very beginning.
Clean your work surface, containers, utensils, scale, and anything else that will come into contact with the lotion.
2. Weigh Your Ingredients
I always recommend weighing skincare ingredients rather than measuring them by cups or spoons.
A digital scale makes it much easier to accurately reproduce a formula.
For this batch, the approximate weights are:
| Ingredient | Percentage | Weight |
|---|---|---|
| Distilled Water | 74.5% | 223.5 g |
| Sunflower Oil | 13% | 39 g |
| Kokum Butter | 3% | 9 g |
| Olivem 1000 | 5% | 15 g |
| Cetyl Alcohol | 3% | 9 g |
| White Tea & Pear Fragrance Oil | 1% | 3 g |
| Liquid Germall Plus | 0.5% | 1.5 g |
| Total | 100% | 300 g |
I like to weigh the ingredients separately so I can keep track of each part of the formula.
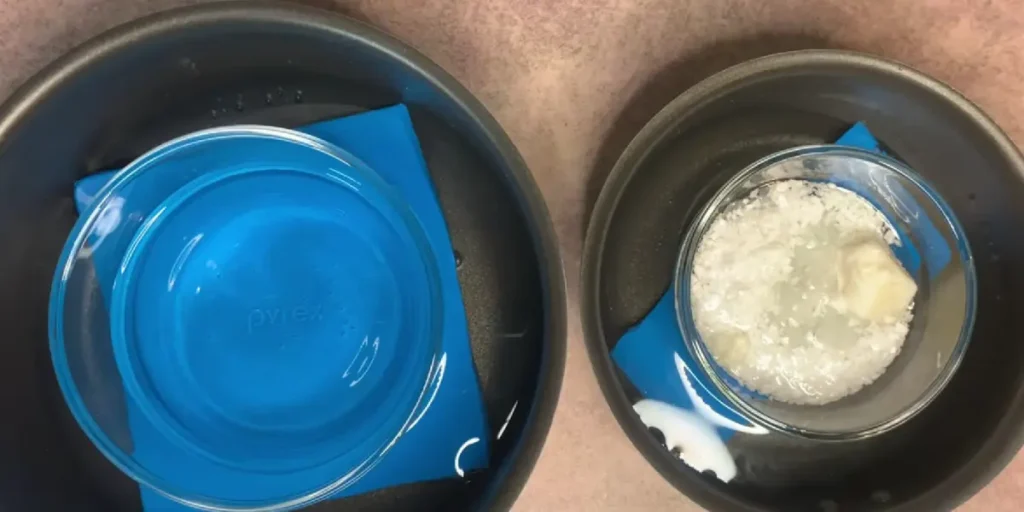
3. Heat the Water and Oil Phases
Separate the formula into its appropriate phases.
The water phase contains the distilled water.
The oil phase contains the sunflower oil, kokum butter, Olivem 1000, and cetyl alcohol.
Heat the phases until the solid ingredients in the oil phase have completely melted.
You want the phases to be ready to combine while they are both still warm.
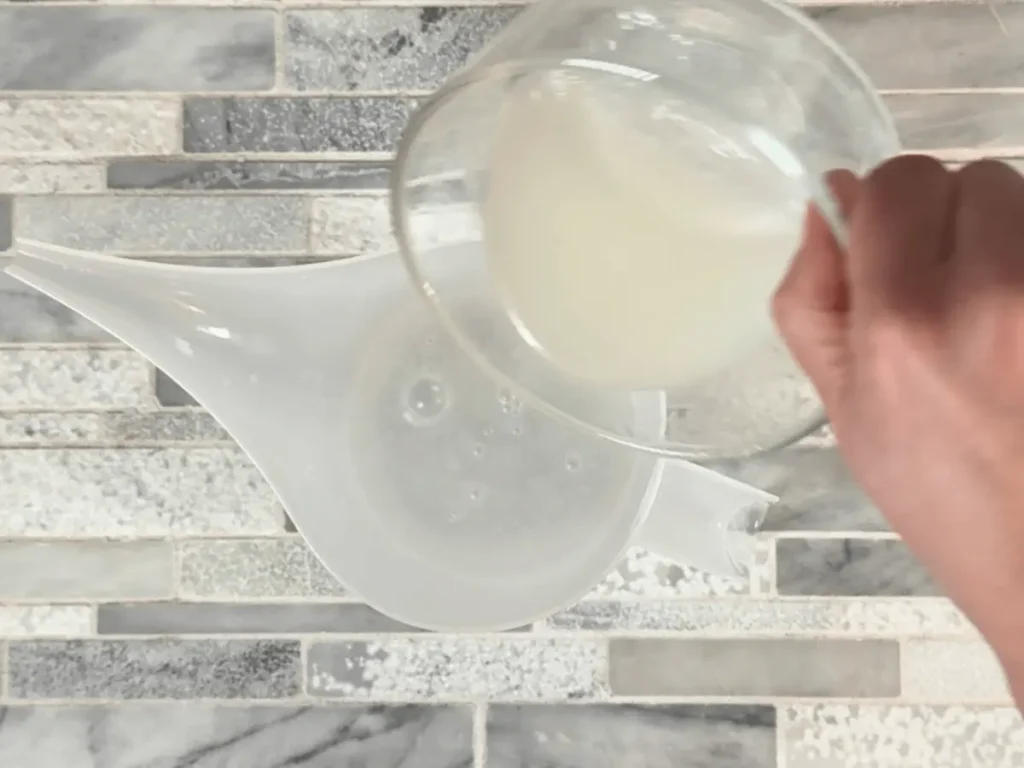
4. Combine the Phases
Once both phases are ready, combine them.
This is where the lotion starts to come together.
Use an immersion blender to thoroughly mix the two phases.
Oil and water don’t automatically become a stable lotion just because an emulsifier is present. Proper processing and mixing are part of creating the emulsion.
If the mixture looks like it wants to separate while it is still warm, don’t panic. Continue mixing as it cools.
For more information about what is happening during this step, see Emulsions – What Are They and How Do They Work?.
5. Continue Mixing While It Cools
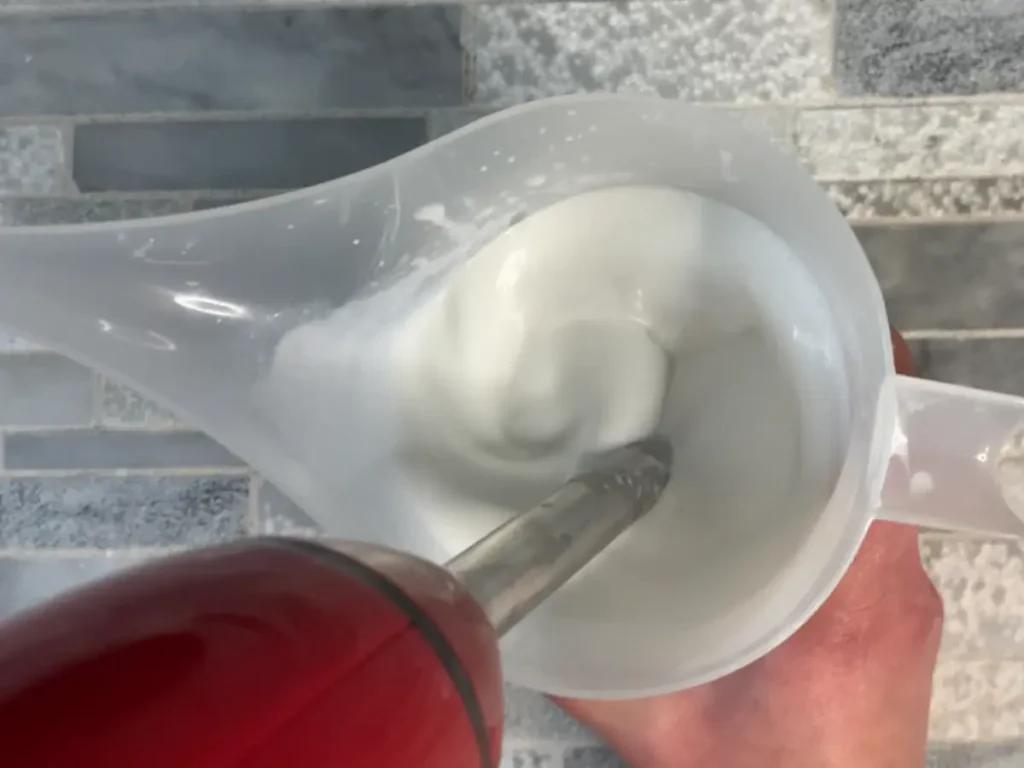
As the lotion cools, the texture will begin to change.
Continue mixing periodically while the emulsion cools.
This is also a good time to pay attention to how the lotion looks and feels. A finished lotion should have a consistent appearance rather than obvious separation between the oil and water phases.
6. Add the Cool-Down Ingredients
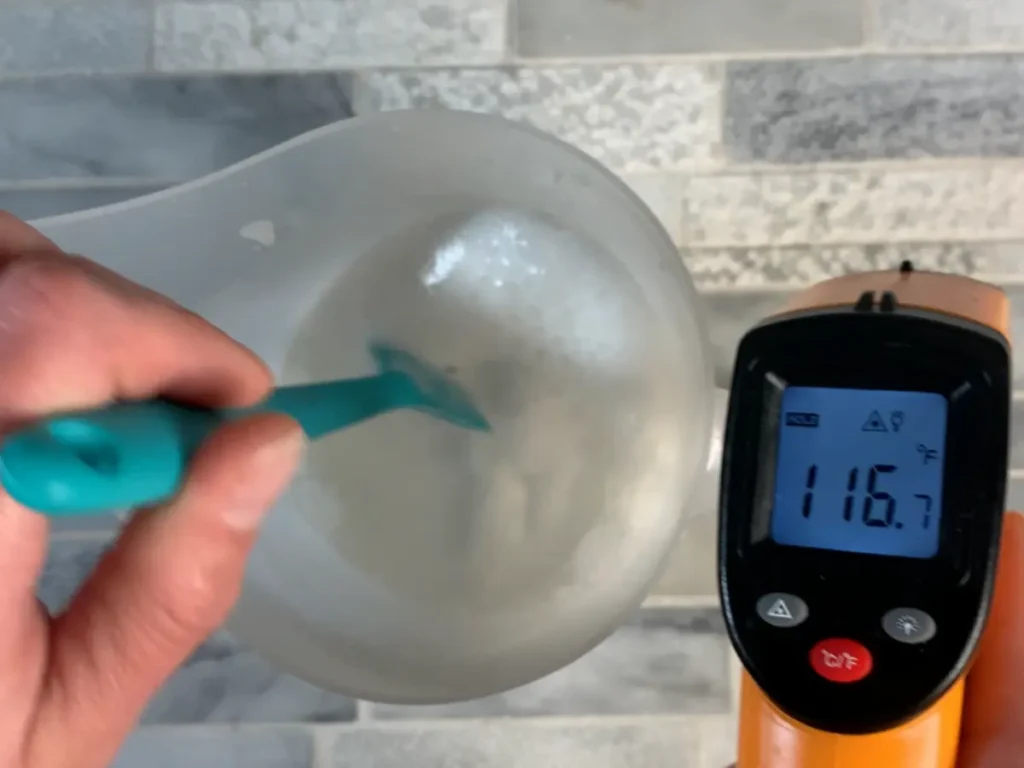
Once the lotion has cooled sufficiently for your preservative and other heat-sensitive ingredients, add them according to the supplier’s instructions.
For this formula, that includes the Liquid Germall Plus and fragrance.
Mix thoroughly after adding them.
Always check the manufacturer’s recommended temperature and usage rate for your preservative rather than assuming every preservative can be added at the same temperature.
7. Package the Lotion
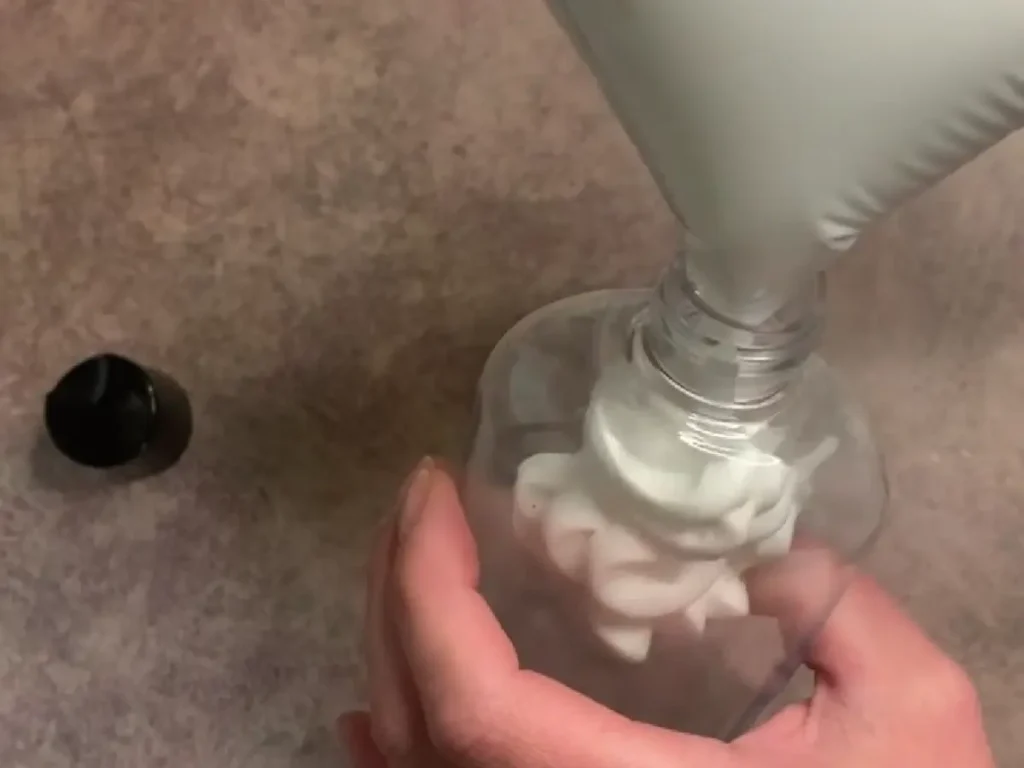
Once the lotion is ready, transfer it into your container. I like to use a plastic 8 ounce bottle for mine.
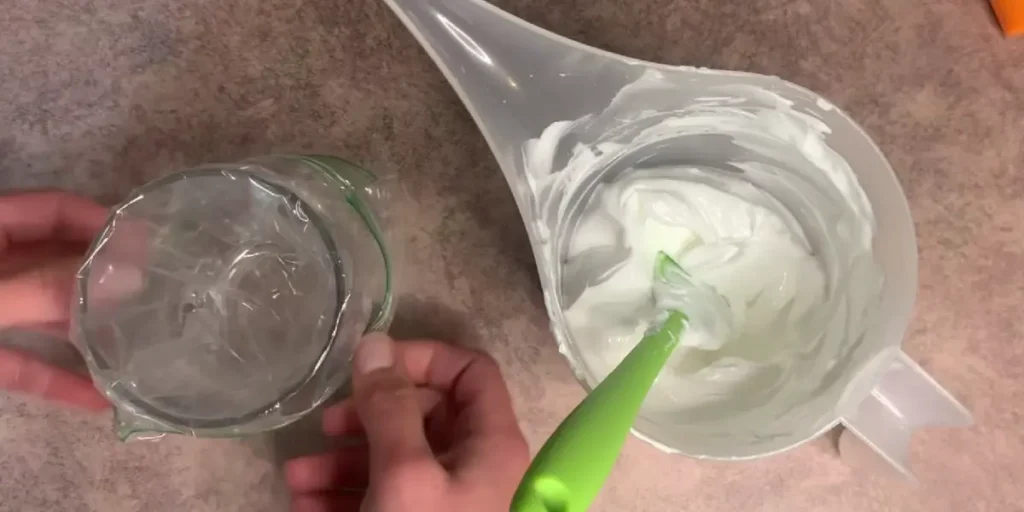
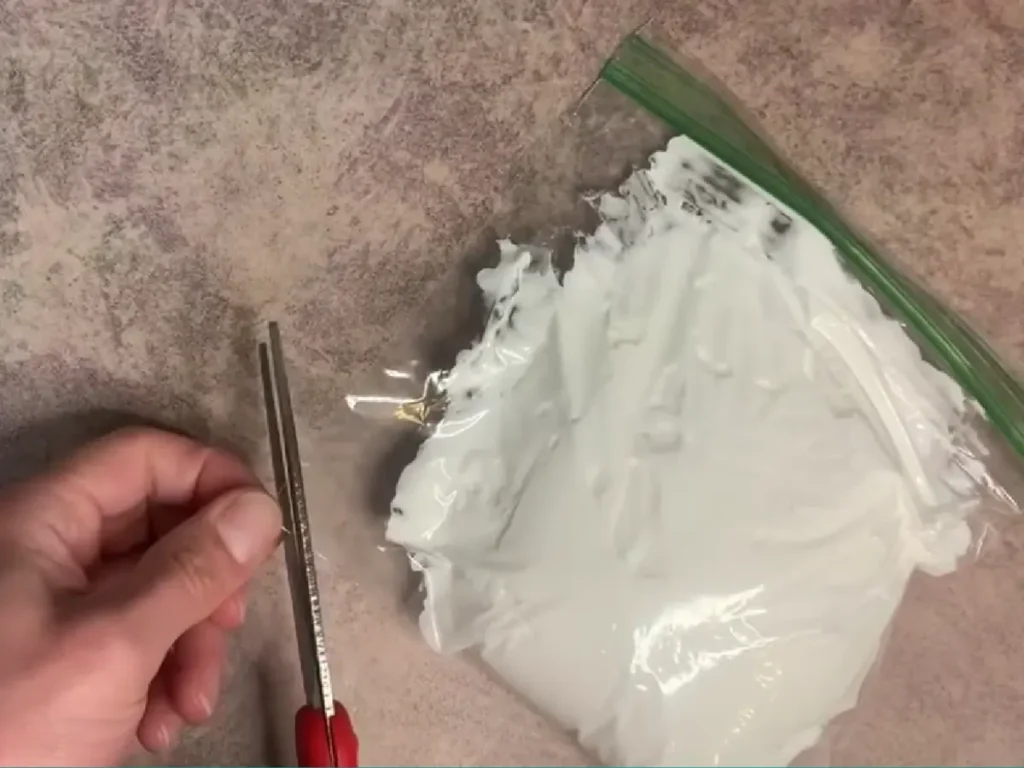
If the lotion is too thick to pour neatly, one easy trick is to transfer it into a piping bag or disposable bag, snip off the corner, and squeeze it into the container.
Let the lotion cool completely before sealing the container.
Why Does My Lotion Need an Emulsifier?
This is one of the first questions most people have when they start making lotion.
The short answer is: oil and water naturally separate.
An emulsifier helps create a stable mixture between the two.
But there’s an important distinction here.
An emulsifier doesn’t mean that you can throw any amount of oil, water, and emulsifier together and automatically get a stable lotion.
The entire formula matters.
The type and amount of emulsifier, oil phase, water phase, fatty alcohols, additives, processing temperature, mixing, and cooling process can all affect the finished emulsion.
That’s why I recommend learning the basics of skincare formulation before making lots of substitutions.
Can I Change the Ingredients?
Eventually, yes—but this is where formulation becomes more interesting than simply following a recipe.
If you want to replace an ingredient, first ask:
What job is this ingredient doing?
For example:
- Sunflower oil is providing a liquid oil/emollient component.
- Kokum butter contributes richness and structure.
- Olivem 1000 is the emulsifier.
- Cetyl alcohol contributes structure and texture.
- Germall Plus provides preservation.
- Fragrance provides scent.
A replacement should be chosen based on the function of the ingredient, not simply because another ingredient seems similar.
And remember: changing one ingredient can affect the balance of the entire formula.
That’s one reason I recommend starting with a tested formula and making changes one at a time while you’re learning.
Want to Learn More About Making Lotion?
Once you’ve made a lotion successfully, you may find yourself wanting to understand what happens when you change the oil, add glycerin, use a different butter, or change the texture.
That’s where formulation starts getting really fun.
Here are a few good next steps:
Learn the basics:
Skincare Formulation for Beginners
Learn how formulas are calculated:
Percentages vs. Grams in Skincare Formulation
Understand what your skincare ingredients actually do:
What Each Ingredient Does in Skincare Formulation
Learn about hydration and skin feel:
Humectants, Occlusives and Emollients Explained
Understand emulsions:
Emulsions – What Are They and How Do They Work?
Learn about preservation:
Why Preservatives Matter in DIY Skincare
You don’t need to learn everything before you make your first lotion. Start with a simple formula, understand what each ingredient is doing, and build from there.
That’s really the goal of learning formulation: not just knowing how to make one lotion, but understanding enough to eventually create your own.
How to get thick lotion into container
Making Lotion From Scratch
Equipment
- Scale
Ingredients
- 6.71 ounce | 74.5% Distilled Water
- 1.17 ounce | 13% Sunflower Oil
- 0.27 ounce | 3% Kokum Butter
- 0.45 ounce | 5% Olivem 1000
- 0.27 ounce | 3% Cetyl Alcohol
- 0.09 ounce | 1% White Tea and Pear Fragrance Oil
- 0.05% | 0.5% Germall Plus
Instructions
Clean
- You want to always start out by disinfecting your work area and equipment that you will be using.
Weigh Ingredients
- I see a lot of formulas that use cups for measurements. Which is great when you are cooking food and the measurements do not have to be precise, but it doesn't work when you are making your own lotions. You need to be using a scale to get an accurate weight. I would recommend one the goes to 0.01 ounce.I like to weigh each ingredient into a separate container and then mix the phases together. If you prefer, you can put all of one phase ingredient (oil phase) into one container. Just be sure to press the 'tare' button in between each ingredient.
Heat Ingredients
- In a double boiler, heat both the water phase and the oil phase. You are going to heat them both until the oil phase has melted fully.
Combining Phases
- Once you have removed both phases from the double boiler, you are going to combine them together immediately. In order to get a stable emulsion, you will want to mix them with an immersion blender. While the ingredients are still warm they may want to separate (which is completely normal). To prevent this just mix periodically with the immersion blender.
Cool Down
- Once your lotion has cooled down to 90° F, you can add your heat sensitive ingredients. After you add them, mix well with the immersion blender.
Packaging
- Pour your lotion into your container. If it is too thick to pour, you can always put it in to a baggie and cut one of the corners to make it easier and less messy. You are going to want to wait until it is cooled down to room temperature before you put the cap on it. If you put the cap on while it is still warm it could cause condensation that would pool on the top of the lotion and grow mold.