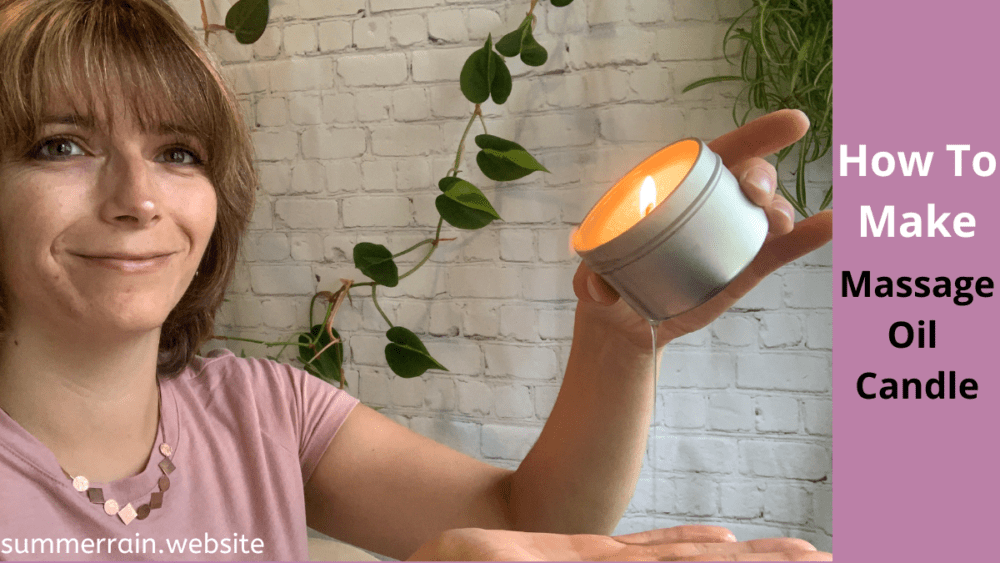
I love love love romantic massage oil candles. Well, I love massages in general. What I am not in love with is when freezing cold oil hits your back. And this is where massage candles come in. A massage candle is specially formulated with a combination of wax and skin loving butters to enhance your massage. The combination of ingredients changes the candle dynamic and warms to just slightly above skin temperature.
The best part about making your own massage candles is that you get to customize everything to suite your needs and fragrance preference.
Prefer to watch the video tutorial for this project?
Some links are affiliate links because I am an associate and I earn a small commission on them.
Using you massage oil / romantic candle
Before we get into how to make these candles let’s go over how to use them. Light the candle and allow it to burn until you have a nice pool of wax. Normally this is going to take at least 5-15 minutes.
Blow out the candle and allow the wax to cool for a few minutes. Pour the candle wax into your hand, you never want to just pour it directly onto someone’s back.
Romantic Candle Ingredients
Soy wax
You will want to make sure that you are buying a soy wax that is safe for skin. When you are buying the soy wax, just check the manufacturer’s recommendations. Sometimes it doesn’t say whether it’s skin safe or not, so in those cases I just assume that wax isn’t skin safe.
Why do you use soy wax?
The reason I use soy wax in these candles is because of its low melting point. Basically what that means is that when it is melted, it is not super hot. Right, because we want to pour this on our skin without getting burnt. In general, soy wax does not get hot enough to do serious damage.
Another reason that we use soy wax is because when it’s applied to the skin, it can act more like an oil than a wax when combined with other ingredients.
Have you ever dipped your finger in a paraffin wax candle? It is nothing like oil, it is just all waxy. That is not what we are going for, at all. In order to prevent a waxy finish with our candle (and ultimately on our skin), we add in some butters and oils.
Butters and Carrier Oils
In order to make our candle more lotion like, it is essential that we add some butters to it.
There are a few things that you will want to consider when choosing your oils and butters. When selecting the oils, I like to think of how you want the finished product to be. In a massage oil, you are going to want to choose oils that have a good slip and that absorb at a medium to slow speed.
Also think about how the finished product will leave your skin. A simple way to test a butter or oil, is to apply some to your arm and see how it feels. How long does it take to absorb? How does your skin feel after?
Mango Butter
Mango butter is quickly becoming one of my favorite butters to use. It absorbs slowly and has a great glide. The other thing that it adds is that it leaves your skin feeling very soft after you use it.
Hazelnut Oil
Hazelnut oil also has a slow absorption rate. It has an excellent glide and leaves the skin feeling slippery (perfect for a massage!)
Fragrance
The first thing that you want to do is make sure that the fragrance oil (or essential oil) that you are using is both candle safe and skin safe. We cannot use a fragrance that is not skin safe as this will be applied to your skin.
Take a look at the use rates. Typically, the candle use rate is going to be a lot higher than the skin use rate. Always go with the skin safe rate.
Wick
The wick that you will need is going to be based on your container. For a 2-3 inch container, I would use this wick.
Color
I opt out of color in my candles, for me there is no reason to add it. If you decide to add some, just make sure it is both candle and skin safe.
Container
For a massage candle, you are going to want a relatively small candle container. I have found that the metal tins with a lid work best for me because they are not too deep and when I’m not using the candle it looks cute on my night stand.
Making massage oil candles
If you have ever made candles before, making these massage oil candles will be a piece of cake. It is literally the same thing, just with a few added ingredients.
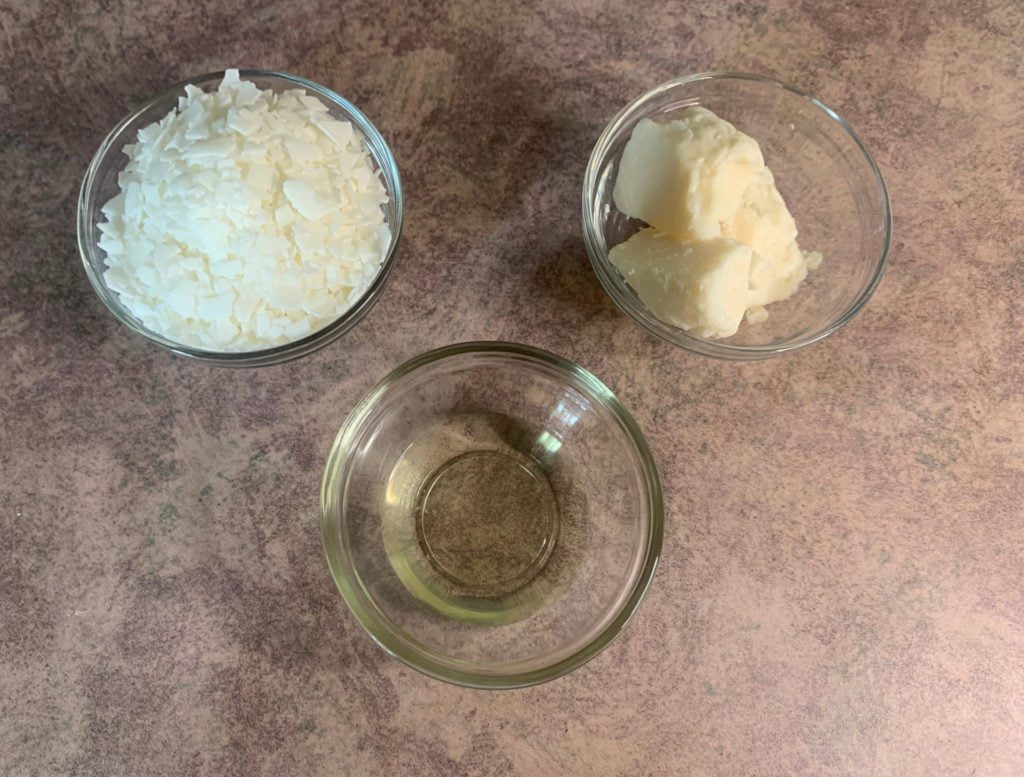
1. Weigh out all of your ingredients.
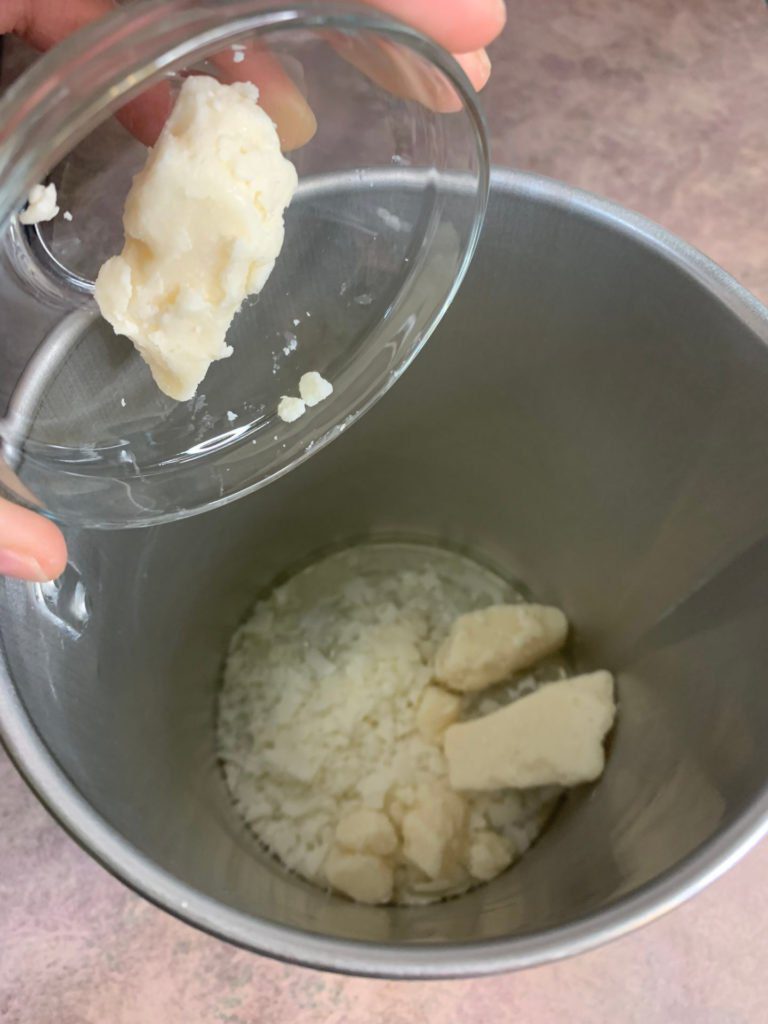
2. Place you soy wax, hazelnut oil and mango butter into a melting pot and pop it on a double boiler.
3. Remove the melting pot from the heat.
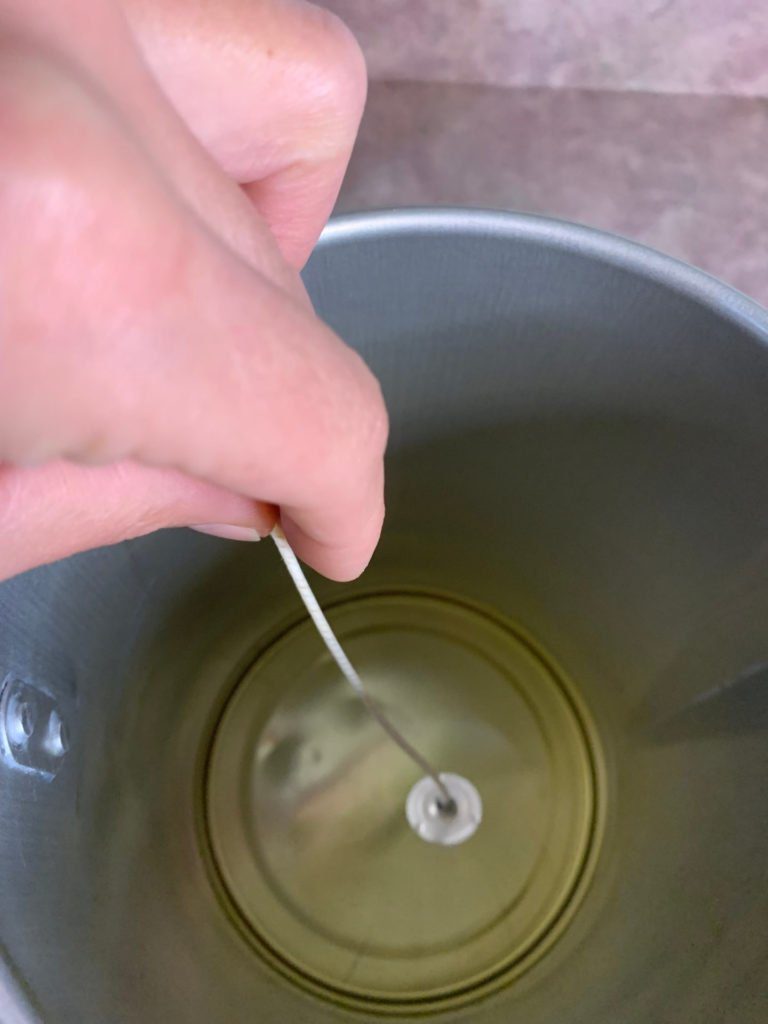
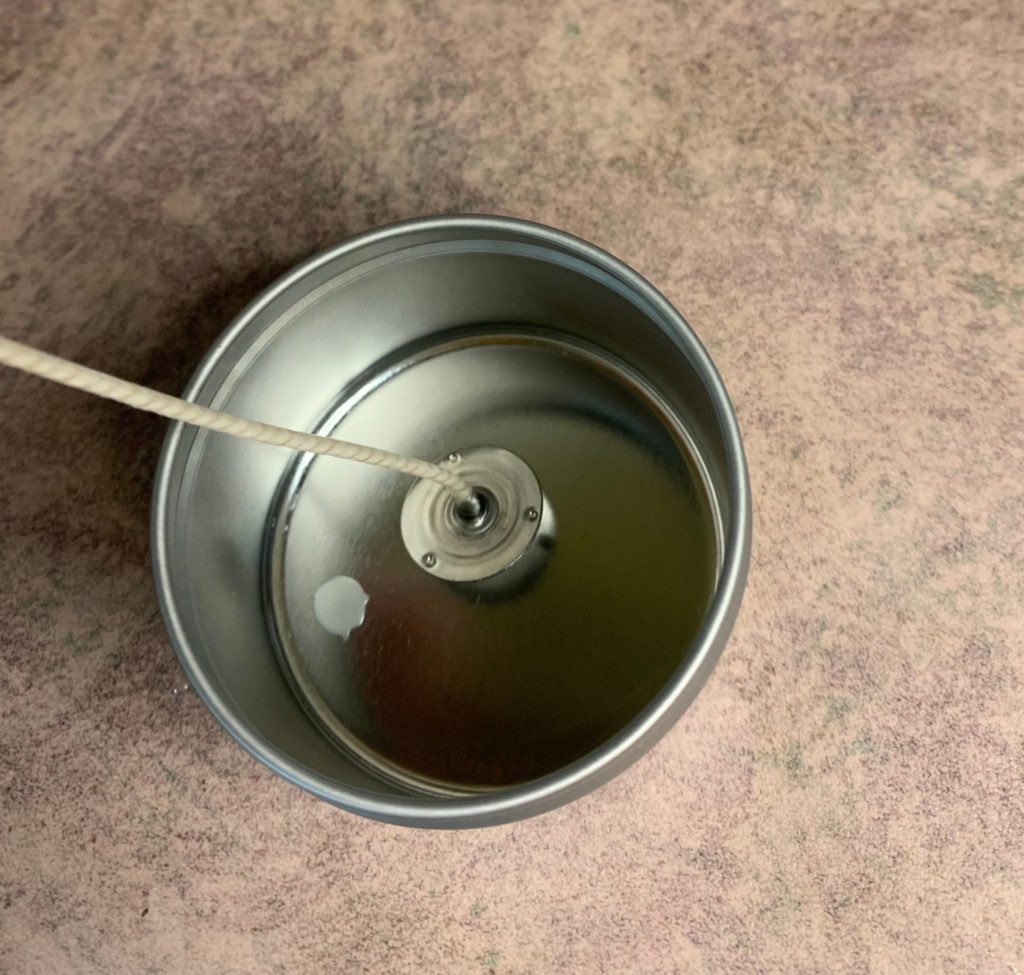
4. Dip the wick tab into the wax and place in your container. If you prefer, you can use a sticky tab or hot glue gun.
5. Add the fragrance oil and mix well.

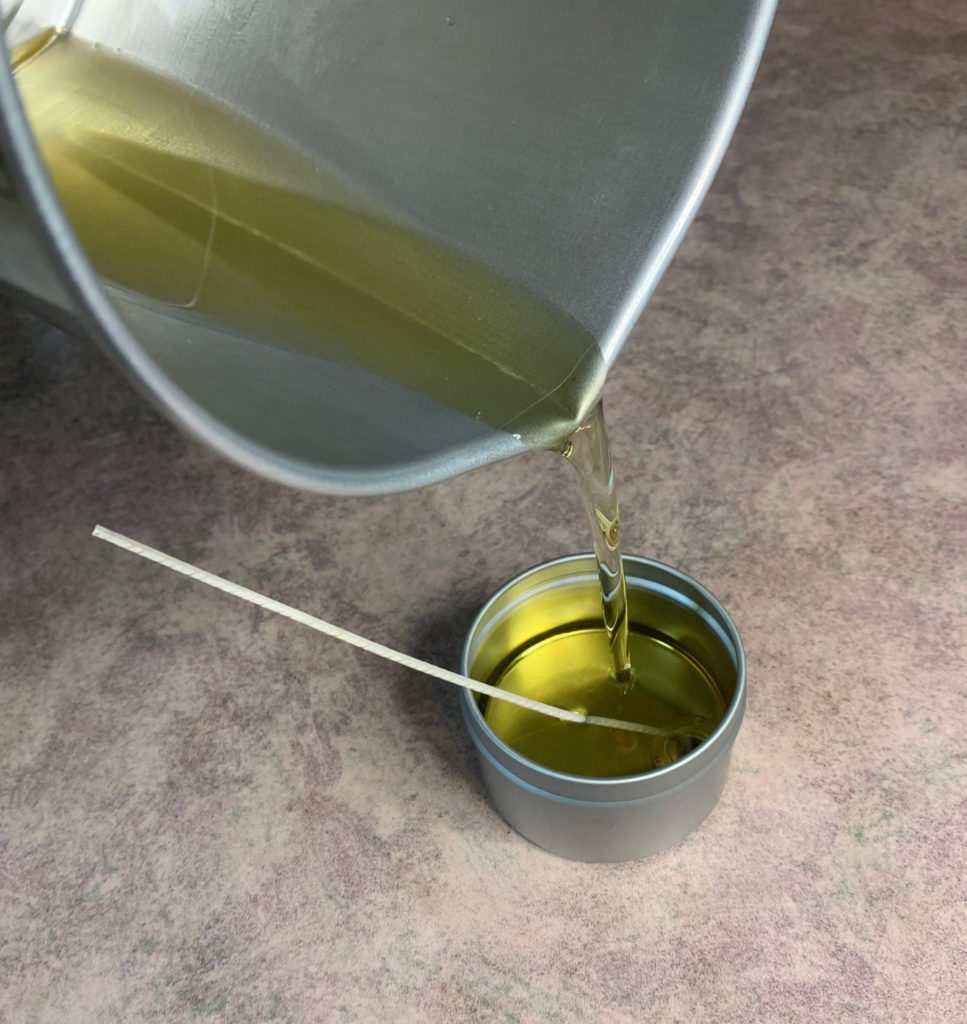
6. Pour the massage candle oil into your container.
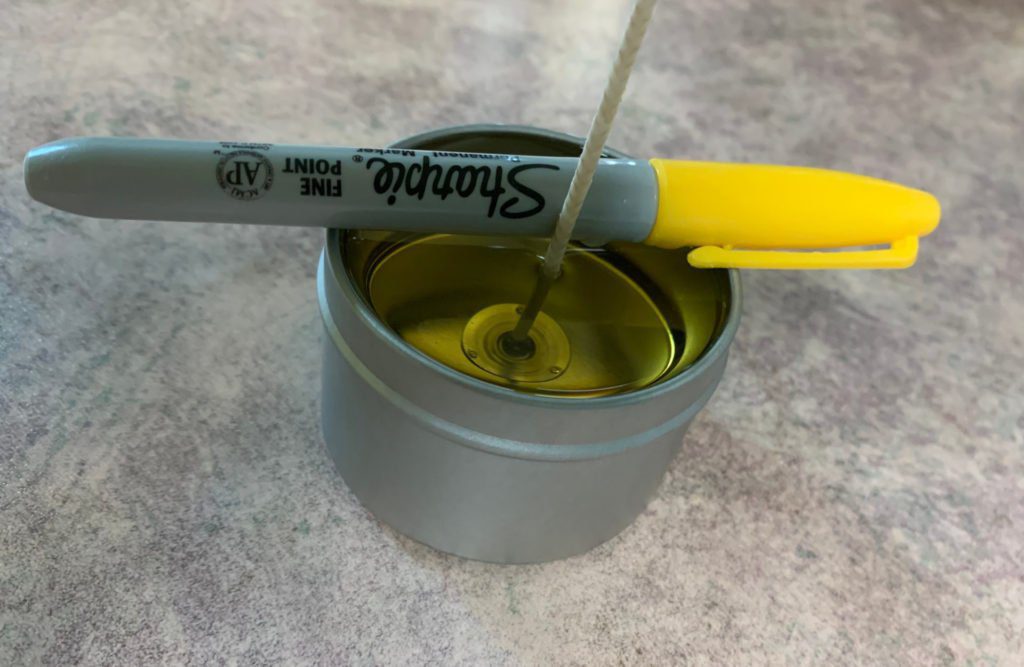
7. Using a marker (or a wick holder) to center the wick.
8. Allow the candle to cool completely.
9. Trim the wick to 1/4 inch.

Romantic Massage Oil Candle
Equipment
- Scale
- Melting Pot
- Double boiler
- Sissors
- Candle tin
- Wick
- Spatula
Ingredients
- 2.24 ounce | 44.8% Soy Wax Skin safe
- 2.15 ounce | 43% Mango Butter
- 0.50 ounce | 10% Hazelnut Oil
- 0.11 ounce | 2.2% Lovespell Fragrance Oil
Instructions
- Weigh out all of your ingredients.
- Place you soy wax, hazelnut oil and mango butter into a melting pot and pop it on a double boiler.
- Remove the melting pot from the heat.
- Dip the wick tab into the wax and place in your container. If you prefer, you can use a sticky tab or hot glue gun.
- Add the fragrance oil and mix well.
- Pour the massage candle oil into your container.
- Using a marker (or a wick holder) to center the wick.
- Allow the candle to cool completely.
- Trim the wick to 1/4 inch.


