Unveil the mesmerizing world of swirling melt and pour soap with our comprehensive guide! Whether you’re a seasoned soap crafter or a newbie eager to dive into the creative realm of soap making, this tutorial will walk you through the intricate process of achieving stunning swirl designs. From choosing the right ingredients to mastering the swirling techniques, we’ll cover it all in this step-by-step guide. Elevate your soap-making game and create beautifully patterned soaps that captivate the eye and elevate your bathing experience. Let’s dive in and unleash your inner soap artisan.
Prefer to watch this project instead of reading it?
Some of the links are affiliate links, because I am an associate and I earn a small commission on them. There is no additional cost to you, I earn a commission if you click through and make a purchase.
What is melt and pour soap
Melt and pour soap serves as a ready-made soap base, devoid of color or scent. This blank canvas allows for artistic expression without the complexities of handling lye. Explore the freedom to infuse your unique touch into soap crafting, elevating your creations with personalized designs and fragrances.
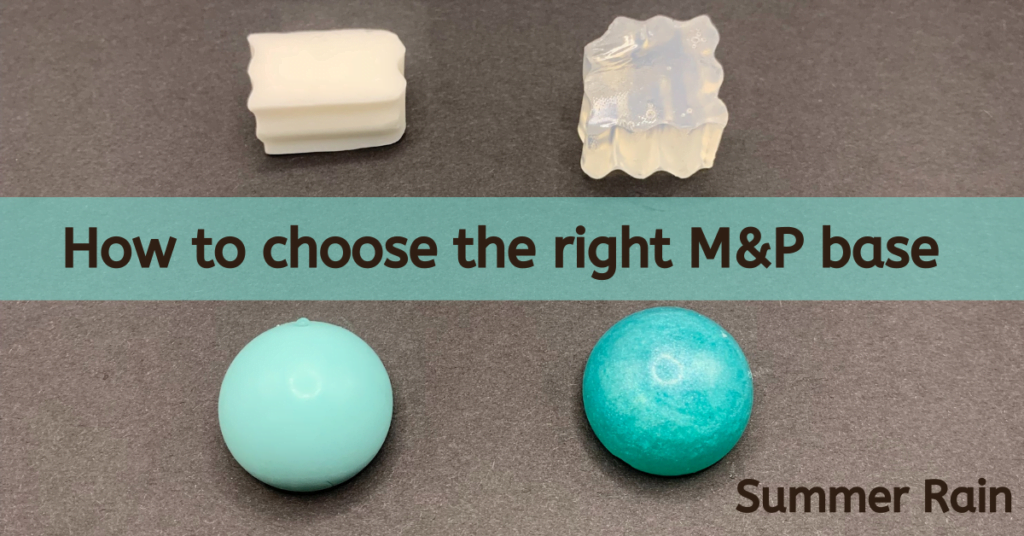
What’s the Best Melt and Pour Soap Base for Swirling?
This video guides you through selecting the perfect soap base for your soap making swirls. Opting for a white melt and pour soap base offers a subdued, matte finish, while choosing a clear melt and pour soap base results in a vibrant, glossy appearance.
Temperature
Temperature plays a crucial role in handling melt and pour soap. Typically, this soap base starts to solidify around 125°F.
Understanding the impact of temperature is essential: higher temperatures render the soap more fluid, while lower temperatures result in thicker consistency. Swirling soap at excessively high temperatures can cause colors to blend excessively, leading to a muddy appearance. On the other hand, pouring at lower temperatures ensures sharper, more defined swirls.
The secret lies in achieving the perfect balance where the soap swirls together harmoniously without merging entirely. For optimal results, aim to pour your soap at approximately 120°F, striking the ideal temperature to create captivating, distinct swirls.
The Pour
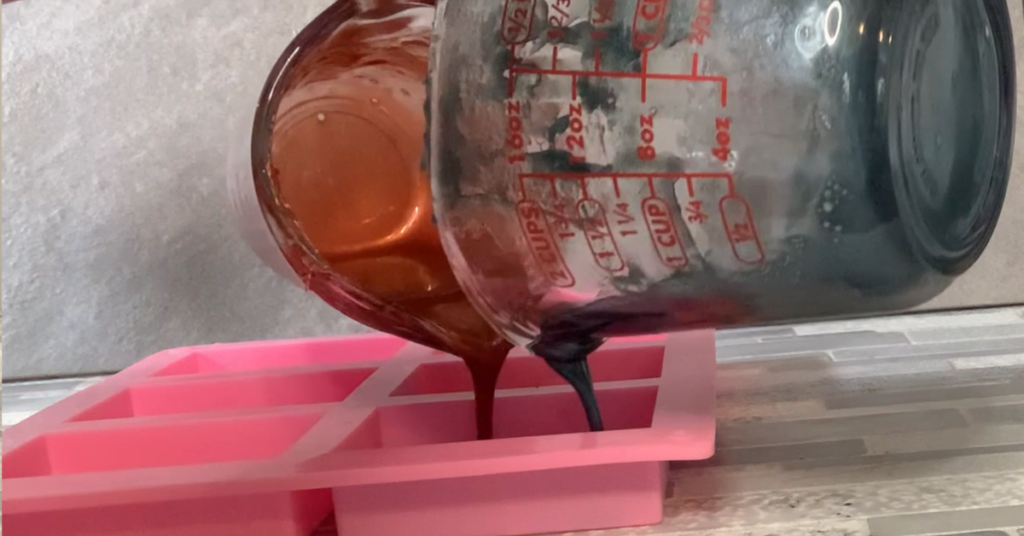
The beauty of swirling melt and pour soap lies in its versatility. The resulting swirls can be influenced by the pouring height and location within the mold. Adjusting the pour height and experimenting with various spots in the mold allows for diverse and customizable swirl patterns in your soap creations.
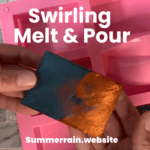
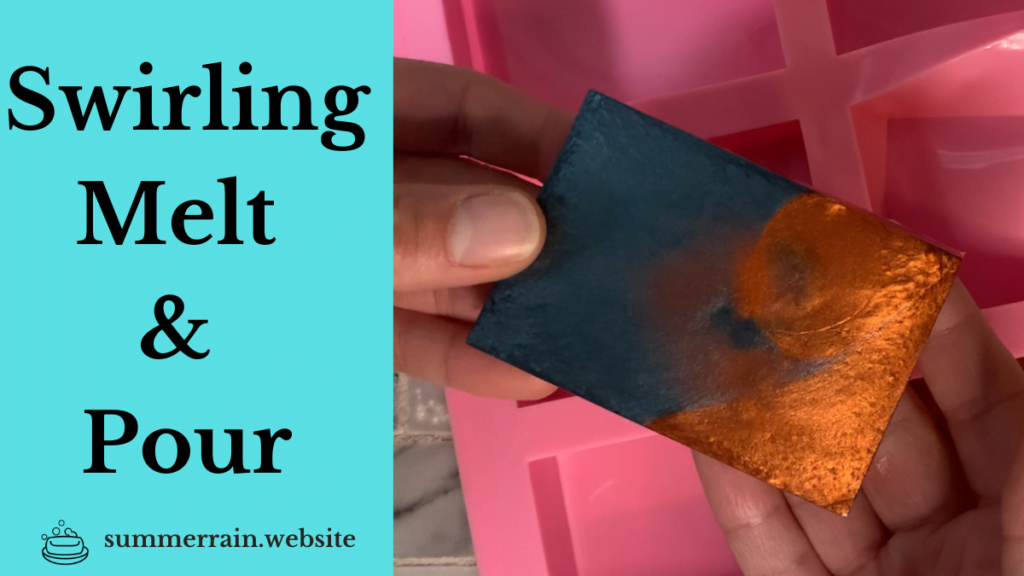
Marbled Dreams: Swirled Melt and Pour Soap
Equipment
- Scale
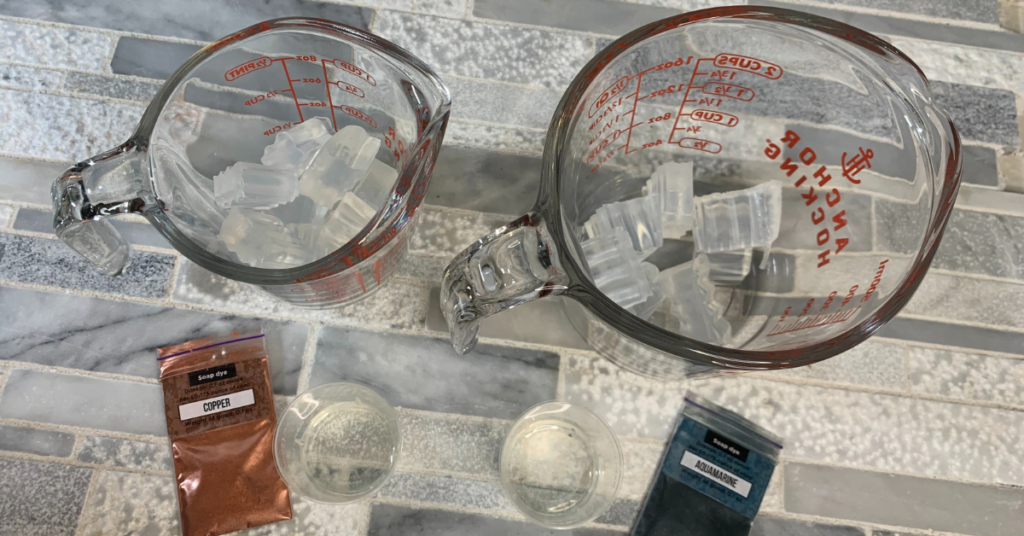
Ingredients
Copper Soap
- 3 ounce Melt and pour soap
- 0.18 ounce Fragrance Oil
- Copper Mica Powder
Aquamarine Soap
- 3 ounce Melt and pour soap
- 0.18 ounce Fragrance Oil
- Aquamarine Mica Powder
Instructions
- Add melt and pour into a microwave safe container. Heat in 10 second intervals in the microwave until it is completely melted.
- Add mica powder and fragrance oil.
- Allow melt and pour soap to cool down until it starts to thicken slightly, approximately 120°F.
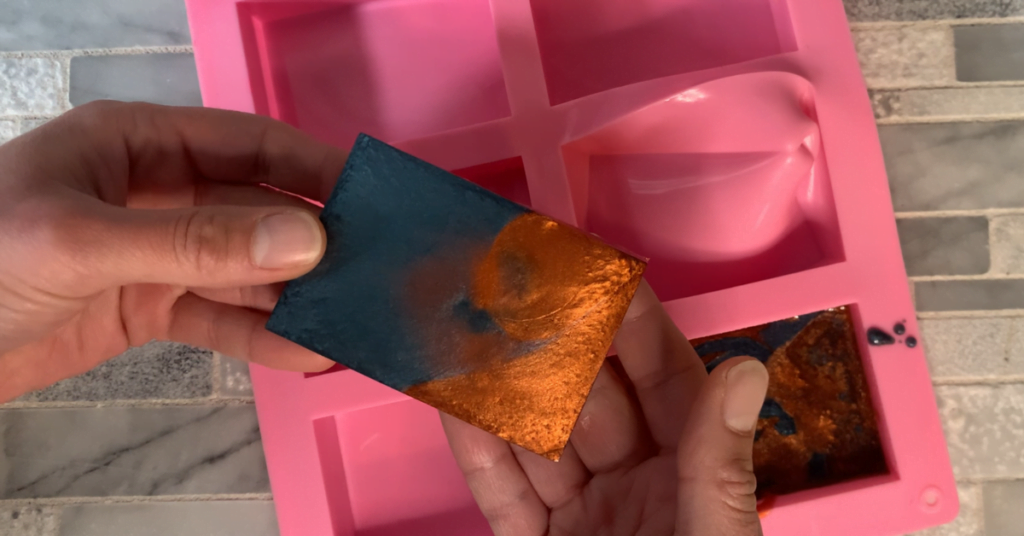
- Pour both soaps into the mold at the same time. The type of pour that you do will determine the final swirl look.
- Allow to cool completely. Remove from mold and cover in plastic wrap until you are ready to use.