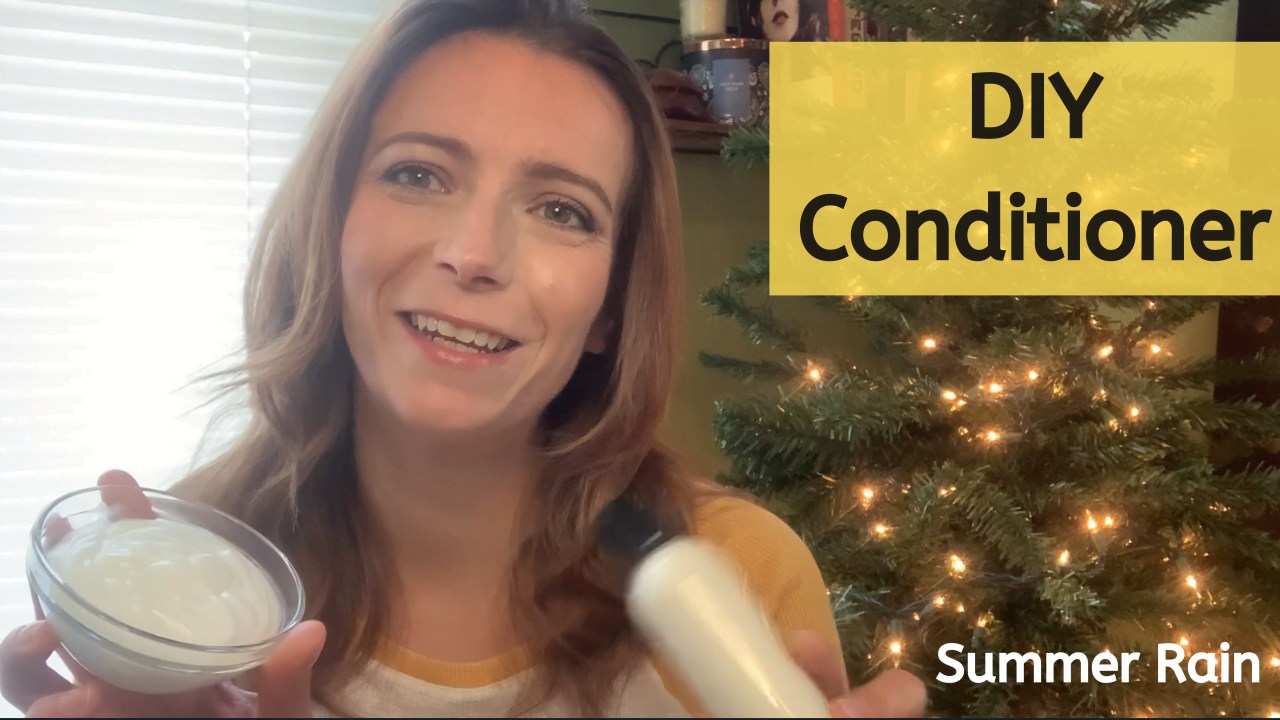
This is an introduction of the ingredients, basic process and concepts of making conditioner from scratch. Making conditioner is actually really easy with 4 simple ingredients: water, oil, emulsifier and preservative. Before you make a conditioner, you will want to understand what these ingredients are and why we use them.
Table of Contents
Prefer to watch this project instead of reading it?
Some of the links are affiliate links, because I am an associate and I earn a small commission on them.
Making a conditioner from scratch is very similar to making a lotion from scratch. Basically the only difference is the type of emulsifier that you use. Emulsifiers that you use in making conditioners are cationic (positively charged). This positive charge and leave your hair feeling smooth and moisturized.
Components that make up a conditioner
Water
Just like a lotion, the main ingredient in a conditioner is water. You want to always make sure that you use distilled water when you are making a conditioner, because it is free from impurities. You might be wondering why we would use water in a conditioner; we need it to dilute the other ingredients so we can actually use them.
Water can always be substituted with a hydrosol. A hydrosol is the left over water from steam distillation of plants and herbs.
You can also add other ingredients to the water phase such as aloe or vegetable glycerin.
Oils
For this recipe, I used argon oil because it is known for adding shine and reducing frizz. You can easily swap this out for whatever carrier oil that you have on hand.
- Argon oil
- Jojoba oil
- Coconut oil
- Avocado oil
- Olive oil
- Hazelnut oil
Emulsifier
Since oil and water do not mix, we need to use an emulsifier. For a conditioner, you are going to want to use a cationic emulsifier. The positive charge of the BTMS 25 binds with the negative charge of your hair. This creates a thin coating that reduces static charge, tames frizz and makes you hair conditioned and easy to comb. I am using BTMS 25 in this recipe; it is an emollient, emulsifier and helps to thicken up the conditioner.
Preservative
Anytime you are adding water in a recipe, you have to use a broad spectrum preservative otherwise you will grow mold and bacteria in your conditioner. Depending on the preservative you will use between .5-1% in a contioner. I am using Germall Plus and using .5% for this conditioner.
Optional Ingredients
You can always add specialty ingredients to your conditioner. It can be anything from extracts, scents, colors and humectants. Fragrance oil or essential oil can be added, typically at about 1% but you will want to check the use rate of your fragrance to be sure. I am using White Tea and Pear Fragrance Oil in my second lotion.
There are some other ingredients that you can add, that will make a big difference in the conditioner, such as d-panthenol and hydrolyzed wheat protein. Hydrolyzed Collagen is often added because it has good film forming and conditioning properties for damaged hair.
Making conditioner from scratch
Clean The Work Area
You want to always start out by disinfecting your work area and equipment that you will be using.
Weigh Ingredients
I see a lot of formulas that use cups for measurements. Which is great when you are cooking food and the measurements do not have to be precise, but it doesn’t work when you are making your own conditioner. You need to be using a scale to get an accurate weight. I would recommend one the goes to 0.01 ounce.
I like to weigh each ingredient into a separate container and then mix the phases together. If you prefer, you can put all of one phase ingredient (oil phase) into one container. Just be sure to press the ‘tare’ button in between each ingredient.
Heat Ingredients
In a double boiler, heat both the water phase and the oil phase. You are going to heat them both until the oil phase has melted fully.

Combining Phases
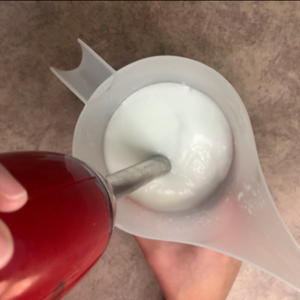
Once you have removed both phases from the double boiler, you are going to combine them together immediately. In order to get a stable emulsion, you will want to mix them with an immersion blender.
Cool Down
Once your conditioner has cooled down to 90° F, you can add your heat sensitive ingredients. After you add them, mix well with the immersion blender.
Packaging

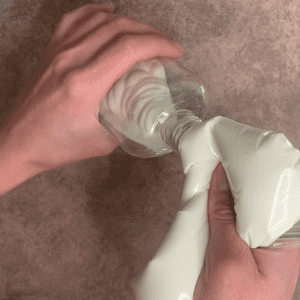
Pour your conditioner into your container. If it is too thick to pour, you can always put it in to a baggie and cut one of the corners to make it easier and less messy. You are going to want to wait until it is cooled down to room temperature before you put the cap on it. If you put the cap on while it is still warm it could cause condensation that would pool on the top of the conditioner and grow mold.
Making Conditioner From Scratch
Equipment
- Scale
Ingredients
Basic Conditioner
Water Phase
- 7.88 ounce | 87.5% Distilled Water
Oil Phase
- 0.36 ounce | 4% BTMS 25
- 0.72 ounce | 8% Hazelnut oil
Cool Down
- 0.05 ounce | .5% Germall Plus
Conditioner
Water Phase
- 7.43 ounce 82.5% Distilled Water
- 0.18 ounce | 2% Hydrolyzed Wheat Protein
- 0.18 ounce | 2% Hydrolyzed Collagen
Cool Down
- 0.05 ounce | .5% Germall Plus
- 0.09 ounce | 1% White Tea and Pear Fragrance Oil
Instructions
Clean The Work Area
- You want to always start out by disinfecting your work area and equipment that you will be using.
Weigh Ingredients
- I see a lot of formulas that use cups for measurements. Which is great when you are cooking food and the measurements do not have to be precise, but it doesn't work when you are making your own conditioner. You need to be using a scale to get an accurate weight. I would recommend one the goes to 0.01 ounce.
- I like to weigh each ingredient into a separate container and then mix the phases together. If you prefer, you can put all of one phase ingredient (oil phase) into one container. Just be sure to press the 'tare' button in between each ingredient.
Heat Ingredients
- In a double boiler, heat both the water phase and the oil phase. You are going to heat them both until the oil phase has melted fully.
Combining Phases
- Once you have removed both phases from the double boiler, you are going to combine them together immediately. In order to get a stable emulsion, you will want to mix them with an immersion blender.
Cool Down
- Once your conditioner has cooled down to 90° F, you can add your heat sensitive ingredients. After you add them, mix well with the immersion blender.
Packaging
- Pour your conditioner into your container. If it is too thick to pour, you can always put it in to a baggie and cut one of the corners to make it easier and less messy. You are going to want to wait until it is cooled down to room temperature before you put the cap on it. If you put the cap on while it is still warm it could cause condensation that would pool on the top of the conditioner and grow mold.

