Creating your own soy wax candle with a piped, whipped top is a delightful way to create an eye-catching, personalized piece that looks and smells amazing. Whether you’re a seasoned candle maker or a beginner, following this step-by-step guide will help you achieve a beautiful and professional-looking result.
I will start by making the base candle, allowing it to cool, and then I’ll show you how to prepare, whip, and pipe the soy wax to create a fluffy frosting top.
Table of Contents
Prefer to watch this project instead of reading it?
Certain links on this website are affiliate links, as I am an associate. Clicking on these links and making a purchase may earn me a small commission. Rest assured, there is no extra cost to you.
1. Making the Candle Base
What You’ll Need:
- Soy wax: I use a soy wax that is made for container candles
- Candle wicks: Ensure they’re the right size for your container’s diameter.
- Fragrance oil : Use candle-safe fragrance oils if you want your candle to have a scent. I am using Berry and Balsam Fragrance Oil.
- Candle Dye: If you are wanting a colored candle, you will want to use a candle dye.
- Container: Select a heat-resistant glass or ceramic container. I used a 7 oz jar with a bamboo lid.
- Pouring Pot: The pouring pot makes it simple to heat wax
- Thermometer
- Wick holder or adhesive: To keep the wick centered. For this I used Glue Dots.
Step-by-Step Instructions:
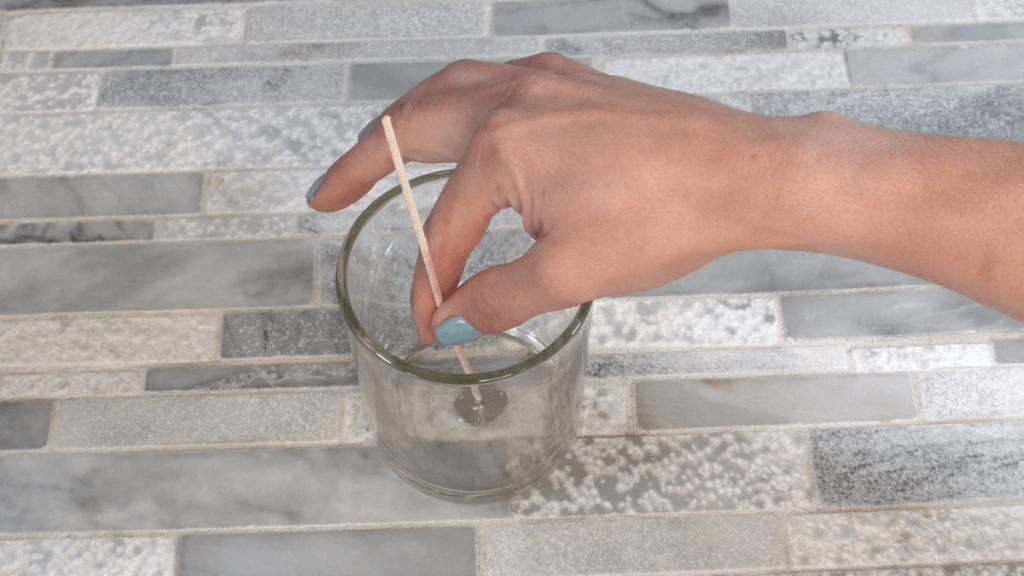
- Set up the container: Attach the wick to the bottom center of your container using a wick holder or adhesive dot. Make sure it’s secure and centered.
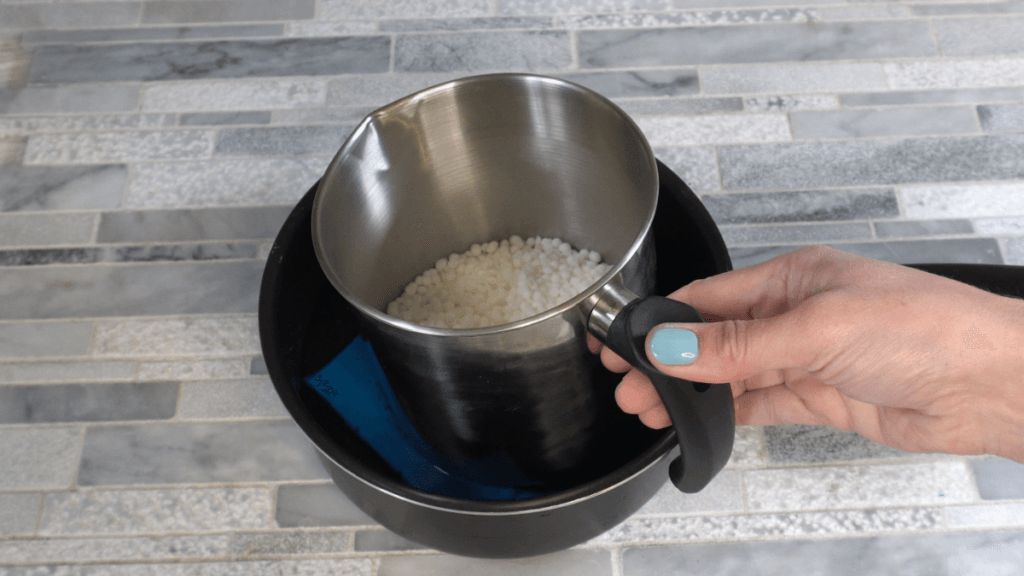
- Melt the soy wax: Place the soy wax into a double boiler on medium heat. I like to add a silicone mat to the bottom of the pan.
- Monitor the temperature: Use a thermometer to ensure the wax temperature stays below 180°F (82°C). This prevents the wax from degrading.
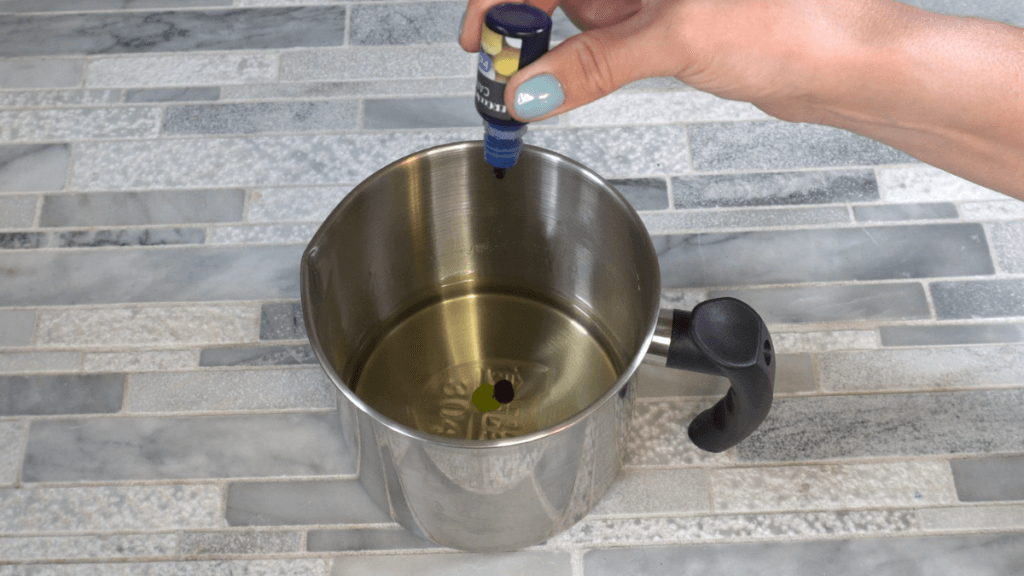
- Add fragrance (optional): Once the wax reaches around 170°F (77°C), add the fragrance oil at a 6-8% fragrance load and stir well for even distribution. You will also add any colorant if you want a colored candle.
- Pour the wax: Carefully pour the melted wax into your container, filling it to about the half way mark. I save a small amount of the wax for the drizzle top.
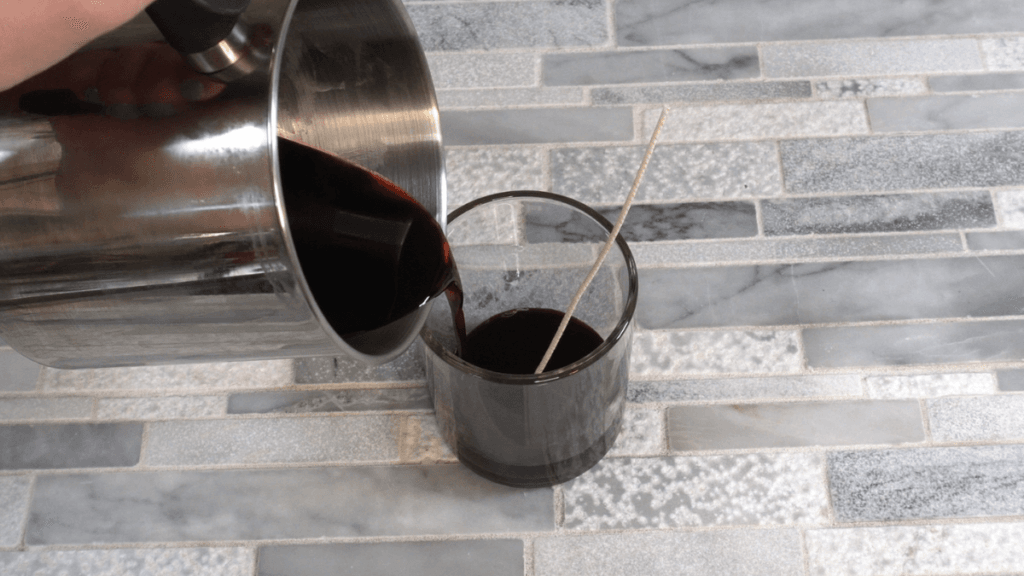
- Cool and set: Let the base cool completely for a few hours or until solid.
2. Preparing the Whipped Soy Wax
Additional Supplies:
- Soy wax
- Fragrance oil (optional): Use the same fragrance or a complementary one.
- Mixing bowl: I use a deep cup to ensure I have space to whip the wax.
- Electric hand mixer or whisk
Preparation Steps:
- Melt additional soy wax: Place soy wax in a double boiler and heat until melted. You’ll need enough wax to create the whipped topping, it typically takes more than you will think. I used 6 ounces for this.
- Cool to whipping temperature: Add fragrance oil and then allow the melted wax to cool to approximately 100°F (38°C). It will be the consistency of apple sauce when mixed.
3. Whipping the Soy Wax
Whipping Process:
- Mix: Once your wax starts to cool, you will mix it with a spatula. You want to take care to get the wax of the sides and the bottom of the container.
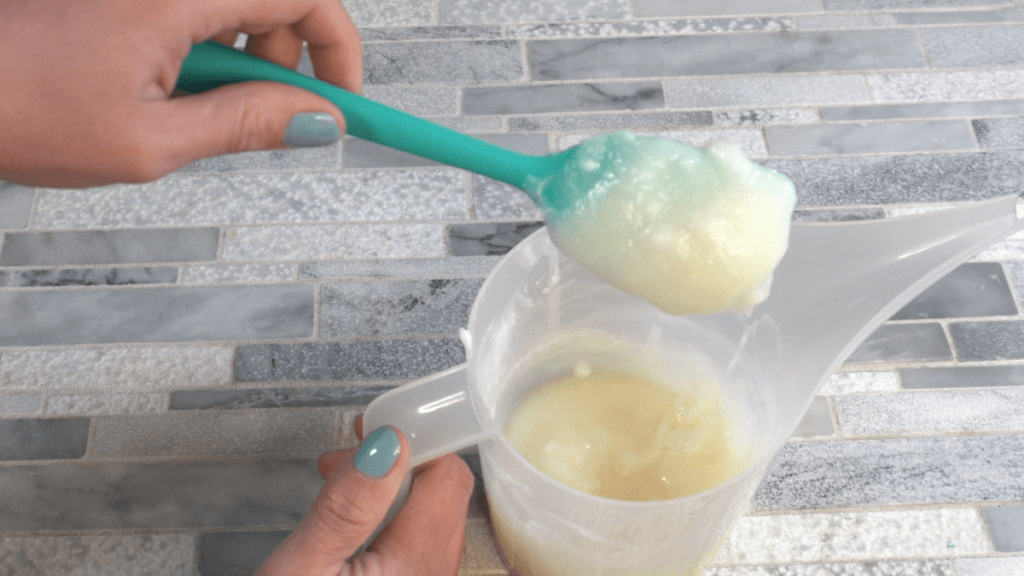
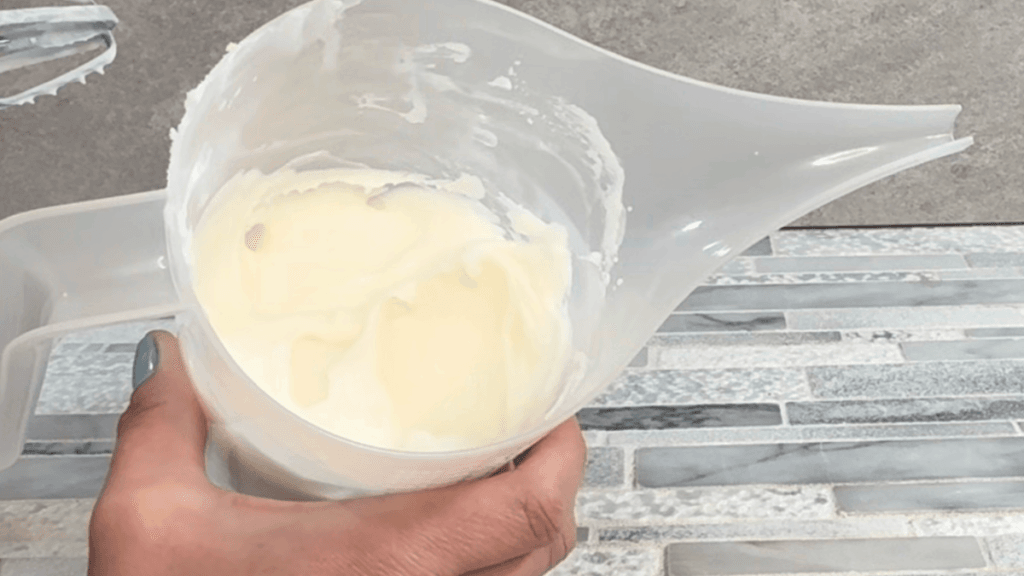
- Start whipping: Once your wax is an apple sauces consistency you will start to beat it. Use an electric hand mixer or whisk to beat the cooled wax on medium speed. Whip for a few minutes until the wax becomes fluffy and reaches a consistency similar to whipped cream.

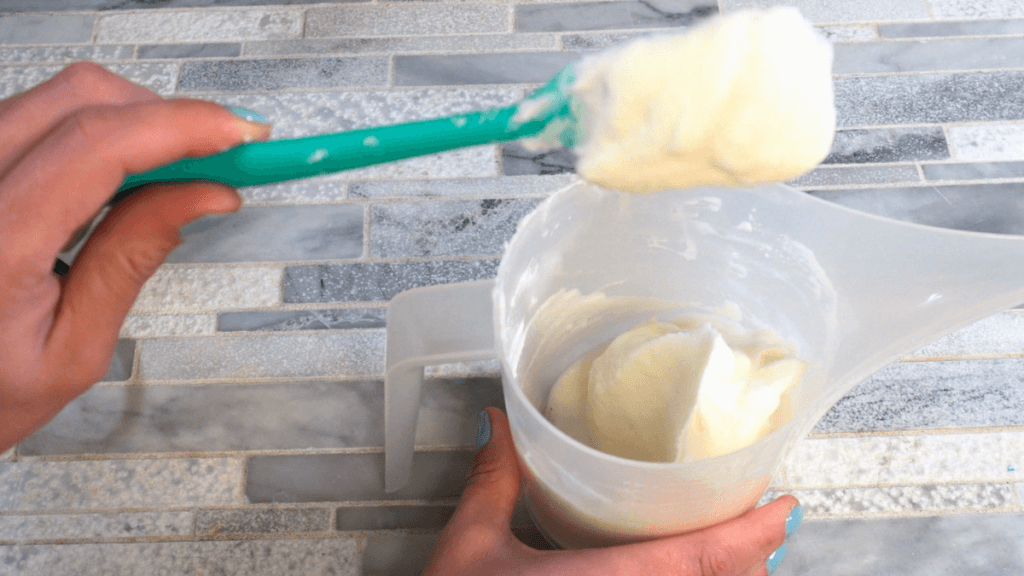
- You will periodically stop mixing and check the consistency. We are going for a consistency that will hold soft peaks.
Tips:
- Whipped wax should form soft peaks but remain pliable for piping.
- Avoid over-whipping, which can cause the wax to harden prematurely.
4. Piping the Candle Top
What You Need:
- Piping bag with a decorative nozzle: Use a large star tip for a classic look or experiment with other tips for different effects. I am using a large pipping bag and the Wilton 6B tip.
Piping Instructions:
- Load the piping bag: Spoon the whipped wax into the piping bag, pushing it down to remove air pockets. I like to set my pipping bag into a mason car, it makes it easier to get the wax into it.
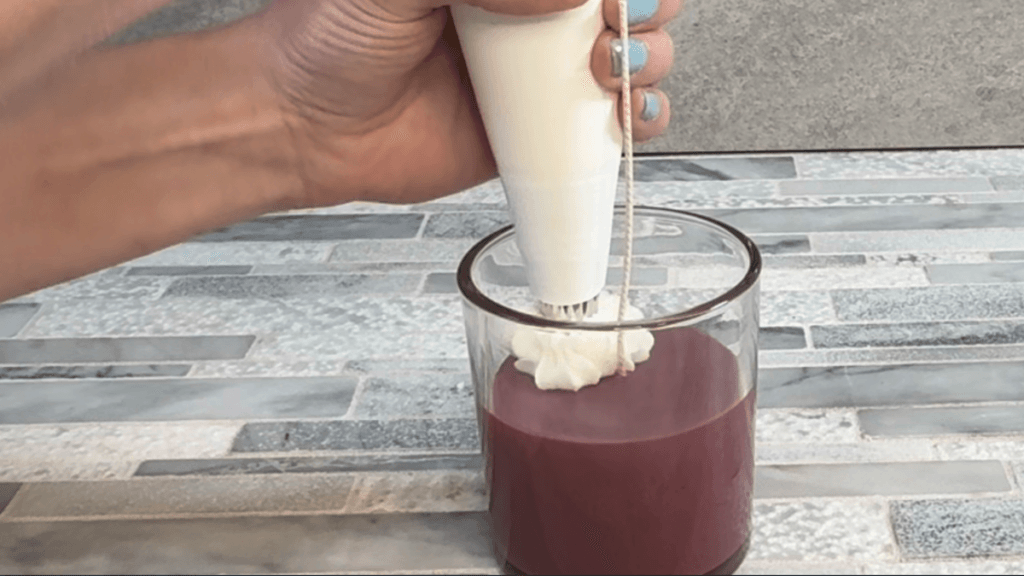
- Pipe onto the candle: Hold the piping bag directly over the cooled candle base. Squeeze a blob onto the candle. Build layers to create a fluffy, high frosting effect.
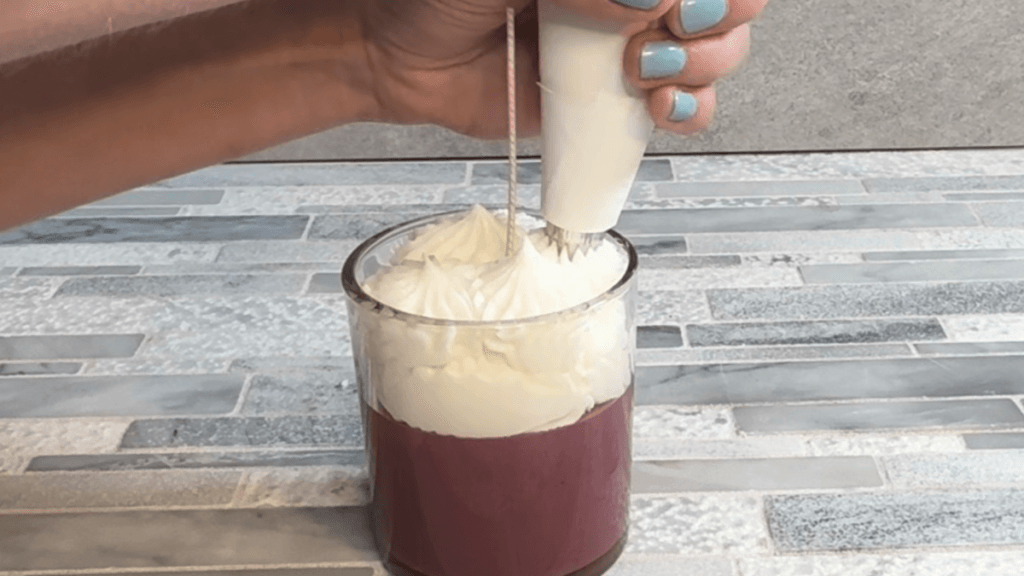
- Add texture: Use gentle pressure and even movements to create a professional look. Remember to move quickly because this will harden very quickly.
5. Optional Decorations
Adding decorative elements to your whipped soy wax candle can make it truly stand out. Here are some creative and safe options:
Embedded Wax Decorations
- Melted wax embeds: Create small shapes by pouring melted soy wax into silicone molds and letting them set. Place these wax shapes onto the whipped topping for a unique touch.
- Wax flowers or stars: Use pre-made wax embellishments and press them gently into the whipped top before it fully sets.
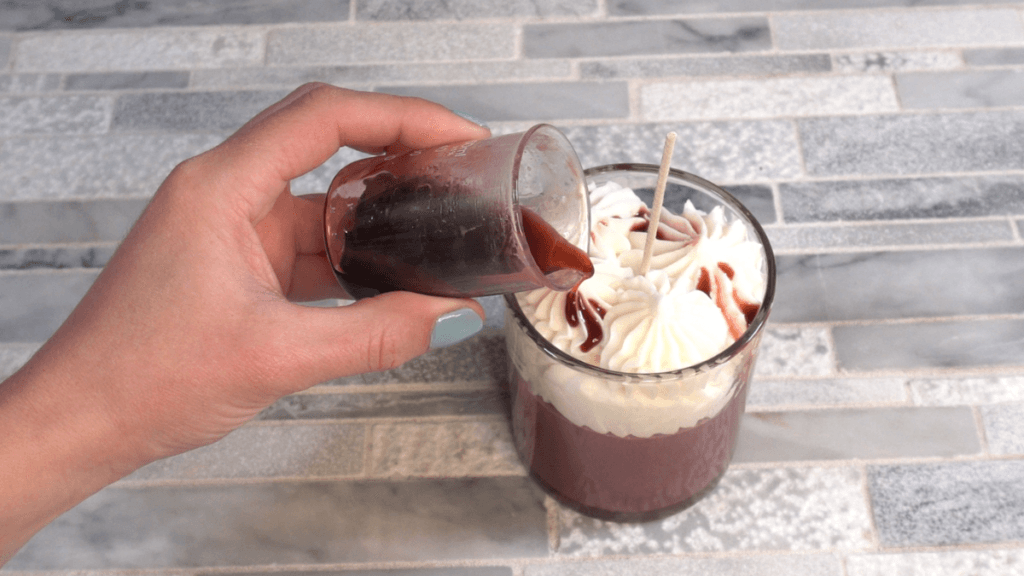
- Drizzle: I decided to add a drizzle of the candle wax to the top of my candle. To do this, heat the wax and allow it to cool a little bit then slowly drizzle over the top of your candle.
Candle-Safe Glitter
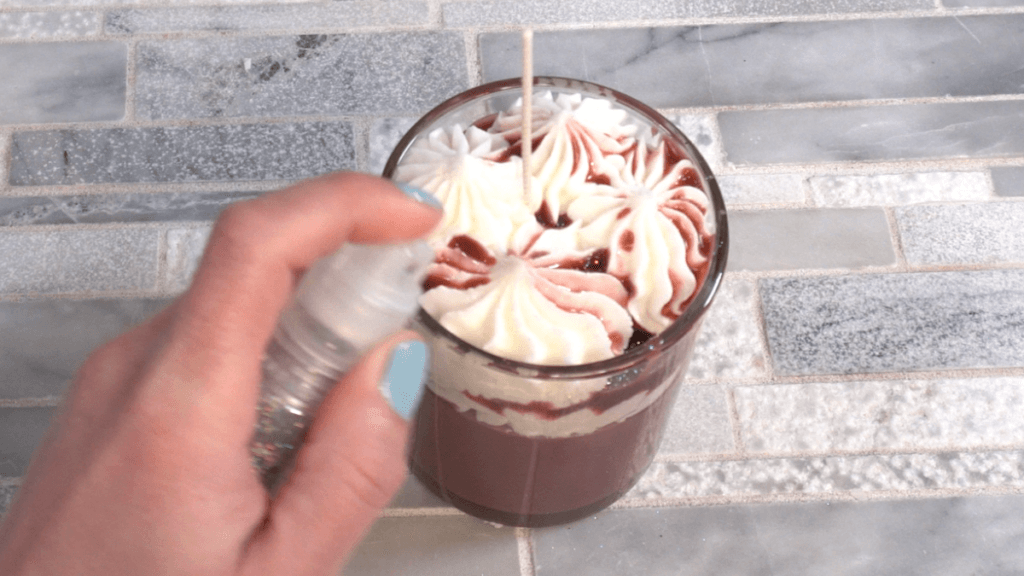
- Biodegradable candle glitter: Sprinkle a light dusting of candle-safe glitter over the piped top for an elegant shimmer.
- Avoid regular craft glitter: Only use glitter designed for use in candles to ensure safety when burning.
Dried Botanicals
- Dried flowers or herbs: Add small sprigs of lavender, rose petals, or chamomile for a natural and rustic aesthetic. Ensure they are placed sparingly to avoid wick interference.
Final Tips: Let your finished candle cure for at least 24–48 hours before burning to allow the fragrance to bind with the wax. This results in better scent throw when lit. Enjoy the process, and show off your whipped soy wax candle creations with pride!
How to Make Whipped Candle Frosting
Equipment
- Pouring pot
Ingredients
Base Candle
- 6 ounce Soy wax
- 0.48 ounce Berry and Balsam Fragrance Oil
- Candle dye
Frosting Top
- 6 ounce Soy wax
- 0.48 ounce Berry and Balsam Fragrance Oil
- Candle-safe glitter
Instructions
Making Candle Base
- Set up the container: Attach the wick to the bottom center of your container using a wick holder or adhesive dot. Make sure it’s secure and centered.
- Melt the soy wax: Place the soy wax into a double boiler on medium heat. I like to add a silicone mat to the bottom of the pan.
- Add fragrance (optional): Once the wax reaches around 170°F (77°C), add the fragrance oil at a 6-8% fragrance load and stir well for even distribution. You will also add any colorant if you want a colored candle.
- Pour the wax: Carefully pour the melted wax into your container, filling it to about the half way mark. I save a small amount of the wax for the drizzle top.
Preparing the Whipped Soy Wax
- Melt additional soy wax: Place soy wax in a double boiler and heat until melted. You’ll need enough wax to create the whipped topping, it typically takes more than you will think. I used 6 ounces for this.
- Cool to whipping temperature: Add fragrance oil then allow the melted wax to cool to approximately 100°F (38°C). It will be the consistency of apple sauce when mixed.
Whipping the Soy Wax
- Mix: Once your wax starts to cool, you will mix it with a spatula. You want to take care to get the wax of the sides and the bottom of the container.
- Start whipping: Once your wax is an apple sauces consistency you will start to beat it. Use an electric hand mixer or whisk to beat the cooled wax on medium speed. Whip for a few minutes until the wax becomes fluffy and reaches a consistency similar to whipped cream.
- You will periodically stop mixing and check the consistency. We are going for a consistency that will hold soft peaks.
Piping the Candle Top
- Load the piping bag: Spoon the whipped wax into the piping bag, pushing it down to remove air pockets. I like to set my pipping bag into a mason car, it makes it easier to get the wax into it.
- Pipe onto the candle: Hold the piping bag directly over the cooled candle base. Squeeze a blob onto the candle. Build layers to create a fluffy, high frosting effect.
- Drizzle: I decided to add a drizzle of the candle wax to the top of my candle. To do this, heat the wax and allow it to cool a little bit then slowly drizzle over the top of your candle.

