If you want your DIY skincare to look clean, professional, and ready to gift or sell, shrink wrapping is one of the easiest upgrades you can make.
Whether you’re packaging soap, bubble bars, or lotion bars, learning how to shrink wrap your products gives them that polished, store-bought finish—while also protecting them.
This method is perfect if you:
- Sell your DIY skincare
- Want more professional-looking products
- Make gifts or small batches at home
In this beginner-friendly guide, I’ll show you exactly how to shrink wrap DIY skincare using a plastic roll, impulse sealer, and heat gun—plus the mistakes to avoid.
What Is Shrink Wrapping?
Shrink wrapping is a packaging method where plastic is sealed around a product and then tightened using heat.
Once heat is applied, the plastic shrinks to fit snugly around your item, creating a smooth, professional finish.
This method is commonly used for:
- Soap
- Bubble bars
- Bath bombs
- Lotion bars
- Solid sugar scrubs
Why Shrink Wrap Your DIY Skincare?
Shrink wrap packaging isn’t just about looks—it’s practical too.
Benefits:
- Protects products from moisture and dust
- Helps extend shelf life
- Prevents contamination
- Keeps items from sticking together
- Makes products look polished and professional
If you’re selling your DIY skincare, this is one of the simplest ways to instantly elevate your brand without expensive packaging.
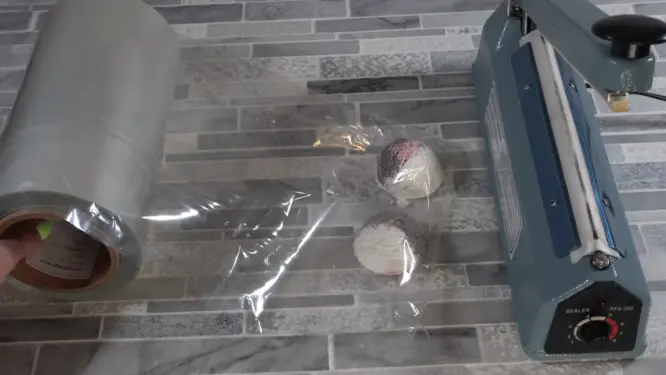
What You Need to Shrink Wrap
- Shrink wrap plastic roll (one side sealed, one side open)
- Impulse sealer
- Heat gun
- Your finished product (I used a bubble bar)
Watch Shrink Wrap Tutorial
Some links on this website are affiliate links, meaning I may earn a small commission if you click and make a purchase. This comes at no additional cost to you.
Best Shrink Wrap Materials for DIY Skincare
Not all shrink wrap is the same. Choosing the right type makes a big difference in your final result.
- Polyolefin (POF) shrink wrap – best overall (clear, strong, professional finish)
- PVC shrink wrap – more affordable, but can be brittle and less flexible
- Thickness: 60–100 gauge works well for most DIY skincare products
Tip:
For items like soap or bubble bars, go slightly thicker to prevent tearing and get a tighter finish.
Step-by-Step: How to Shrink Wrap DIY Skincare
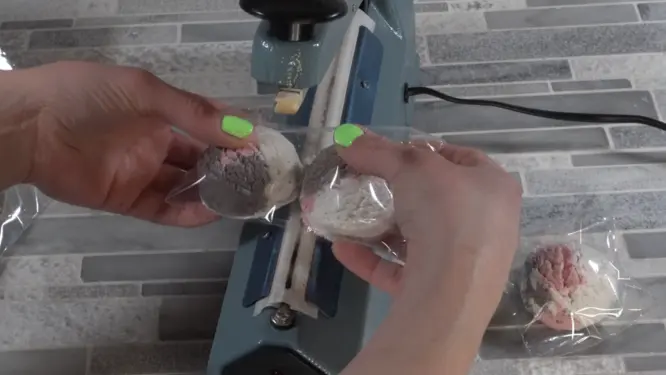
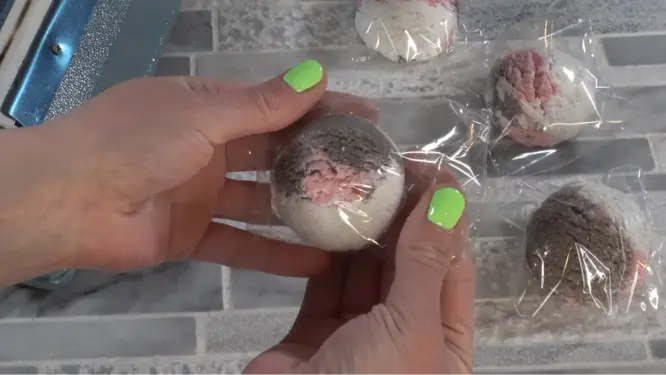
1. Prep Your Shrink Wrap
While your shrink wrap is still on the roll, place your bubble bars inside of the plastic.
Important:
Don’t try to fit too much into one piece. You need room for the sealer to fit between items if packaging multiples.
2. Seal the First Edge
Using your impulse sealer, press down firmly along the open edge of the shrink wrap.
This creates your first sealed side.
Make sure the seal is:
- Straight
- Fully closed
- Close to the product (to reduce air)
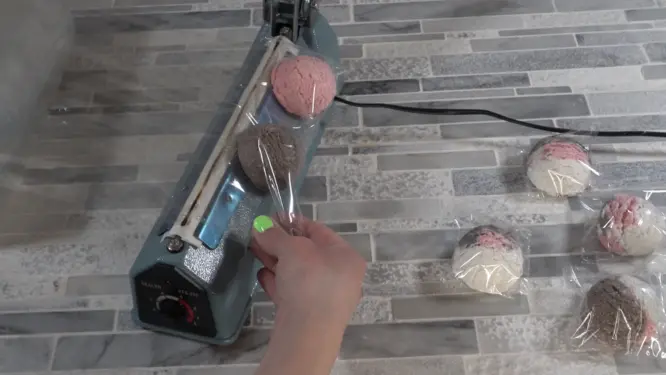
3. Seal the Remaining Edges
Seal the opposite side to fully enclose your product.
If you’re packaging multiple items in one sleeve, seal between them to create separate sections. You want to start from the sealed edge and work your way to the edge that is not sealed. This helps to prevent air pockets.
Tip:
Leave enough space between products so the sealer can fit and create a proper seal.
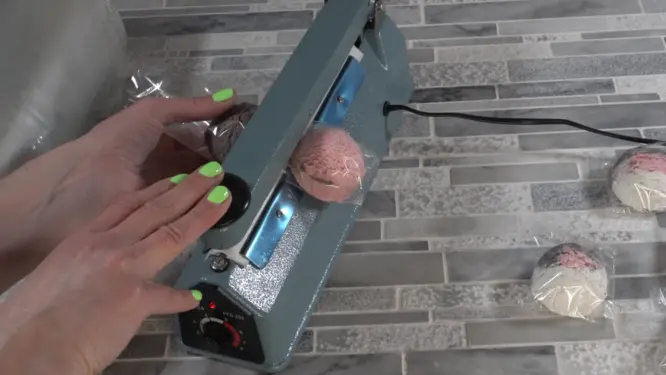
4. Remove Excess Air
Before applying heat, press the sealer as close to the product as possible to push out trapped air.
This step is key to avoiding air bubbles and getting that tight, professional finish.
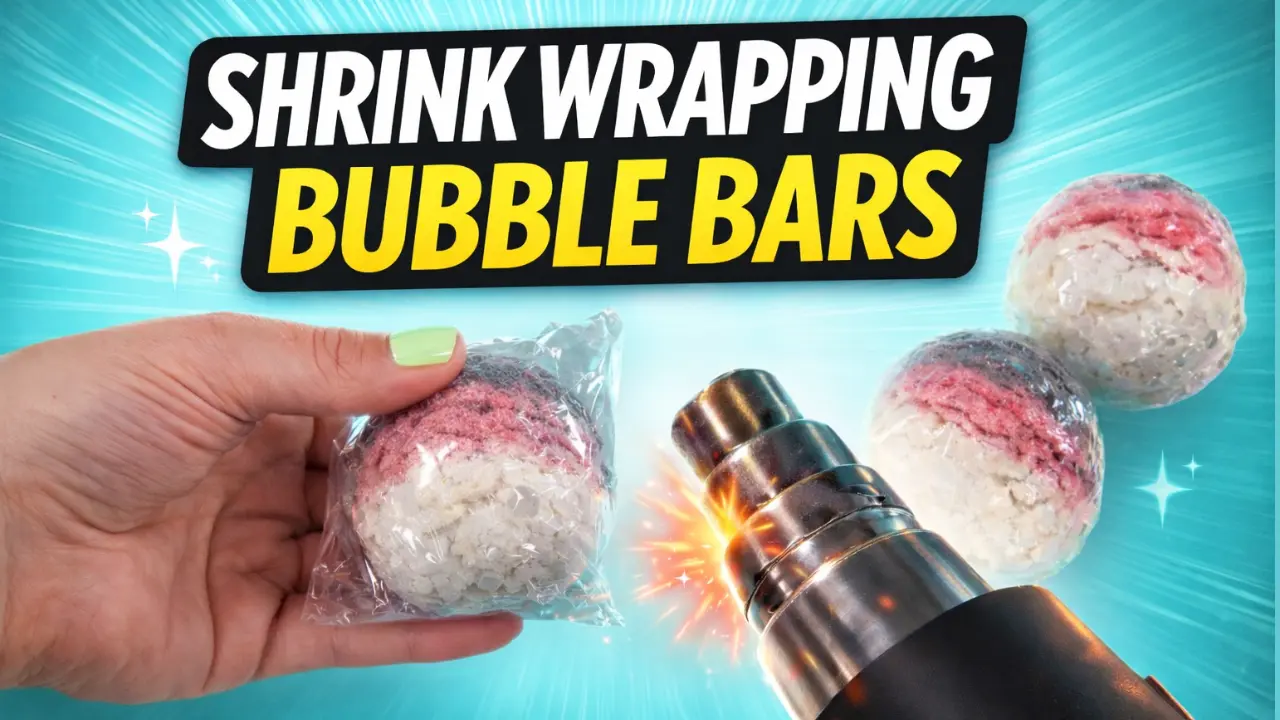
5. Apply Heat to Shrink the Wrap
Use a heat gun to shrink the plastic around your product.
How to do it properly:
- Keep the heat gun moving
- Don’t stay in one spot too long
- Work evenly around the product
The plastic will begin to tighten and conform to the shape.
Important:
Too much heat can burn or warp the plastic— just small bursts of heat at a time.
If corners pop out, gently tap them down while the plastic is still warm.
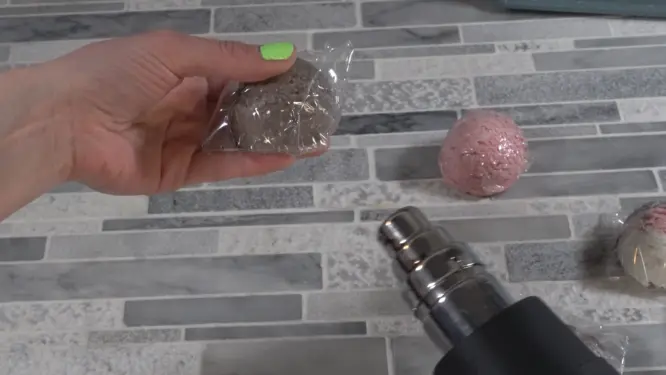
Before and After Shrink Wrapping
Seeing the difference is where this really shines.

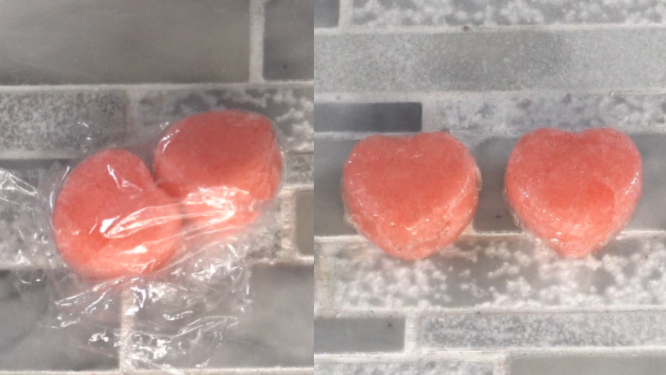
You’ll notice:
- A tighter, cleaner finish
- No loose edges
- A much more professional appearance
Common Shrink Wrapping Mistakes to Avoid
Overfilling the Wrap
If you pack too much in, the sealer won’t fit between items and seals will fail.
Air Bubbles
Always seal close to the product to remove excess air before heating.
Burning the Plastic
Holding the heat gun too long in one spot can melt or damage the wrap.
Uneven or Weak Seals
Make sure you press firmly and evenly each time you seal.
Best DIY Products to Shrink Wrap
Shrink wrapping works especially well for solid skincare products like Solid Bubble Bars, Melt and Pour Soap and Solid Sugar Cubes.
Shrink Wrap FAQ
Do I need a heat gun to shrink wrap?
Yes, a heat gun works best because it provides consistent, even heat. A hair dryer usually isn’t hot enough.
Can I shrink wrap without an impulse sealer?
You can, but it’s much harder to get clean, professional seals. A sealer is highly recommended.
Why is my shrink wrap cloudy or wrinkled?
This usually happens from too much heat or uneven heating. Keep the heat gun moving and don’t overheat one area.
How do I avoid air bubbles when shrink wrapping?
Seal as close to the product as possible before applying heat to push out excess air.
Final Thoughts: Is Shrink Wrapping Worth It?
If you want your DIY skincare to stand out, shrink wrapping is absolutely worth it.
It’s simple, affordable, and makes a huge difference in how your products look and last.
Once you get the hang of it, you’ll be able to package your products quickly—and they’ll look polished, professional, and ready to gift or sell.