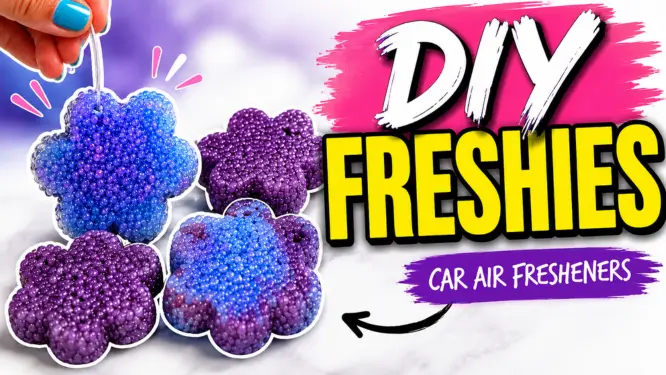
Learning how to make car freshies is one of the easiest and most fun ways to create custom air fresheners at home. Using aroma beads, fragrance oil, and simple molds, you can design long-lasting freshies in any scent, color, or shape.
Whether you’re making them for yourself, gifts, or even to sell, this step-by-step guide will show you exactly how to make car freshies that look professional and smell amazing.
Quick Overview
- Time to Make: 30 minutes + 24 hour cure
- Bake Temperature: 320°F
- Bake Time: ~6 minutes
- Skill Level: Beginner
- Batch Size: 200 g
Watch the Video Tutorial on How to Make Freshies
Some links on this website are affiliate links, meaning I may earn a small commission if you click and make a purchase. This comes at no additional cost to you.
What Are Car Freshies?
Car freshies (also called aroma bead air fresheners) are made from small plastic beads that absorb fragrance oil. When baked, the beads fuse together into a solid shape that slowly releases scent over time.
They’re popular because they are:
- Long-lasting
- Fully customizable
- Easy to make
- Great for gifting or selling
Car Freshies Formula
This recipe uses an 8:1 ratio of beads to fragrance oil, including the fragrance in the total weight.
| Ingredient | % | Weight |
|---|---|---|
| Aroma Beads | 88.9% | 178 g |
| Fragrance Oil | 11.1% | 22 g |
Supplies You’ll Need
- Mason jar with lid
- Silicone mold (flower shape)
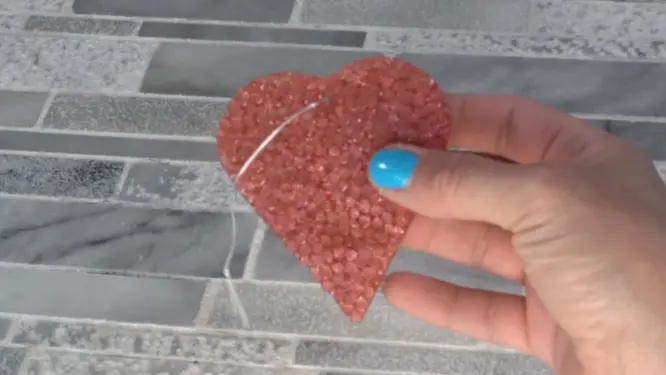
- Metal mold (heart shape)
- Baking sheet
- Parchment paper (for metal molds)
- Mica powder or candle dye
- Toothpick or popsicle stick
- Screw (for hole placement)
- Stretchy string
- Mylar bags
- Heat sealer
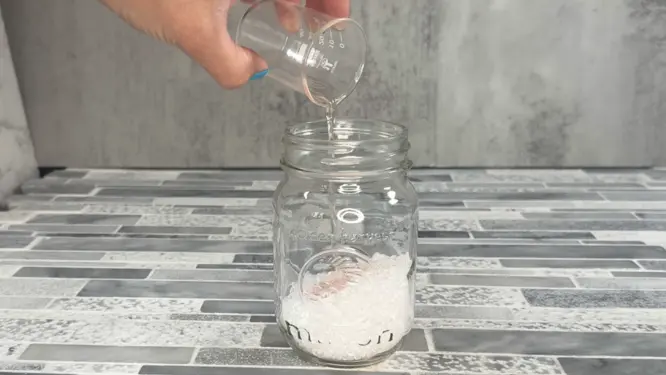
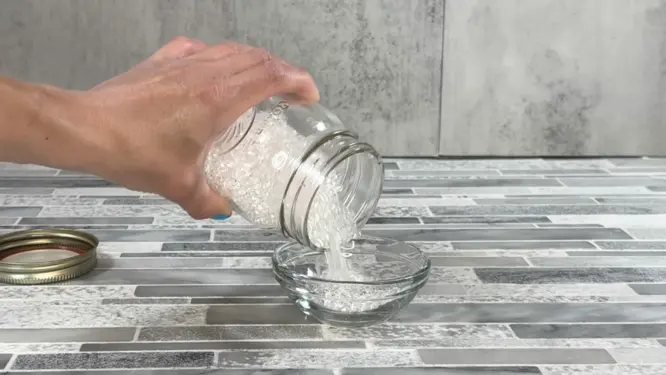
Step 1: How to Mix Aroma Beads and Fragrance Oil
Start by weighing your aroma beads into a mason jar.
Add your fragrance oil directly into the jar, seal it tightly, and shake well to coat all the beads evenly.
Come back every so often and give the jar another shake to help distribute the fragrance.
Step 2: Let the Beads Absorb the Fragrance
Let the beads sit for at least 24 hours, though longer is even better.
You’ll know they’re ready when they look dry again.
If they still appear wet:
- Add more beads in small amounts
- Shake well
- Let sit longer
Step 3: How to Color Freshie Beads
Once fully absorbed, divide the beads depending on how many colors you want.
Add a small amount of mica powder and mix thoroughly.
** Use mica sparingly—too much can affect melting.
Alternative: You can also use candle dye for stronger, more consistent color.
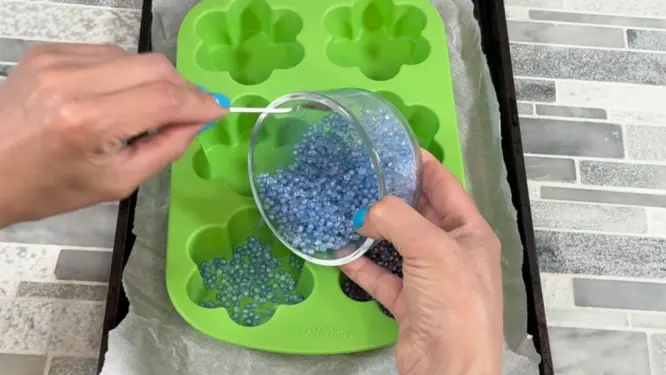
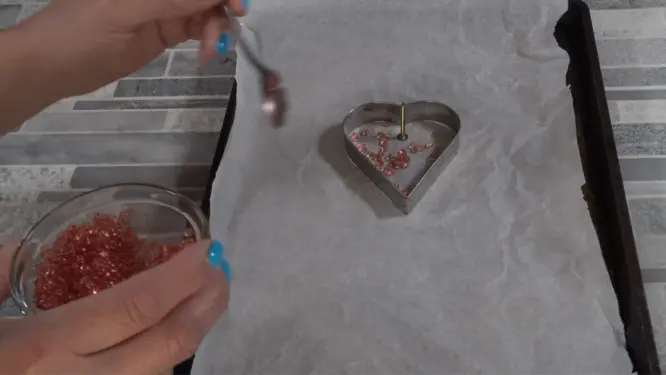
Step 4: Fill Your Molds
Fill your molds no more than ¾ full.
- Silicone molds: place directly on baking sheet
- Metal molds: place parchment paper underneath
Insert a nail at the top to create a hole for hanging.
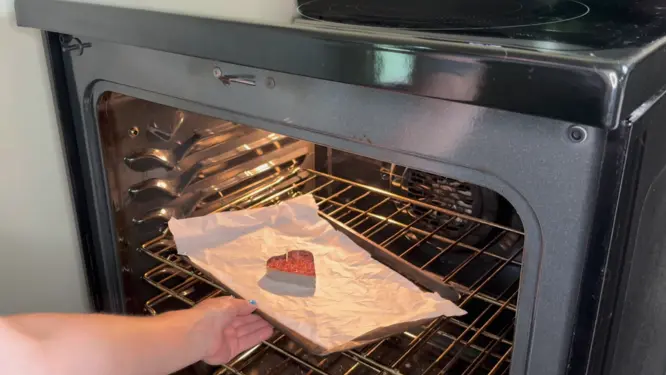
Step 5: How to Bake Car Freshies
Bake at 320°F for about 6 minutes.
You want the beads to:
- Stick together
- Still maintain their bead shape
To test:
Use a toothpick or popsicle stick to gently move them. If they shift slightly but hold together, they’re ready.
Step 6: Cool and Remove from Molds
Remove from the oven and allow the freshies to cool completely before unmolding.
Do not rush this step—removing too early can cause breakage.
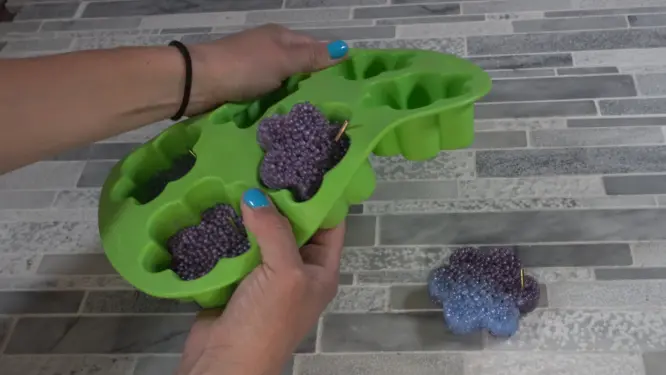
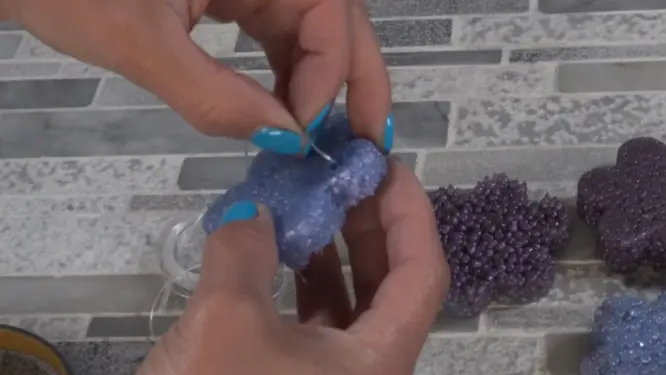
Step 7: Assemble and Package Your Freshies
Once cooled:
- Remove the nail
- Thread a stretchy string through the hole
- Place in a mylar bag
- Seal with a heat sealer
- Add your label
Beginner Tips for Best Results
- Start with simple shapes
- Use one color for your first batch
- Always fully absorb oil before baking
- Don’t overfill molds
- Watch closely while baking
Troubleshooting Common Freshie Problems
Freshies not hardening
→ Too much fragrance oil or mica. Add more beads and rebake.
Freshies are brittle
→ Likely overbaked.
Weak scent
→ Increase fragrance slightly (stay close to 8:1 ratio) or use a different fragrance oil that has a stronger scent
Beads still look wet
→ They need more time or more beads.
Dull color
→ Use less mica or switch to candle dye.
Safety Tips
- Work in a well-ventilated area
- Do not reuse tools for food
- Avoid overheating beads
- Keep materials away from children and pets
Can You Sell Car Freshies?
Yes! Car freshies are very popular for:
- Craft fairs
- Etsy shops
- Local markets
You can customize scents, colors, and shapes to create unique products that stand out.
Variations to Try
- Layered colors
- Marbled designs
- Seasonal shapes
- Glitter accents (heat-safe only)
Printable Care Freshies Air Freshener Recipe
Once you learn how to make car freshies, it opens up endless possibilities for creativity. From custom scents to unique designs, you can truly make them your own.
Try experimenting with different colors, molds, and fragrances to create something unique—and don’t be surprised if you get hooked on making them!
If you make a batch, share your results or save this post for later so you can come back and try new variations.

Car Freshies Recipe
Ingredients
- 178 grams Aroma Beads
- 22 grams Fragrance Oil
Instructions
- Start by weighing your aroma beads into a mason jar.
- Add your fragrance oil directly into the jar, seal it tightly, and shake well to coat all the beads evenly.Come back every so often and give the jar another shake to help distribute the fragrance.
- Let the beads sit for at least 24 hours, though longer is even better.You’ll know they’re ready when they look dry again.If they still appear wet:Add more beads in small amountsShake wellLet sit longer
- Once fully absorbed, divide the beads depending on how many colors you want.Add a small amount of mica powder and mix thoroughly.** Use mica sparingly—too much can affect melting.
- Fill your molds no more than ¾ full.Insert a nail at the top to create a hole for hanging.Silicone molds: place directly on baking sheetMetal molds: place parchment paper underneath
- Bake at 320°F for about 6 minutes.You want the beads to:To test: Use a toothpick or popsicle stick to gently move them. If they shift slightly but hold together, they’re ready.Stick together Still maintain their bead shape
- Remove from the oven and allow the freshies to cool completely before unmolding.Do not rush this step—removing too early can cause breakage.
- Once cooled:Remove the nailThread a stretchy string through the holePlace in a mylar bagSeal with a heat sealerAdd your label