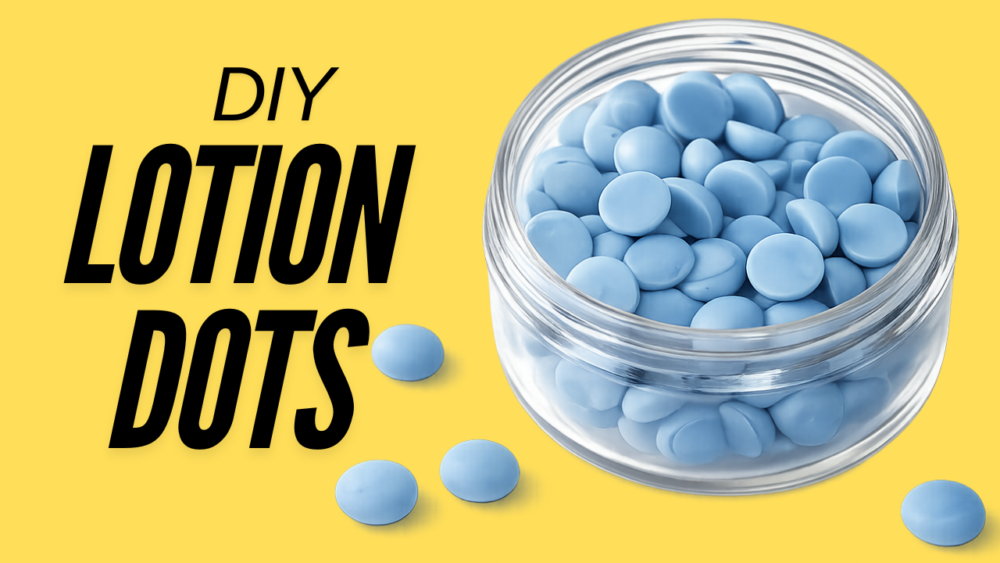
Lotion dots are one of the easiest ways to make solid skincare that is both practical and effective. They are mess-free, easy to use, and melt directly into the skin on contact.
This recipe builds on a well-balanced butter formula and adds a small amount of beeswax to improve stability in warmer temperatures—without sacrificing that smooth, melt-on-contact feel.
If you’ve ever made lotion bars that felt too greasy or too hard, this formula is designed to sit right in the middle. If you are interested in a Lotion Dot recipe without Beeswax, check this How to Make Lotion Dots Recipe.
What Are Lotion Dots?
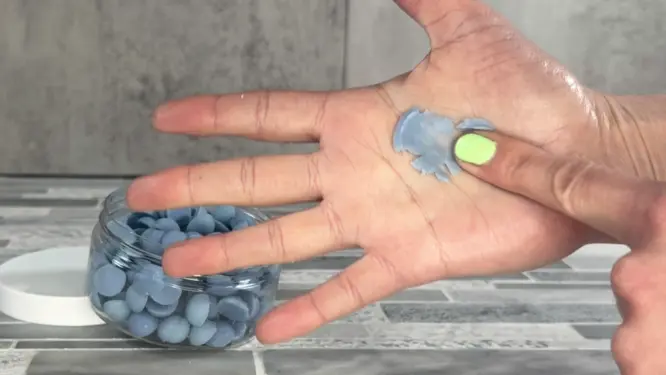
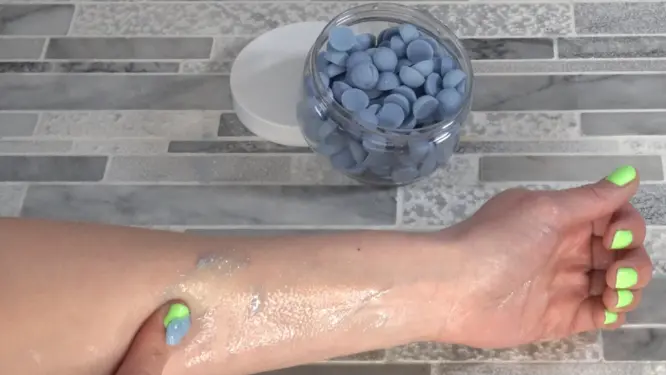
Lotion dots are small, solid pieces of lotion made from butters, oils, and wax. Instead of scooping from a jar, you use a single dot and let it melt between your hands or directly onto your skin.
They are ideal for:
- Dry hands and cuticles
- Travel and on-the-go use
- Portion control (no over-applying)
If you’re new to DIY skincare, start with this simple whipped shea butter recipe, it is made with just 2 ingredients.
Lotion Dots Recipe (150g Batch)
| Ingredient | Percentage | Weight (150g Batch) |
|---|---|---|
| Cocoa Butter | 42% | 63g |
| Mango Butter | 35% | 52.5g |
| Apricot Kernel Oil | 6% | 9g |
| Jojoba Oil | 5% | 7.5g |
| Beeswax | 5% | 7.5g |
| Arrowroot Powder | 2% | 3g |
| Fragrance Oil | 2% | 3g |
| Vitamin E Oil | 1% | 1.5g |
| Total | 100% | 150g |
If you need help understanding how to adjust percentages in skincare recipes, check out this Percentage vs Grams in skincare.
What Each Ingredient Does (and Why We Use It)
Cocoa Butter
What it does: Provides firmness and structure while deeply moisturizing the skin.
Why we use it: Keeps the lotion dots solid while still allowing them to melt on contact.
Substitutions:
- Kokum butter (firmer, less greasy)
- Shea butter (softer, more conditioning)
Mango Butter
What it does: Adds a creamy texture and improves glide.
Why we use it: Balances cocoa butter so the dots are not too hard.
Substitutions:
- Shea butter
Apricot Kernel Oil
What it does: Lightweight carrier oil that absorbs quickly.
Why we use it: Prevents the formula from feeling heavy or waxy.
Substitutions:
- Grapeseed oil
- Sweet almond oil
Jojoba Oil
What it does: Mimics the skin’s natural oils and improves absorption.
Why we use it: Adds a silky, non-greasy finish.
Substitutions:
- Fractionated coconut oil
- Sunflower oil
Beeswax
What it does: Provides structure and helps the lotion dots hold their shape.
Why we use it: Improves heat stability without making the product overly firm.
Substitutions:
- Candelilla wax (use 50–70% of the amount)
- Carnauba wax (use less, much firmer)
Arrowroot Powder
What it does: Absorbs excess oil and reduces greasiness.
Why we use it: Gives a softer, more powdery skin feel.
Substitutions:
- Cornstarch
- Tapioca starch
Fragrance Oil
What it does: Adds scent.
Why we use it: Enhances the overall experience and makes the product feel more finished. I went with a Black Raspberry Vanilla Fragrance, and it smells so amazing! It has bright notes of sweet lemon, red currant, and juicy pineapple, leading into a heart of ripe strawberry, black raspberry, and a soft touch of violet. A warm, comforting base of cinnamon, musk, and creamy vanilla rounds out the scent for a beautifully balanced finish.
Substitutions:
- Essential oils (follow safe usage rates)
Vitamin E Oil
What it does: Acts as an antioxidant.
Why we use it: Helps slow oxidation of oils and extends shelf life.
Substitutions:
- Optional, but recommended
Watch the Full Video Tutorial on Making Lotion Dots
Some links on this website are affiliate links, meaning I may earn a small commission if you click and make a purchase. This comes at no additional cost to you.
How to Make Lotion Dots
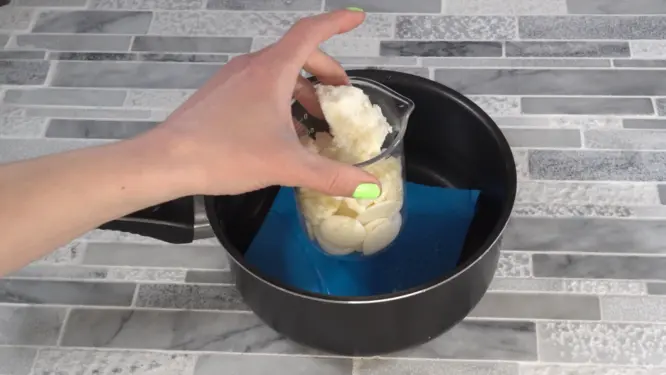
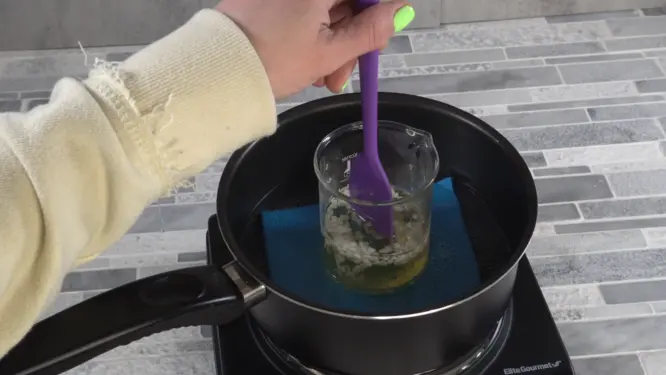
Step 1: Melt the Butters and Beeswax
In a heat-safe container, melt cocoa butter, mango butter, and beeswax using a double boiler. You will want to be mixing while the butters and beeswax is melting.
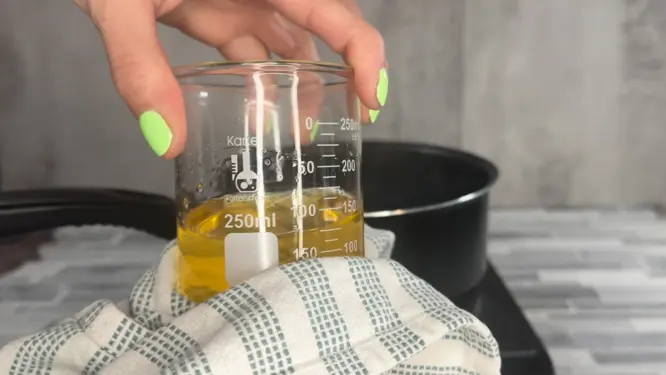
Step 2: Remove from Heat
Remove from double boiler and wipe container off. Since this recipe does not have a preservative, we do not want any water being introduced to the lotion dots. Let the mixture cool slightly before adding other ingredients.
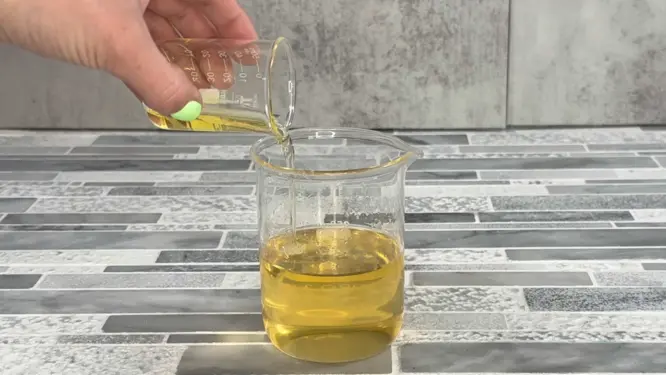
Step 3: Add Liquid Ingredients
Stir in apricot kernel oil, jojoba oil, vitamin E oil, and fragrance oil.
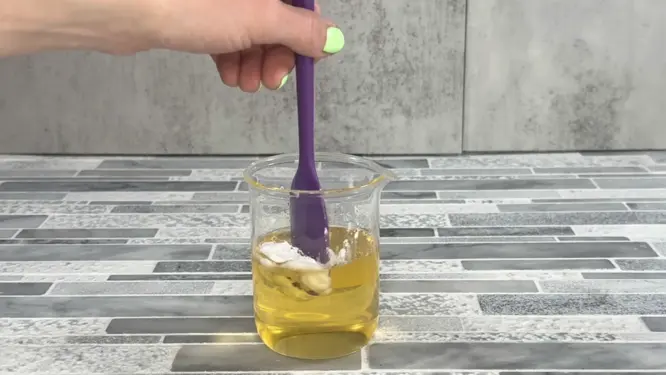
Step 4: Add Arrowroot Powder
Mix thoroughly to prevent clumping. It is going to take a while for the arrowroot powder to mix in, trust me you have time because this takes forever to cool.
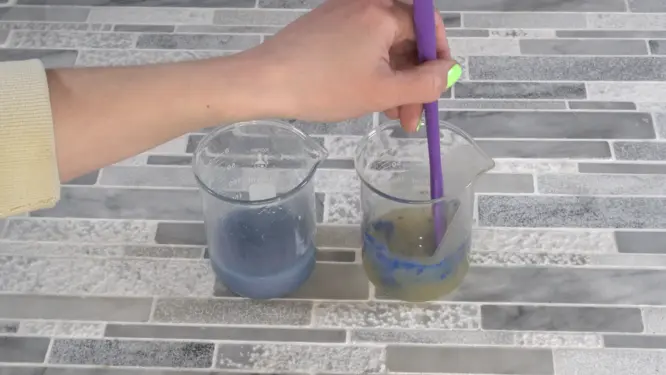
Step 5: Add Mica Powder
Split your lotion dots mixture into separate containers for adding colorant. I am using two colors but you can use as many as you would like.
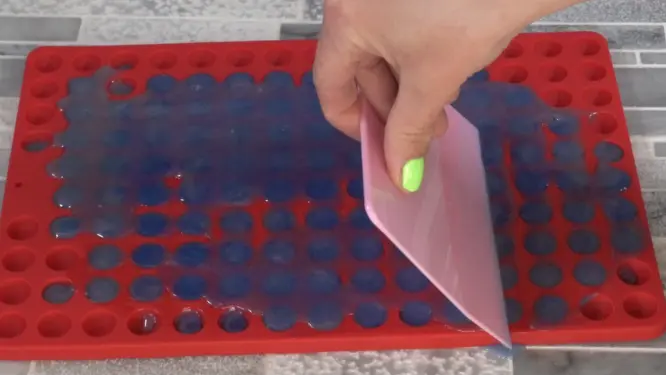
Step 6: Pour into Molds
Pour into silicone molds or small cavity molds. I love the silicone mold that I have, the scraper is a life saver!
Step 7: Let Them Set
Allow the lotion dots to fully harden at room temperature or in the fridge.
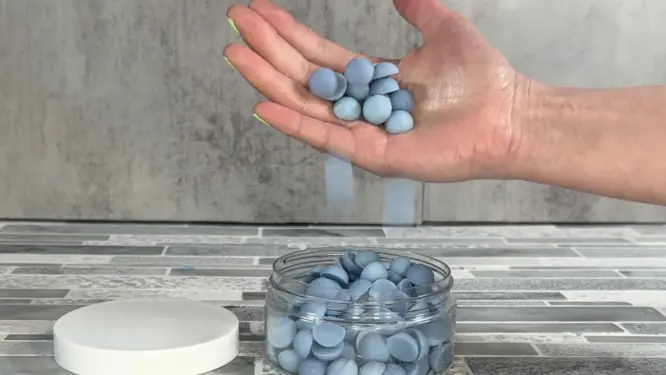
Step 7: Unmold and Package
Once cooled, unmold the lotion dots. I found pulling the sides of the mold, really loosens the dots up. Store in a sealed container.
Tips for Best Results
- Pour when the mixture has slightly cooled for a smoother finish
- Avoid overheating butters to prevent graininess
- Use smaller molds for easier single-use application
How to Adjust This Recipe
- Too soft: Increase beeswax to 6–7%
- Too firm: Reduce beeswax to 4% and increase oil slightly
- Too greasy: Increase arrowroot powder to 3%
Final Thoughts
This lotion dot recipe is designed to give you a balance of structure and performance.
It stays solid at room temperature, holds its shape in warmer conditions, and still melts smoothly into the skin without feeling overly heavy or waxy.
Once you start making lotion dots, they quickly become one of the most useful and customizable solid skincare products you can create.
DIY Lotion Dots: Easy Mini Lotion Bars Recipe
Ingredients
- 63 g Cocoa Butter
- 52.5 g Mango Butter
- 9 g Apricot Kernel Oil
- 7.5 g Jojoba Oil
- 7.5 g Beeswax
- 3 g Arrowroot Powder
- 3 g Fragrance Oil
- 1.5 g Vitamin E Oil
Instructions
Melt the Butters and Beeswax
In a heat-safe container, melt cocoa butter, mango butter, and beeswax using a double boiler. You will want to be mixing while the butters and beeswax is melting.Remove from Heat
Remove from double boiler and wipe container off. Since this recipe does not have a preservative, we do not want any water being introduced to the lotion dots. Let the mixture cool slightly before adding other ingredients.Add Liquid Ingredients
Stir in apricot kernel oil, jojoba oil, vitamin E oil, and fragrance oil.Add Arrowroot Powder
Mix thoroughly to prevent clumping. It is going to take a while for the arrowroot powder to mix in, trust me you have time because this takes forever to cool.Add Mica Powder
Split your lotion dots mixture into separate containers for adding colorant. I am using two colors but you can use as many as you would like.Let Them Set
Allow the lotion dots to fully harden at room temperature or in the fridge.Unmold and Package
Once cooled, unmold the lotion dots. I found pulling the sides of the mold, really loosens the dots up. Store in a sealed container.


One thought on “DIY Lotion Dots: Easy Mini Lotion Bars Recipe”
Comments are closed.