If you’ve ever wanted to make your own natural skincare products at home but felt overwhelmed by complicated recipes, this is the perfect place to start.
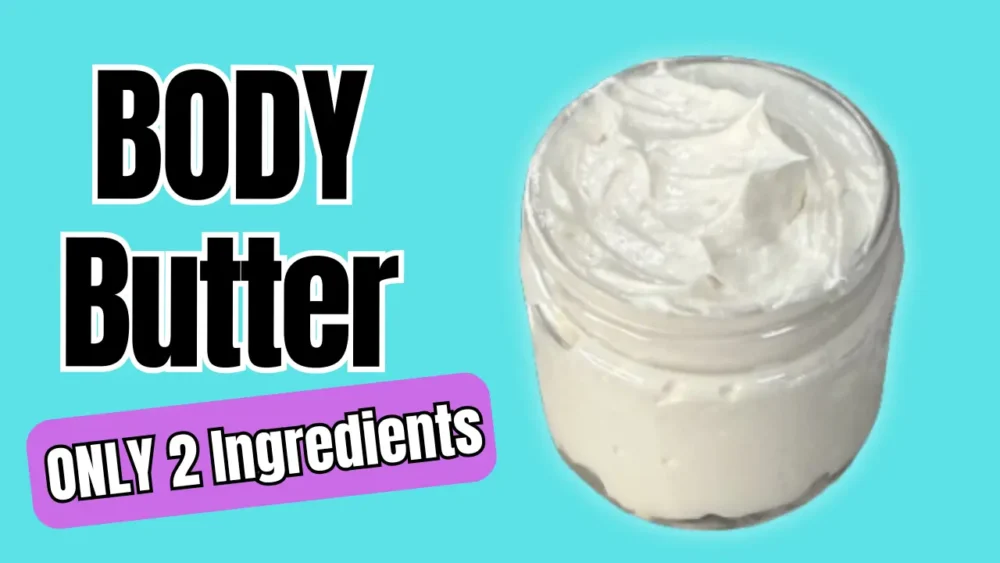
This 2-ingredient whipped shea butter recipe uses a simple no-heat method, making it one of the easiest and safest DIY body butter recipes for beginners. It creates a light, fluffy, and stable texture that feels rich and nourishing while still spreading smoothly on the skin.
The best part? Once you master this base recipe, you can easily customize it with scents, oils, and beginner-friendly add-ins.
Why Start with a Simple Skincare Recipe?
When you’re learning DIY skincare formulation, it’s easy to think you need a long list of ingredients.
You don’t.
Starting with a simple recipe like this whipped shea butter helps you:
- Understand texture and consistency
- Learn how butters and oils behave together
- Build confidence before creating more advanced formulations
- Avoid wasting expensive ingredients
If you’re brand new, you might also enjoy starting with another easy project like shower steamers.
2-Ingredient Whipped Shea Butter Recipe
Whipped Shea Butter Formula (100 g Batch)
| Ingredient | Percentage | Weight (100 g Batch) |
|---|---|---|
| Shea Butter | 80% | 80 g |
| Safflower Oil | 20% | 20 g |
| Total | 100% | 100 g |
Some links on this website are affiliate links, meaning I may earn a small commission if you click and make a purchase. This comes at no additional cost to you.
Why This Ratio Works
Using 80% shea butter and 20% safflower oil gives you:
- A fluffy, stable whip
- Structure that holds its shape
- A smooth, spreadable texture
- Less risk of deflating over time
This balance keeps the butter rich while still feeling lightweight on the skin.
Watch the Full Video Tutorial
Some links on this website are affiliate links, meaning I may earn a small commission if you click and make a purchase. This comes at no additional cost to you.
How to Make Whipped Shea Butter (No Heat Method)
1. Soften the Shea Butter
If your shea butter is firm, let it sit at room temperature until slightly softened.
Mash it with a fork or spatula to break it into smaller pieces before whipping with a hand mixer.
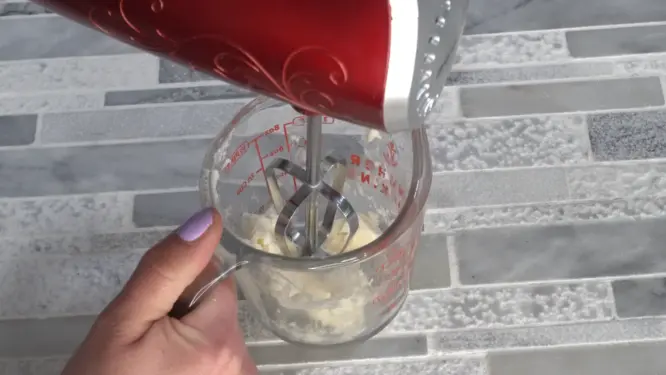
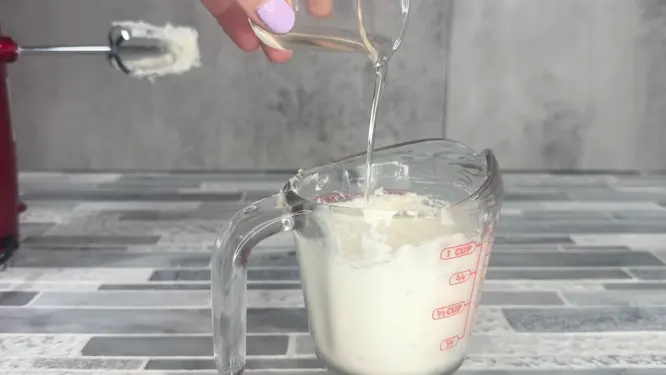
2. Add Carrier Oil
Pour in the safflower oil and lightly mix with hand mixer to combine.
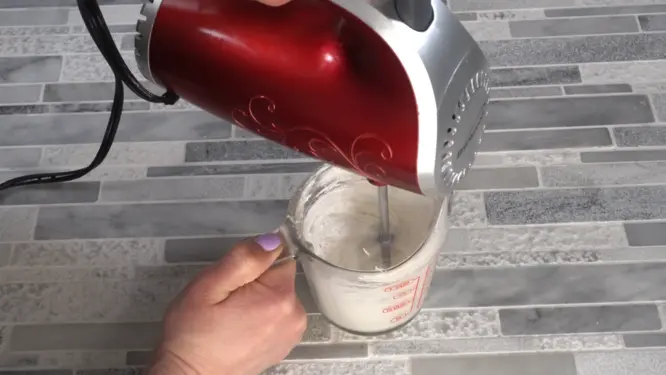
3. Whip Until Light and Fluffy
Using a hand mixer, whip the mixture until it becomes:
- Light and airy
- Smooth and creamy
- Able to hold soft peaks
This usually takes a few minutes depending on your mixer.
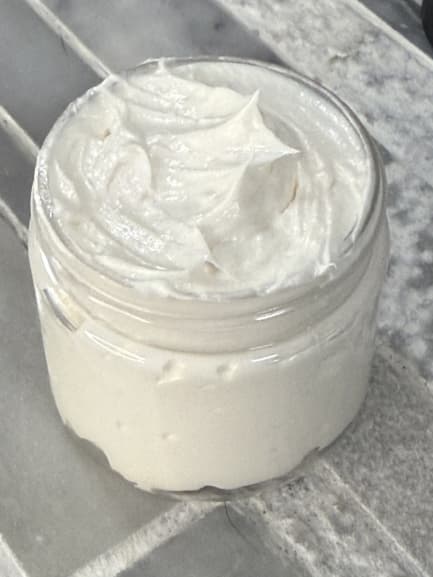
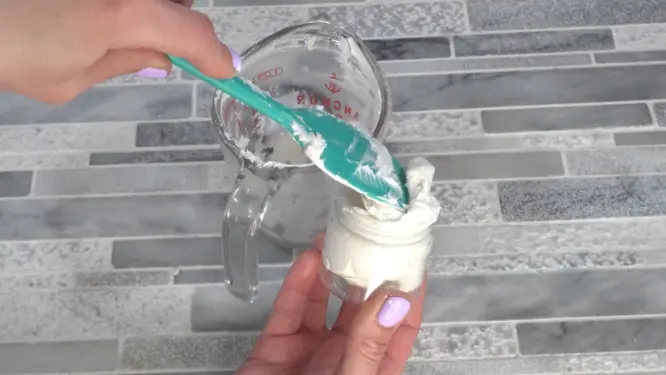
4. Transfer to Container
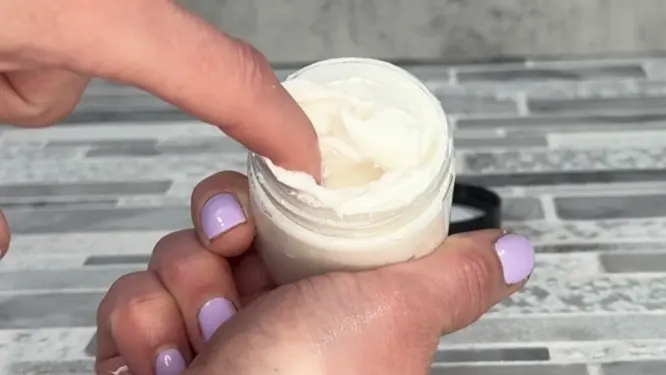
Spoon your whipped shea butter into clean, dry jars and store at room temperature.
Troubleshooting Whipped Shea Butter
Too Soft or Not Holding Shape
- Reduce oil slightly (try 15–18%)
- Your room may be too warm
- Try placing it in the fridge briefly, then re-whip
Not Fluffy
- Shea butter may be too hard
- Let it soften more before whipping
Lumpy or Grainy Texture
- Not whipped long enough
- Continue whipping until smooth and airy
Easy Add-Ins (After You Master the Base Recipe)
Once you’re comfortable with this recipe, you can start customizing your homemade body butter.
Fragrance Oil
- Adds scent to your body butter
- Typical usage: 0.5–1%
- Always follow manufacturer guidelines
Vitamin E Oil
- Helps extend shelf life
- Use around 0.5–1%
Arrowroot Powder
- Reduces greasy feel
- Adds a soft, powdery finish
- Use around 1–2%
Storage and Shelf Life
- Store in a cool, dry place
- Keep away from heat (product may soften or melt)
- Shelf life: approximately 6–12 months
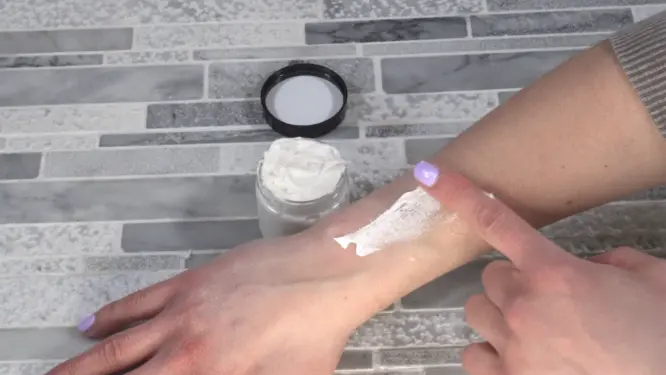
Benefits of Whipped Shea Butter for Skin
This whipped shea butter is ideal for:
- Dry or dehydrated skin
- Cracked hands and feet
- Sensitive skin types
- Simple, natural skincare routines
Shea butter is known for its deep moisturizing and skin-softening properties, making it a staple in many DIY skincare recipes.
Who This Recipe Is For
This recipe is perfect for:
- Beginners learning DIY skincare
- Anyone wanting a natural body butter recipe
- People looking for a minimal ingredient skincare routine
- Creators building a foundation before making lotions and creams
Final Thoughts
Making your own skincare doesn’t have to be complicated.
This easy whipped shea butter recipe proves that with just two ingredients and no heat, you can create something that feels luxurious, effective, and completely customizable.
Start simple, learn the process, and build from there.
How to Make Whipped Shea Butter (2 Ingredients, Fluffy & Stable Recipe)
Ingredients
- 80 grams Shea Butter
- 20 grams Safflower Oil
Instructions
Soften the Shea Butter
If your shea butter is firm, let it sit at room temperature until slightly softened.Mash it with a fork or spatula to break it into smaller pieces before whipping with a hand mixer.Add Carrier Oil
Pour in the safflower oil and lightly mix with hand mixer to combine.Whip until light and fluffy
Using a hand mixer, whip the mixture until it becomes:Light and airySmooth and creamyAble to hold soft peaksThis usually takes a few minutes depending on your mixer.Transfer to Container
Spoon your whipped shea butter into clean, dry jars and store at room temperature.


One thought on “How to Make Whipped Shea Butter (2 Ingredients, Fluffy & Stable Recipe)”
Comments are closed.