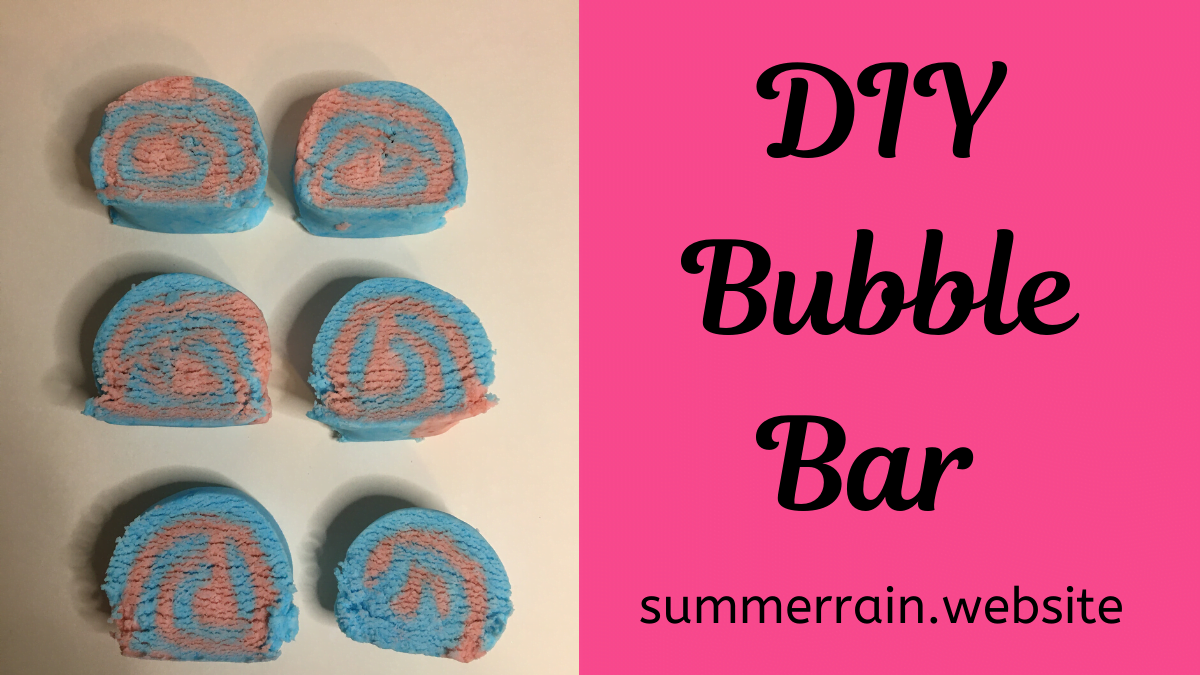
You know what I love, bubble baths! There is nothing more relaxing at the end of a long day. One of the best things about a solid bubble bar, next to how bubbly they make the bath, is that they are package free. In this post, I am going to start by going over all the ingredients and why we use them. The post will also give you a full recipe with step by step guide and a video tutorial.
Prefer to watch this project instead of reading it?
Literally, after reading this you will have everything you need to make your own solid bubble bar today. Let’s do this!!
Jump to RecipeSolid Bubble Bar Consistency
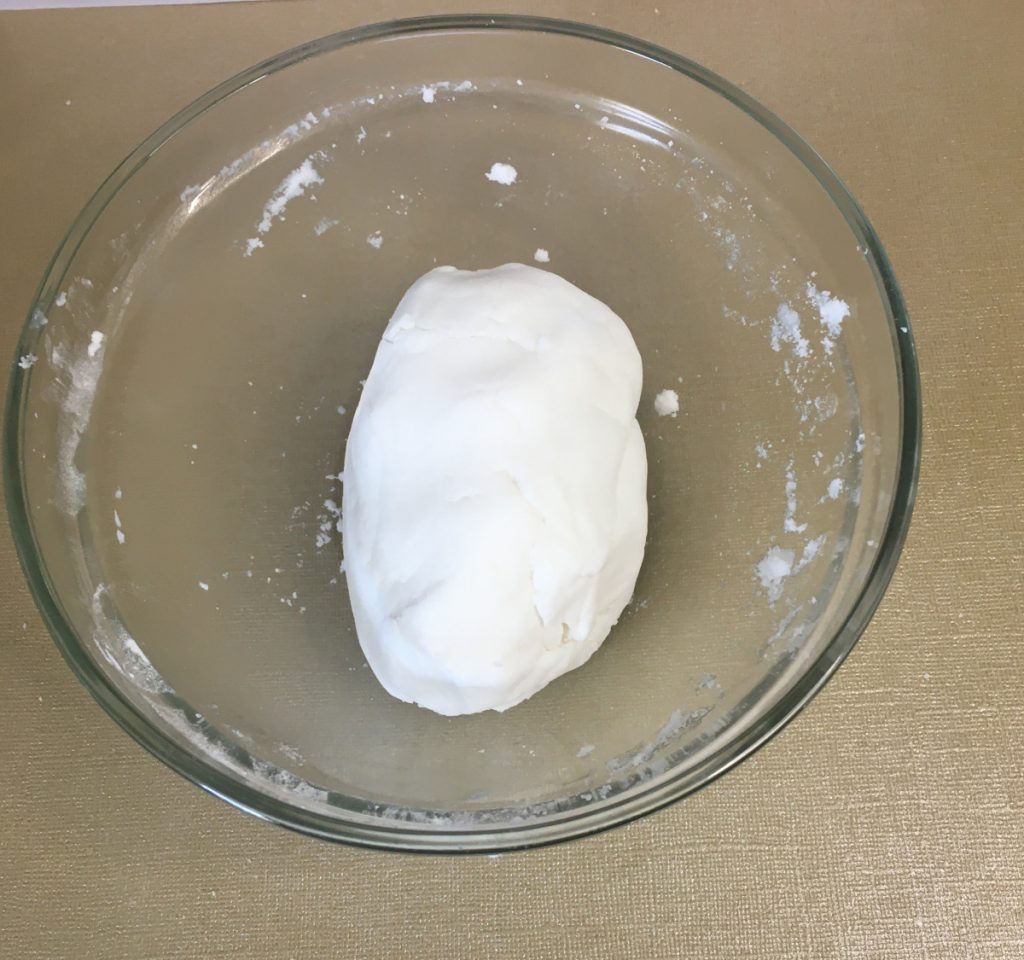
What we are going for is a dough like consistency. We need to be able to roll it out and cut. But, at the same time, we don’t want it too wet because then it could take a long time to harden and it can be super sticky.
After you have made the solid bubble bars a few times, you will get a pretty good feel for the consistency that you are looking for.
If for some reason you find that your dough is too wet, add just a small amount of baking soda.
If it is too dry, add a small amount of vegetable glycerin.
Just be sure to mix it very well after adding anything to the dough. And, use the rule of thumb that you can always add more but you can’t take it away if you add too much.
How to use a bubble bar?
When you draw your bath, you will crumble the bar under the tap water. You might need to swoosh your hand around the tub to ensure that all the small pieces get dissolved quickly.
I made the bars smaller than what most people do, so that they are single use. If you make them larger, just break off how much you need and crumble that portion under the faucet.
Do I need to use a preservative?
Nope! This is another one of the great things about the solid bubble bars, there is no need for a preservative. The only time that we need a preservative is when you add water or if it is likely to get introduced into water.
But, these will get introduced to water so how come we do not need a preservative? This is because the bubble bars are single use. And if you were to make larger ones, you could just break off a corner and use that in your bath.
We have two phases of ingredients: Dry Ingredients and Wet Ingredients.
Dry Ingredients

Baking Soda
Baking soda is maybe one of the most versatile ingredients ever! In the bath water, the baking soda is going to make the water slightly more alkaline. As a result, the water feels silky. It supposedly, also has a detoxifying properties too when used in the bath.
Cream Of Tartar
Cream of Tartar is more than just a byproduct of wine making, it is actually used to increase the integrity of the bubble bars. By that I mean that it helps to hold the different ingredients together.
SLSA
Sodium Lauryl Sulfoacetate (SLSA) is a surfactant that is used to create massive amounts of bubbles in the bathtub. However, please do use caution when measuring this and pouring it.
SLSa is lighter than air. No, seriously I think it is! Pour this from too high and you will see it poof right up in the air. You want to use caution when measuring, pouring or mixing this ingredient. Because, if you just start whisking or pour from too high, it poofs up and gets in your throat. You might want to get a face mask just to be extra careful.
Corn Starch
We use corn starch because it is a good at helping to harden the bar and it gives your bath water a softer feeling.
Wet Ingredients
Cocamidopropyl betaine
Cocamidopropyl betaine is a liquid surfactant that is derived from coconut oil. This is a very mild surfactant that is preservative free. It is used to help our bubbles become more stable and last longer in the bathtub.
Vegetable Glycerin
Vegetable Glycerin is used to help to hydrate our skin, it draws moisture to the skin. It is also used to help the bubbles last longer in the tub. It helps to moisturize, because it draws water to the skin and holds it there
Fragrance Oil
I am using a Love Spell type fragrance oil in this bubble bar. And, you will notice that the colors that I used are red and blue… meaning, the bath water will be purple. Seriously, matching colors to fragrances is one of my favorite things!
You will notice that there is a much higher percentage of fragrance oil that is used compared to what you would use in a lotion. This is because, the bubble bar will be dispersed in the tub and not applied and left on the skin.
Fragrance oils will normally come with a use guide for you to ensure that you are using the correct amount in different types of body care products that you make.
Da Bomb Colorant
I use this specific dye for my bubble bars, because it is liquid and it will color the bath water. It is completely find to use a mica powder, but they will not color the bath water. The colorant that I am using came with a guide so you can make the perfect shade using your base colors of red, blue and yellow.


I used equal parts of red and blue colorant so the bath water will be a violet shade. If you wanted more of a plum shade, just add double red colorant. So, it would be 2 drops of red for every 1 drop of blue.
I also like that this is a liquid dye. With this recipe, it is a delicate balance between liquids and powders to keep the dough pliable and not all crumbly and not adding so much liquid that it takes forever to harden.
Mixing
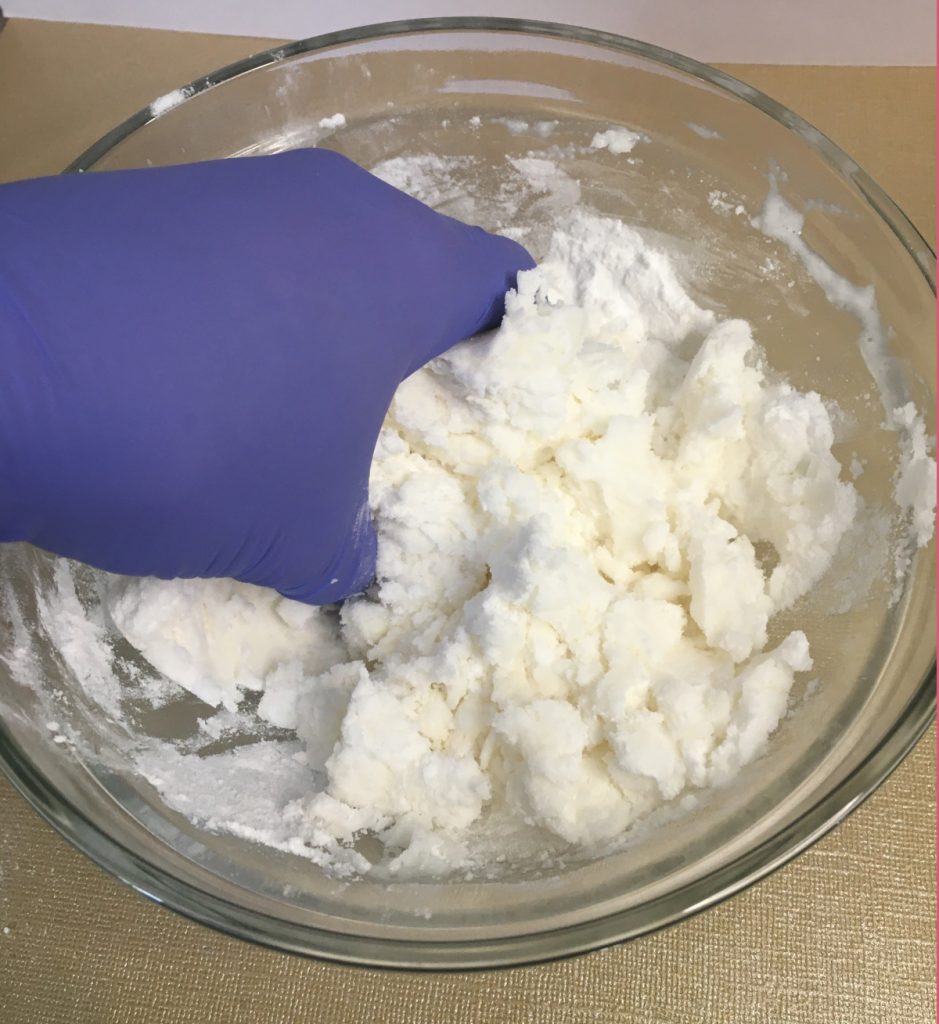
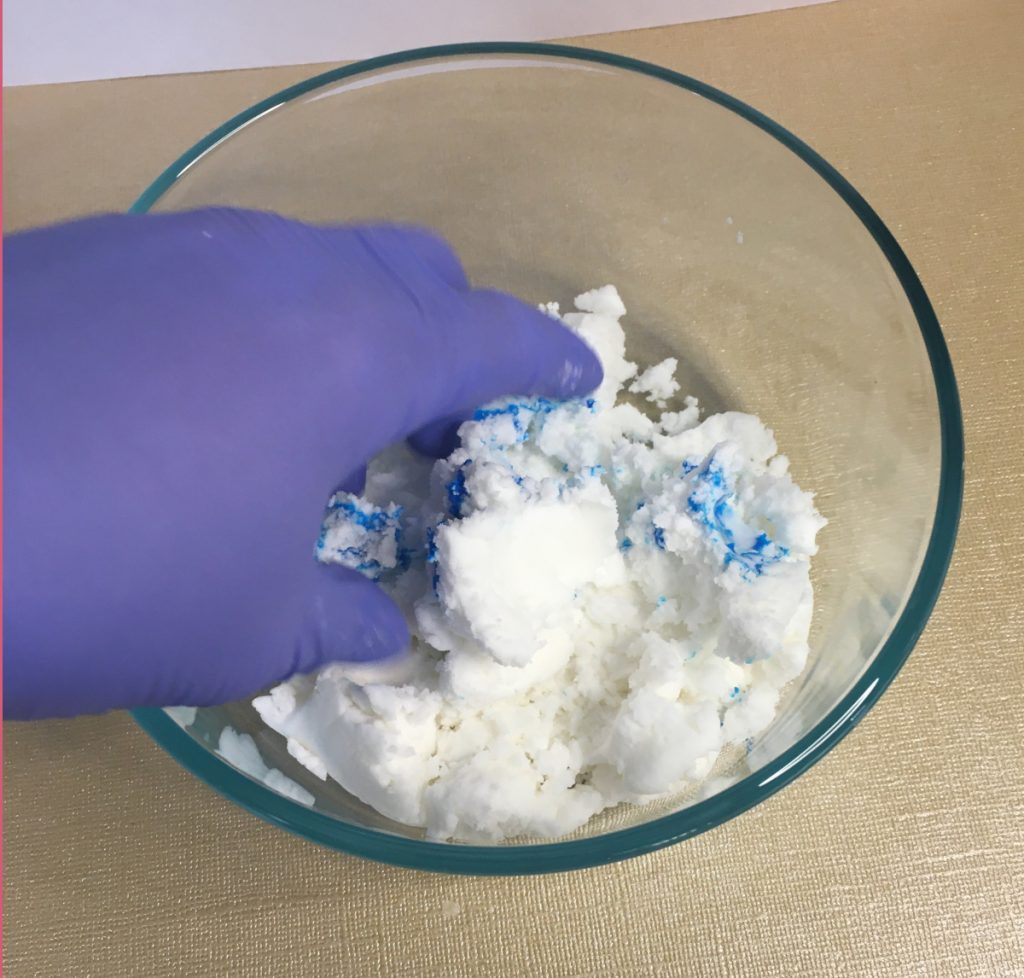
Personally, I find it easier to mix my solid bubble bar together by hand. It is almost too thick to use a hand mixer and kind of difficult by hand. It reminds me of the consistency of clay. Be sure to wear rubber gloves when you mix with your hands. For one, it would be gross not to and for two you don’t want to dye your hands.
Shaping the Solid Bubble Bars
The hardest part of this recipe is rolling the bars. The way that you lay the dough and roll it, will determine how your end product looks.
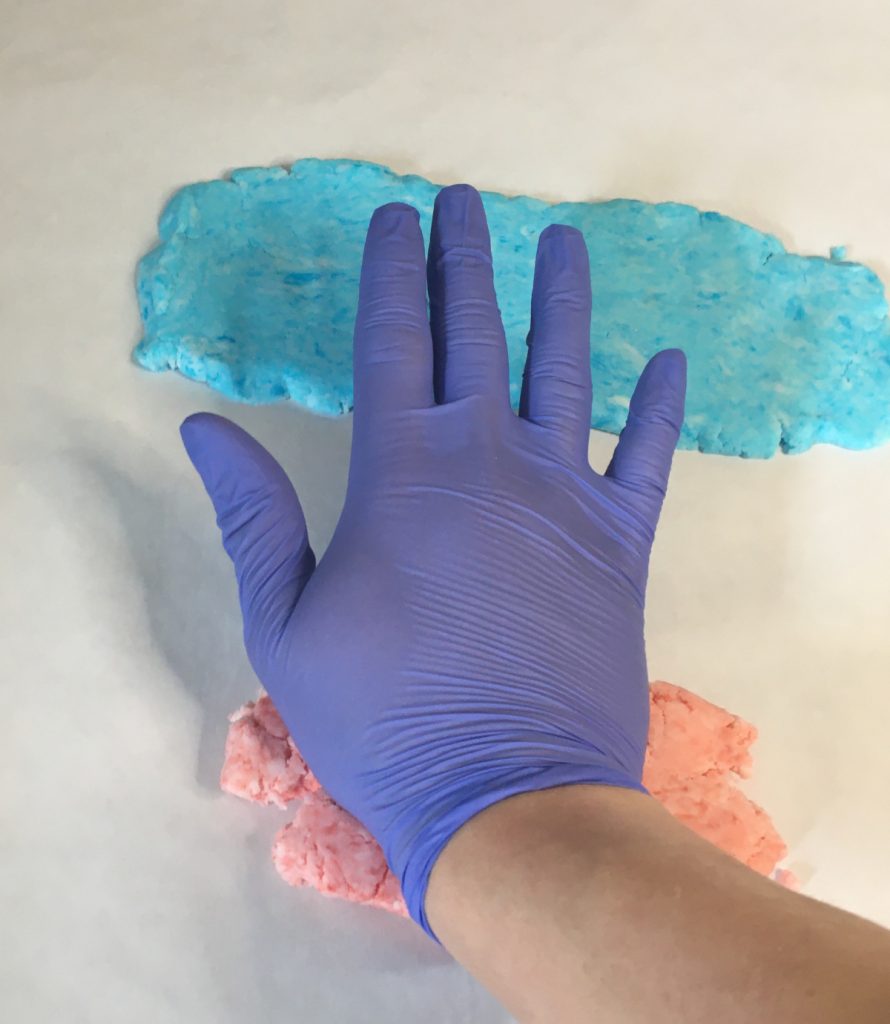
What I like to do, is to roll all the dough out into long rectangles. Then you place one on top of the other. In these bars, I placed the red on the blue rectangle of bubble bar.
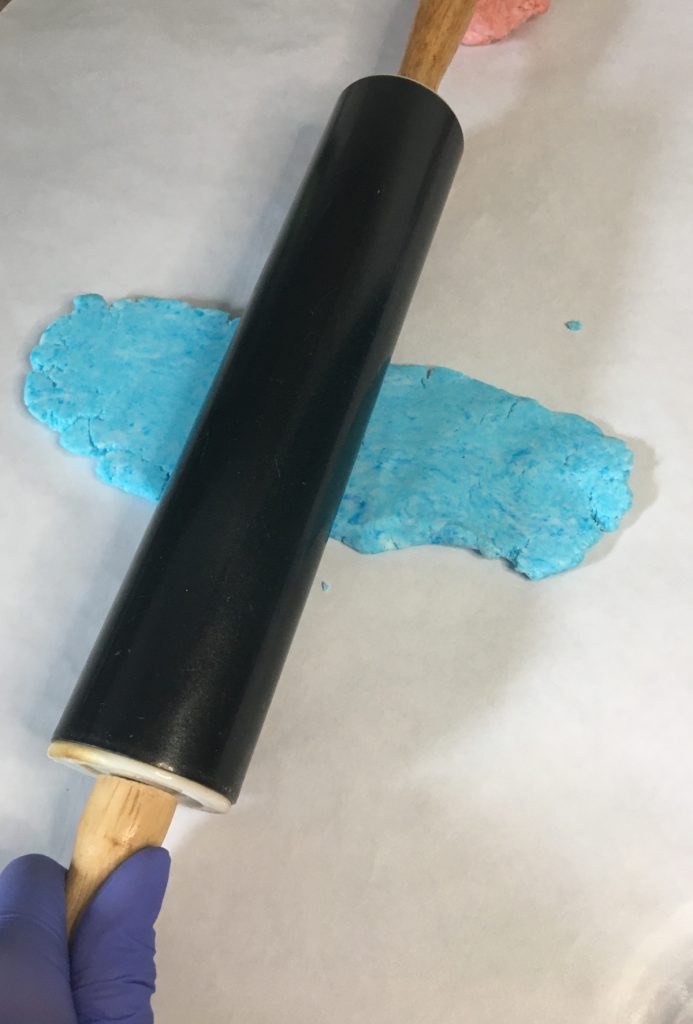

Then you should squish them together. Place them on a piece of freezer paper. Use the freezer paper as a tool to keep the bar in tact.
(Seriously, if you haven’t done this before watch the video tutorial below. It is going to help you so much).
Allowing Bars to Dry
After you are done making your bars, you will need to leave them out to harden for 3-7 days, depending on the humidity where you live. I just place mine on a cookie rack, that I use exclusively for my body care items.
DIY Solid Bubble Bar Recipe
Equipment
- Face mask
- Scale
- Mixing bowls
- Spatula
- Freezer paper
- Rolling Pin
- Rubber gloves
Ingredients
Dry Ingredients
- 3.30 ounces | 33% Baking Soda
- 2.90 ounces | 29% SLSA
- 0.90 ounces | 9% Cream of Tartar
- 1 ounce | 10% Corn Starch
Wet Ingredients
- 0.90 ounces | 9% Vegetable Glycerin
- 0.40 ounce | 4% Cocamidopropyl Betaine
- 0.60 ounce | 6% Fragrance Oil
- Red Da Bomb Colorant
- Blue Da Bomb Colorant
Instructions
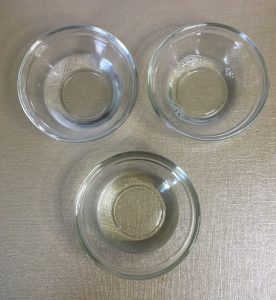
- Start by weighing out all of your ingredients.
- Add all of your dry ingredients into a large mixing bowl. Be cautious of the SLSa and wear a face mask as needed.
- Add all of your liquid ingredients to the bowl of dry ingredients.
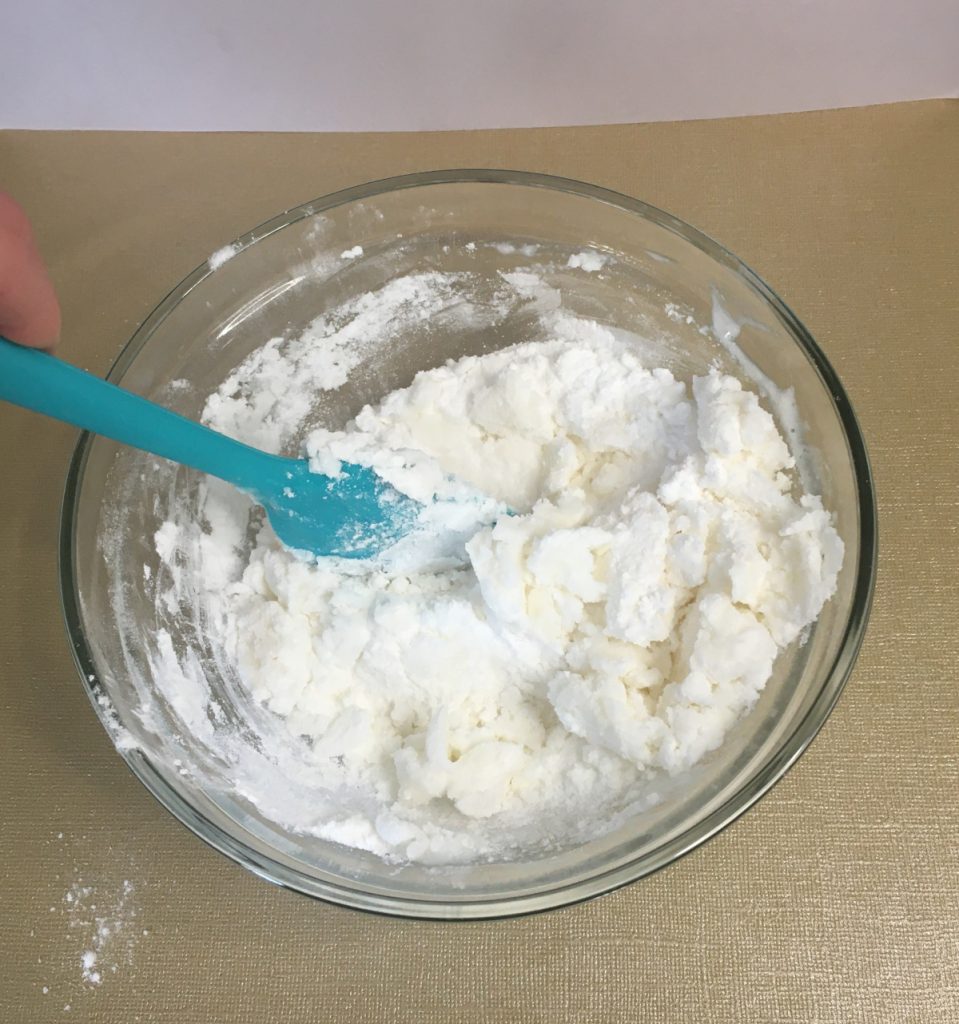
- Mix it all together. I will normally start with the spatula to get it started, then I mix the rest up with my hands.
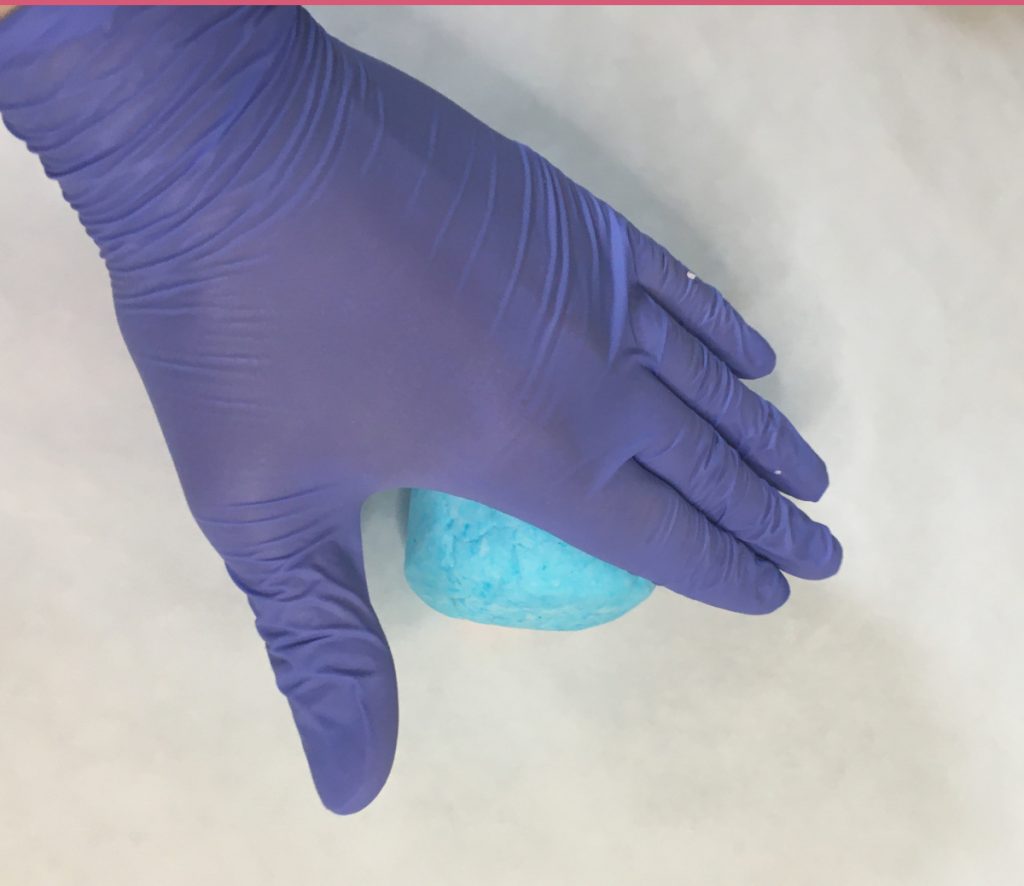
- After the batch is fully mixed, split into two equal parts. One for the red and one for the colorant.
- Add the colorant to the blue bubble bar dough and mix it well.
- Add the colorant to the red bubble bar dough and mix it well.
- Get a piece of freezer paper and lay it down on the counter.
- Smush your blue bubble bar dough until it is a long rectangle shape.
- Do the same for the red dough.
- Place the red dough on top of the blue dough and smush them together.
- Rough the dough up. It can sometimes be helpful to place on a smaller piece of freezer paper and use that to help you roll it. It will try to crumble on you. Just do your best to keep it together while rolling it.
- After you are done rolling the dough up, shape it until it is a roll shape. Think of the shape of a pringles can or a tootsie roll. This is what we are going for.
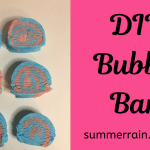
- Using a soap cutter, cut the bubble bar into slices.
- Allow to dry for 3-7 days until hard.
- Enjoy!
Recommended Products


Some links are “affiliate links,” because I am an Amazon Associate and I earn from qualifying purchases. There is no additional cost to you, the price of the item is the same whether it is an affiliate link or not.


