I absolutely love the way the spring flowers turned out in this melt and pour soap. To make this soap, I use two advanced techniques with embeds and shredding soap. It is a lot of steps, but if you are accustomed to layering soap and working with embeds, this will be pretty easy for you.
Prefer to watch this project instead of reading it?
Equipment
- Rubbing Alcohol in a Spray Bottle
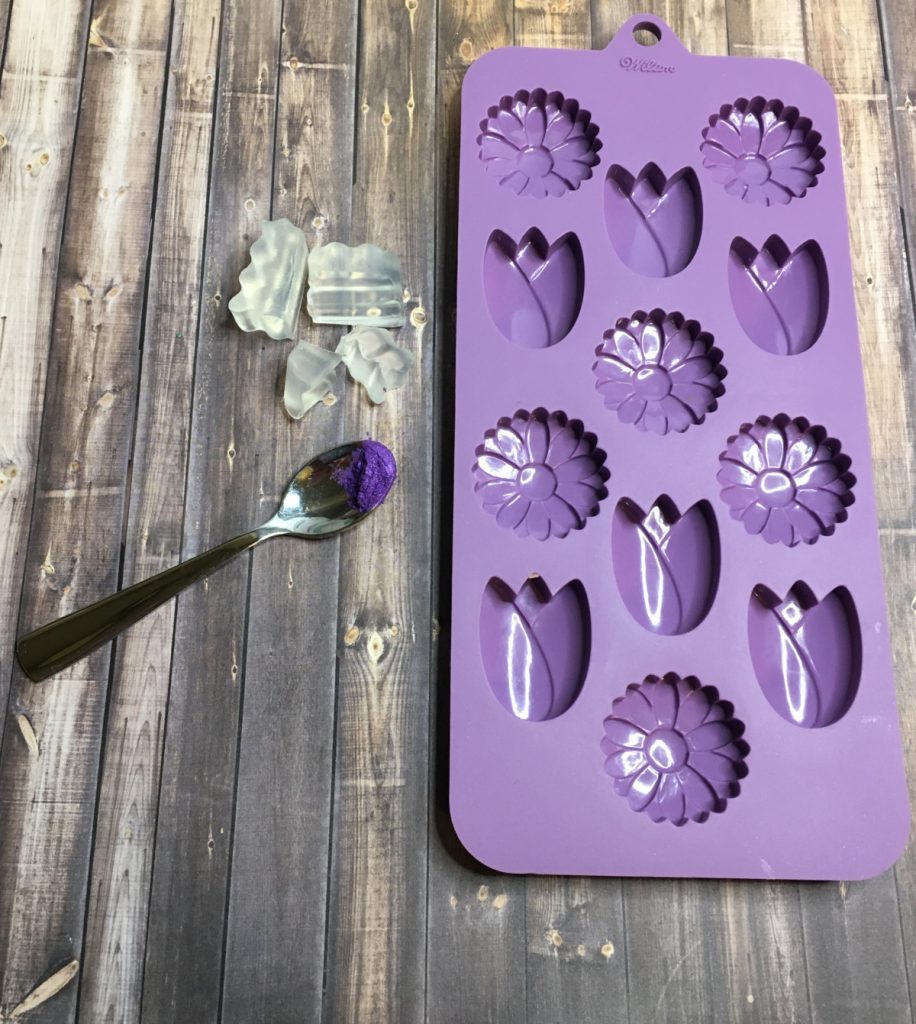
- Flower Silicone Mold
- Shredder
- Bar Silicone Mold
- Scale
- Heat Safe Measuring Cup
Ingredients
Part 1 – Preparing the Soap for the Grass
We are going to start by making the green soap that will later be used as the grass.
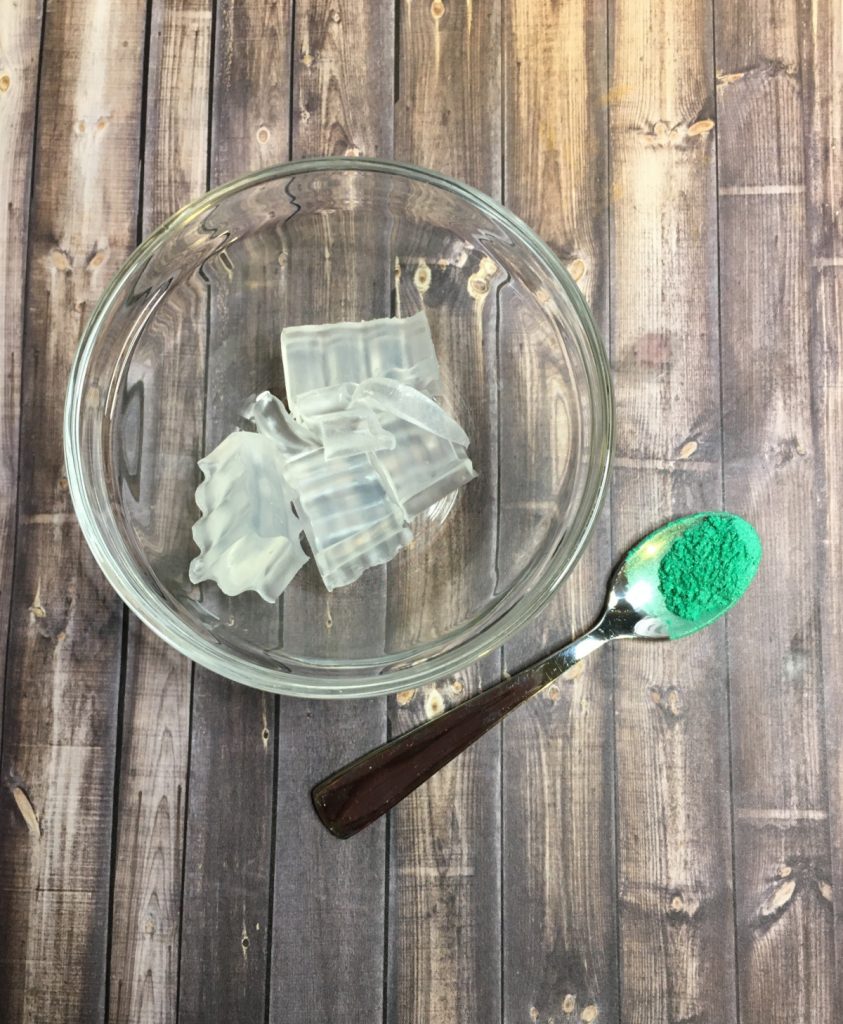
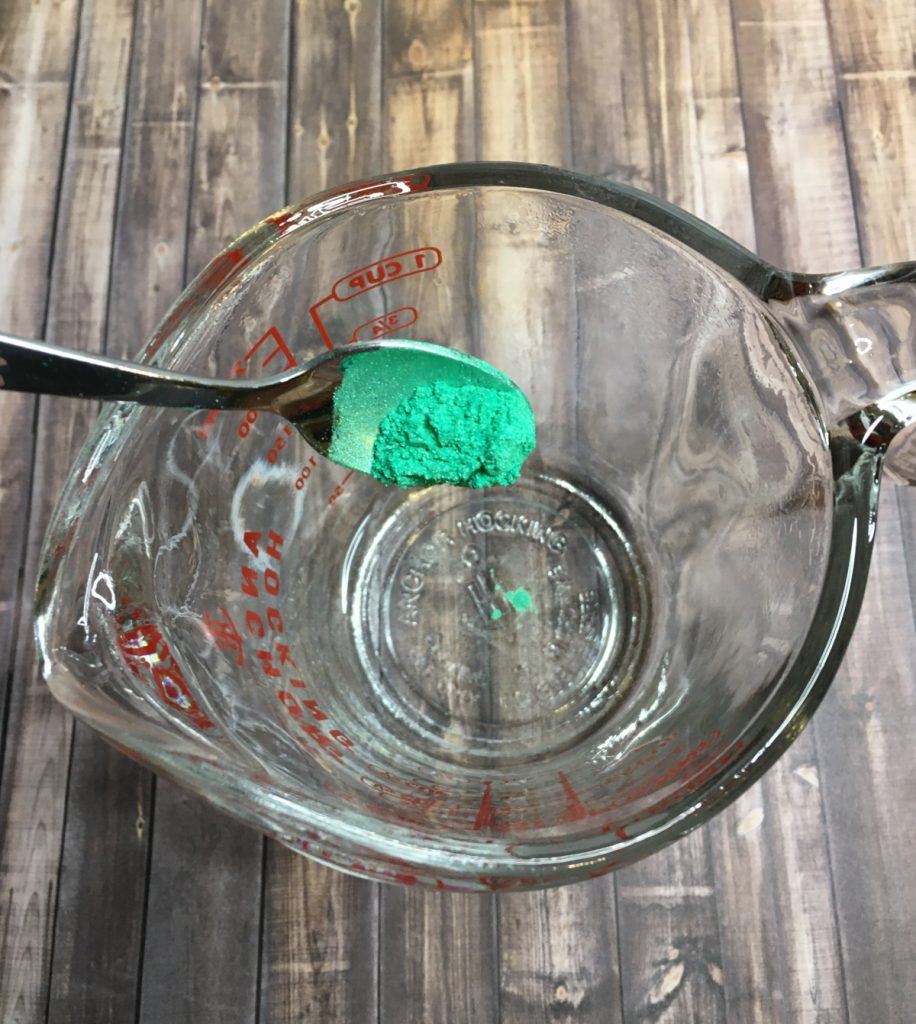
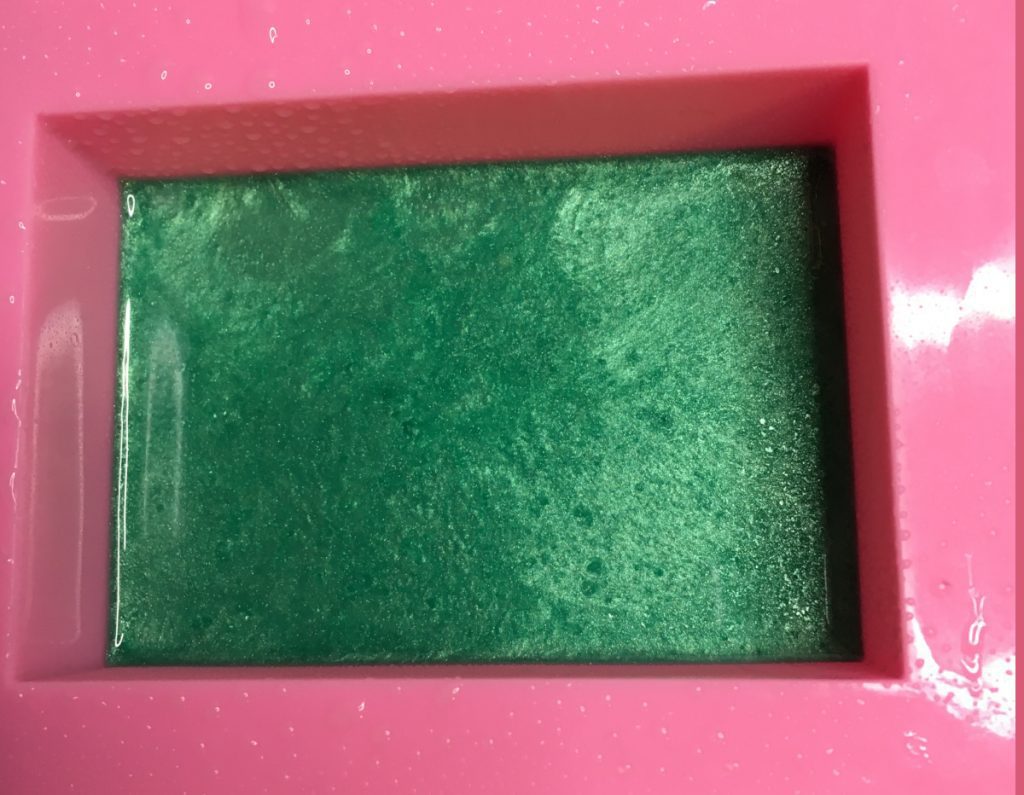
- Weigh out 18 grams of clear melt and pour soap.
- Melt the soap in 5 second intervals until it is completely melted.
- Next, add your green mica powder and fragrance oil. Mix well.

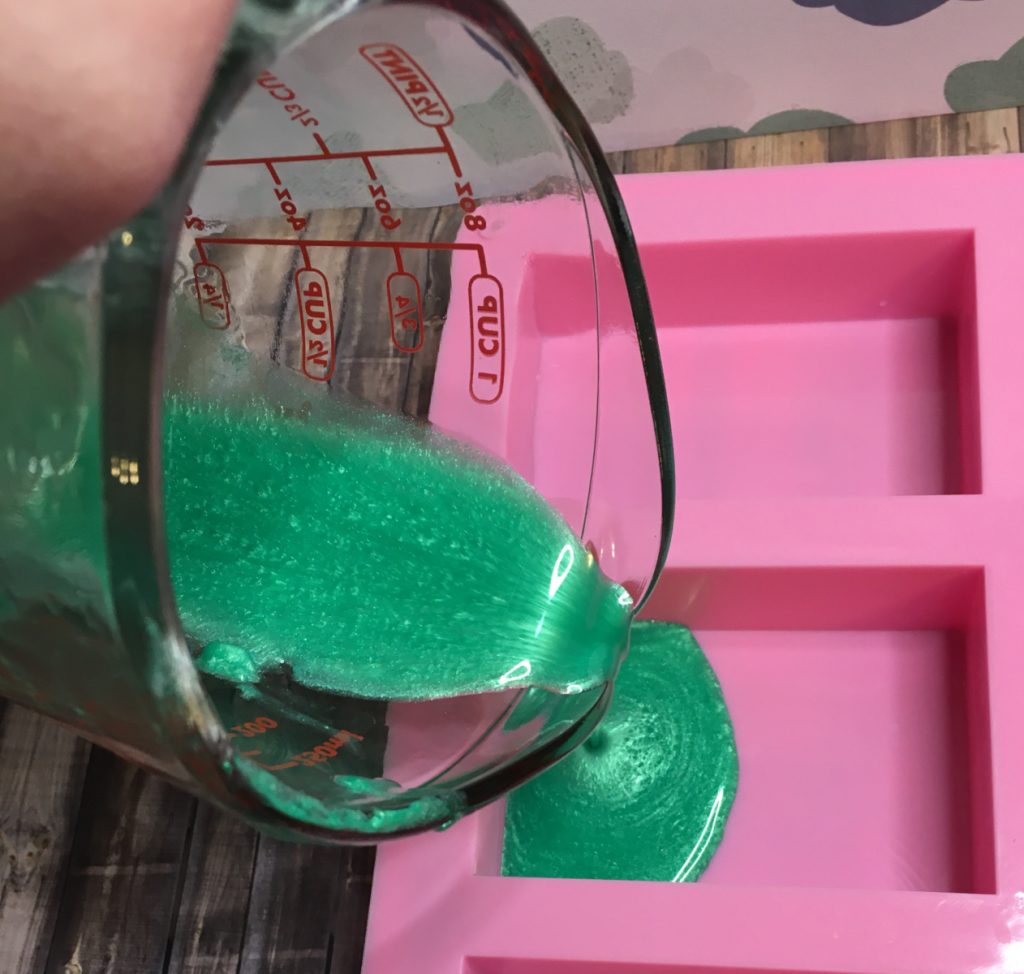
4. Pour it in one of your bar silicone molds. Then spray with rubbing alcohol to remove any air bubbles. Set aside to cool.

Part 2 – Making Embeds
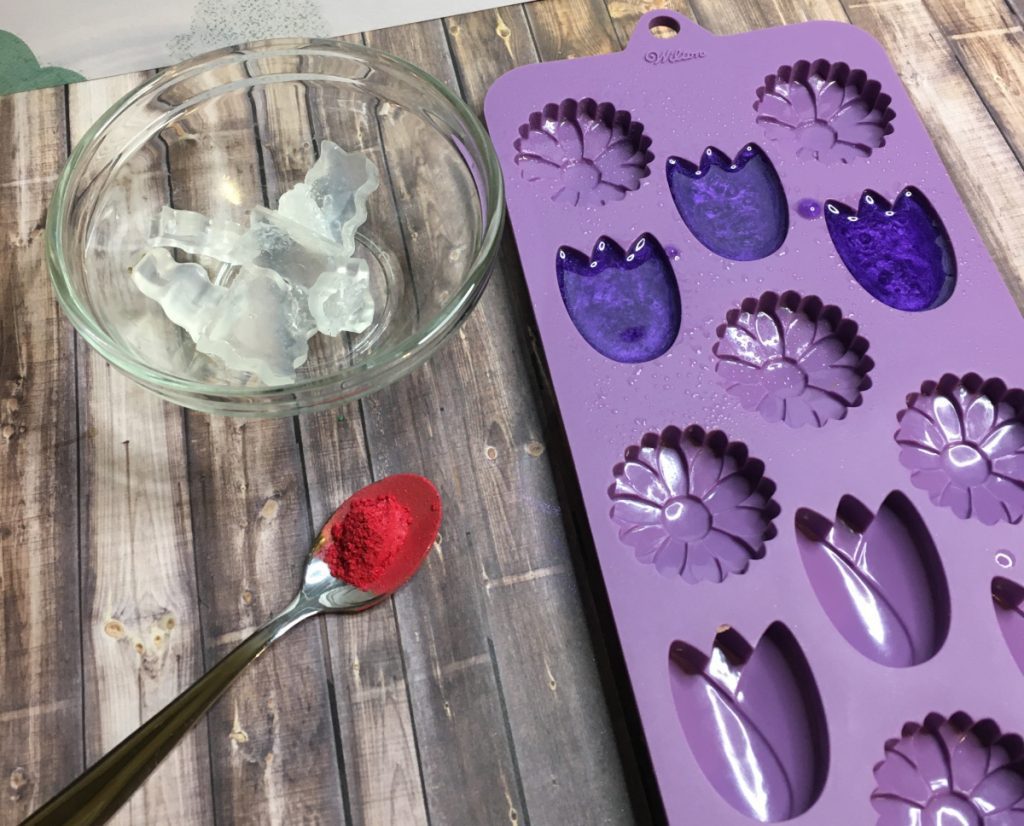
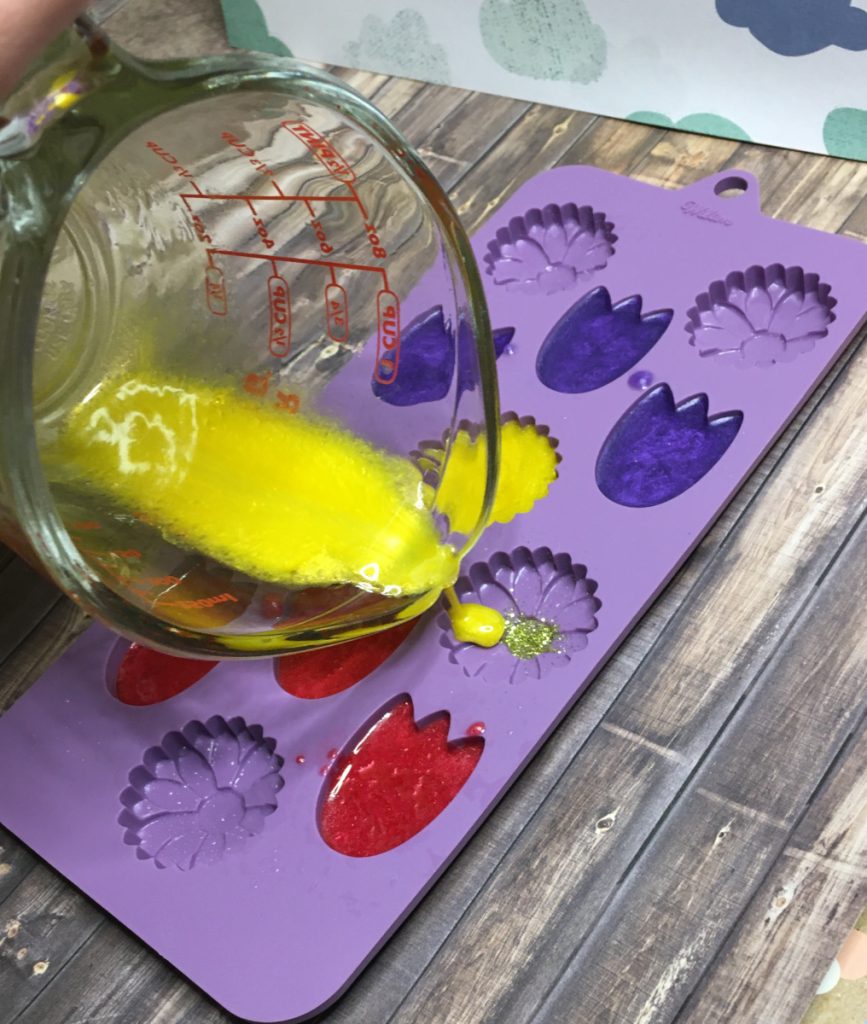
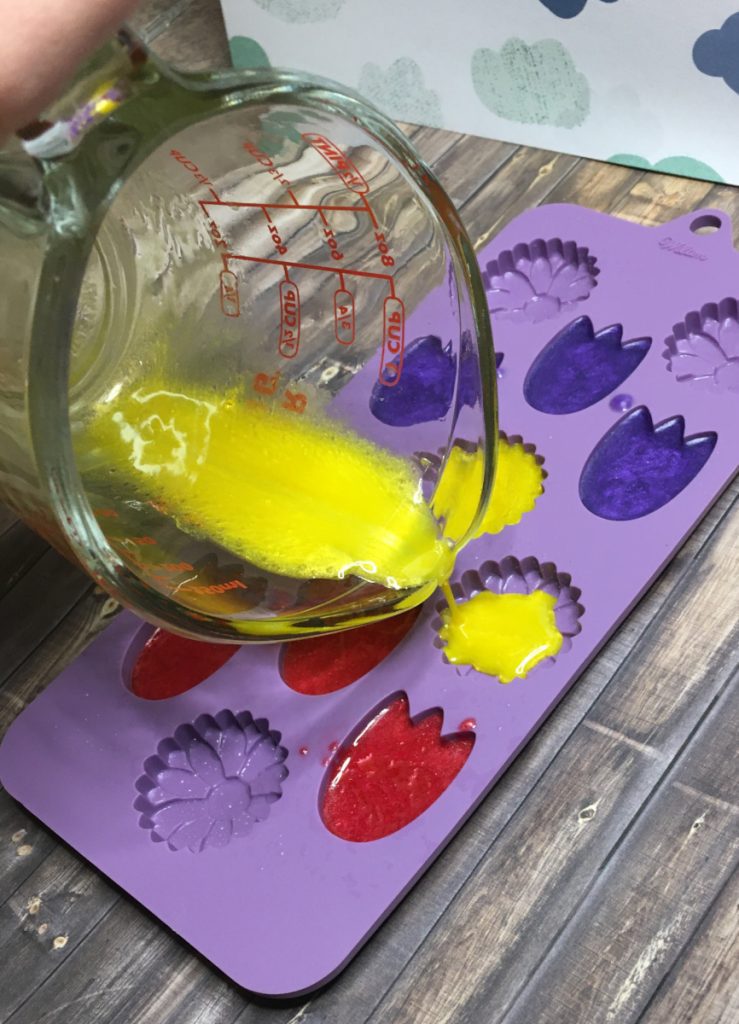
- Weight out 15 grams of clear melt and pour soap. Melt it in the microwave in 5 second intervals.
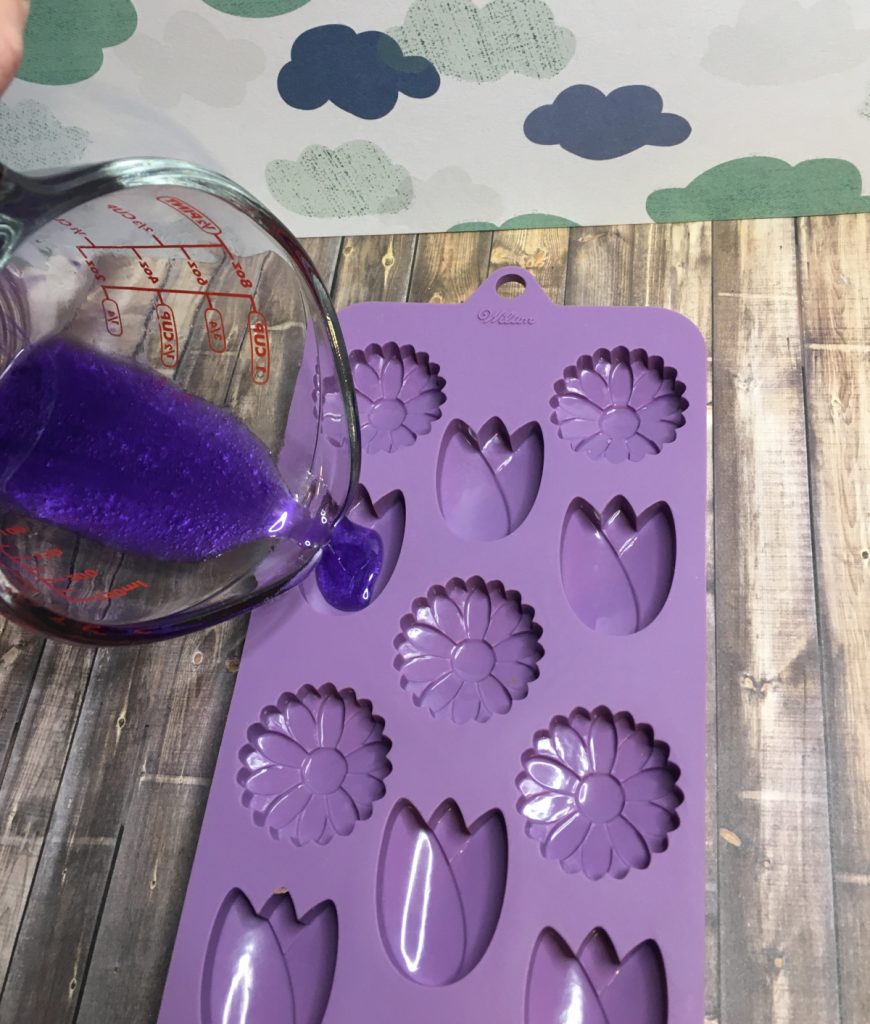
- When the soap is full melted, add your fragrance oil and purple mica powder. Mix well.
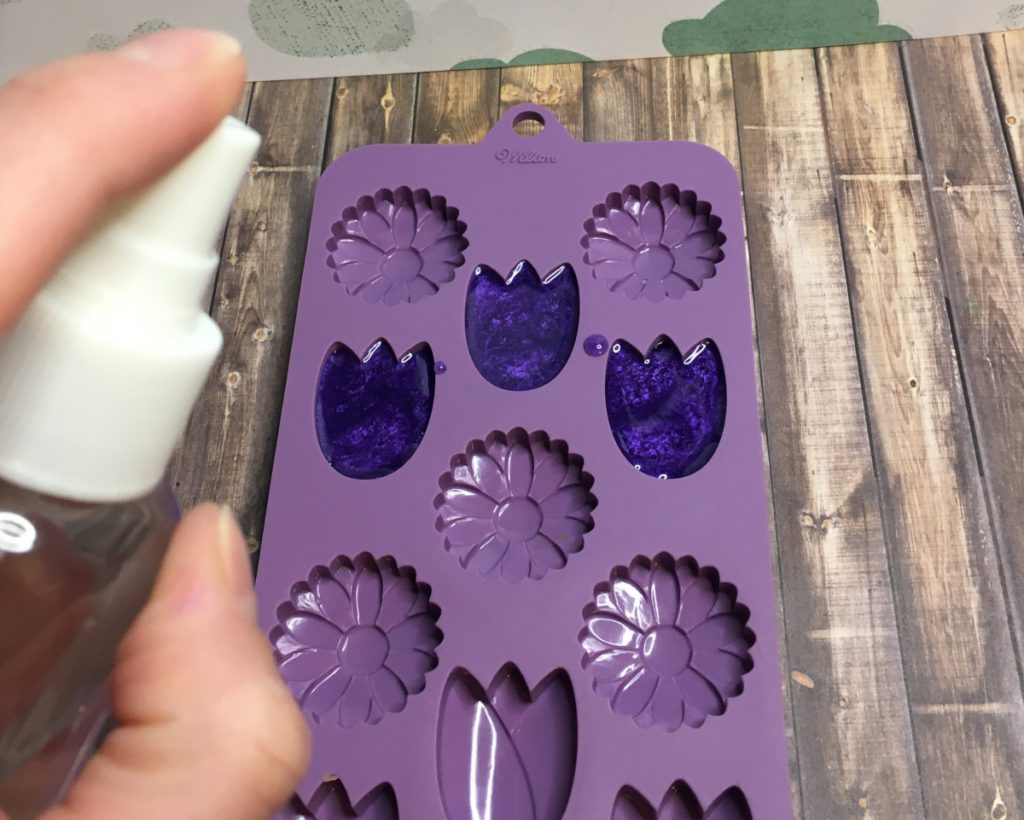
- Pour into your flower silicone mold in the tulip spaces. Spray the top with rubbing alcohol.
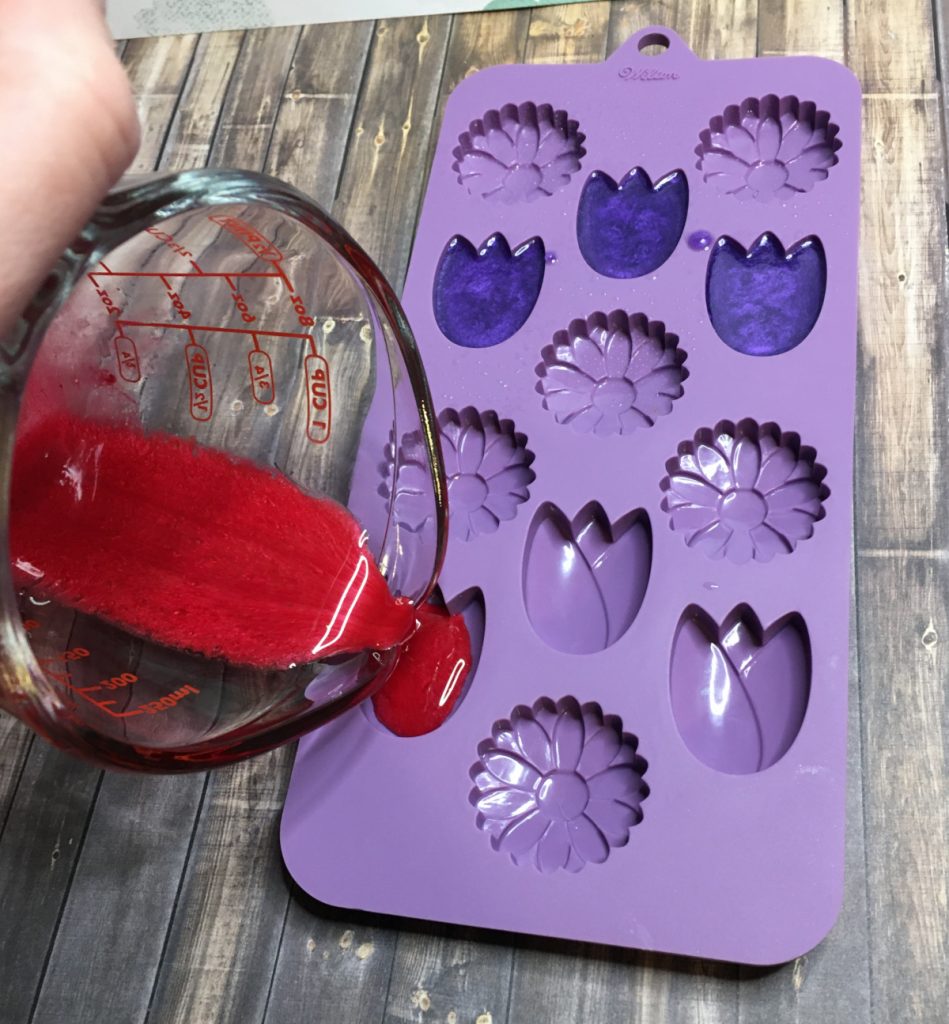
4. Repeat steps 1-3, but with red mica powder.

5. This step is completely optional. If you want the center of your Daisy flower to have glitter… Grab your biodegradable glitter! You want to grab just a small amount and place the biodegradable glitter in the center of the daisy.
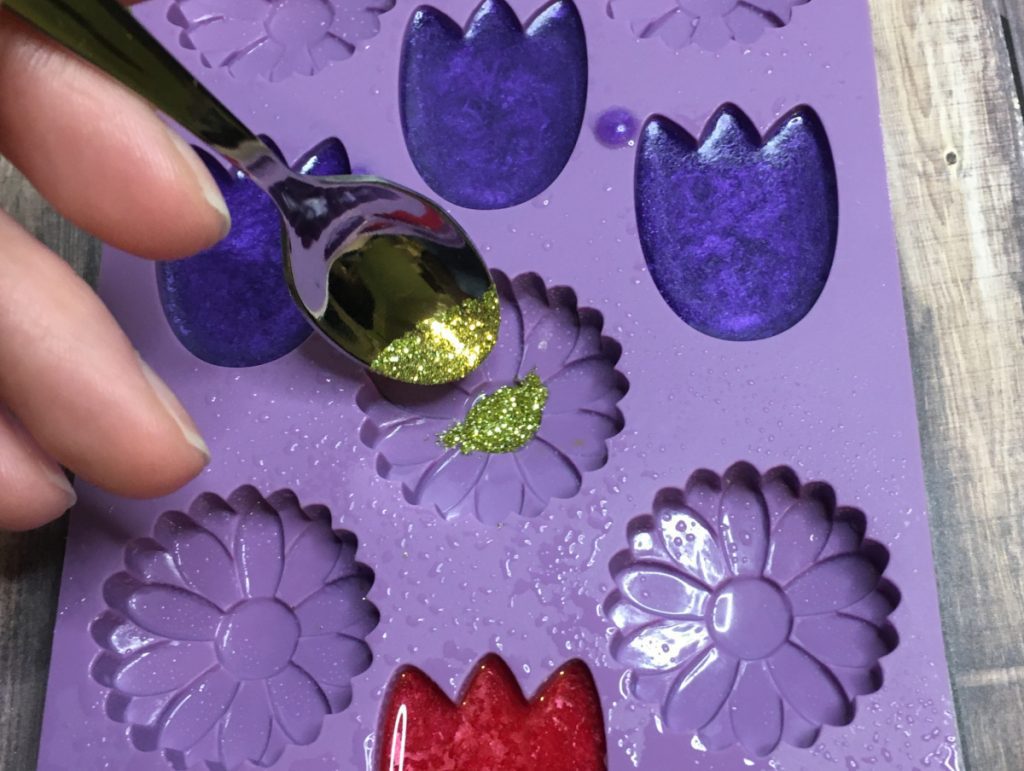
It does not have to be perfect, just try to get it to fill the center of the flower as best as you can.
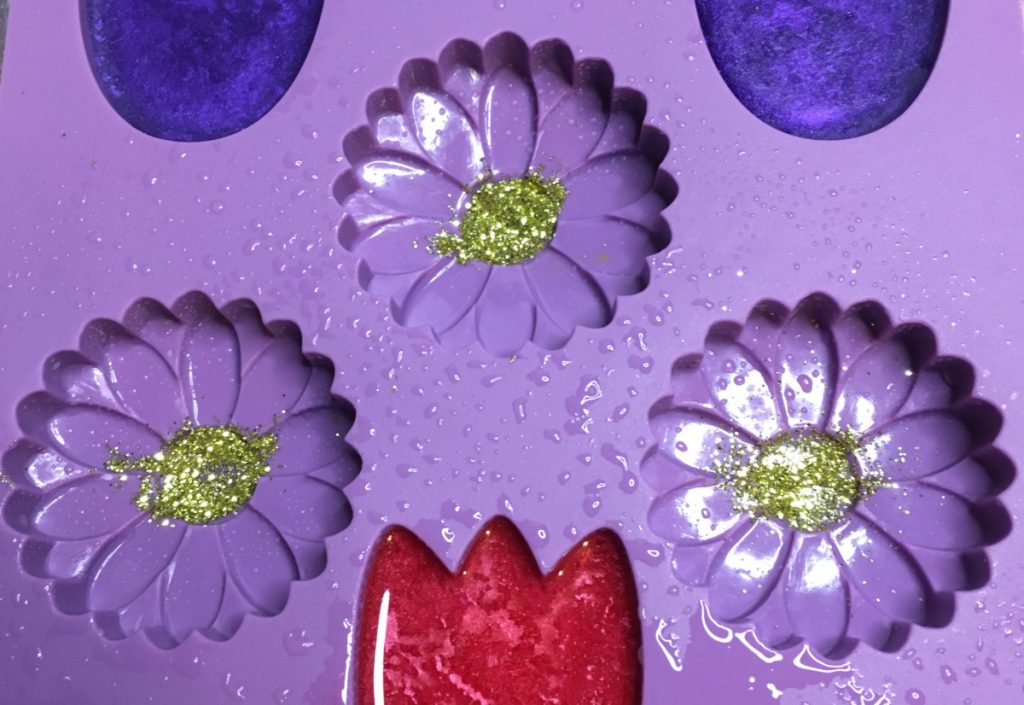
6. Repeat steps 1-2 with the yellow mica powder.
7. Start to pour the yellow melt and pour soap into your daisy spaces. You will want to try to pour from the edge of the flower very slowly. You do this so your biodegradable glitter stays in the center of the mold. Spray the top with rubbing alcohol.
8. Set aside and allow the embeds to cool completely.
Part 3 – Shredding Soap and Unmolding Embeds


- Unmolding: After your embeds have cooled, you can start unmolding them. You can also unmold the green layer of soap from Part 1.
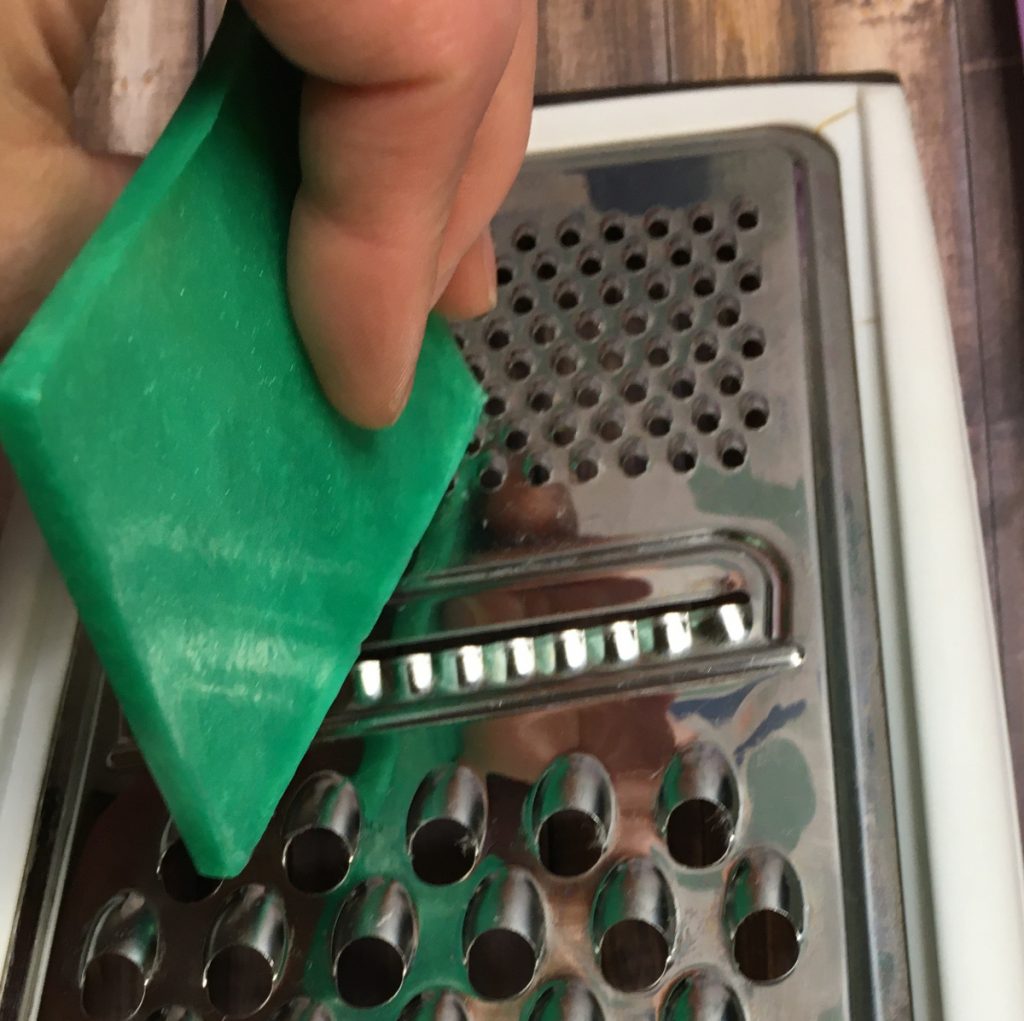
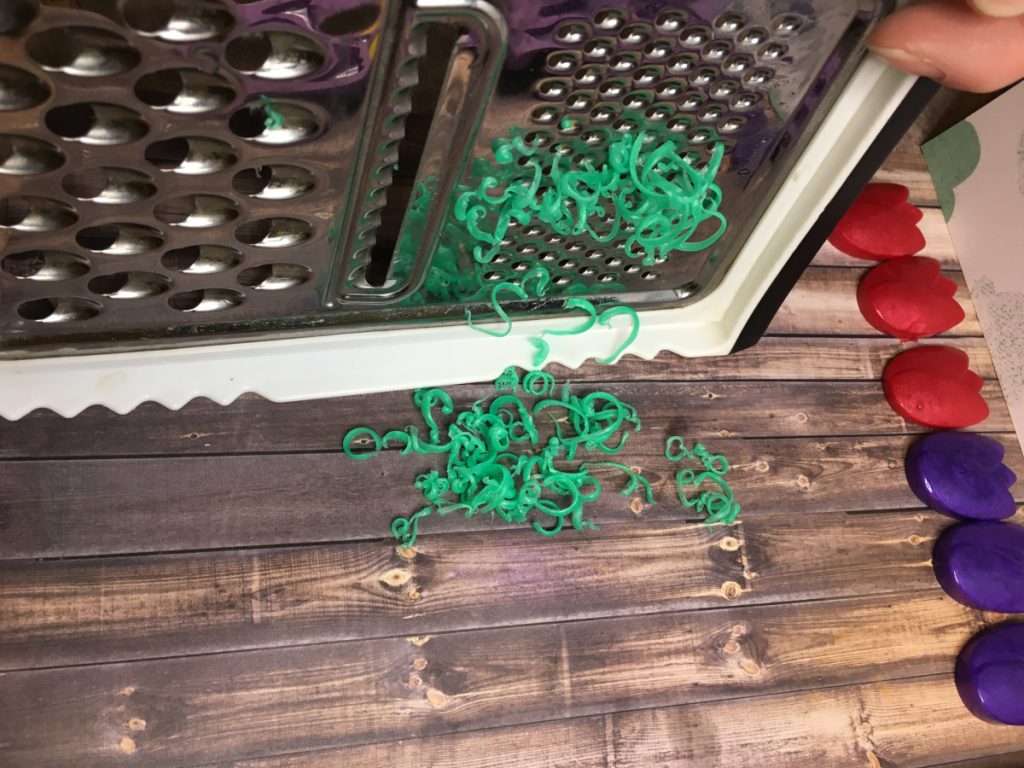
2. Shredding: This is pretty straight forward, we are going to grab a cheese shredder and shred our soap. Please note, if you use the large shredding section your grass will be a lot thicker. I prefer to use the bottom part with the fine shreds for this soap.
Part 4 – Pouring the bottom clear layer
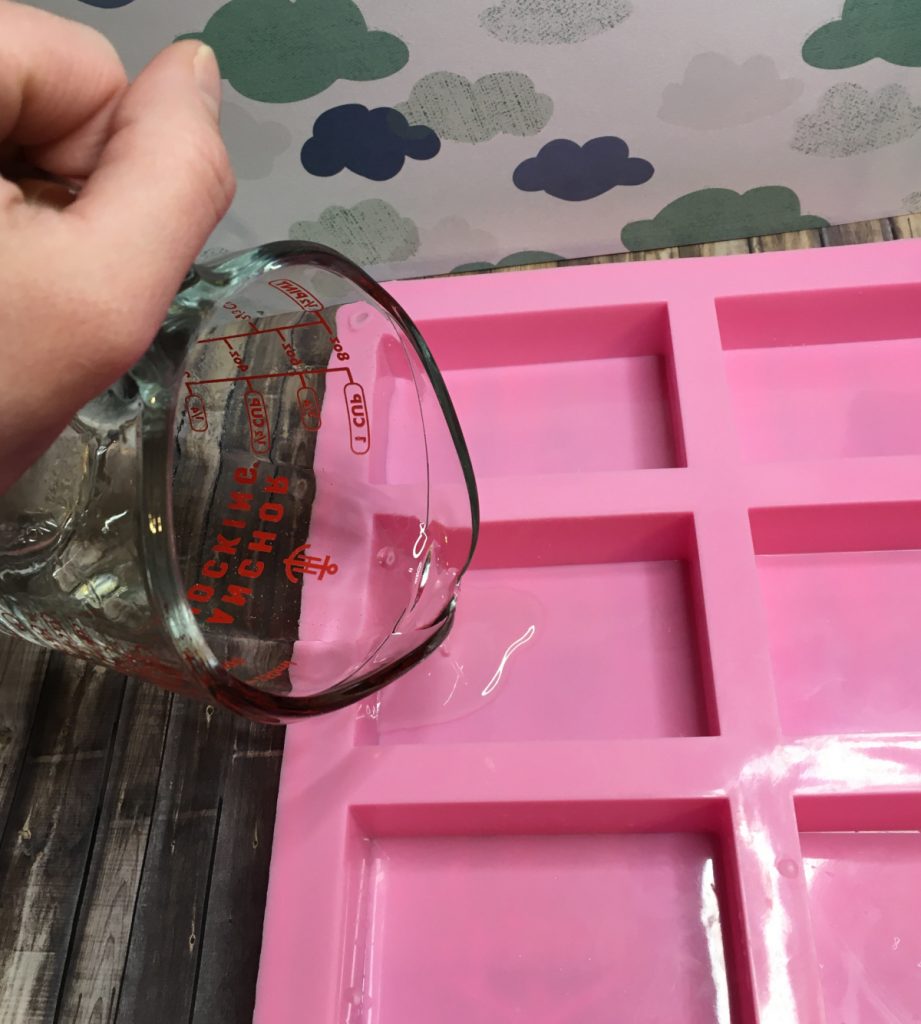
- Weight 20 grams of clear melt and pour soap. Melt in 5 second intervals until it is fully melted.
- Add fragrance oil and mix well.
- Pour into the bottom of your rectangle soap mold. You only need to pour enough of the soap to get a thin layer on the bottom of the mold.
Part 5 – Adding “Grass” and Clear Layer 2
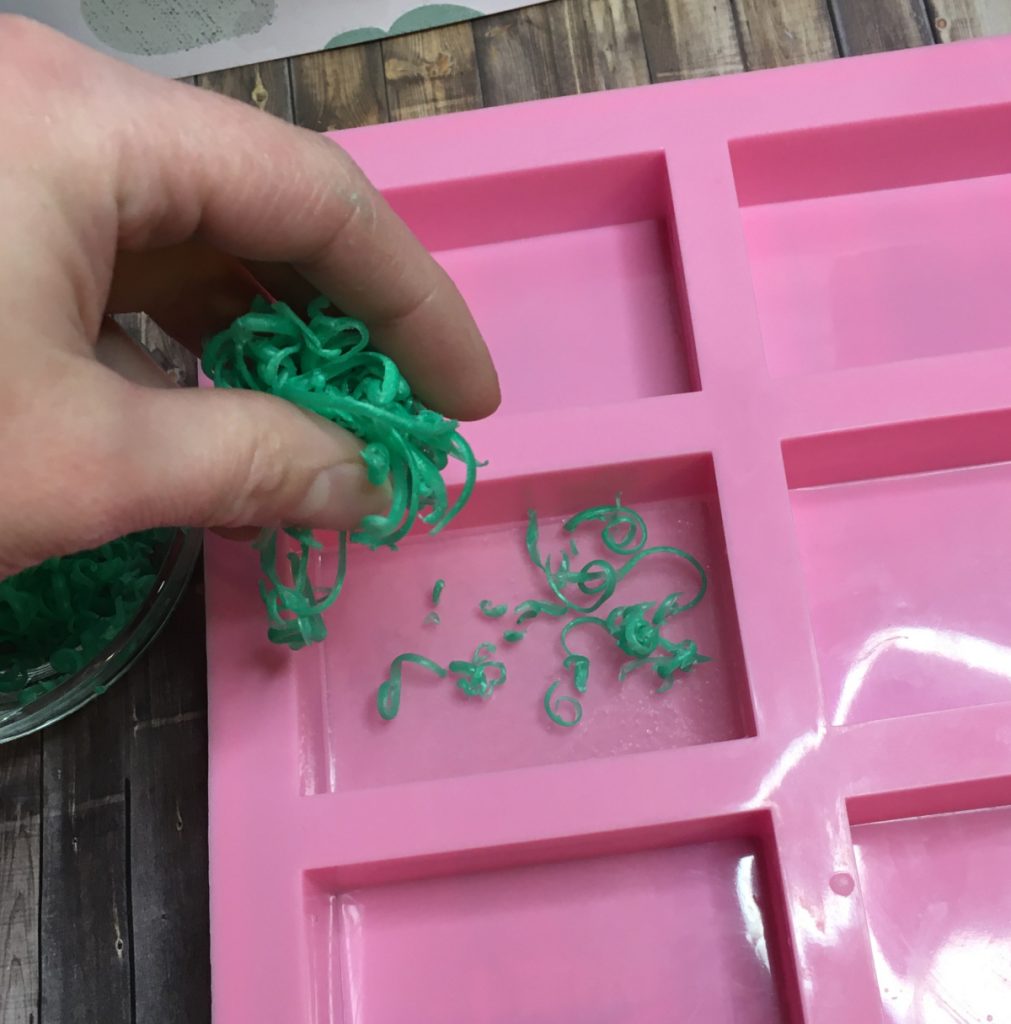
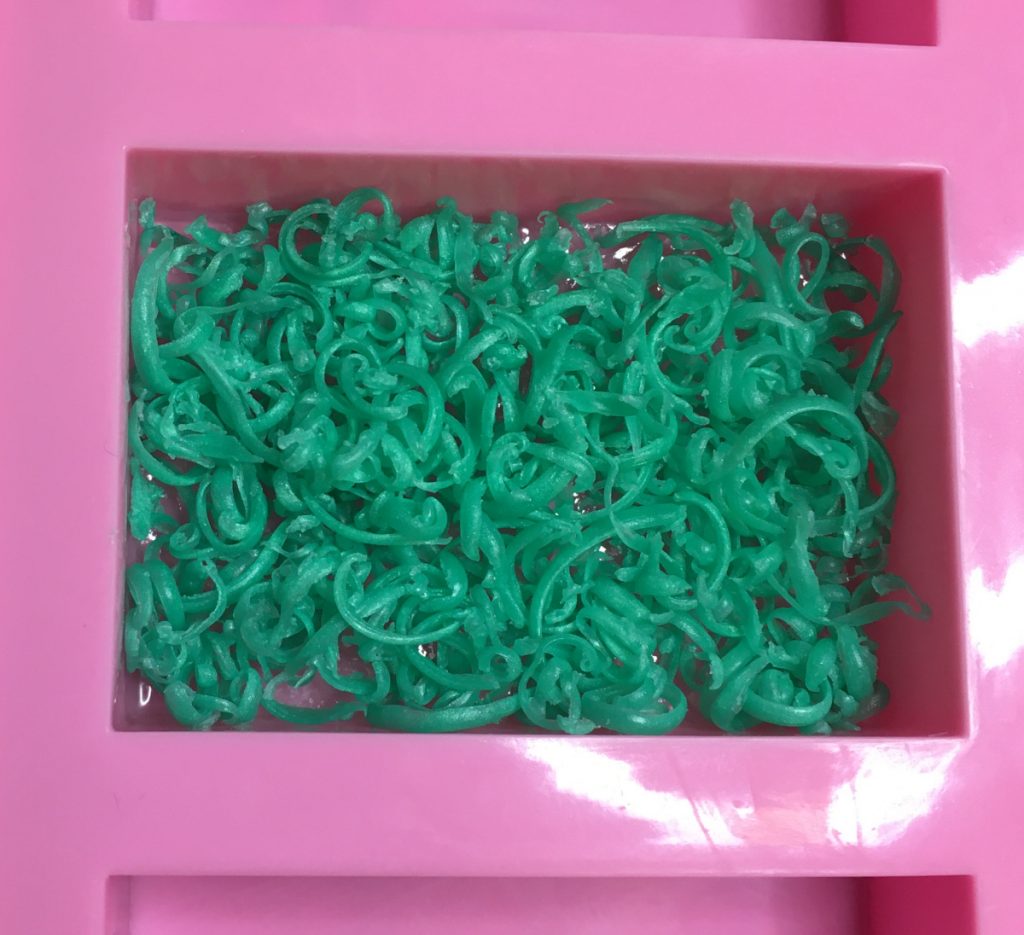
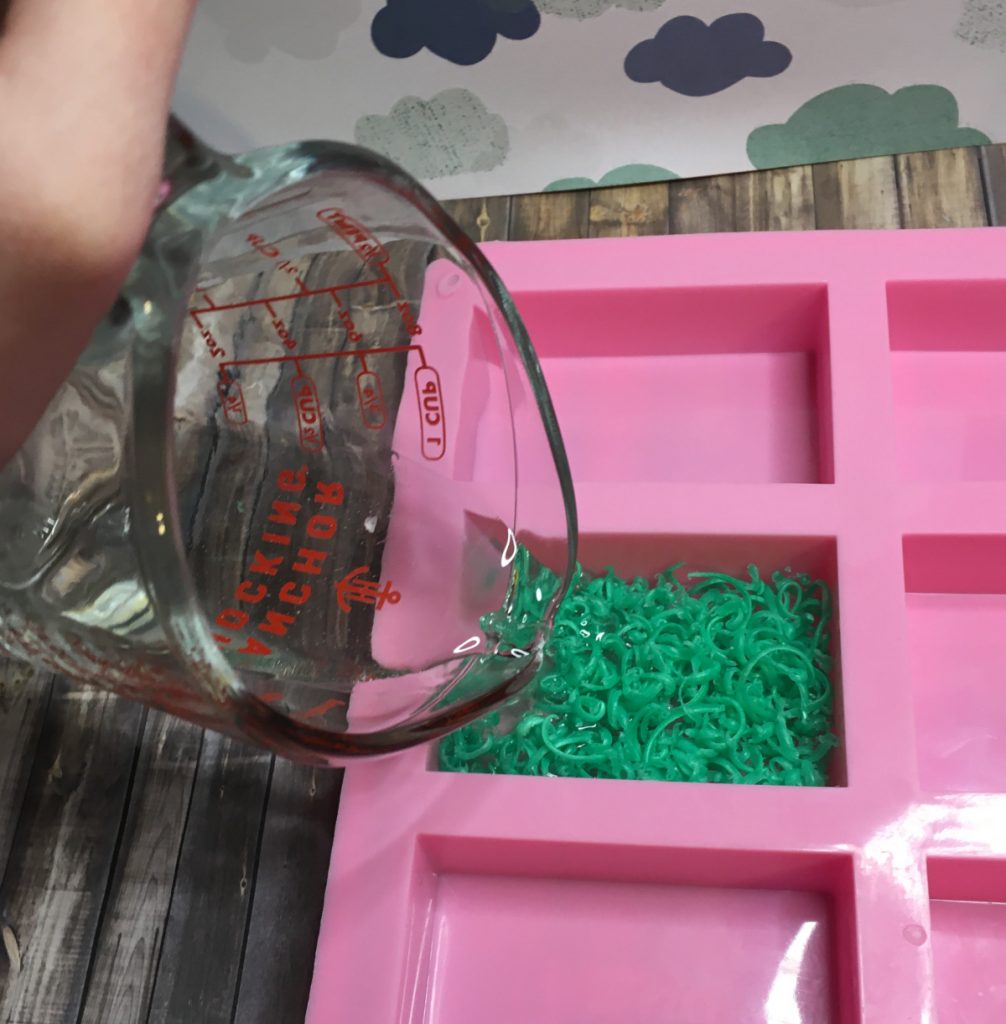
- After the first layer of clear melt and pour soap has cooled so there is a layer on top of it, start adding the green soap shreds to it.
2. Weigh out 36 grams of clear melt and pour. Melt in 5 second intervals until melted. Add fragrance oil. Allow it to cool a little bit, we don’t want it to melt our grass shreds.
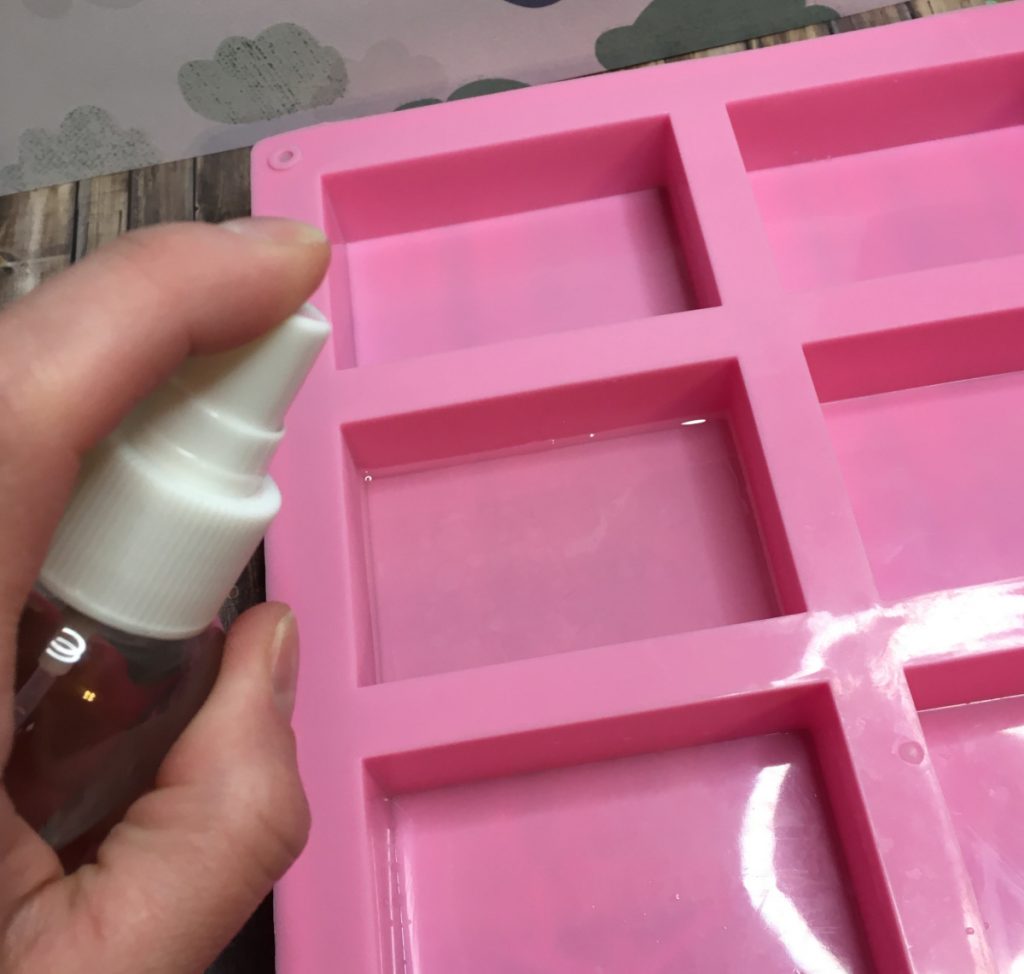
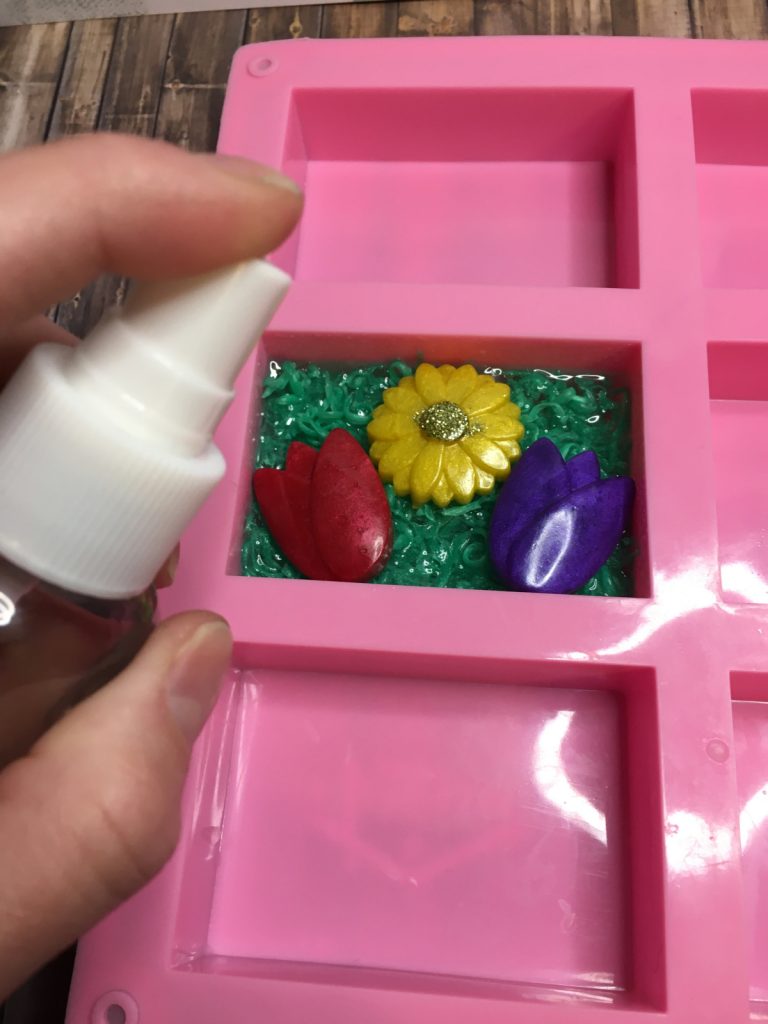
3. Spray the grass shreds with rubbing alcohol. When placing any embed into a soap, you always want to spray it well with rubbing alcohol. The rubbing alcohol works like a glue to hold the soap to the embed.
4. Slowly pour the melt and pour soap on top of the grass shreds until they are fully covered.
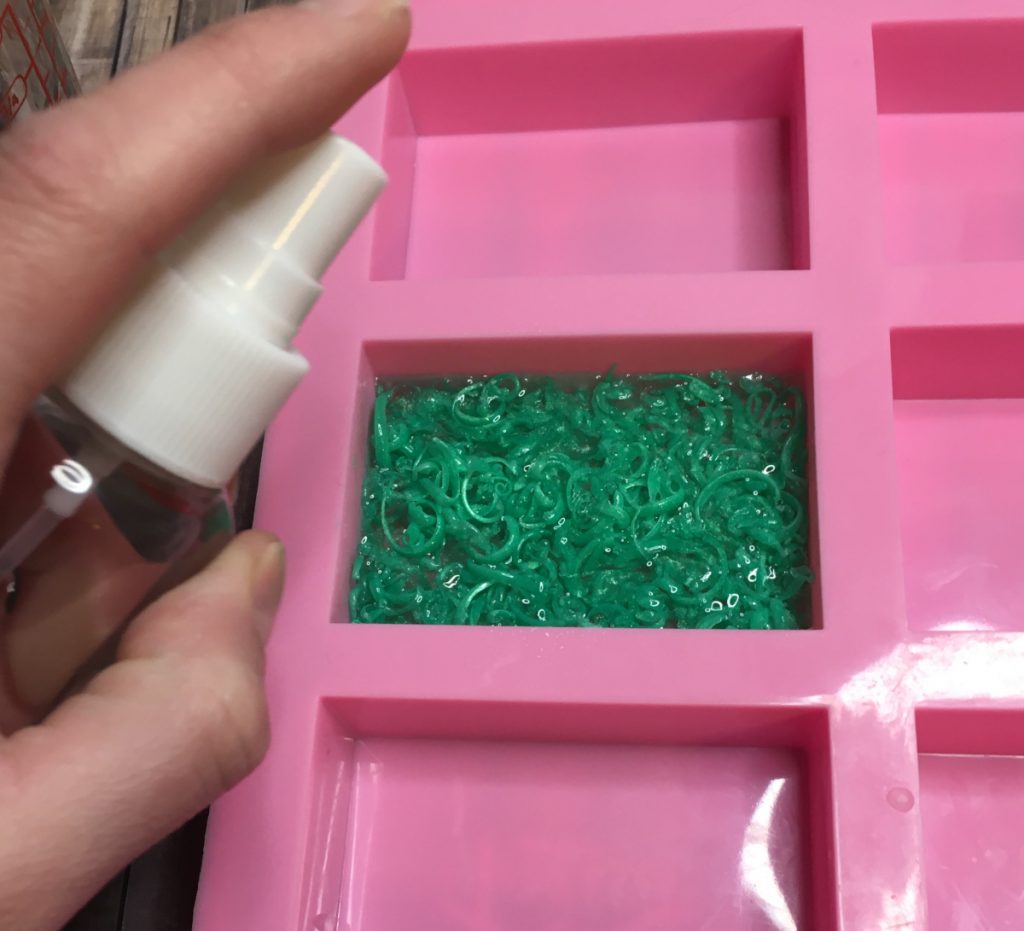
5. Spray the top of the soap with rubbing alcohol to pop any bubbles.
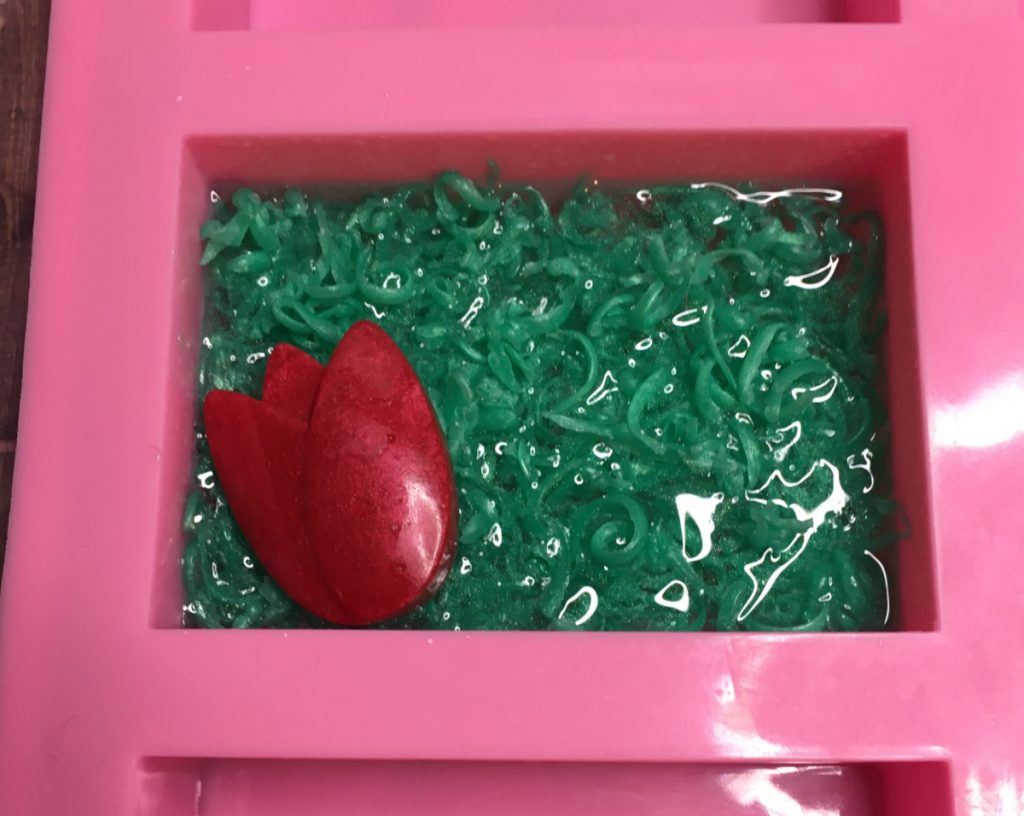
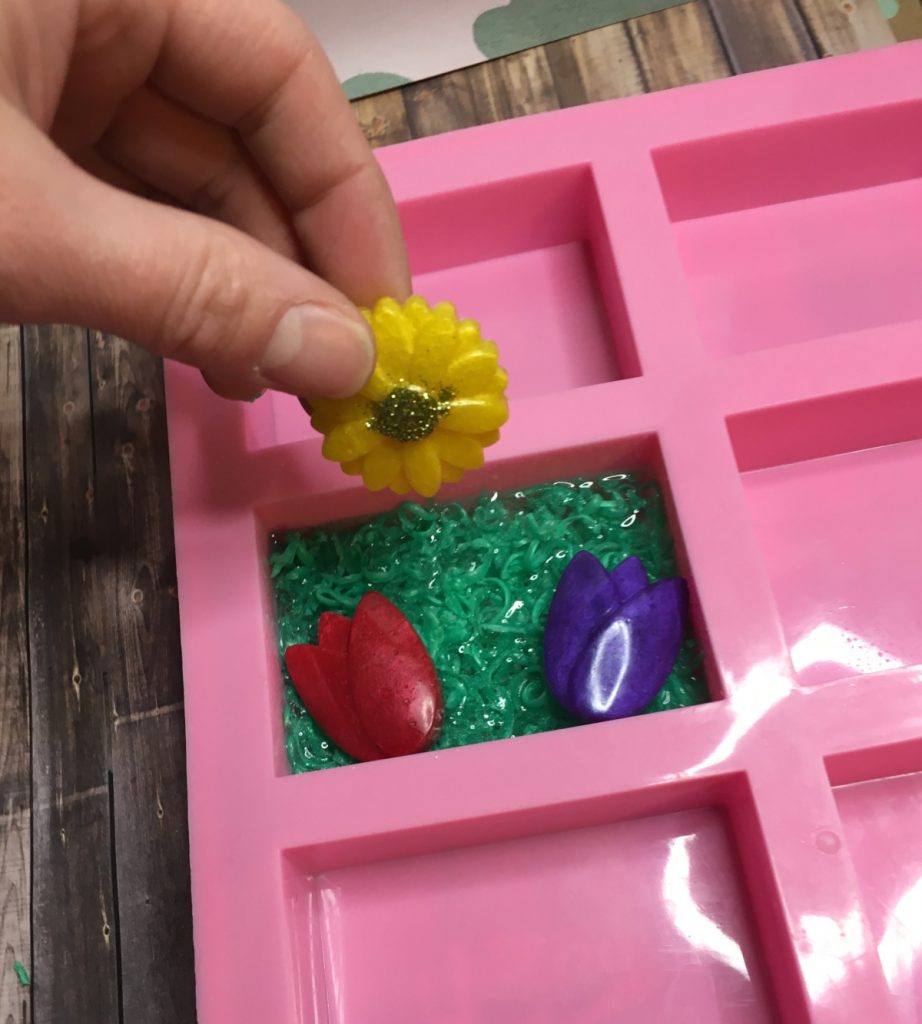
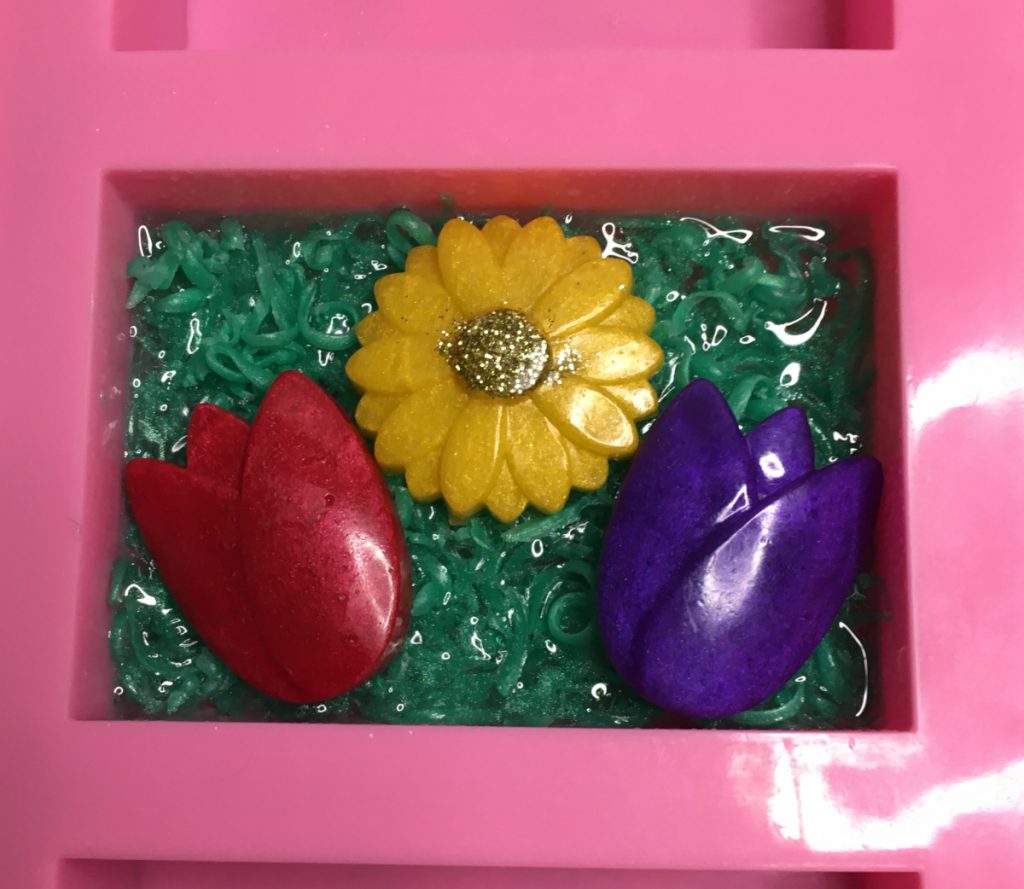
Part 6 – Adding Flower Embeds and Clear Layer 3
- After the second layer of clear melt and pour has cooled a little and formed a layer on the top, start placing your flower embeds.
2. Measure 50 grams of melt and pour soap. Melt it in the microwave in 5 second intervals until melted.

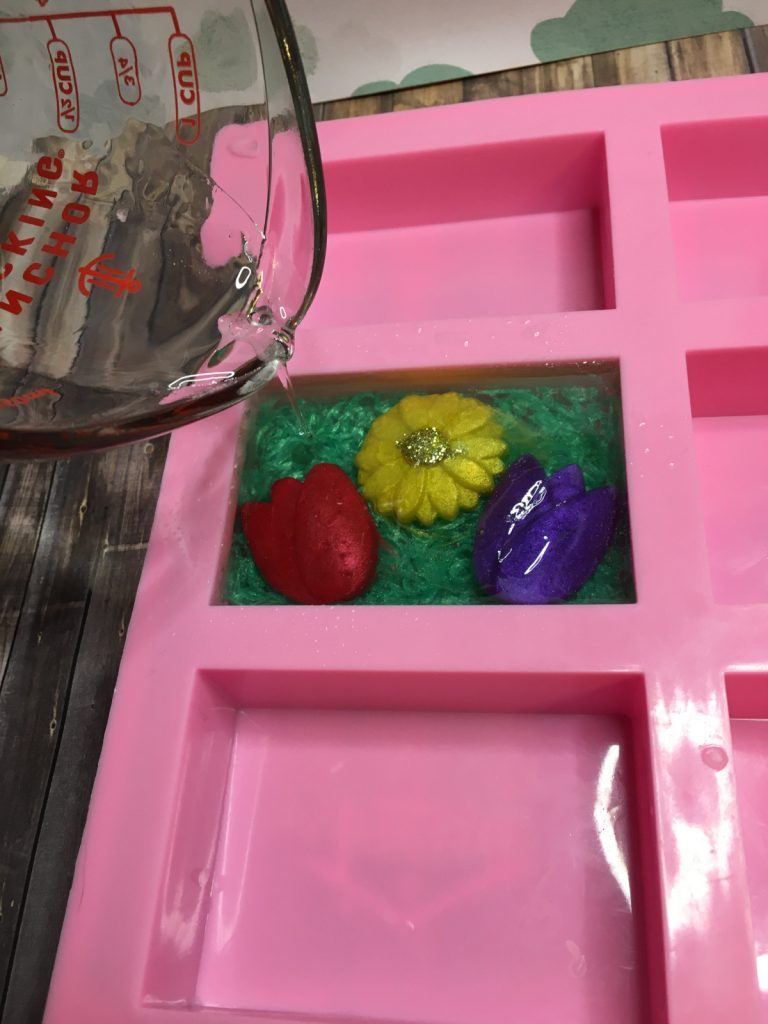
3. Add fragrance oil and mix well. Keep mixing for a little bit to cool the soap. (If it is too hot, it will melt your embeds).
4. Spray the embeds with rubbing alcohol.
5. Pour the last layer of clear melt and pour over the embeds and fill the mold to the top.
6. Spray with rubbing alcohol.
7. Allow the bar to cool completely.


Comments are closed.