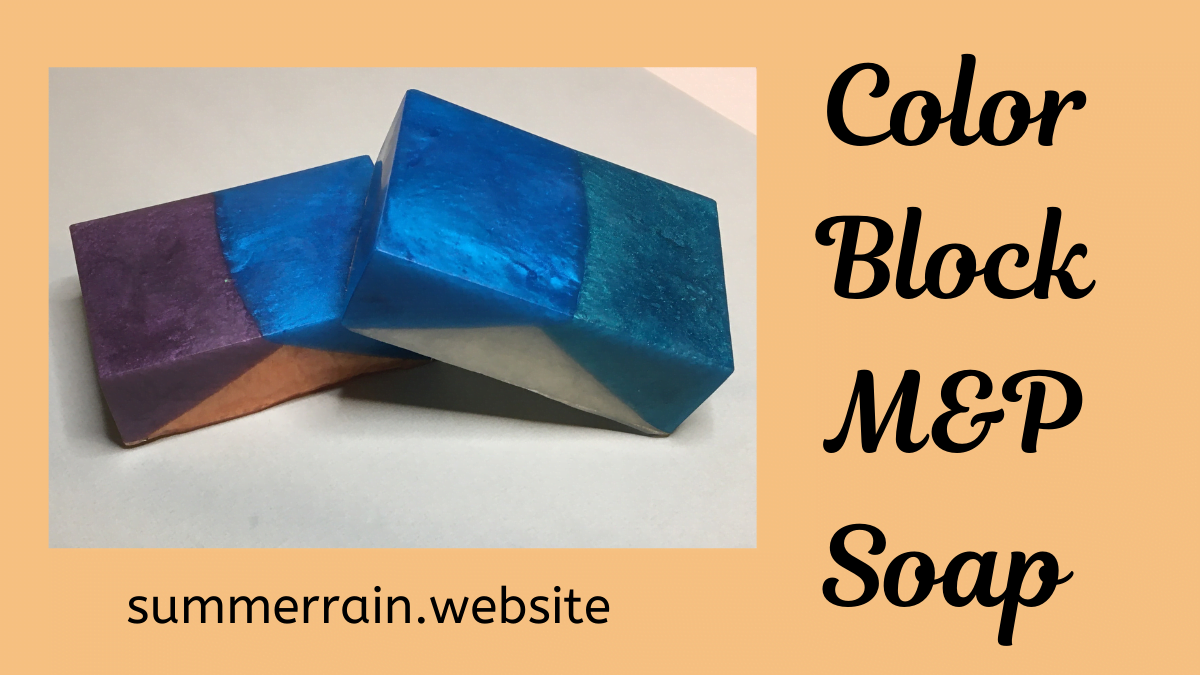
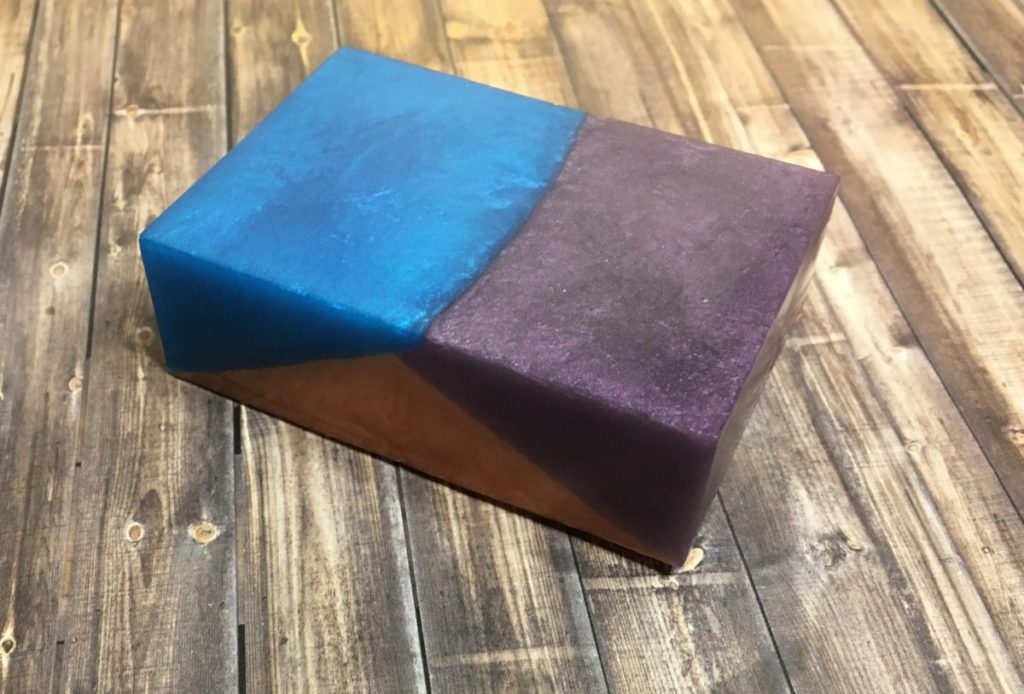
This week we are going to learn another technique for melt and pour soap. In a previous post, I showed you how to layer soap, this post is going to expand on that and teach you how layering with your mold at an angle, makes a completely different design.
Prefer to watch this project instead of reading it?
I absolutely love all the different designs that you can make with melt and pour soap. And, that you can use the soap right away!
Rubbing alcohol
Using rubbing alcohol is a must when you are layering soap. It is used for these reasons:
- To get rid of any bubbles on the top of the soap from pouring the soap into the mold
- Spraying on the bottom layer before pouring another layer, works as a sort of glue to hold the layers together
Materials
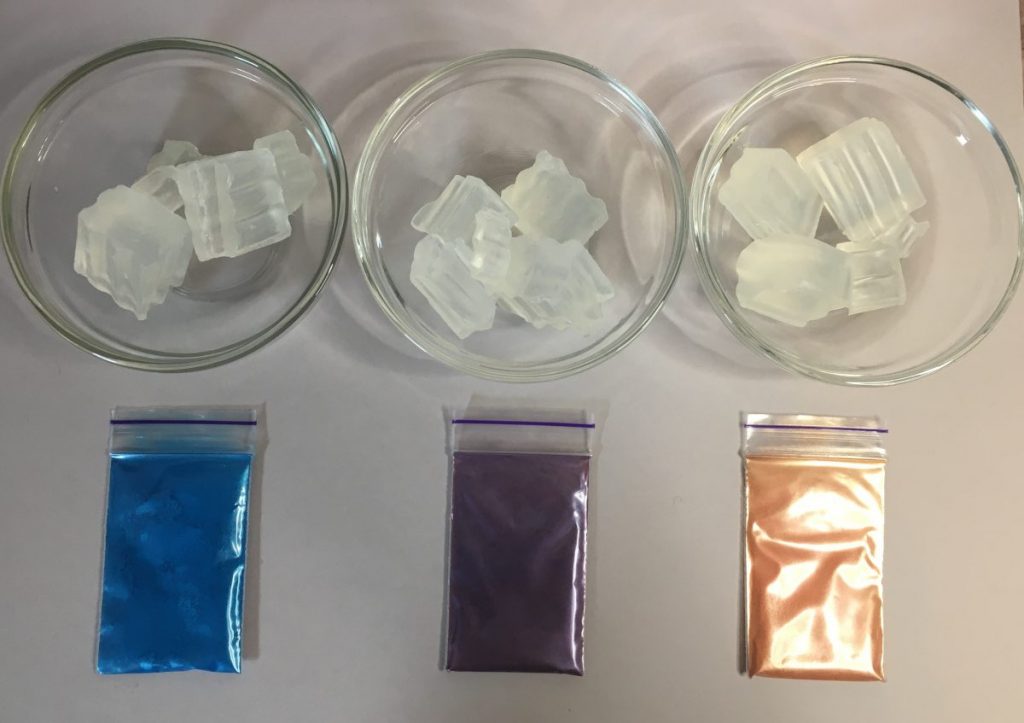
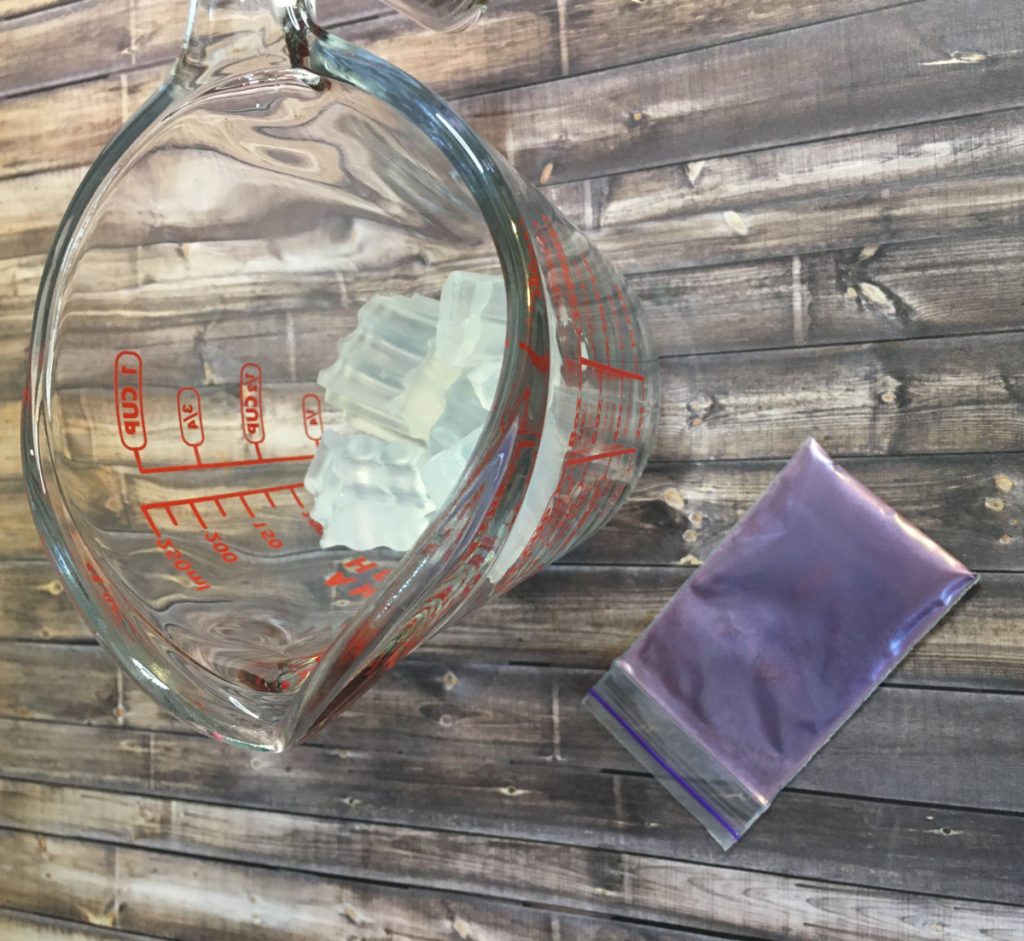
- Clear Soap base
- Mica powder (The link is for a sample pack of mica powder. Unless you are making large batches of soap, use something like this so you have a variety of colors to work with).
- Fragrance oils
Equipment
- Scale
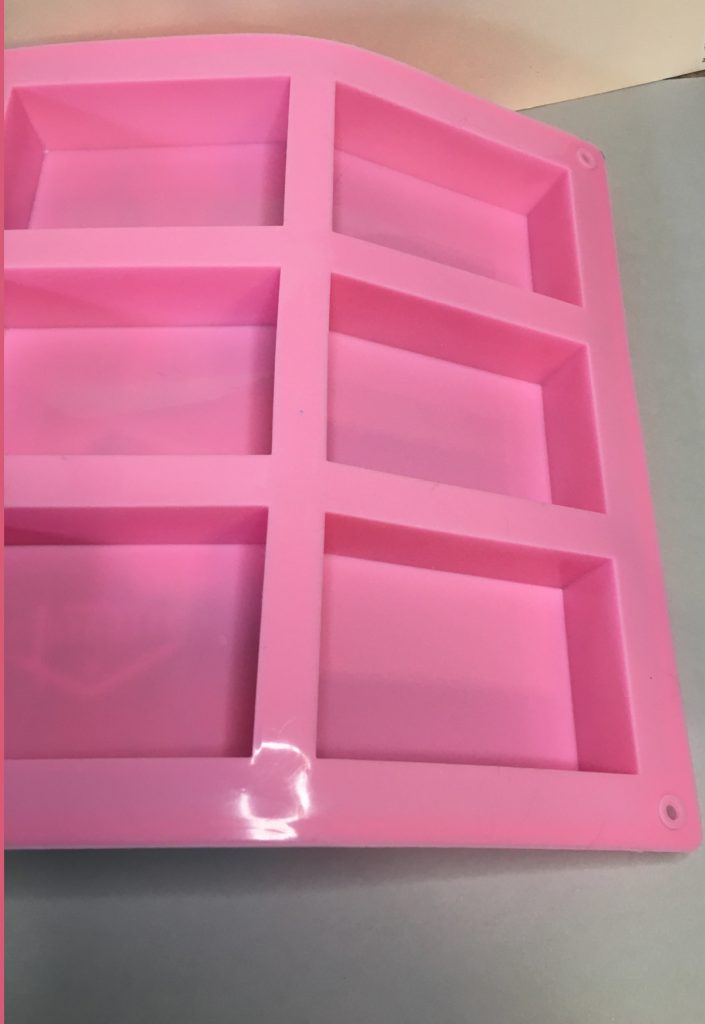
- Silicone mold
- Microwave safe measuring cup
- Spray bottle w rubbing alcohol
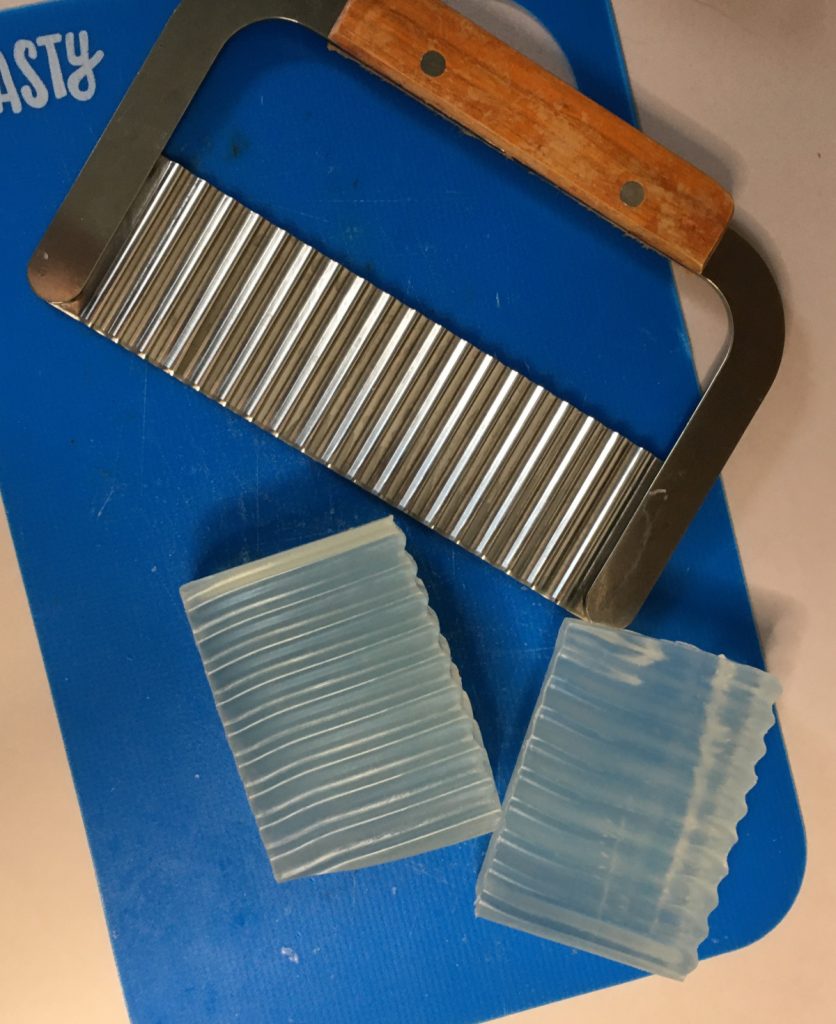
- Cutting board
- Soap Cutter
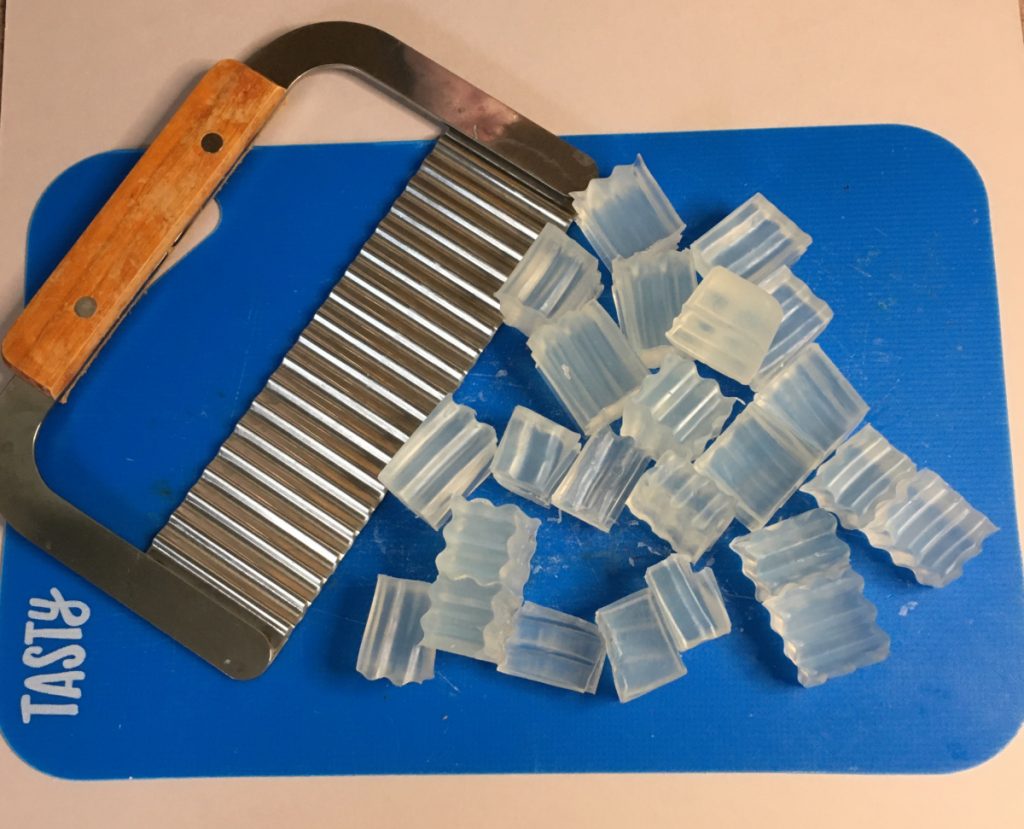
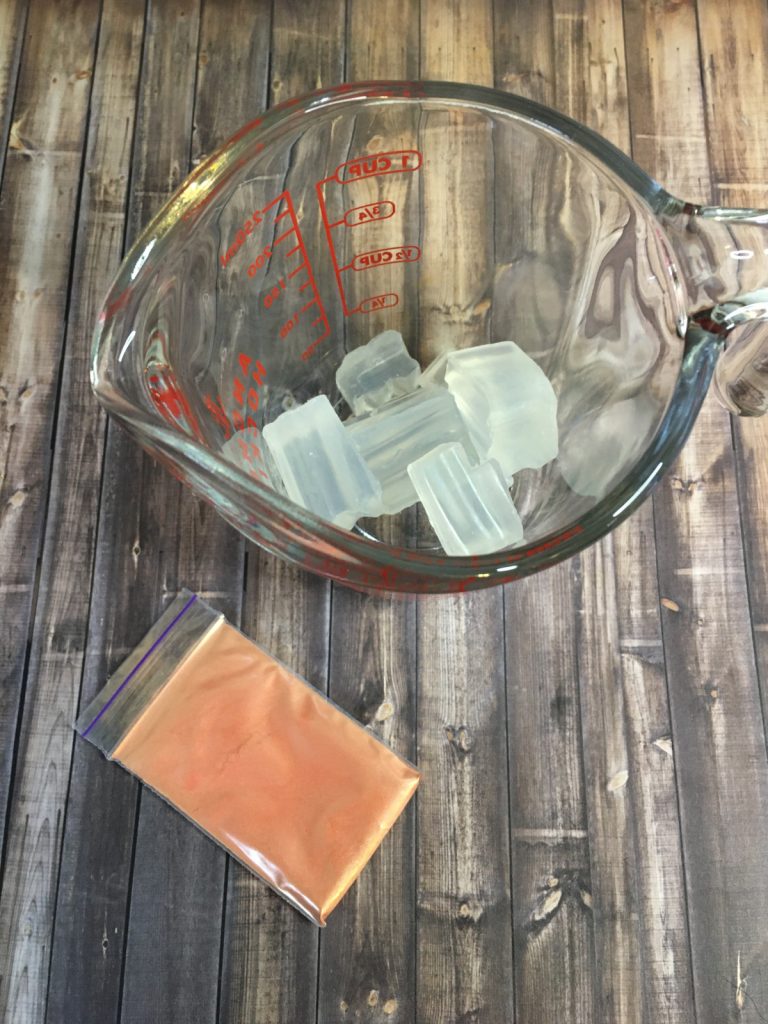
1: Start by cutting your soap into cubes. I try to make them about 1 inches each.
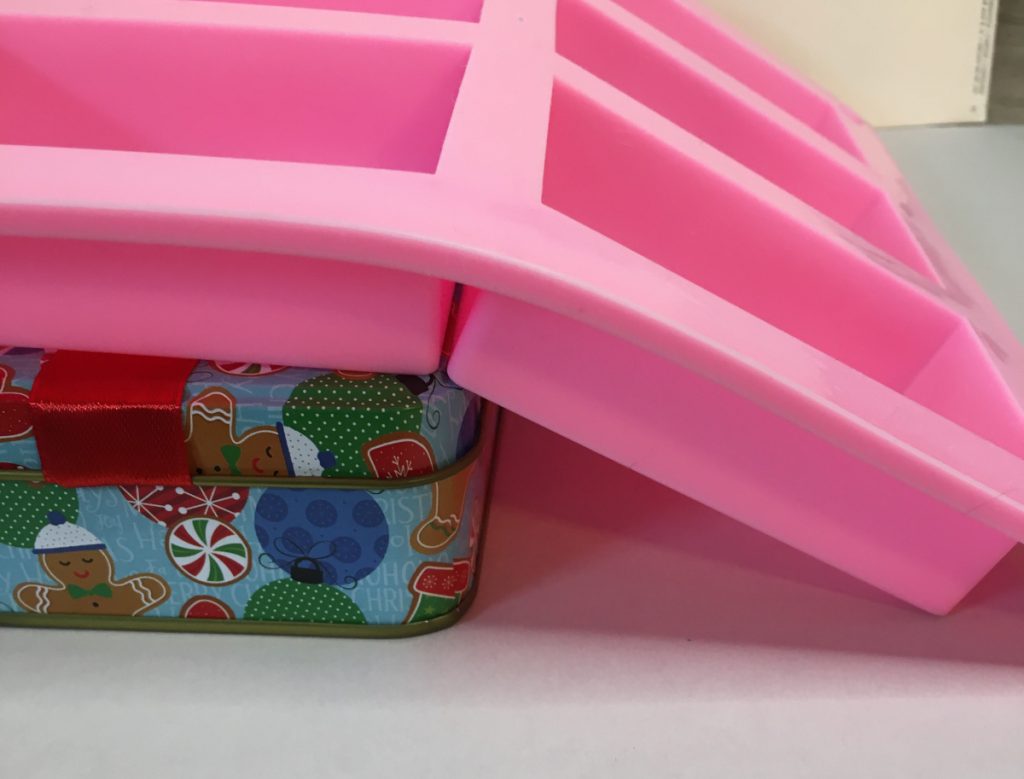
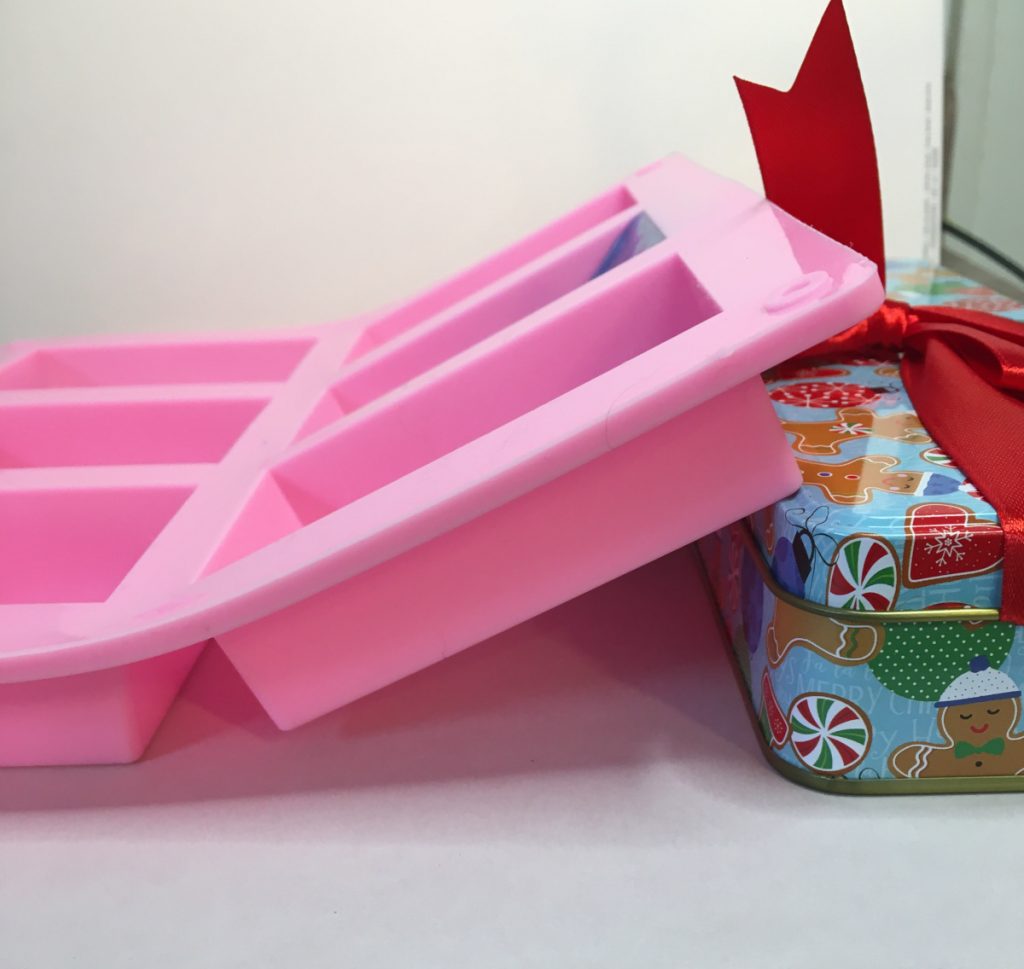
2: Take your silicone mold and prop it up on one side. For this, I just used a soap tin that I had handy. Feel free to use anything that is going to give your soap the angle you want.
3: If you know how much soap you need to fill your mold, skip to step #4. If you do not know how much you need. Grab your scale.
Start by weighing your mold on the scale. Tare the scale, so that it shows zero when the mold is sitting on it.
Add water to the mold and place it back on the scale. The weight of the water, is roughly how much soap you are going to need to fill the mold.
4: Take the total amount of soap that you will need to fill the mold and divide that number by 3. You do this because you are going to be using three different colors to make your color block soap.
5: Put 1/3 of the soap base into a microwave safe container.
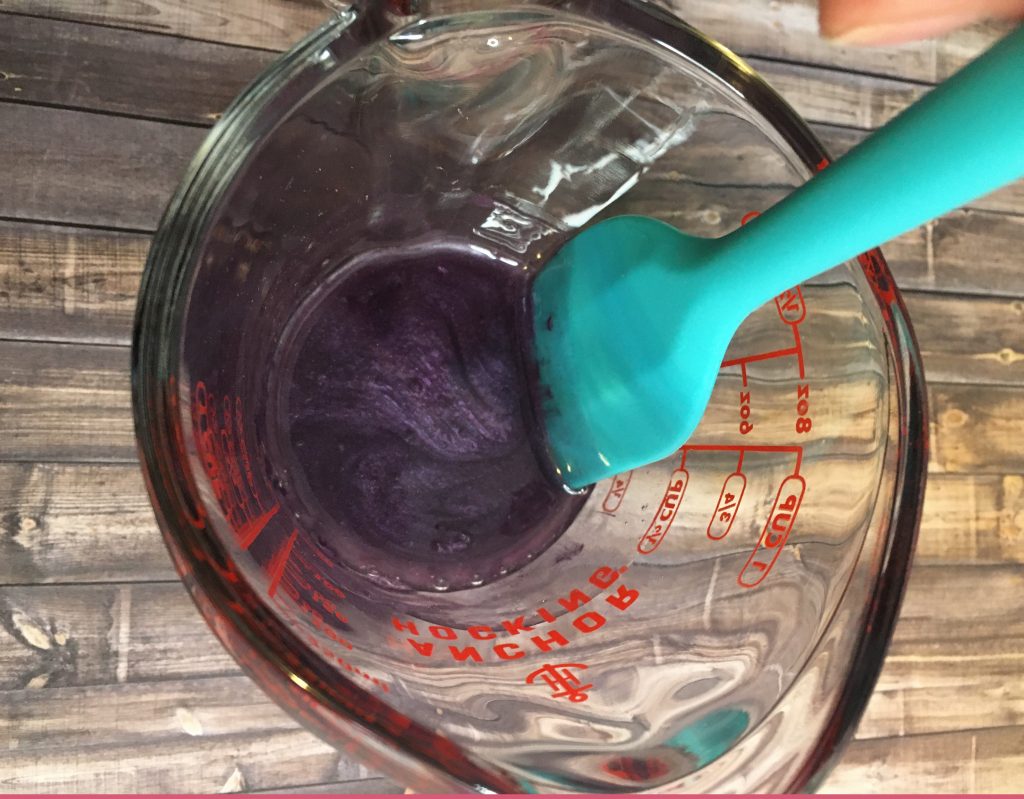
6: Microwave the soap for 15 seconds. Still well. Heat in 10 second bursts until the soap is fully melted.
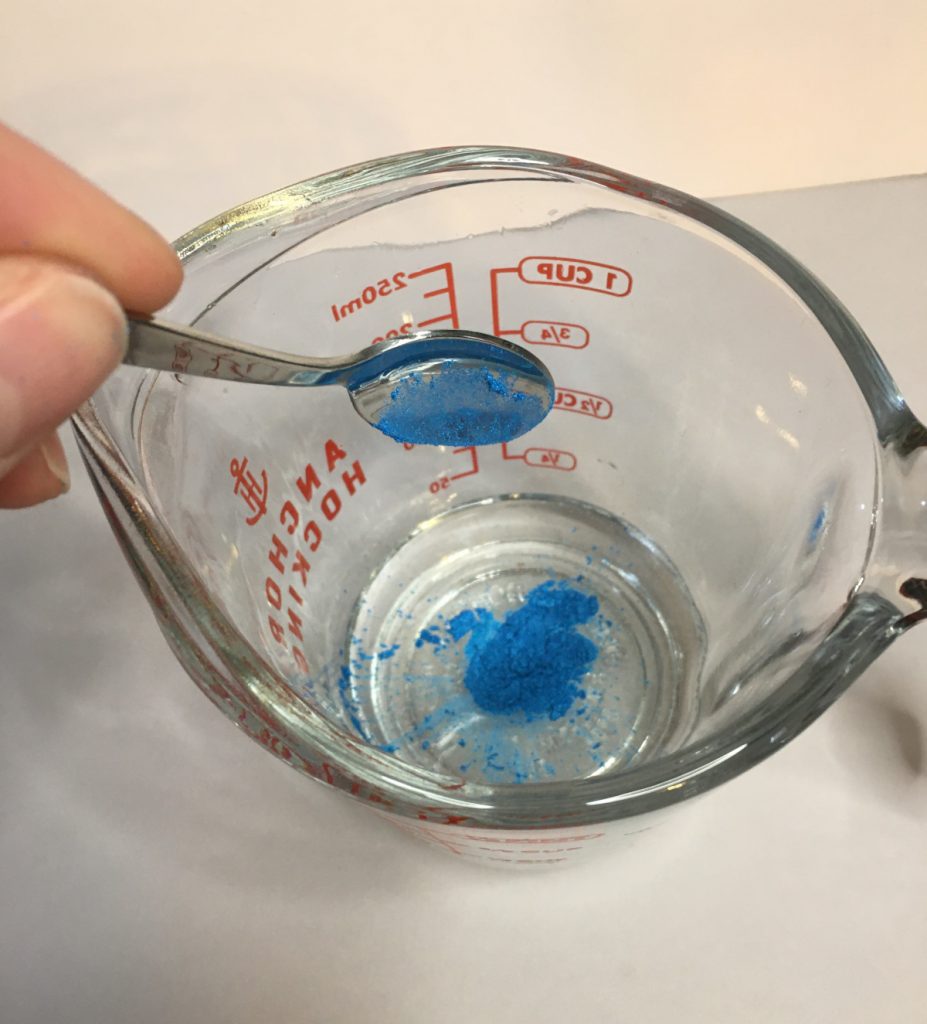
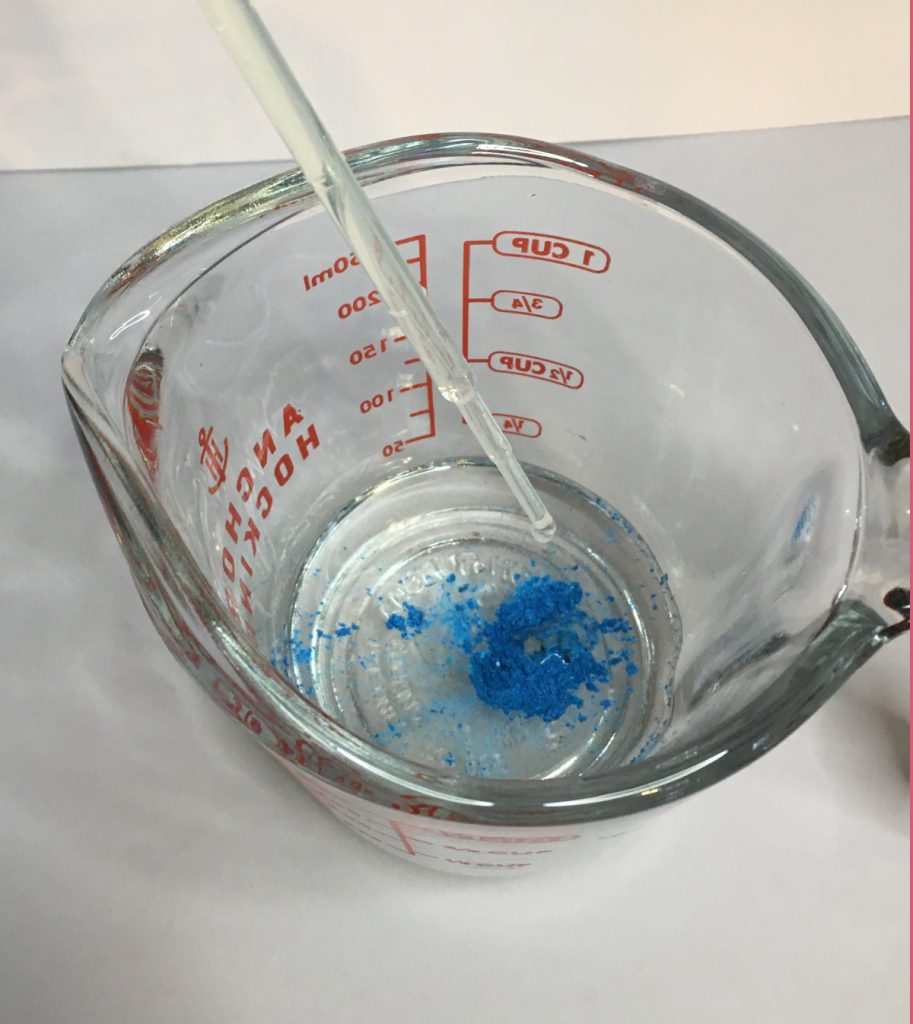
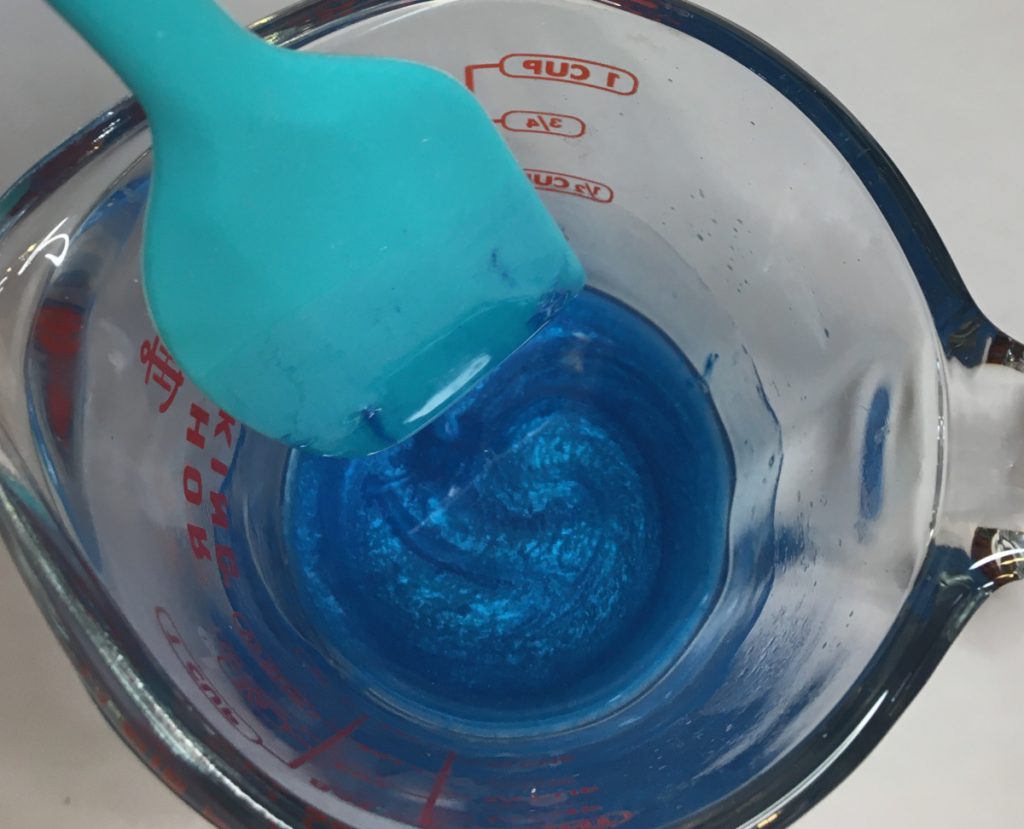
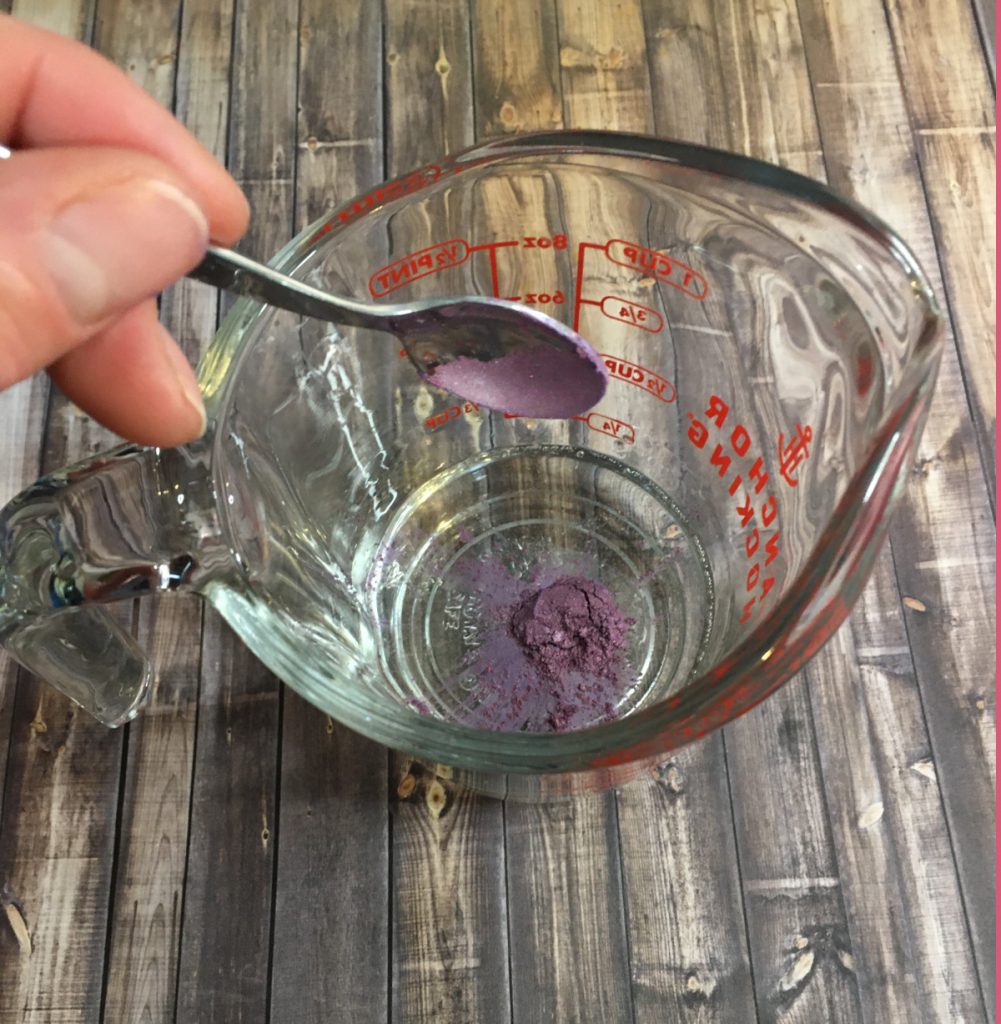
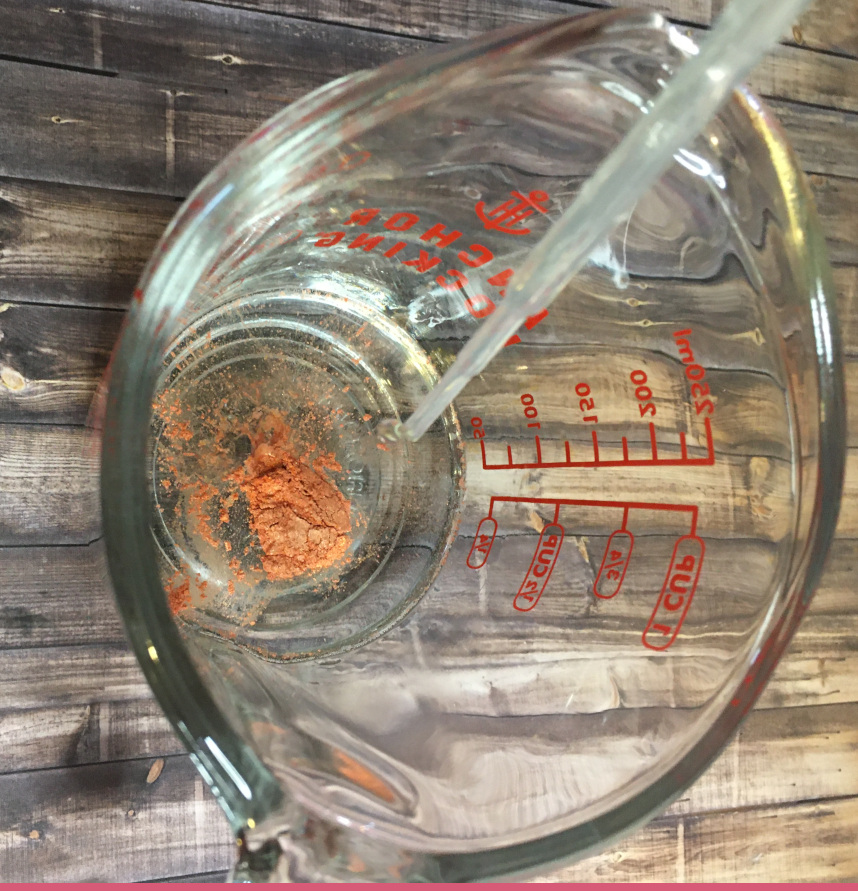
7: Add your first color and first fragrance to the soap base. Be sure to mix it well.
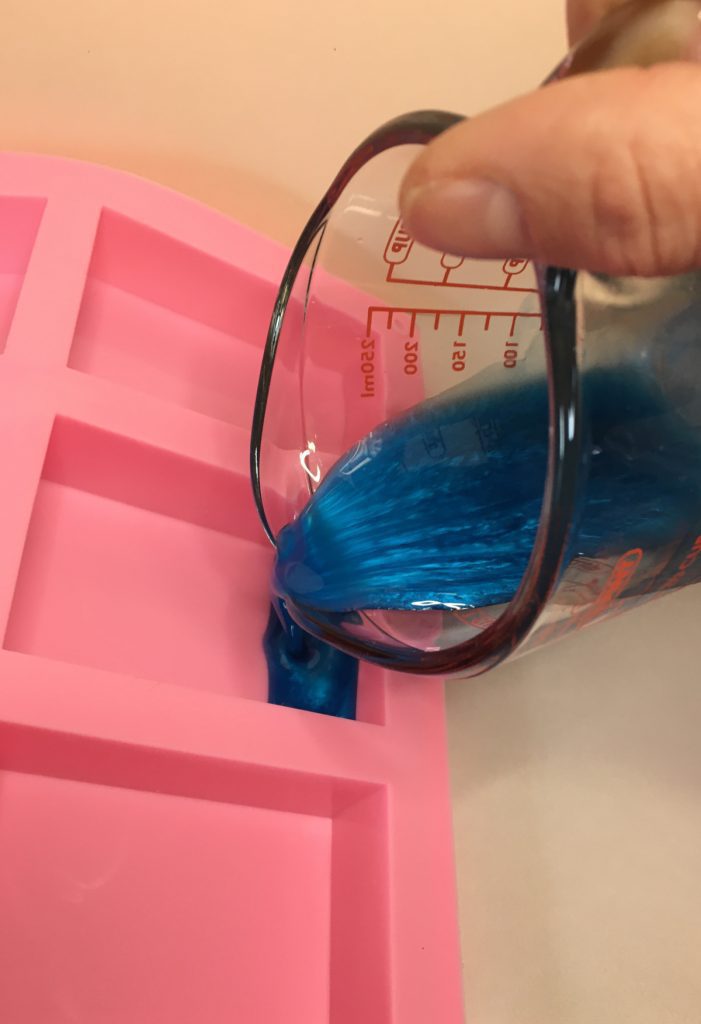
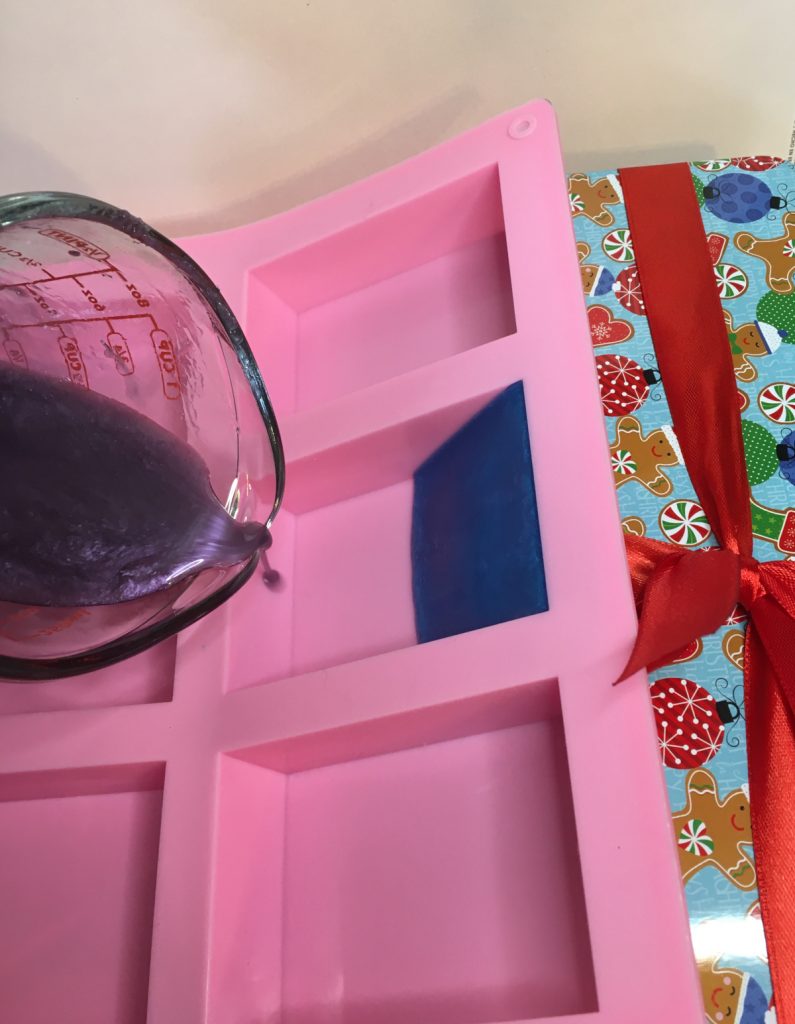
8: Pour your soap base into the mold, so it fills the one side of the mold with our first color.

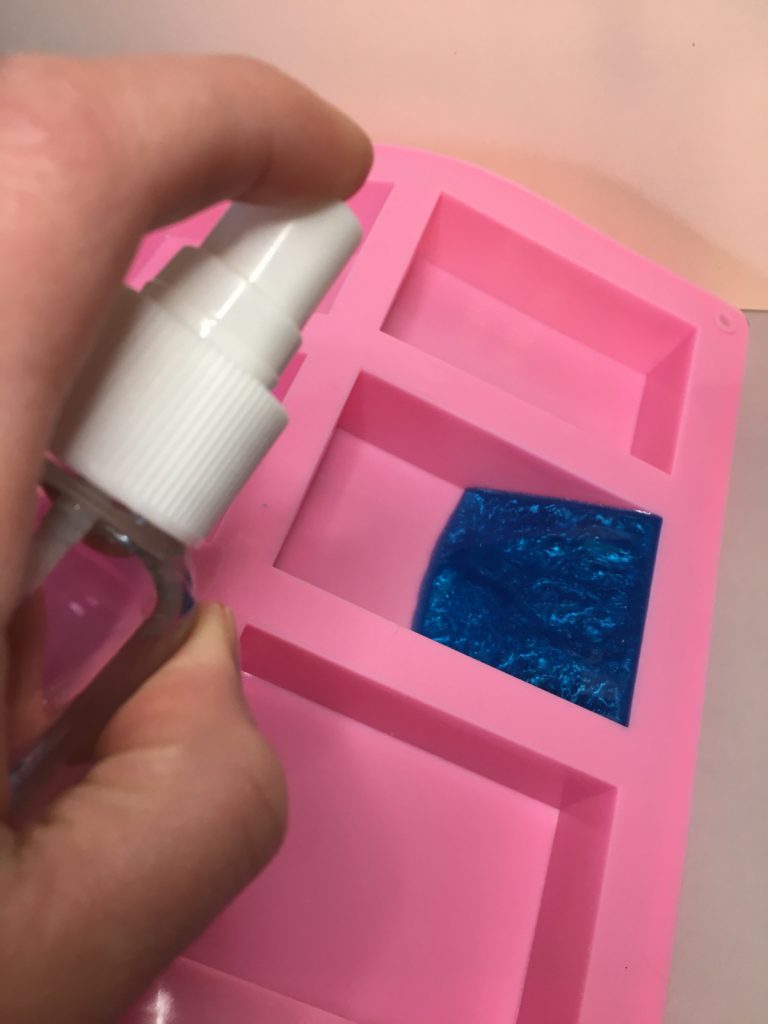
9: Spray that layer with rubbing alcohol, to pop any bubbles that might have formed.
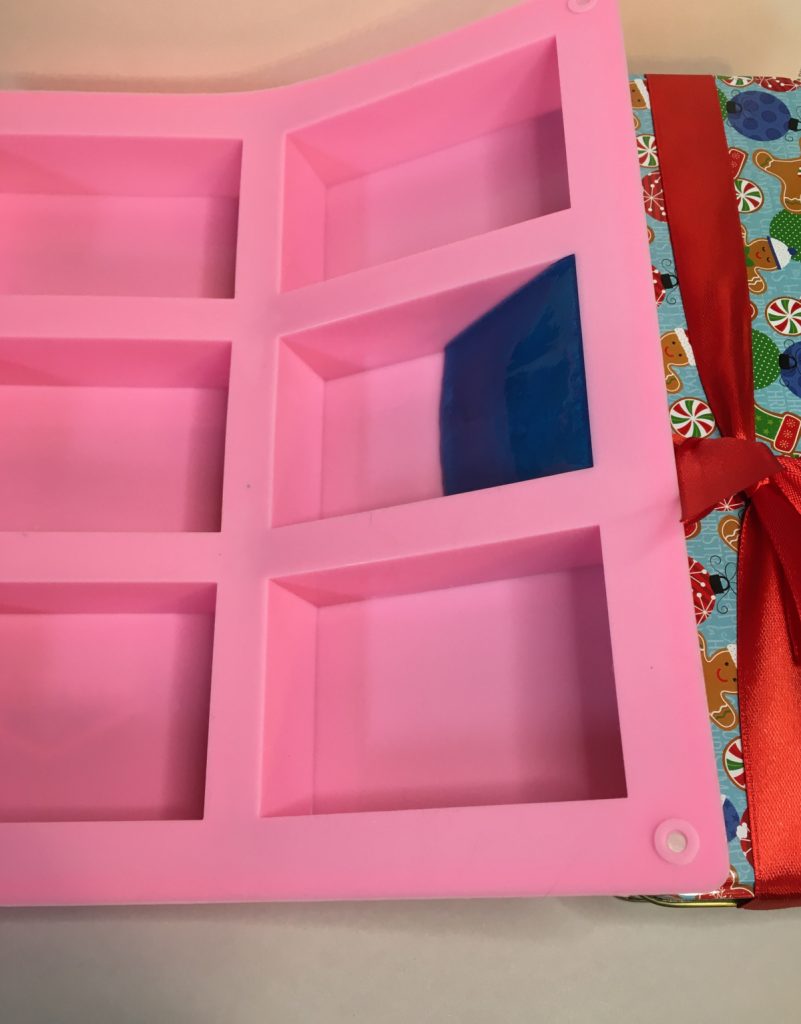
10: Allow it to cool for about 10 minutes. You want it to be set up enough that you can move the mold without moving the just poured soap. But not cooled all the way.
To test if it is cooled enough, just lightly touch the top of the layer with your index finger.
Adding the next color
11: You are going to want to carefully move your mold, so the other side is propped up.
12: Heat up your next 1/3 of the soap base. After if has fully melted, add your color #2 and fragrance. Then mix it well.
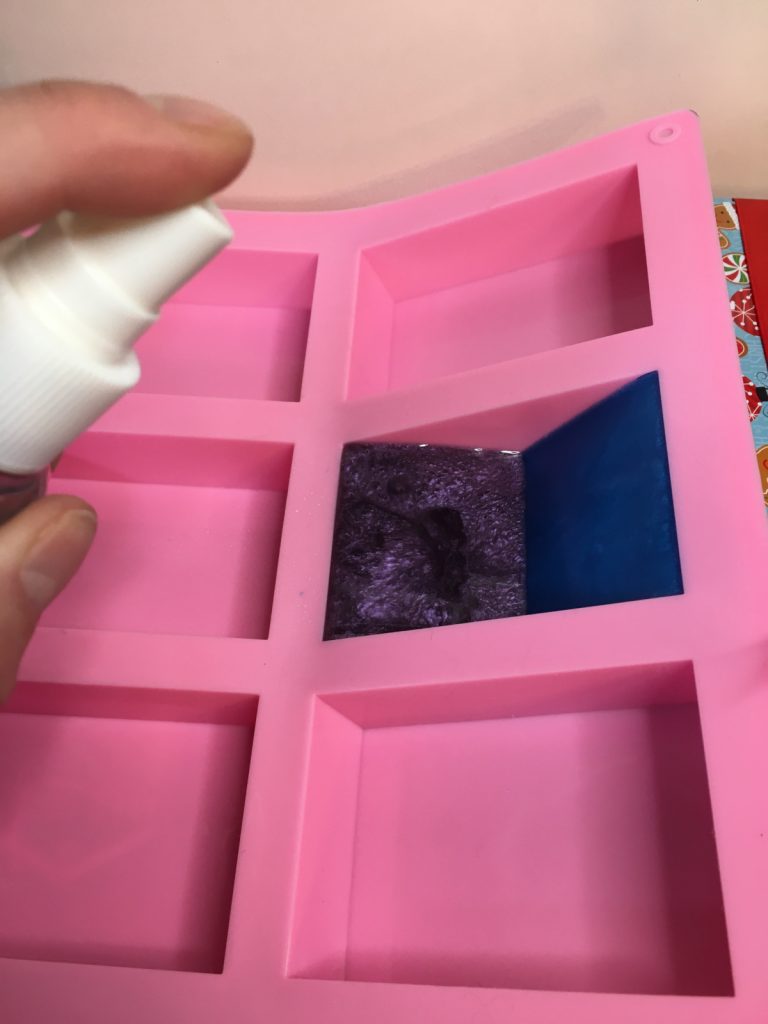
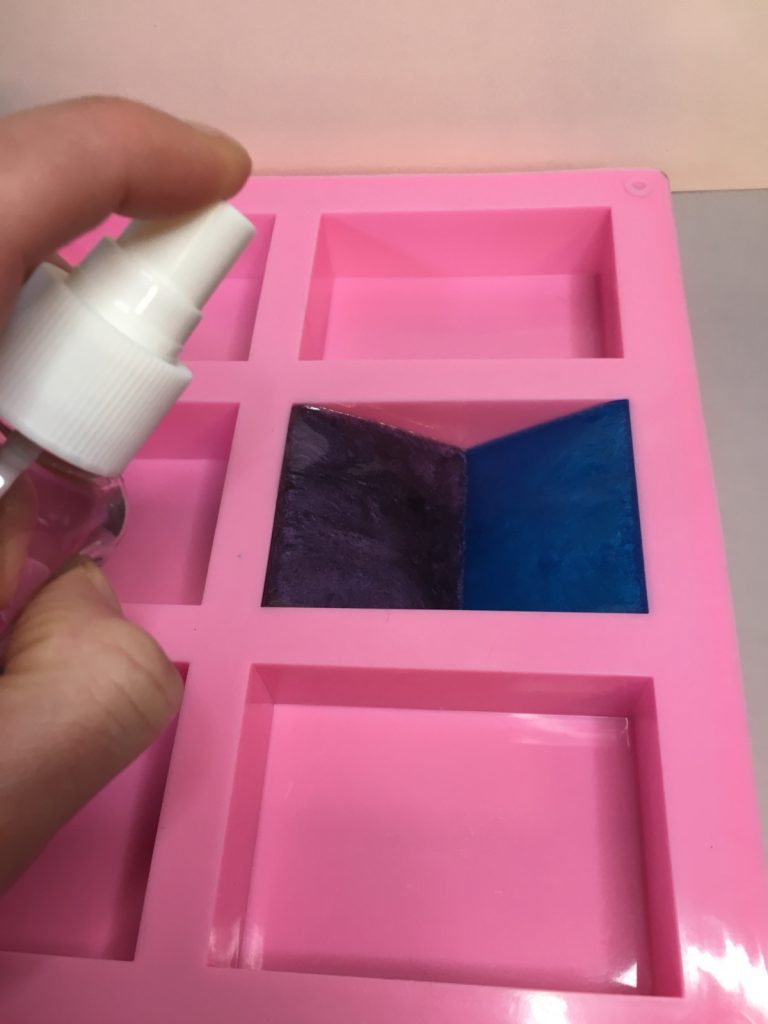
13: Spray the first layer with rubbing alcohol.
14: Pour layer #2 in the mold. Then spray layer #2 with rubbing alcohol.

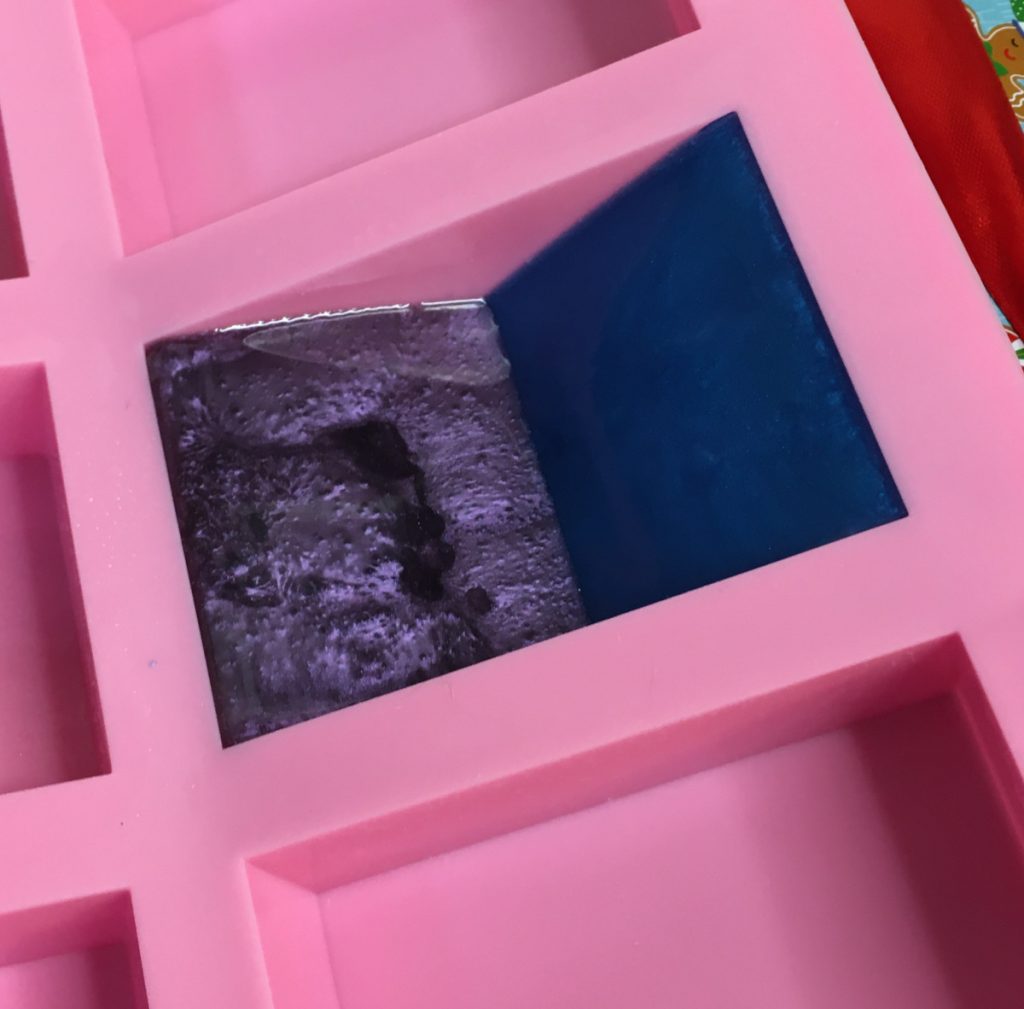
15: Allow that layer to set up a little bit.
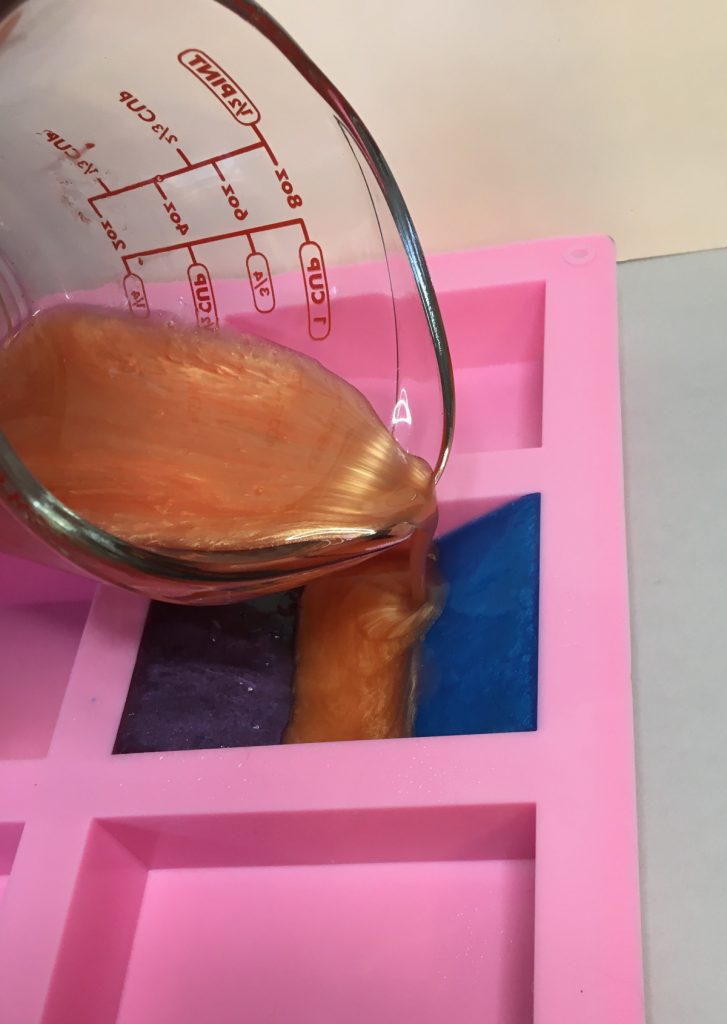
16: Lay your mold down completely flat on the counter.
Adding the third color
17:Then heat up the last 1/3 of your soap base. After if has fully melted, add your color #3 and fragrance. Then mix it well.
18: Spray the melt and pour soap in the mold with rubbing alcohol.
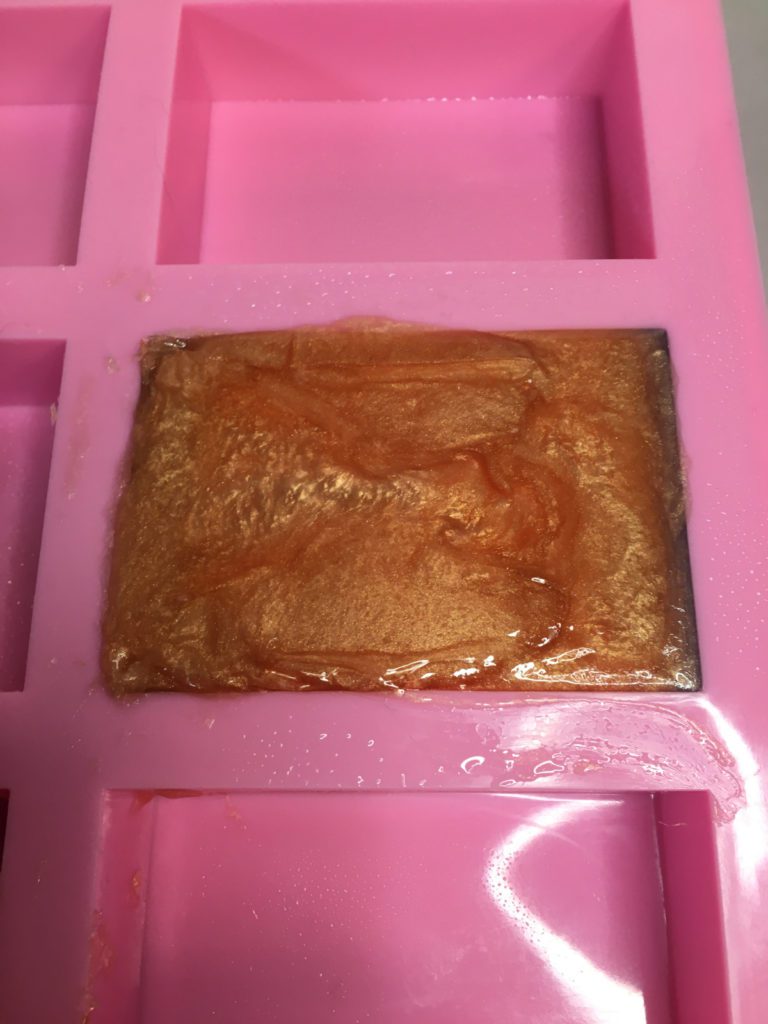
Then pour color #3 into the mold. Spray it with rubbing alcohol and allow to cool completely.
Recommended Products


Some links are “affiliate links,” because I am an Amazon Associate and I earn from qualifying purchases. There is no additional cost to you, the price of the item is the same whether it is an affiliate link or not.


Comments are closed.