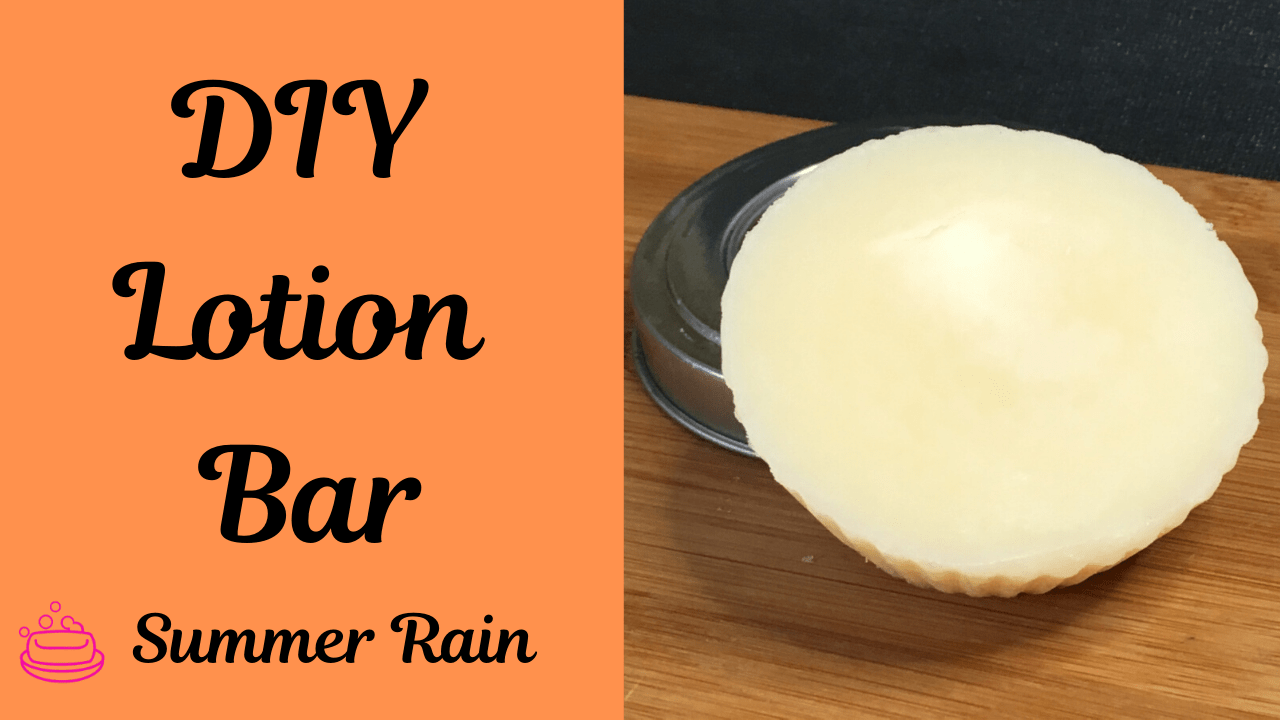
In this post, I am going to show you step by step how to make a lotion bar at home with only a few ingredients. Every week I feel like “How have I not posted about this yet?”, and this week is no exception.
Prefer to watch this project instead of reading it?
Seriously, these lotion bars are super quick and easy to make. In fact, if you were just looking for a plain Jane lotion bar, you could have it with only 3 ingredients; Cocoa Butter, Shea Butter and Jojoba Oil.
Some links are affiliate links, because I am an associate I earn a small commission on them.
What is a lotion bar?
Basically, a lotion bar is a lotion that is solid at room temperature. However, it melts on contact with your skin. We use it for many of the same reasons that we use lotion, to protect against outside elements and to moisturize our skin.
One of the things that I love the most about these bars, is that they can be stored in a reusable tin container.
How do you use a lotion bar?
You pretty much have two options on how to use your lotion bar.
- Rub the bar directly on your skin.
- Rub the bar with your hands and use your hands to apply the lotion to your skin.
Either way, lotion bars are really a solo thing, like deodorant. Everyone should have their own.
Jump to RecipeHard Oils
Since this is a lotion bar and not a bottle of lotion, we are looking for something that is going to be hard enough to stay in bar form and at the same time, melt on contact with our skin. It is a delicate balancing act!
This lotion bar consists of 87% hard oils to keep it in a solid bar form.
Cocoa Butter
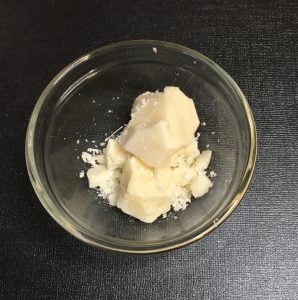
Cocoa butter comes from the cocoa beans. To get the oil from the beans, they are roasted and pressed to get the cocoa butter from them.
It is a very brittle oil that is a light tan color. Cocoa butter is one of the best butters that you can use in a lotion bar because, it melts well when applied to the skin. It is an amazing oil for creating a protective layer on your skin and to hold in moisture.
Shea Butter
We use shea butter because it melts on contact with our skin and is packed full of skin loving fatty acids. You will notice that this butter melts a little quicker that cocoa butter does.
You can use either a refined or an unrefined shea butter. The unrefined definitely has more benefits for your skin, but it has an ‘earthy’ smell. The refined shea butter does not have much of a scent to it.
Personally, I use the unrefined in my lotion bars.
Carrier Oil
Seriously, you can use any carrier oil that your would like in this bar, but we all know the love that I have with jojoba oil!
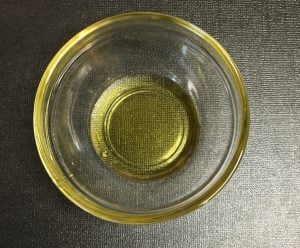
Jojoba oil
Jojoba oil is readily absorbed into the skin. It is similar to the oil produced by our skin and does not leave a greasy feeling. It has anti-inflammatory properties which can definitely help with chapped or red skin.
Additives / Optional Ingredients
Vitamin E oil
Vitamin E oil is used to help extend the shelf life of your oils by preventing them from going rancid. For a lotion bar, you are going to have quite a while to use it, depending on the shelf life of the oils that you have chose.
Mica powder- If you would like to add a little bit of color or use the bar to add some shimmer to your skin…. do it!
Fragrance- You can use any fragrance oil or essential oil that you would like. Honestly, one of the best parts of formulating is that ability to choose the perfect scent. However, since you might be using a perfume or other competing fragrances after applying lotion, you might chose to leave it out of the bar.
Grainy Bars
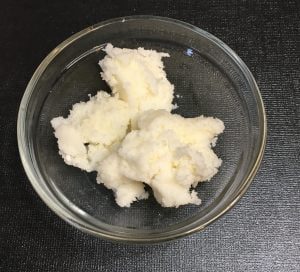
Sometimes when working with hard oils, specifically shea butter, overheating or not properly cooling the oil can cause the butter to become grainy or crystalized.
It is super important not to overheat shea butter. You want to be sure to heat the oil slowly in a double boiler and stir continuously. If the oil gets overheated, it is like some of the fatty acids want to separate from it.
When the oil is cooling, different fatty acids cool at different rates. When you are using shea butter, you want to make sure that you either cool the mixture while constantly stirring or you cool it in the fridge.
No preservative!
Since there is no water in this formulation and it is unlikely that water will be in contact with it, we do not need to use one.
Lotion Bar Recipe
DIY Lotion Bar
Equipment
- Double boiler
- Scale
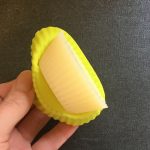
- Silicone mold
- Spatula
- Metal tin or tube
Ingredients
Hard Oil Phase
- | 45% Cocoa Butter
- | 42% Shea Butter
Carrier Oil
- | 10% Jojoba Oil
Optional Ingredients
- | 1% Vitamin E Oil
- | 2% Fragrance Oil
Instructions
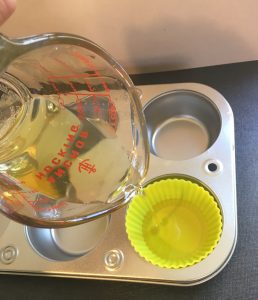
- In a double boiler, melt all of your hard oils. Be sure to keep stirring while you are melting the ingredients and be careful not to overheat them . (Remember, we don't want any grainy lotion bars).
- Once the hard oils are melted, remove them from the heat.
- Add the jojoba oil to the melted hard oils and mix well.
- Next, add the fragrance oil and Vitamin E oil and mix thoroughly.
- Fill molds and place in the fridge.
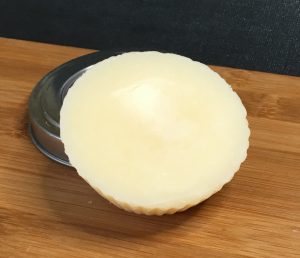
- After the lotion bar has cooled, place it in a metal tin or whatever storage container you will be using.


Comments are closed.