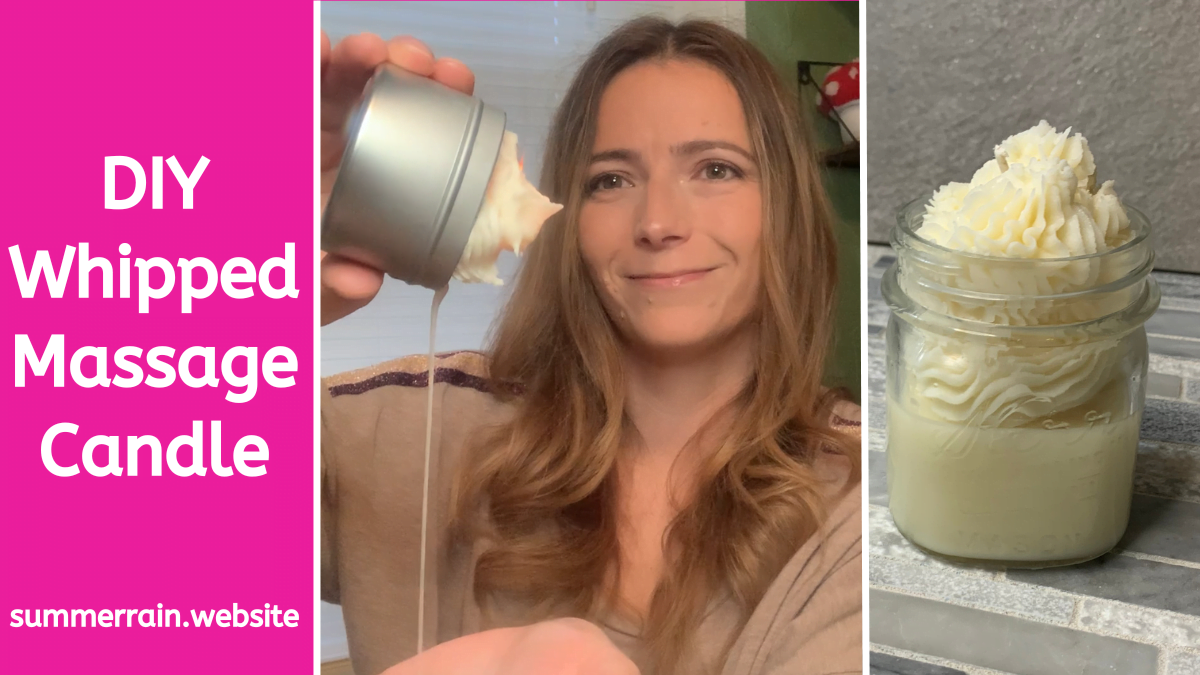
Welcome to the realm of captivating massage oil candles! Ever wondered about the enchanting transformation of these seemingly regular candles into a massage essential? Dive into this guide, unraveling the secrets of crafting whipped massage oil candles, perfect for a delightful and soothing massage experience. Join me on this journey as we discover the intricate art of concocting a candle that not only illuminates but also provides a luxurious oil for a relaxing massage.
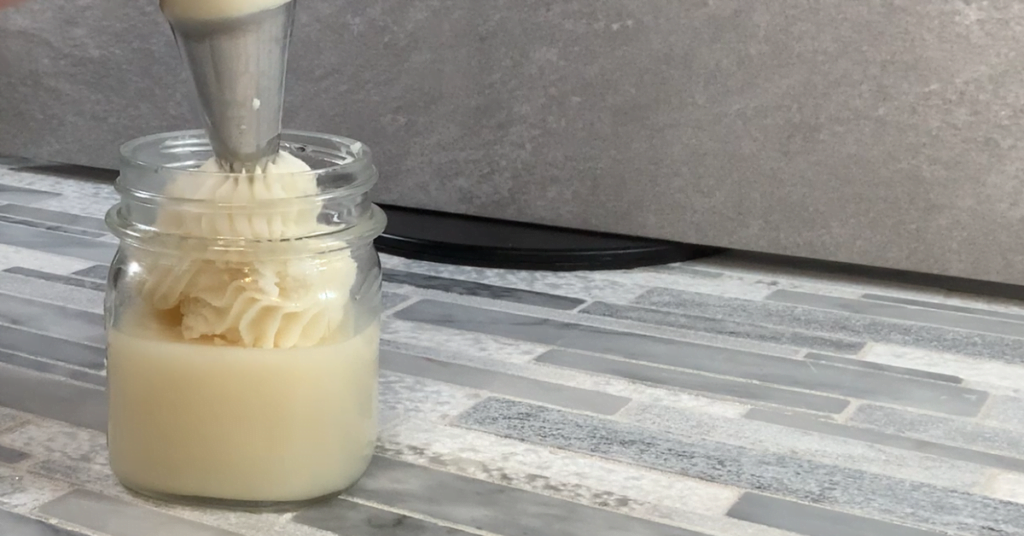
Table of Contents
Prefer to watch this project instead of reading it?
Some of the links are affiliate links, because I am an associate and I earn a small commission on them. There is no additional cost to you, I earn a commission if you click through and make a purchase.
What Sets Apart a Massage Oil Candle?
At first glance, these candles may appear typical, but in reality, they are solid body oils that melt when lit. The carefully chosen blend of butters and oils is curated to maintain a low melting point, ensuring the oils heat up for a massage without becoming excessively hot.
Why Opt for Massage Oil Candles?
If you’ve yet to experience a massage oil candle, get ready for a delightful treat! These candles, resembling regular ones, transform into a solid body oil when lit. As they heat, they can be poured onto your hands for a relaxing massage.
If you are looking for a regular whipped candle check out this post How to Whip Candle Wax – Whipped Candle Frosting
The whipped massage oil candle is made with skin loving cocoa butter, kokum butter and shea butter, they are solid at room temperature ( we will discuss this more). These butters are combined with soy wax and a carrier oil. The blending of these oils and butters, allows you to create a candle that burns at a low temperature. This way the wax heats up, but it is not going to get hot like a regular candle wax would.
How are massage candles different from making ordinary candles?
Making massage oil candles is very similar to making homemade candles. The biggest difference is that you are going to add oils and butters in with the soy wax.
Super important, every ingredient that you use in a massage candle must be skin safe. When you are picking out your ingredients, all of them need to be skin safe. Unlike a regular candle that is used for decoration and scent, massage oil candles are intended to applied to our skin.
Fragrance Oil
Not all scents that are candle safe are also skin safe. And not all skin safe fragrance oils are candle safe. When you are choosing a scent, you need one that is both skin safe and candle safe.
When you are determining the use rate of your candle and skin safe fragrance oil, you are going to go with the manufacturers suggested use rate for a leave on skin product. Typically the use rate for ‘candles’ will be higher, but too high to be considered safe to use on your skin.
Smell The Rainbow Fragrance Oil
- Phthalate Free: Yes
- Soap Use Rate: 6%
- Lotion Use Rate: 2%
- Flashpoint: 200°
- Vanillin: 0%
- Candle Use Rate: 10%
For this fragrance oil, you could use it in your massage oil candle at 2%. You will notice in a regular candle it can be used at 10%, however since this going onto your skin we can only use it at the 2%.
Oils and Butters
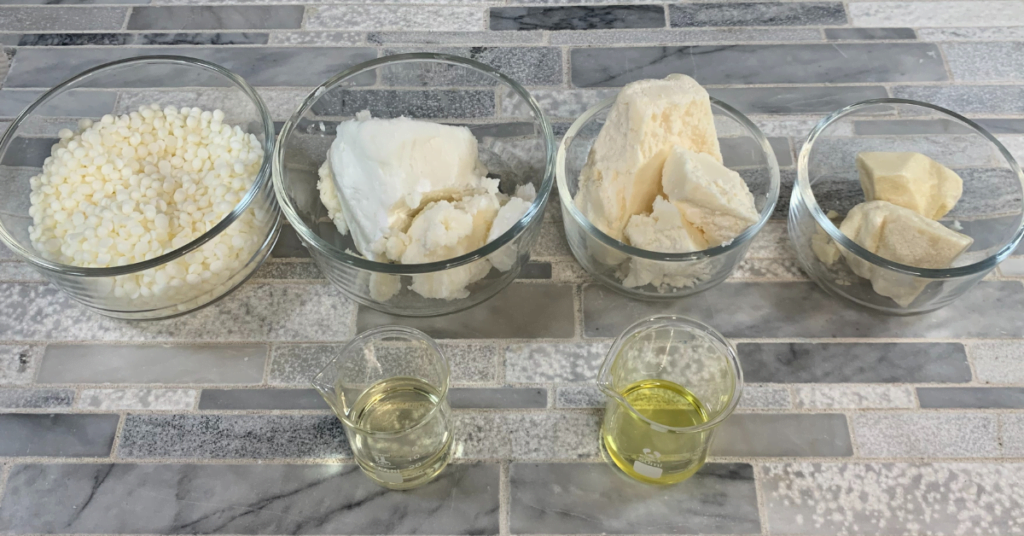
Cocoa Butter: Cocoa butter is an excellent moisturizer and leaves our skin feeling amazing. It is a very brittle butter, with a low melting point. Since we are making a candle, we need to make sure that it stays in candle form, hence using a brittle butter.
The cool thing about cocoa butter is that is also has a relatively low melting point of about 93°F. To kind of put that into perspective, your back is roughly 92°F – 98° F. Meaning that this hard butter would most likely melt on contact with your back.
Kokum Butter: Kokum butter is softer than cocoa butter but harder than shea butter. I used it because I was just about out of cocoa butter. The melting point of kokum butter is about 90°F, again right in between shea and cocoa butter melting point. It is a great moisturizer and wont clog your pores.
Shea Butter: Shea butter is a softer butter that will melt right in your hands, this is because is has a very low melting point. It has a melting point of 89°F. Shea butter has a slow absorption speed, making the massage last event longer!
Hazelnut Oil: Hazelnut oil absorbs pretty quickly into the skin. I wanted to use this oil just to make sure that the candle wax will absorb in after the massage. We want the massage to last long, but we also need the oils to absorb.
The carrier oil can be swapped out for any carrier oil that you would like.
Wax
When you are considering what wax you should use for the massage oil candle, you are going to want to get one that has a low melting point and that is skin safe.
The key to making a massage oil candle is to create a candle that has skin safe ingredients and a low melting point. The low melting point will allow the candle to heat up and create a pool of oils before it gets too hot. You do not want to use a beeswax or paraffin wax in any massage oil candle. Both of them melt at a very high temperature and will cause your candle to be hot.
We use Soy Wax because it has a low melting point. It does not take very long to heat the wax up and to form a small pool on the top of the candle. Make sure that the soy wax that you are using is skin safe, as you will be using it on you skin.
Colorant
I personally do not use any colorant in my massage oil candles. If you want to use one, be sure that it is both skin safe and candle safe.
Wicks for Massage Candles
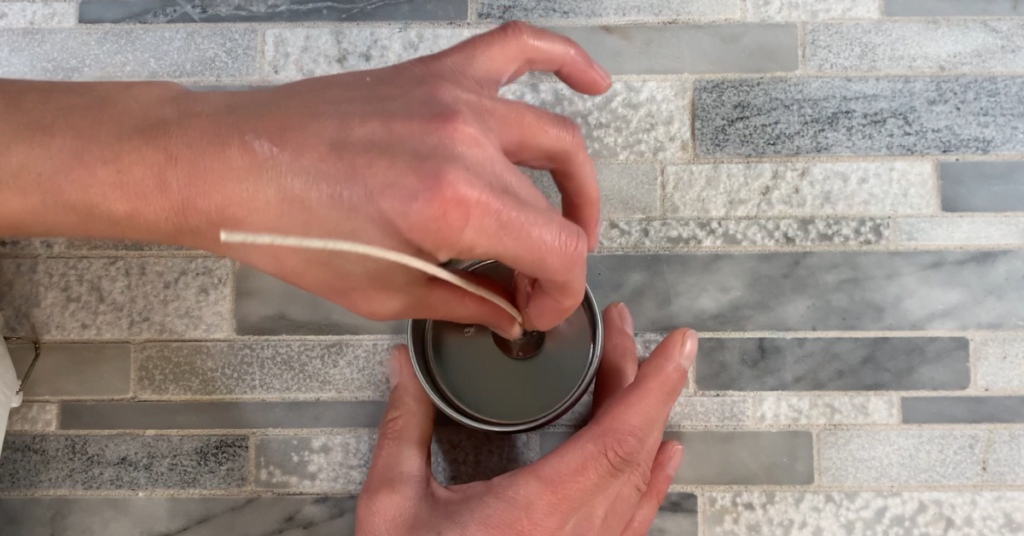
When selecting a wick for your massage oil candle, ensure it’s primed with soy wax. Avoid wicks that come primed with paraffin wax.If you would like, check out this video on How to Prime A Candle Wick. The cool thing about priming your own wick is that you can make them whatever length that you need for your container. Another thing to keep in mind is choosing a wick that is appropriate for the diameter of your candle. If you are unsure about what wick to get, read the manufactures recommendations.
Containers for Whipped Massage Oil Candle
You can go with a tin container or a glass for your massage oil candle. Both work great and your candle is not going to burn very hot. You want to make sure that the candle is not very tall. This is because we will be pouring the wax out for a massage and a tall container would have a lot of tunneling.
How to use a whipped massage oil candle?
To use the massage oil candle, you will want to leave your candle lit until a pool forms on the top, this will normally take about 5 minutes. The cool thing is that the whipped wax will actually melt even quicker than the solid part of the candle.
Blow out the flame and pour the wax directly on your hand and use for massage. Never pour directly on anyone’s back, always pour on your hand or a container first. You might find it surprising how pleasant the warm oils feel on your skin.
Please be aware that you do not want to leave this burning for long periods of time. Leaving it burning for a half hour could cause the container to get too hot and the oils could get too hot. The key is to light it long enough to get a small pool of oils and then pour them out. Remember, you can always re-light the candle later.
Why Add Shea Butter After Melting Oils?
Shea butter’s fatty acids cool at varying temperatures, potentially causing graininess. Adding shea butter after removing melted oils ensures controlled cooling, preventing graininess and facilitating quicker pouring into candle molds.
Whipped Massage Oil Candle Recipe
Whipped Massage Oil Candle Recipe (easy DIY for beginners!)
Equipment
- Scale
Ingredients
- 3.10 ounce | 31% Soy Wax
- 0.90 ounce | 9% Cocoa butter
- 2.20 ounce | 22% Kokum butter
- 3.20 ounce | 32% Shea butter
- 0.40 ounce | 4% Hazelnut oil
- 0.20 ounce | 2% Smell The Rainbow Fragrance Oil
Instructions
- Using a digital scale, measure each ingredient.
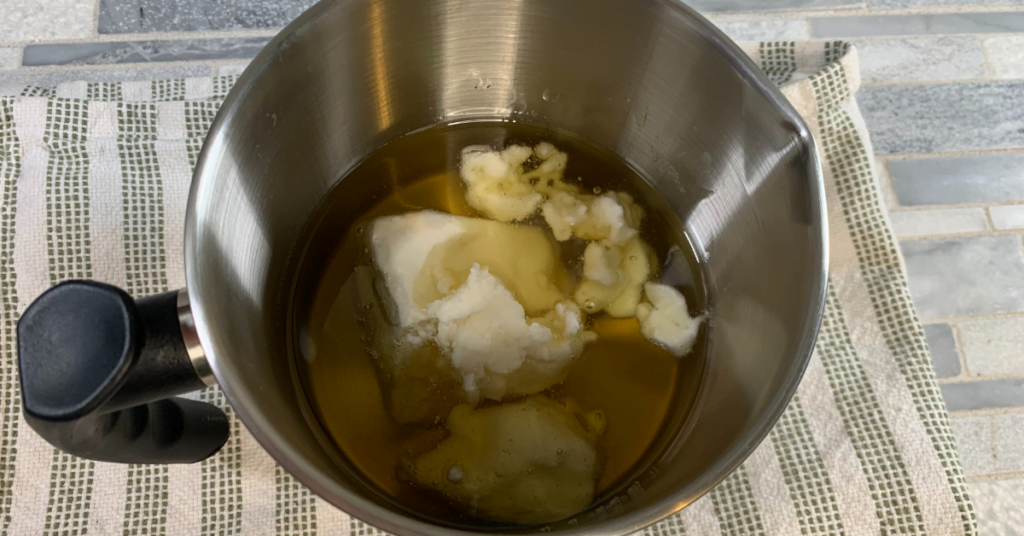
- Place the cocoa butter, kokum butter and soy wax into a candle melting pot.
- Place the melting pot on a double boiler until the wax has melted completely.
- Remove from heat and dry off the bottom of the melting pot with a wash cloth.
- Add the shea butter and stir until it melts.
- Add hazelnut oil and mix well.
- Add fragrance oil and mix well.
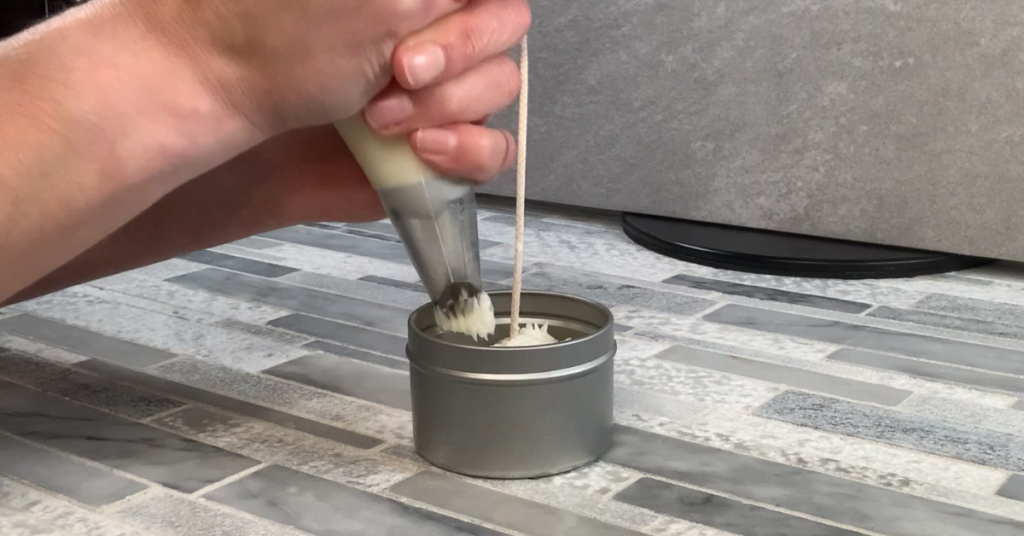
- Pour your candle until the desired height. I went about 1/3 the height of the candle.
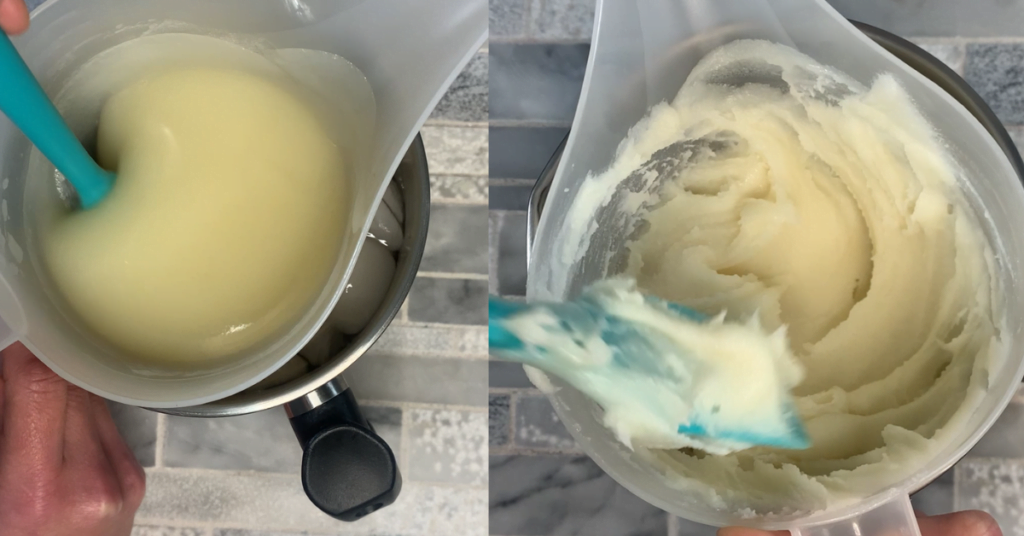
- Allow candle to cool. With the leftover wax, stir every few minutes until the wax is thick and holds its shape.
- Put the cooled wax into a pipping bag and pipe the top of your candle.
