

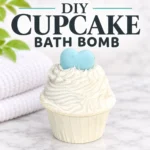
If you love bath bombs but want to make something a little more special, these DIY bath bomb cupcakes are such a fun project! They look like little frosted cupcakes, complete with fluffy whipped soap frosting and an adorable heart-shaped soap topper. But they’re more than just pretty bath decorations. Each cupcake combines three different bath and body products into one creative project.
The bottom is a homemade bath bomb that fizzes when it hits the water. The middle and top feature fluffy whipped soap that you can use to cleanse your skin, while the little heart on top is a miniature melt and pour soap.
I love this project because it gives you the opportunity to work with several different bath and body techniques. You’ll learn how to make a bath bomb mixture, create small melt and pour soap embeds, and whip soap into a frosting-like consistency that can be piped onto your finished cupcakes.
The best part is that you can customize the colors, fragrances, and decorations to create your own designs. Whether you’re making these for yourself, putting together handmade gifts, or experimenting with different bath product techniques, this is a fun project to try.
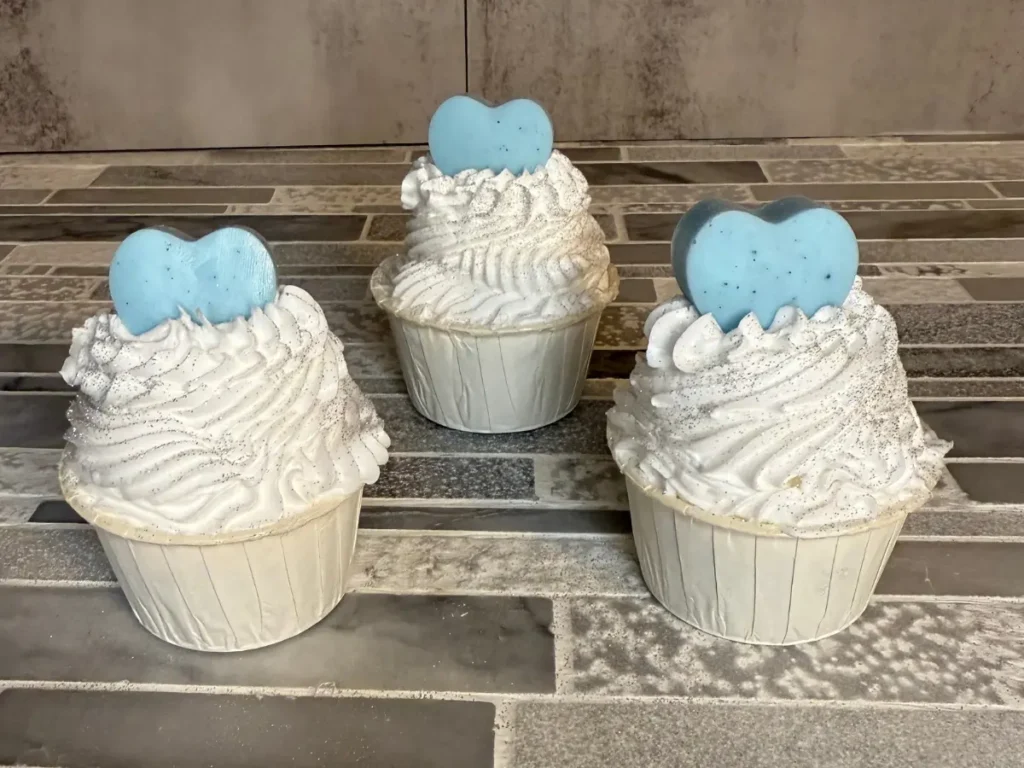
What Are Bath Bomb Cupcakes?
Bath bomb cupcakes are made using three separate components:
- Bath bomb base: The bottom of the cupcake is a traditional fizzy bath bomb made with baking soda, citric acid, shea butter, and other ingredients.
- Whipped soap frosting: A fluffy, cleansing soap mixture is piped onto the bath bomb to resemble cupcake frosting.
- Melt and pour soap embed: A small heart-shaped soap decoration finishes the cupcake and can be removed and used separately.
Each component serves a different purpose. The bath bomb creates the fizzing bath experience, the whipped soap provides cleansing lather, and the soap embed gives you a little extra bar of soap to enjoy.
Prefer to Watch How to Make this Project?
Some links on this website are affiliate links, meaning I may earn a small commission if you click and make a purchase. This comes at no additional cost to you.
Supplies You’ll Need
Before getting started, gather your ingredients and equipment.
- Mixing bowls
- Digital kitchen scale
- Whisk or spatula
- Microwave-safe measuring cups
- Double boiler or microwave
- Hand mixer
- Piping bag
- Large piping tip
- Paper soufflé cups or suitable cupcake molds
- Small heart-shaped silicone soap mold
- Spray bottle for witch hazel
- Gloves and safety glasses
Make the Bath Bomb Cupcake Base
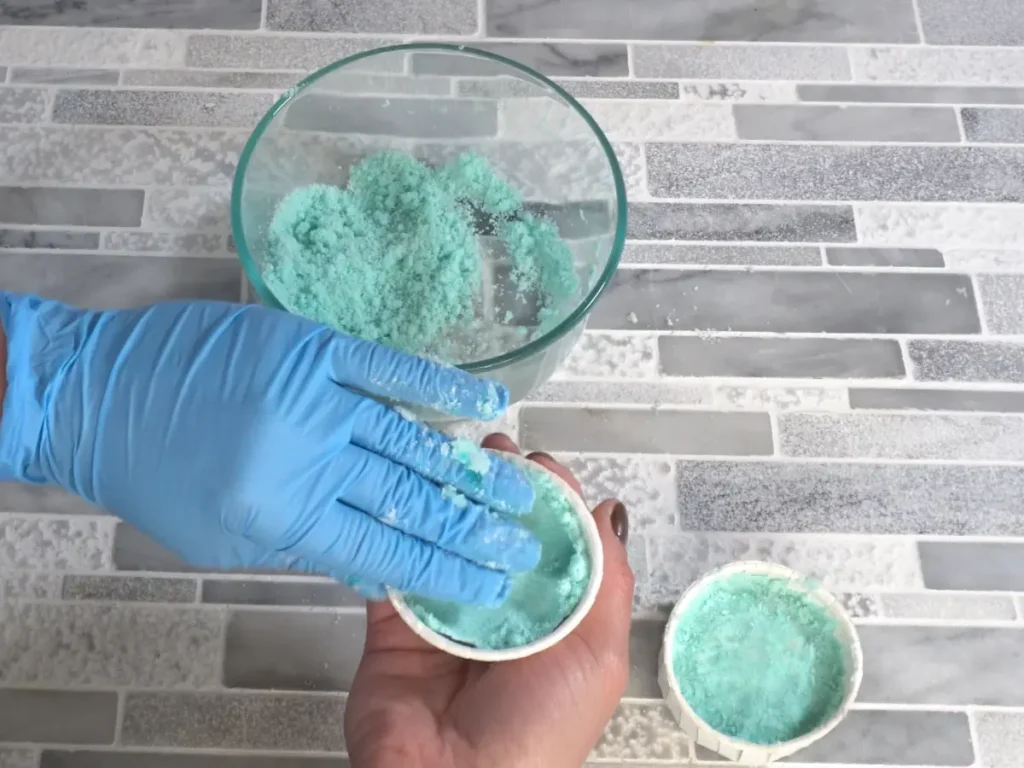
The bath bomb is the foundation of this project. It provides the familiar fizzing action when placed in bathwater and creates the cupcake shape that supports the decorative soap frosting.
Unlike a regular bath bomb that you might press into a round or shaped mold, we’re using paper soufflé cups to give these bath bombs a cupcake appearance.
Ingredients and What Each One Does
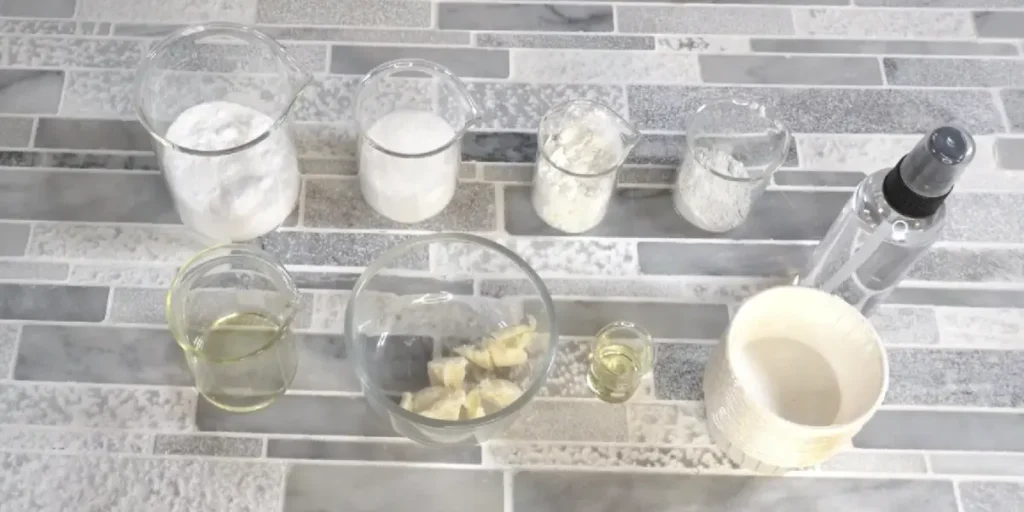
Baking Soda (Sodium Bicarbonate)
Baking soda makes up the largest portion of this bath bomb recipe. When it comes into contact with citric acid and water, it creates the carbon dioxide bubbles responsible for the fizzing action.
It also helps give the bath bomb its structure.
Citric Acid
Citric acid is the other half of the fizzing reaction. When it reacts with baking soda in water, it produces the bubbles that make bath bombs so enjoyable.
The balance between baking soda and citric acid is important because it determines how the bath bomb reacts when it gets wet.
Cornstarch
Cornstarch helps give the bath bomb mixture a smoother texture and adds hardness to the formula. It also helps moderate how quickly the ingredients dissolve when the bath bomb is placed in water.
Kaolin Clay
Kaolin clay is a fine, gentle clay that helps improve the texture and firmness of bath bombs. It can also give the finished bath bomb a smoother appearance.
Shea Butter
Shea butter adds an emollient component to the bath bomb. It helps leave a softer, conditioned feeling on the skin after bathing.
Because shea butter is solid at room temperature, it also contributes to the structure of the finished bath bomb.
Keep in mind that bath oils and butters can make a bathtub slippery, so use caution when getting out of the tub.
Polysorbate 80
Polysorbate 80 is an emulsifier that helps disperse oils and butters throughout the bathwater.
Without an ingredient like this, the shea butter and other oil-based ingredients may float on the surface of the water or cling to the bathtub.
It helps reduce oily residue, although it doesn’t guarantee that the tub will never become slippery or require cleaning.
Fragrance Oil
Fragrance oil gives your bath bomb its scent. You can coordinate the fragrance with the whipped soap and heart embed or choose complementary scents.
Always choose a fragrance intended for bath and body products and check the supplier’s usage limits for the finished product.
Witch Hazel
Witch hazel is used as a binder to help the dry ingredients hold together when pressed into the molds.
It is added gradually using a spray bottle so you can control how much moisture enters the mixture. Adding too much liquid can activate the baking soda and citric acid prematurely.
Colorant
Colorant gives your bath bomb its finished appearance. I’m using a water-soluble dye, but you can choose another colorant specifically approved for bath products.
Mica is not water-soluble, so it behaves differently in bathwater and may settle or leave residue. If you decide to use mica, choose one suitable for bath products and test it before making a larger batch.
Bath Bomb Cupcake Recipe
| Ingredient | Percentage | Weight |
|---|---|---|
| Baking Soda | 52% | 4.16 oz (117.94 g) |
| Citric Acid | 25% | 2 oz (56.70 g) |
| Cornstarch | 10% | 0.80 oz (22.68 g) |
| Kaolin Clay | 3% | 0.24 oz (6.80 g) |
| Shea Butter | 5% | 0.40 oz (11.34 g) |
| Polysorbate 80 | 3% | 0.24 oz (6.80 g) |
| Fragrance Oil | 2% | 0.16 oz (4.54 g) |
| Mica Powder | ||
| Total | 100% | 8 oz (226.80 g) |
Step 1: How to Make the Bath Bombs
Combine the dry ingredients
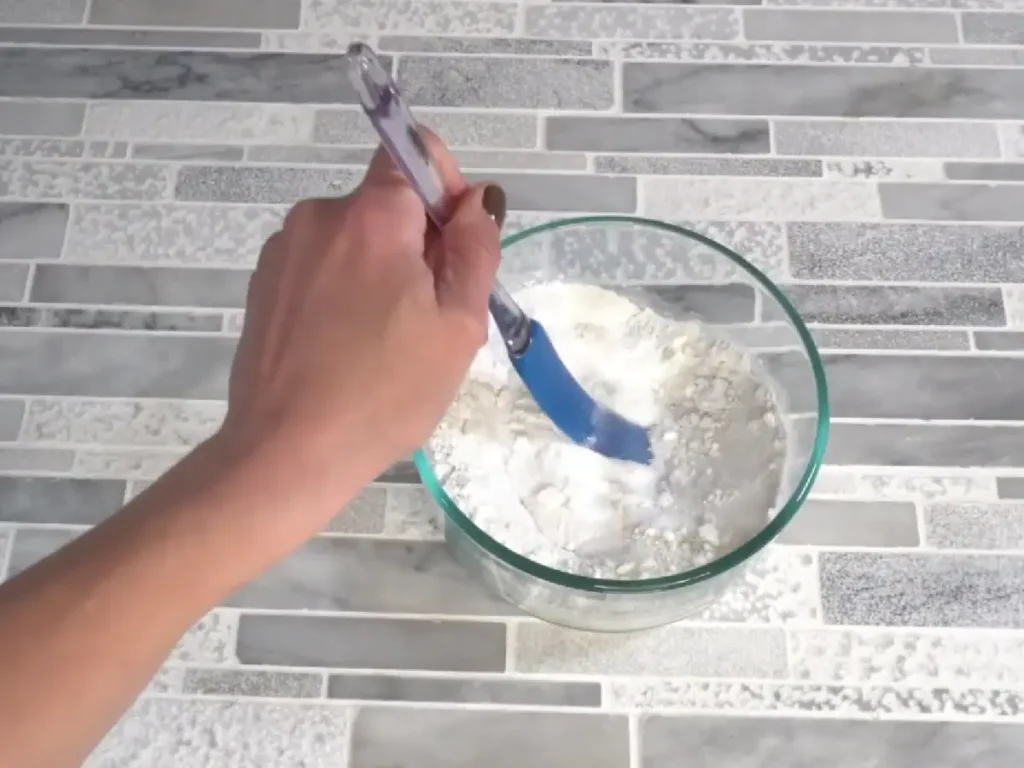
Add the baking soda, citric acid, cornstarch, and kaolin clay to a large mixing bowl.
Use a whisk to thoroughly combine everything. Break up any lumps so the mixture has a consistent texture throughout.
This step is important because you want the ingredients evenly distributed before adding the liquid and butter components.
Melt the shea butter
Place the shea butter in a heat-safe container and gently melt it using a double boiler.
You only need to melt the butter until it is liquid. Avoid overheating it.
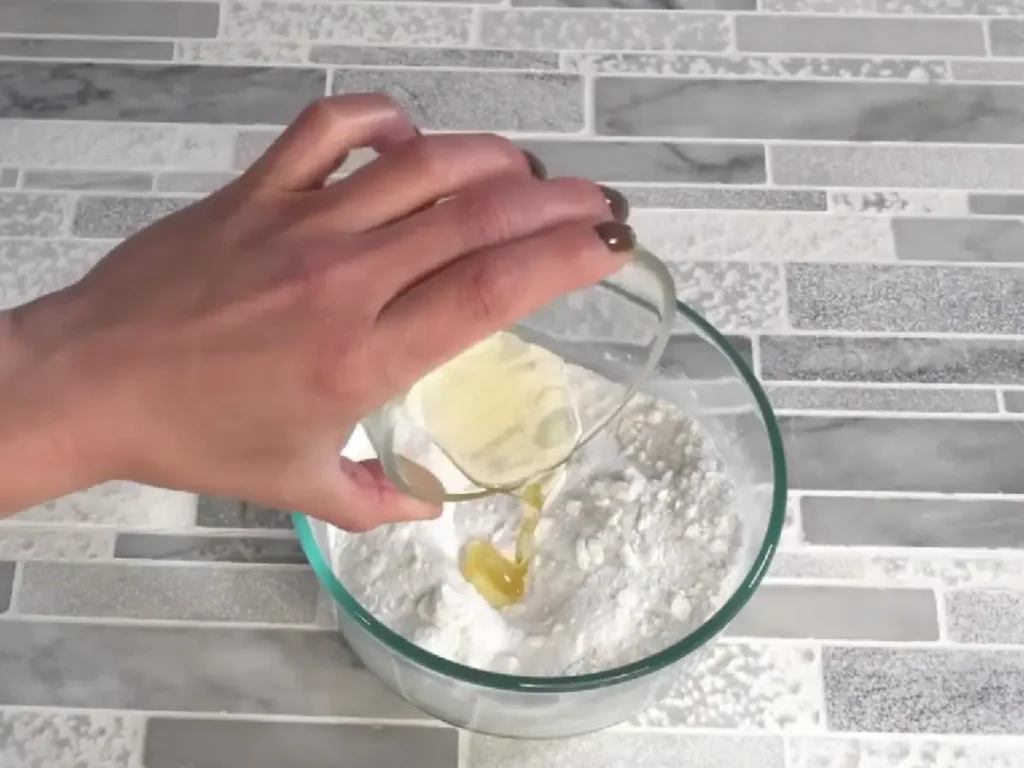
Add the wet ingredients
Pour the melted shea butter into the dry mixture.
Add the fragrance oil and Polysorbate 80.
Mix thoroughly until the ingredients are evenly distributed. The mixture should begin to resemble slightly damp powder.
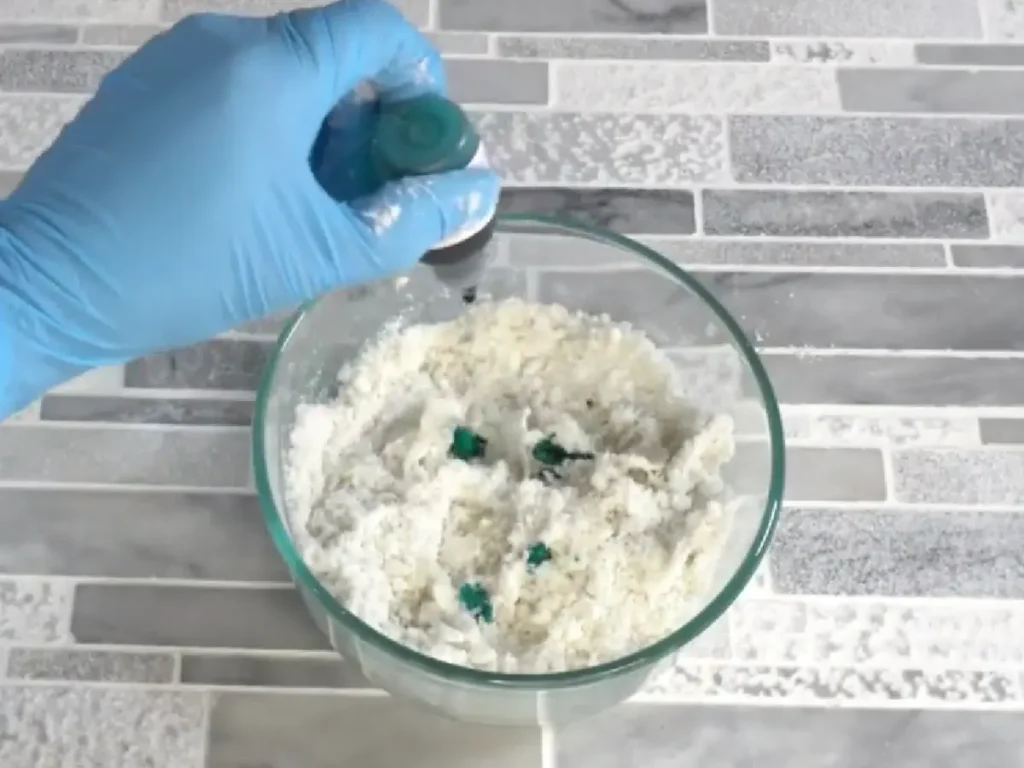
Add your colorant
Add your mica powder or lake dye and mix until the color is evenly distributed.
If you’re using a liquid water-soluble dye, use a small amount at a time to avoid adding too much moisture.
Add the witch hazel
Using a spray bottle, lightly mist the mixture with witch hazel while mixing continuously.
Add only a little at a time. You don’t want to soak the mixture.
The goal is to reach a damp sand consistency. When you squeeze a small amount in your hand, it should hold its shape without crumbling apart.
If the mixture starts fizzing while you’re mixing, you may be adding too much moisture.
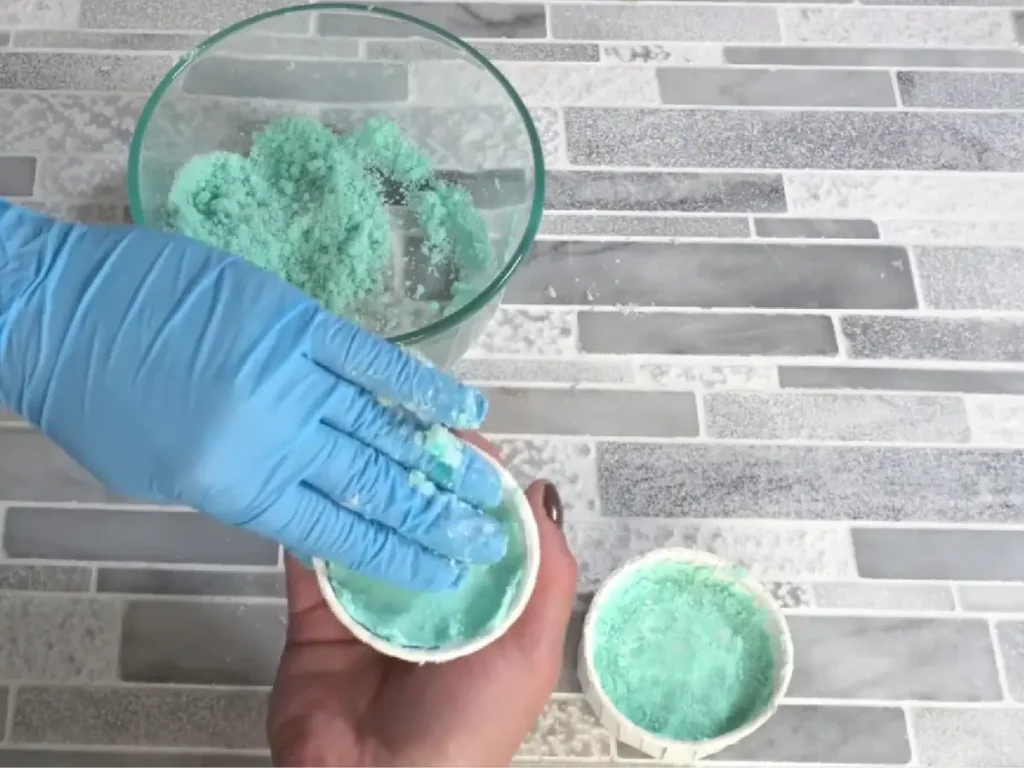
Fill your molds
Spoon the mixture into your paper soufflé cups.
Press it down firmly so the bath bomb holds together. Pay particular attention to the edges and bottom of the cup.
You want a compact base that can support the whipped soap frosting later.
Allow the bath bombs to dry
Set the filled cups aside in a cool, dry location for approximately 24–48 hours.
The bath bombs need to become firm and completely dry before you decorate them.
Humidity can affect drying time, so check that they are solid before moving on to the next step.
Step 2: Make the Melt and Pour Soap Heart
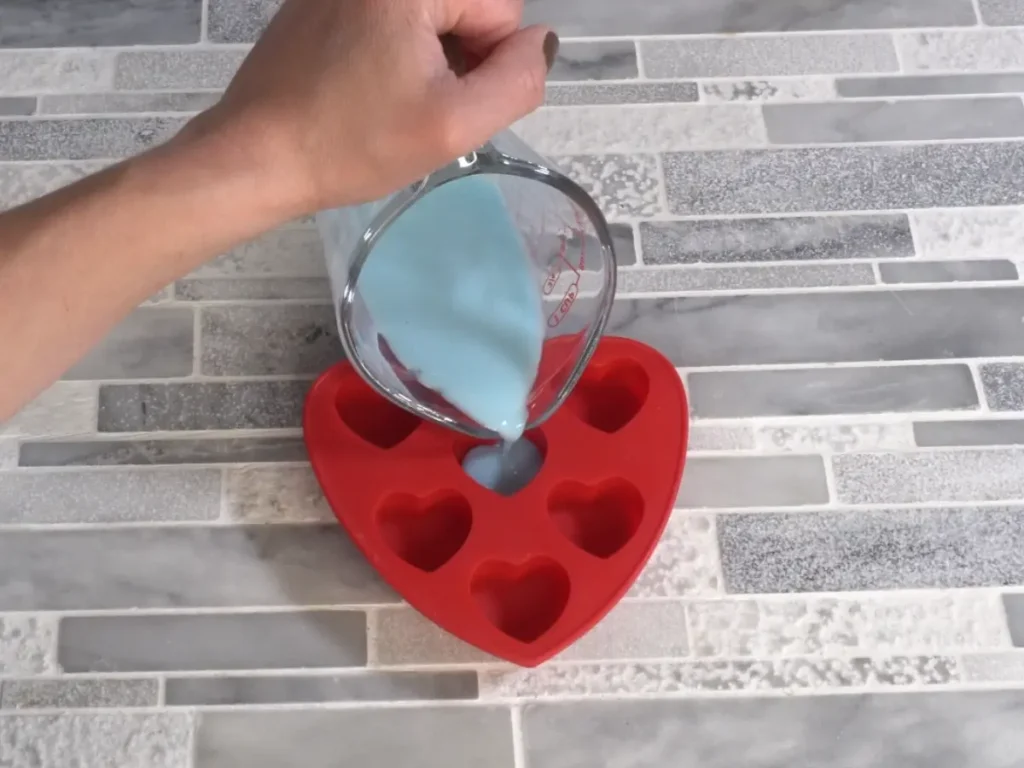
While your bath bombs are drying, you can make the little heart-shaped soap embeds.
These are made using melt and pour soap, which makes this part of the project especially beginner-friendly.
Melt and pour soap is a premade soap base that you simply melt, customize, and pour into a mold. Unlike cold process soap, you don’t need to work with lye or wait several weeks for the soap to cure.
Ingredients and What Each One Does
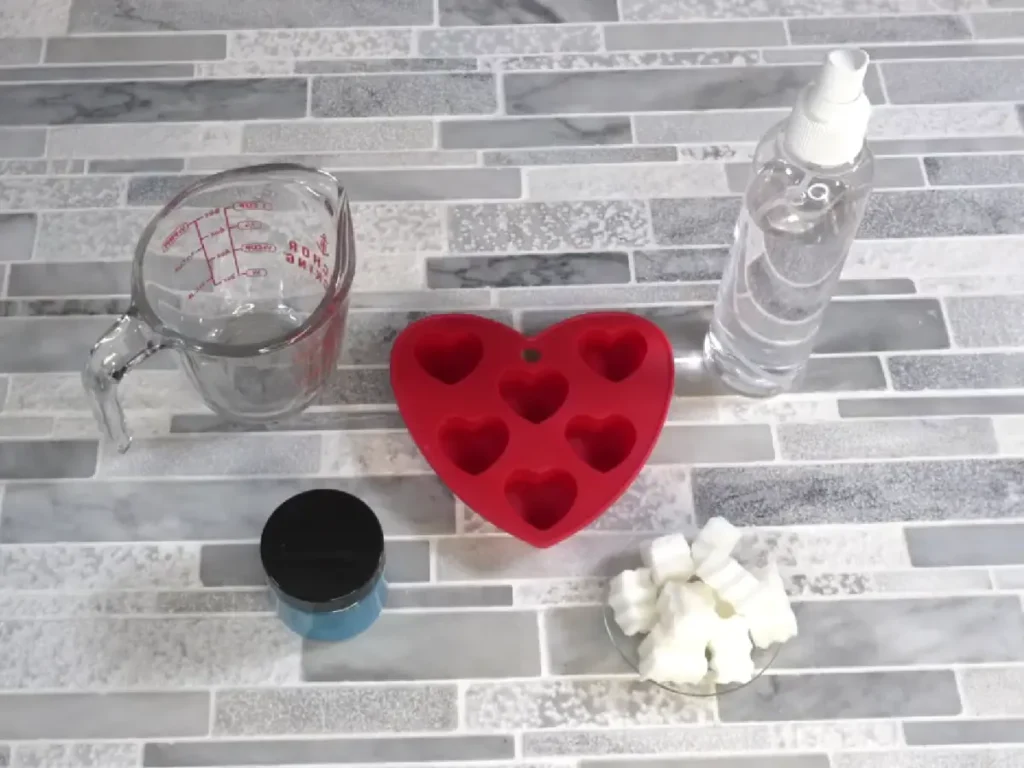
Glycerin-Based Melt and Pour Soap
Melt and pour soap is the foundation of the heart embed.
Many melt and pour bases contain glycerin, a humectant that helps attract and retain moisture. The soap base also provides the cleansing properties needed to create a usable little bar of soap.
You can use a clear or white melt and pour base depending on the appearance you want.
Mica Powder
Mica adds color and shimmer to your soap hearts.
You can choose a coordinating color for your bath bomb cupcakes or experiment with contrasting shades to make the hearts stand out.
Use a small amount and mix thoroughly to avoid clumps.
Fragrance Oil
Fragrance oil gives the soap embed a pleasant scent.
You can use the same fragrance as the bath bomb or choose something complementary. Always check that the fragrance is suitable for melt and pour soap and stays within the supplier’s recommended usage rate.
Heart-Shaped Silicone Mold
A small silicone heart mold gives these soap embeds their shape.
The mold is reusable, flexible, and makes it easy to remove the finished soap without damaging the details.
Heart mold: https://walmrt.us/4sPkAop
Melt and Pour Heart Recipe
| Ingredient | Percentage | Weight |
|---|---|---|
| Glycerin-based melt and pour soap | 98% | 1.96 oz |
| Fragrance oil | 2% | 0.04 oz |
| Mica powder | As needed | As needed |
How to Make the Soap Hearts
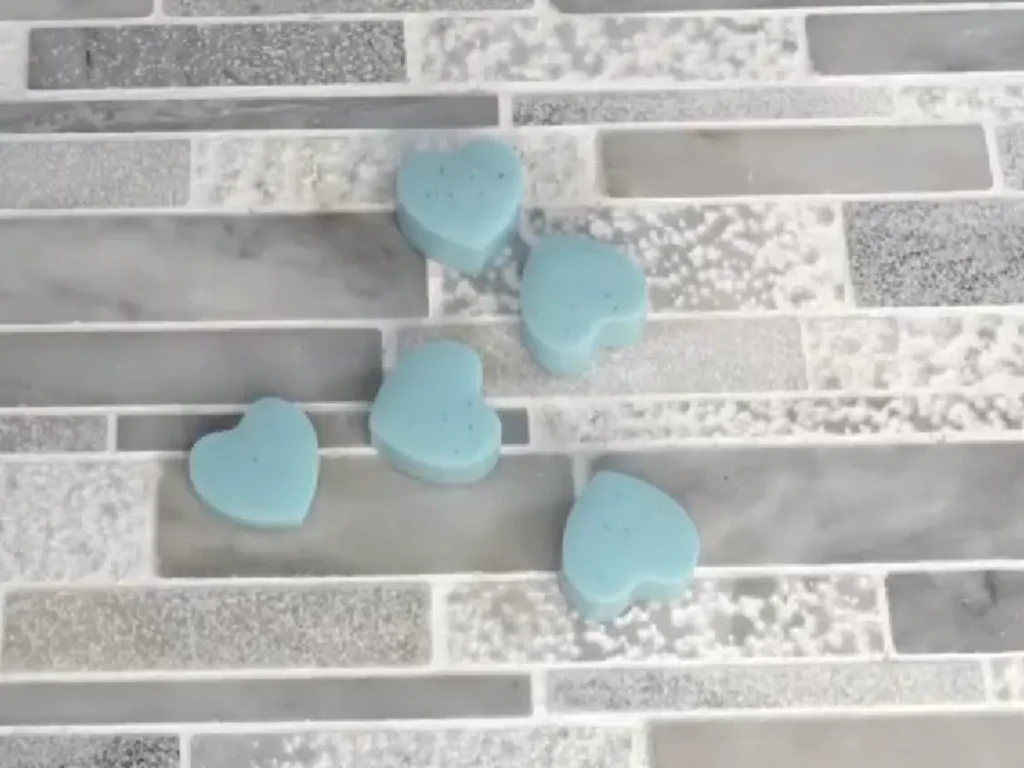
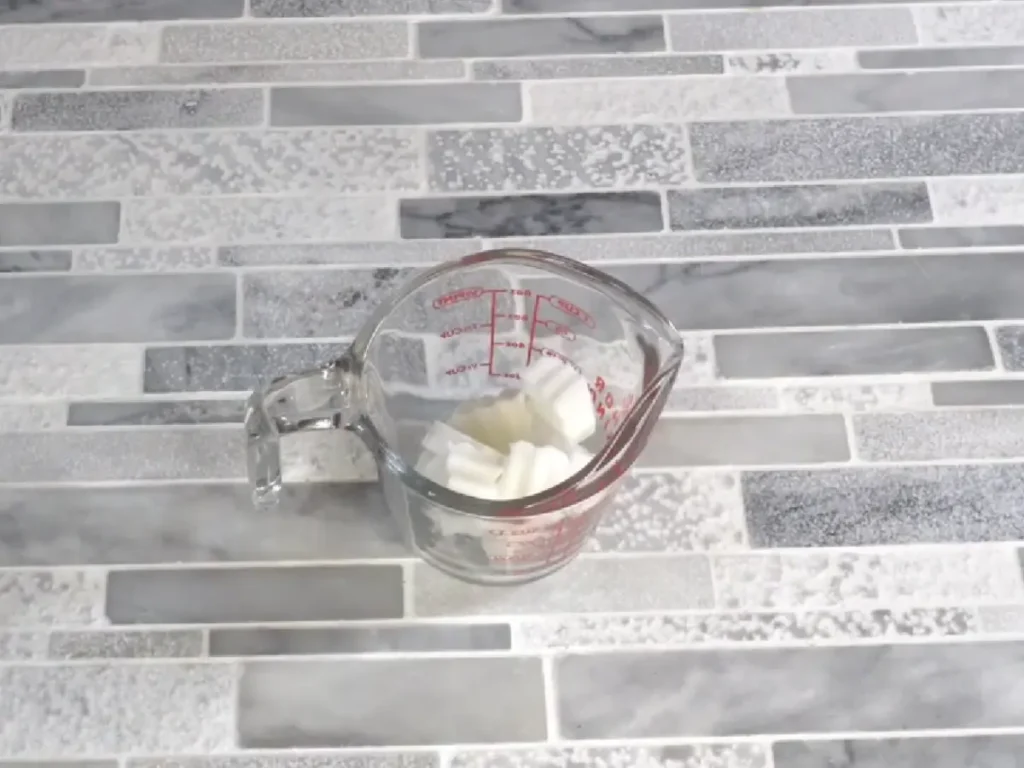
Cut and melt the soap base
Cut your melt and pour soap into small, evenly sized cubes.
Place them in a microwave-safe measuring cup and heat in short 10–15 second intervals.
Stir between each interval to help the soap melt evenly. Avoid overheating, as excessive heat can cause the soap to become too hot and create unnecessary bubbles.
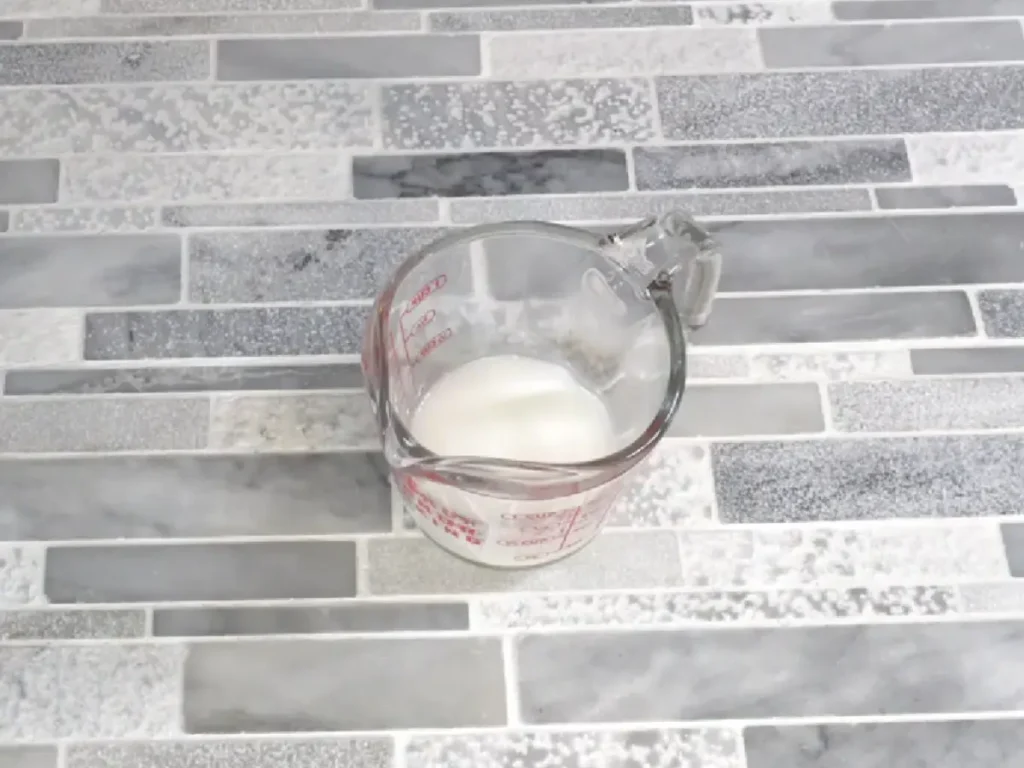
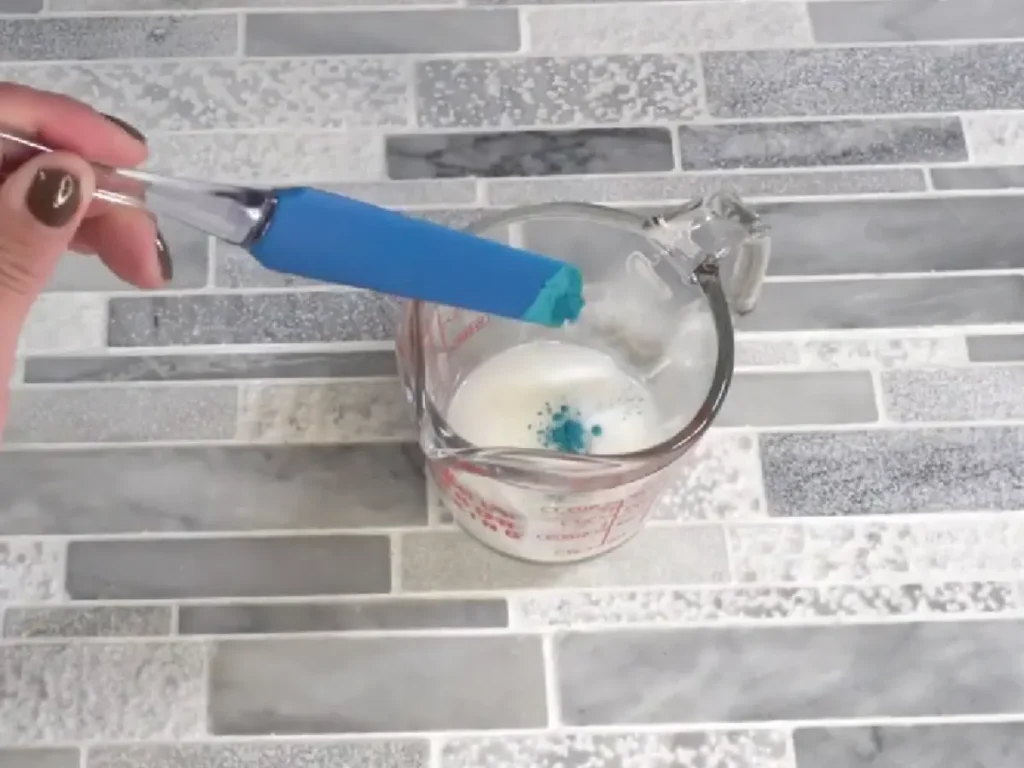
Add fragrance and color
Once the soap has melted, add the fragrance oil and a small amount of mica powder.
Stir gently until the fragrance and color are evenly distributed.
If you notice mica clumping together, you can use a little rubbing alcohol to help disperse the color.
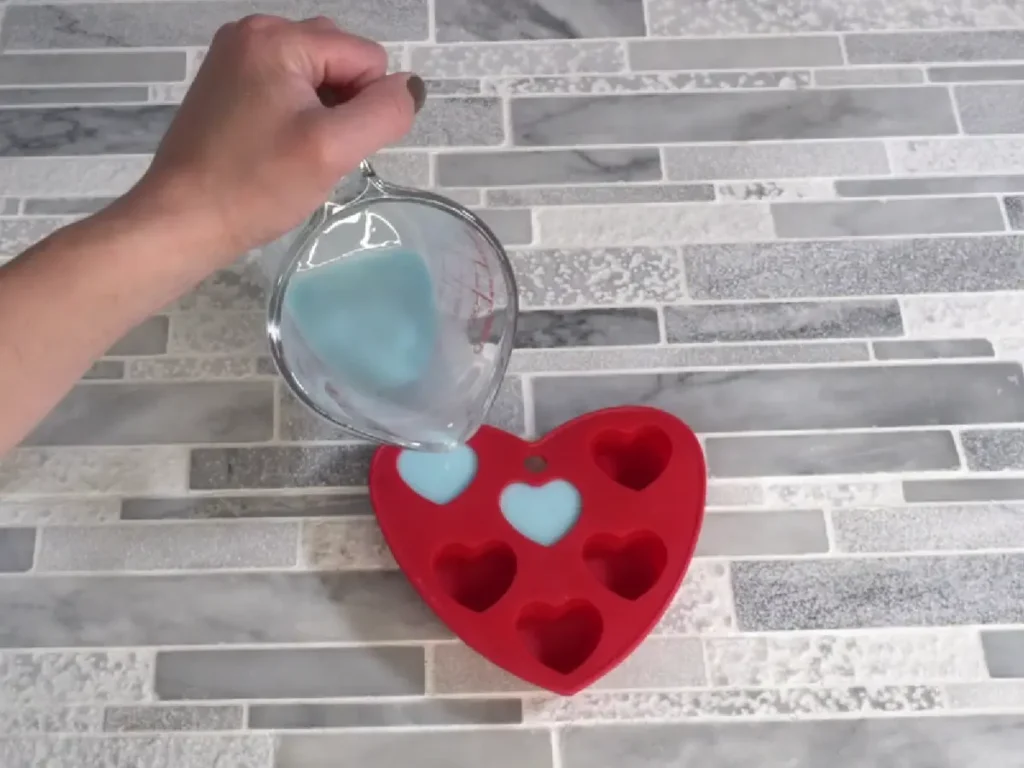
Pour into the heart mold
Carefully pour the melted soap into your silicone heart mold.
If bubbles appear on the surface, lightly spritz the top with rubbing alcohol.
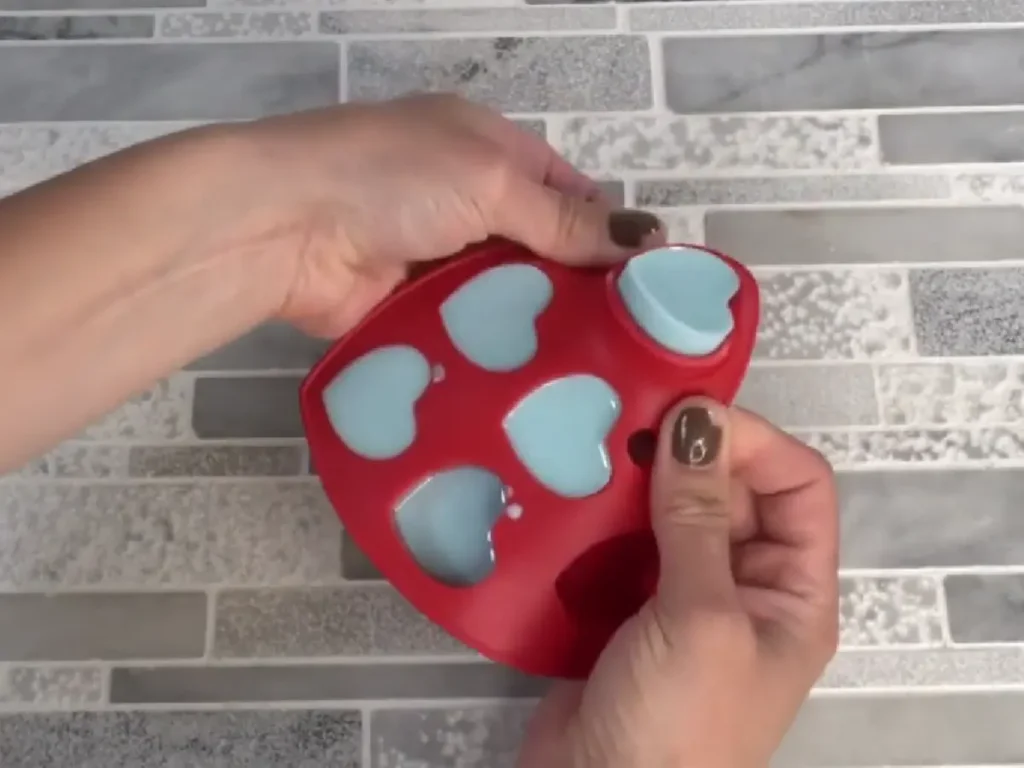
Let the soap harden
Allow the soap to cool completely and harden before removing it from the mold.
This usually takes approximately 30–60 minutes, depending on the size of the hearts and the temperature of your room.
Once hardened, gently remove the hearts and set them aside until you’re ready to decorate your cupcakes.
Step 3: Make the Whipped Soap Frosting
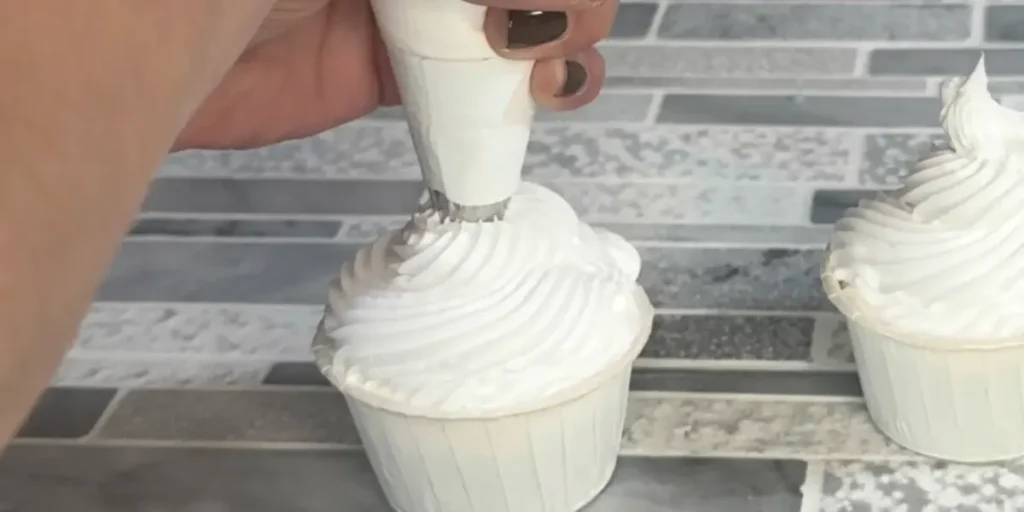
Now for my favorite part of the project!
The whipped soap frosting is what really makes these bath bombs look like little cupcakes. Instead of using actual frosting or a traditional bath bomb mixture, we’re making a fluffy soap topping that can be piped using a decorating bag.
This frosting is made using a premade whipped soap base and melt and pour soap.
The whipped soap base provides the fluffy, cleansing texture, while the melt and pour soap helps give the finished frosting additional structure.
Ingredients and What Each One Does
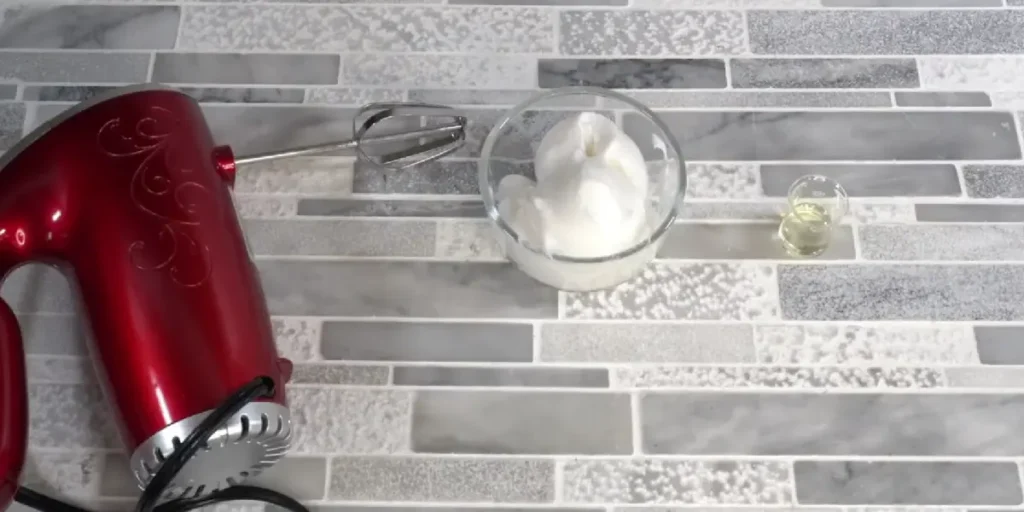
Whipped Soap Base
Whipped soap base is a premade cleansing product designed to be whipped into a fluffy consistency.
It creates the bulk of the frosting and gives the finished product its soft, airy appearance.
This is what makes the topping usable as a cleansing product rather than simply a decorative bath bomb topping.
If you want to make your own Whipped Soap base see my guide.
Melt and Pour Soap
Melt and pour soap is added to help firm up the whipped soap mixture.
It gives the frosting a little more structure so it can be piped into decorative shapes.
Because you’re combining two different soap bases, it’s important to incorporate the melted soap carefully so you maintain the fluffy texture.
Fragrance Oil
Fragrance oil adds scent to the frosting.
You can match the fragrance to your bath bomb or choose a complementary scent. Check the fragrance supplier’s recommended usage rate for the finished soap product.
Whipped Soap Frosting Recipe
| Ingredient | Percentage | Weight |
|---|---|---|
| Whipped soap base | 76.58% | 7 oz |
| Melt and pour soap | 21.88% | 2 oz |
| Fragrance oil | 1.53% | 0.14 oz |
How to Make Whipped Soap Frosting
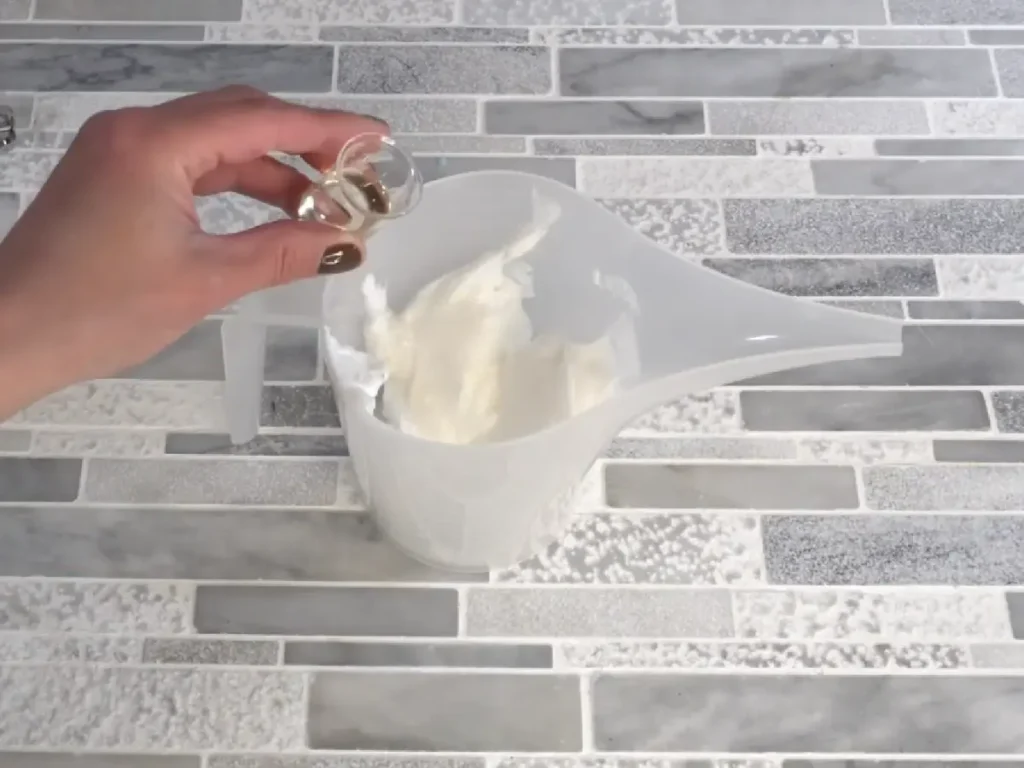
Add the whipped soap base and fragrance
Place the whipped soap base into a mixing bowl.
Add the fragrance oil and begin mixing with a hand mixer.
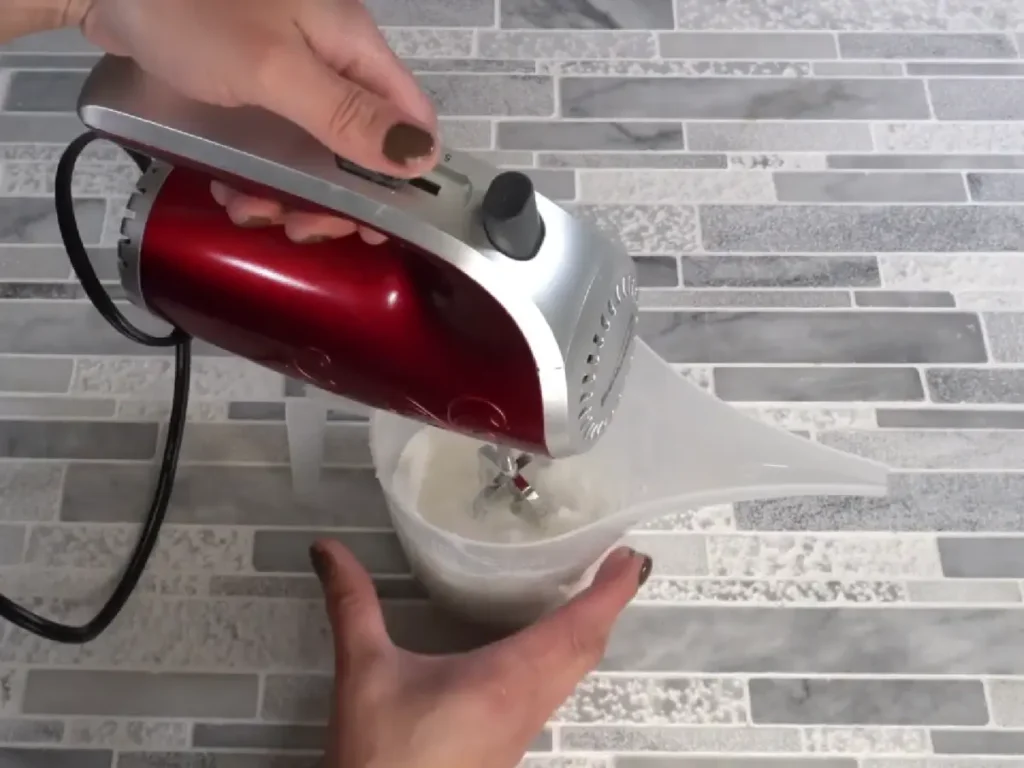
Whip until fluffy
Continue whipping until the soap becomes light and fluffy.
You want a consistency similar to soft buttercream frosting. It should be airy but still thick enough to hold its shape when piped.
Melt the melt and pour soap
Cut the melt and pour soap into small cubes and place them in a microwave-safe container.
Heat in short intervals, stirring between each one, until completely melted.
Allow it to cool slightly while keeping it fluid enough to pour. You don’t want it extremely hot when adding it to the whipped soap.
Combine the two soap bases
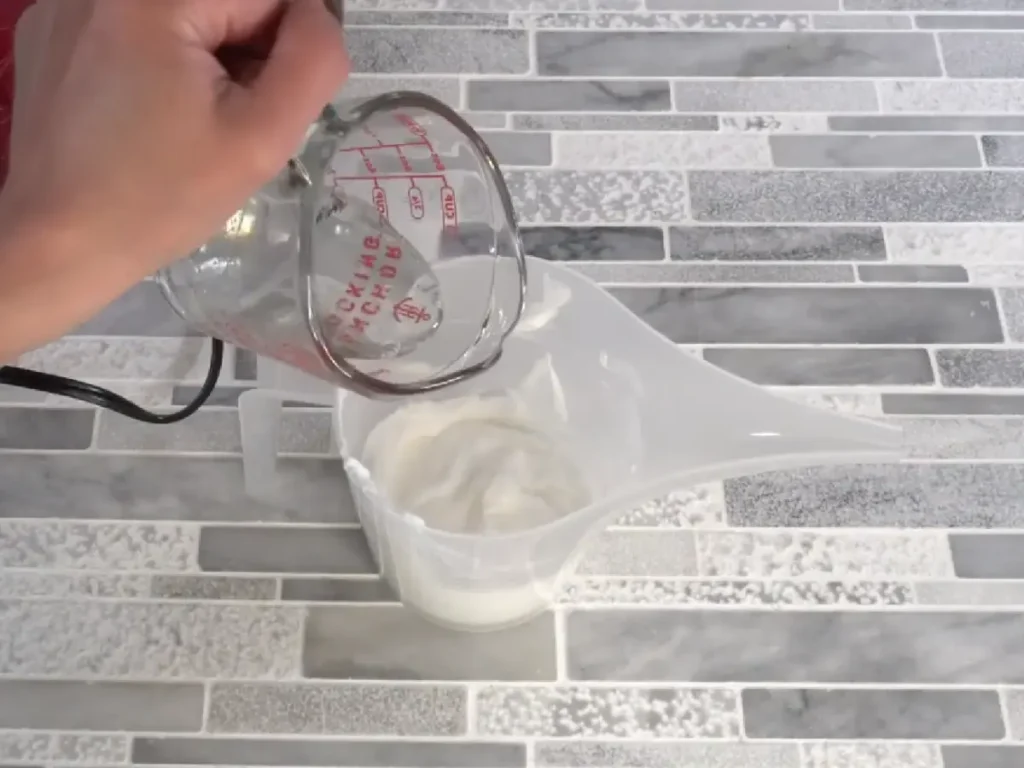
Slowly pour the melted soap into the whipped soap mixture while mixing.
Continue whipping until everything is fully incorporated and the mixture looks smooth.
Avoid overmixing, as you want to retain the fluffy texture.
Transfer to a piping bag
Spoon the whipped soap into a piping bag fitted with your preferred decorating tip.
A large star tip works especially well for creating the traditional cupcake frosting appearance.
If the mixture is too soft to pipe, give it a little time to cool and firm up before decorating.
Step 4: Assemble the Bath Bomb Cupcakes
Once your bath bomb bases are completely dry, your heart embeds are hardened, and your whipped soap frosting is ready, it’s time to put everything together.
This is where the individual components start looking like actual cupcakes!
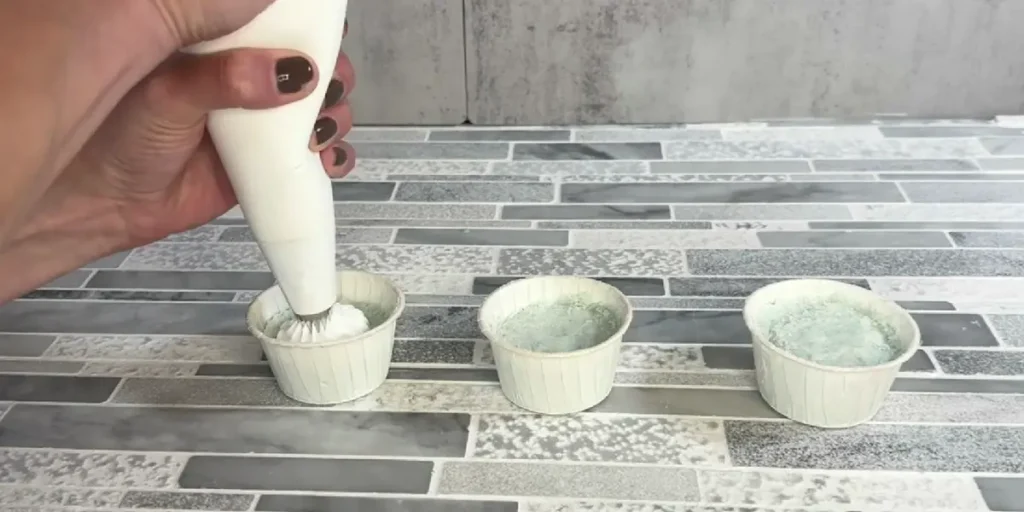
Pipe the whipped soap frosting
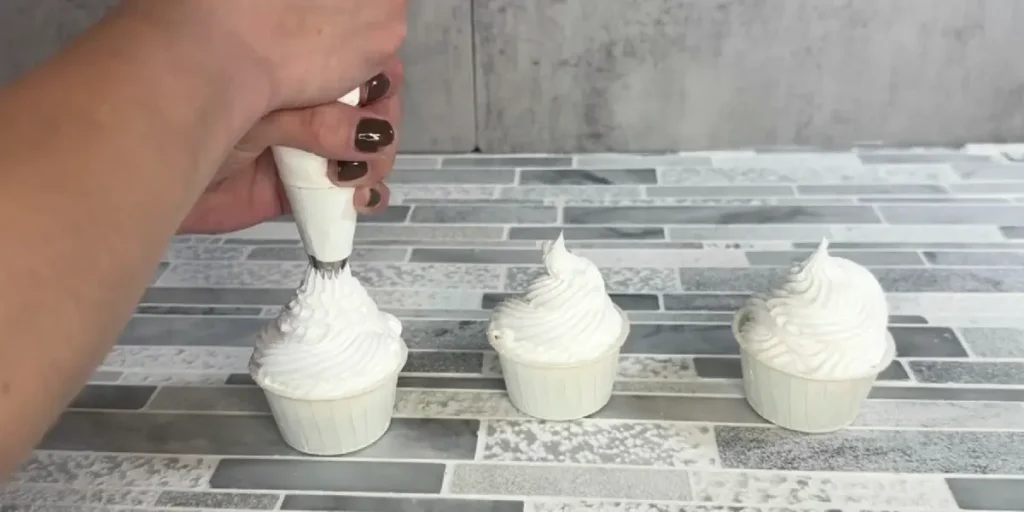
Hold your piping bag over the bath bomb base and pipe the whipped soap in a circular motion.
Start near the outside edge and work your way toward the center, building up the frosting as you go.
You can make a simple swirl or add several layers for a taller cupcake appearance.
Add the heart embed
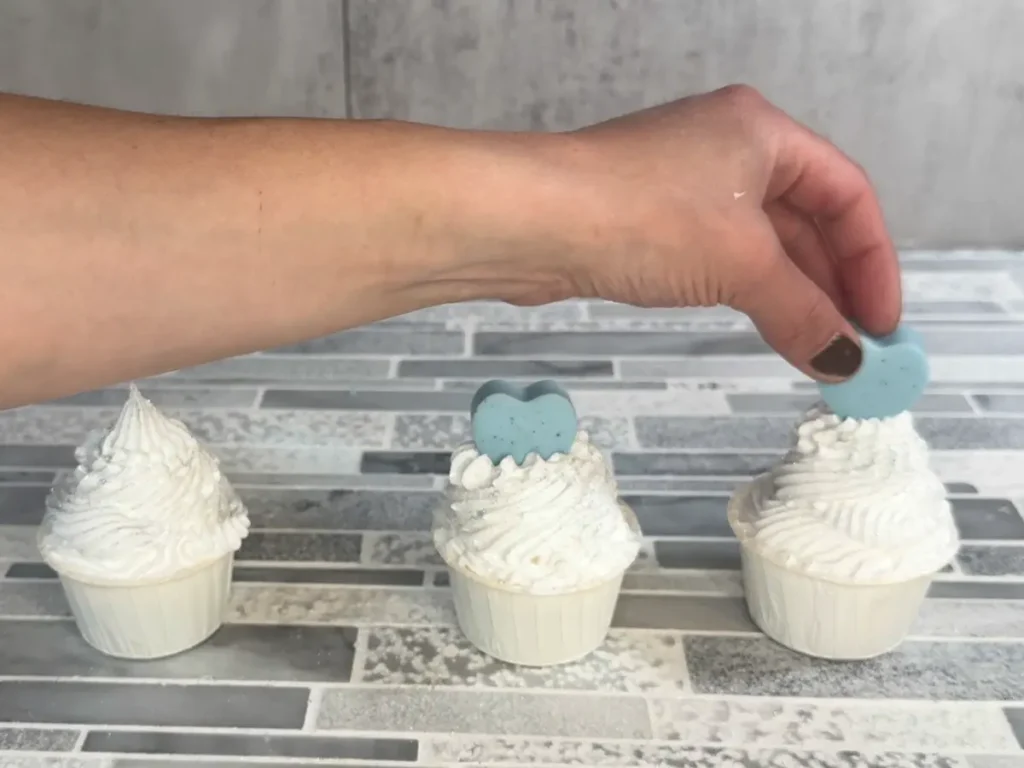
While the frosting is still soft enough to hold decorations, gently place one of your heart-shaped soap embeds on top.
Press it in just enough to secure it without burying the heart in the frosting.
Add decorative touches
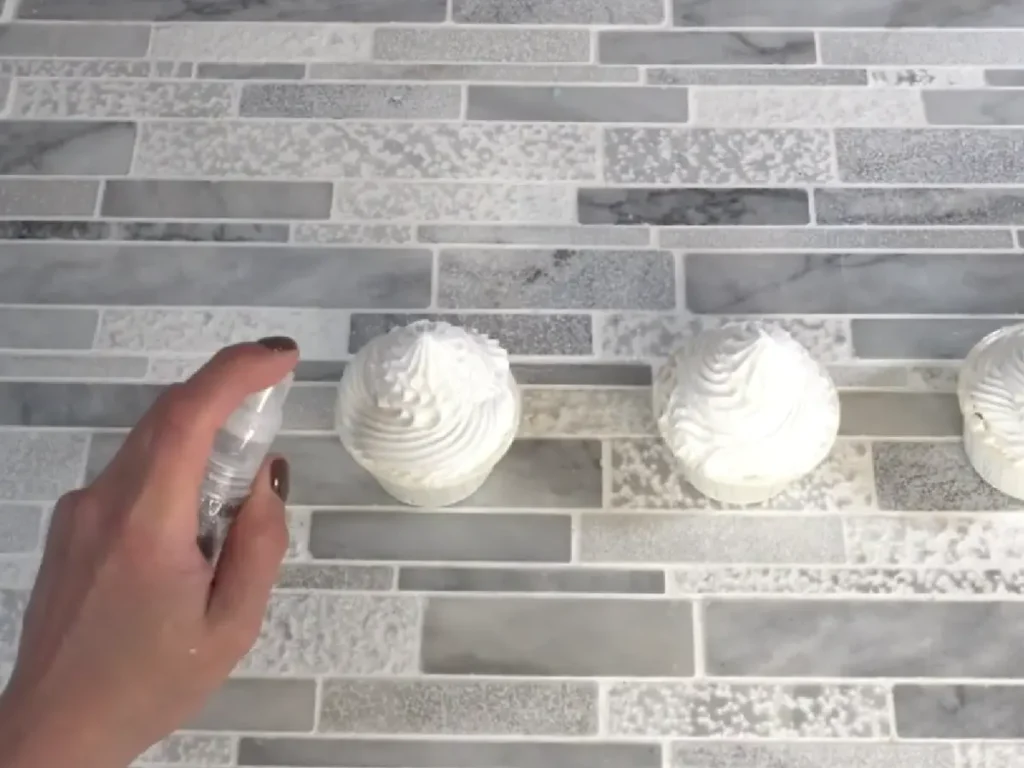
If desired, add a small amount of biodegradable glitter or another suitable bath product decoration.
Keep decorations minimal so the heart and piped frosting remain the main focus.
Allow the frosting to set
Set the finished cupcakes aside in a cool, dry location.
Give the frosting time to firm up before packaging or handling the cupcakes extensively.
How to Use Bath Bomb Cupcakes
One of the fun things about these bath bomb cupcakes is that you get three different ways to enjoy them.
Rather than placing the entire cupcake into the bath at once, separate the components and use them individually.
1. Remove and Use the Soap Heart
Gently remove the heart-shaped soap embed from the top.
You can use it as a miniature bar of soap for washing your hands or body.
2. Use the Whipped Soap Frosting
Scoop a small amount of whipped soap frosting from the bath bomb.
Wet your hands or a washcloth and work the soap into a lather.
Use it as you would a regular body wash or cleansing soap.
3. Enjoy the Bath Bomb
Place the bath bomb base into a warm bathtub filled with water.
Watch as the baking soda and citric acid react, creating the familiar fizzing action.
The shea butter adds an emollient element to your bath, while the fragrance creates a pleasant bathing experience.
Tips for Making Bath Bomb Cupcakes
If this is your first time making bath bomb cupcakes, there are a few things worth keeping in mind.
Make the bath bomb bases ahead of time.
The bath bomb portion needs 24–48 hours to dry, so I recommend making these first. You can prepare your soap hearts while the bases are drying.
Don’t add too much witch hazel.
This is one of the most important parts of making bath bombs. Too much moisture can start the fizzing reaction before the bath bomb ever reaches the bathtub.
Spray gradually and mix continuously.
Make sure the bath bombs are completely dry.
If the bath bomb base is still damp or soft, it may not support the frosting properly. Give it enough time to harden before decorating.
Don’t add hot melt and pour soap to the whipped soap.
Allow the melted soap to cool slightly before combining it with the whipped soap base. If it is too hot, it can affect the consistency of your frosting.
Work with the frosting while it is pipeable.
If the mixture becomes too firm, it may be difficult to pipe smoothly. Have your piping bag ready before combining the two soap bases.
Keep your fragrances within recommended usage rates.
Different fragrances have different maximum usage rates depending on the product they’re being used in. Check the supplier’s IFRA documentation and recommendations for bath products and soap.
How to Store Bath Bomb Cupcakes
Bath bomb cupcakes contain moisture-sensitive ingredients, so proper storage is important.
Keep the finished cupcakes in a cool, dry location away from humidity and direct sunlight.
Because the bath bomb portion contains baking soda and citric acid, exposure to moisture can cause it to activate prematurely.
Once the frosting has set, you can package the cupcakes individually in suitable protective packaging. Keep them away from humid bathrooms and avoid storing them in an area where water or condensation can reach them.
For the best results, use the storage recommendations provided by your whipped soap and melt and pour soap suppliers.
Frequently Asked Questions
Can I use a regular bath bomb mold instead of paper soufflé cups?
Absolutely! You can use another suitable mold if you prefer a different shape. Just make sure the bath bomb is firm enough to support the whipped soap frosting.
The paper soufflé cups are simply an easy way to create the cupcake appearance.
Can I use a different color for the frosting?
Yes! You can customize the appearance by choosing different colors for the bath bomb base, whipped soap frosting, and heart embed.
Make sure any colorants you use are appropriate for the product they are going into. A colorant suitable for melt and pour soap isn’t necessarily suitable for bathwater.
Can I make the soap hearts ahead of time?
Yes. The heart embeds can be made ahead of time and stored in a sealed plastic wrap until ready to use.
Why are my bath bombs crumbling?
Bath bomb mixtures that are too dry may not hold together when pressed into the molds.
Try adding a little more witch hazel, one light spray at a time, while mixing. The mixture should hold together when squeezed without becoming wet or fizzy.
Why is my bath bomb mixture fizzing while I’m making it?
This usually happens when too much moisture has been introduced.
Witch hazel should be added gradually using a spray bottle. Avoid pouring it directly into the bowl, and mix continuously as you work.
Can I use essential oils instead of fragrance oils?
You can use an essential oil if it is suitable for the intended bath product and your chosen usage rate is within the appropriate safety guidelines.
However, essential oils are not automatically safer than fragrance oils. Check the supplier’s usage recommendations and make sure the finished product is appropriate for bath use.
Can I make these bath bomb cupcakes as gifts?
Yes! These are a fun handmade gift idea, especially when packaged individually.
Just make sure the bath bomb and frosting are completely set before packaging. Include instructions explaining that the heart and whipped soap are removed and used separately from the bath bomb base.
Final Thoughts
These DIY bath bomb cupcakes are a fun way to combine several bath and body techniques into one project. You get to make a traditional fizzy bath bomb, experiment with melt and pour soap, and learn how to create a fluffy whipped soap frosting.
I especially love how customizable they are. You can change the colors, fragrances, heart shapes, and piping styles to make each batch your own.
If you’ve been wanting to experiment with making your own bath and body products, this is a creative project that lets you practice several different techniques while making something that’s both pretty and functional.
Bath Bomb Recipe
Equipment
- Mold
Ingredients
- 4 ounce | 50% Baking Soda
- 2 ounce | 25% Citric Acid
- 0.80 ounce | 10% Cornstarch
- 0.24 ounce | 3% Kaolin Clay
- 0.40 ounce 5% Shea Butter
- 0.24 ounce | 3% Polysorbate 80
- 0.16 ounce | 2% Fragrance Oil
- Witch Hazel
- Colorant
Instructions
Mix Dry Ingredients
- In a large bowl, whisk together baking soda, citric acid, cornstarch, and kaolin clay until fully combined.
Add Wet Ingredients
- Gently melt the shea butter in a double boiler.
- Add the shea butter, fragrance oil and Polysorbate 80 to the dry mixture and mix well.
Spray with Witch Hazel
- Lightly spritz the mixture with witch hazel, a little at a time, mixing constantly until it reaches a damp sand consistency.
Mold
- Pack the mixture firmly into your molds. Let dry for 24–48 hours before decorating or using.
Video
Soapy Heart
Equipment
- Scale
Ingredients
- 1.96 ounce | 98% Glycerin-Based Melt & Pour Soap
- 0.04 ounce | 2% Fragrance Oil
Instructions
Melt the Soap Base
- Cut the melt and pour soap into small cubes and heat in a microwave-safe container in short bursts (10–15 seconds), stirring in between until fully melted.
Add Fragrance & Mica
- Stir in your fragrance oil and a small amount of mica powder. Mix thoroughly to evenly distribute the color and scent.
Eliminate Clumps (if needed)
- If the mica isn’t blending smoothly, spray the mixture with a little rubbing alcohol and stir again — this helps break up any color clumps.
Pour into Mold
- Carefully pour the melted soap into your heart-shaped mold.
Finish with Alcohol Spray
- Lightly spritz the surface with rubbing alcohol to remove any bubbles and give the top a smooth finish.
Let Set
- Allow the embeds to cool and fully harden before unmolding — usually within 30–60 minutes.
Video
Whipped Soap Base
Equipment
- Scale
Ingredients
- 7 ounce | 76.58% Whipped Soap Base
- 2 ounce | 21.88 Melt & Pour Soap
- 0.14 ounce | 1.53 Fragrance Oil
Instructions
Add Whipped Soap Base & Fragrance
- Place the whipped soap base and fragrance oil into a mixing bowl
Whip the Base
- Using a hand mixer, whip the soap and fragrance together until light and fluffy.
Melt the Melt & Pour Soap
- In a microwave-safe container, melt the melt and pour soap in short bursts until fully melted.
Combine
- Pour the melted soap into the whipped base while mixing. Whip with the hand mixer until fully incorporated and smooth.
Pipe the Frosting
- Transfer the mixture into a piping bag with your favorite tip. Pipe onto the top of the bath bomb base like frosting.
Add Finishing Touches
- While the top is still soft, spray with biodegradable glitter and gently place your heart embed on top.