Struggling with stuffy sinuses from winter colds, allergies, or just daily stress that leaves you tense and unable to unwind? Many of us dread showers when congestion makes breathing hard or exhaustion lingers. Store-bought shower melts often rely on artificial scents and fillers that can irritate sensitive noses or skin.
This diy shower steamer recipe changes that — it’s made with simple, natural ingredients like baking soda, citric acid, kaolin clay, and pure essential oils. You get powerful aromatherapy benefits (clearer airways, calmer mind) without chemicals, plus full control over scents and strength.
In this beginner tutorial, we’ll cover the full diy shower steamer recipe, ingredients and their benefits, step-by-step instructions, substitutions, storage, usage tips, and FAQs. Let’s make your shower a soothing, spa-like ritual!
Prefer to watch this project instead of reading it?
Some of the links are affiliate links, because I am an associate and I earn a small commission on them. There is no additional cost to you, I earn a commission if you click through and make a purchase.
Why You’ll Love This DIY Shower Steamer
- Provides natural congestion relief and deep relaxation through aromatherapy steam
- Fills your shower with fresh, pure essential oil scents — no synthetics
- Uses pantry staples and easy tools — perfect for beginners
- Eco-friendly, zero-waste alternative to commercial shower tabs
- Affordable to make and highly giftable (great for holidays or self-care packages)
- Fully customizable for different moods or seasons
Key DIY Shower Steamer Ingredients & Benefits
Baking Soda — The main base that gently fizzes and helps release aromas slowly while absorbing moisture for a solid hold.
Citric Acid — Triggers the effervescent reaction with water/steam to disperse essential oils into the air for maximum inhalation benefits.
Kaolin Clay — Slows the fizz so one steamer lasts your whole shower; adds a smooth, gentle texture.
Essential Oils (Eucalyptus + Lavender) — Eucalyptus opens airways and eases congestion; lavender calms stress and promotes relaxation — an ideal natural combo. I am not using an essential oil, I am using Champagne Fragrance Oil.
Witch Hazel — Binds the mixture without starting fizz early (evaporates quickly).
Safety & Patch Test
Essential oils are strong — use only for steam inhalation, not direct skin application. Avoid if pregnant, asthmatic, or allergic without doctor approval. Always do a 24-hour patch test: dilute a drop in carrier oil, apply to inner arm, watch for irritation. Keep away from kids/pets.
Supplies & Tools
- Large mixing bowl
- Spoon/spatula
- Digital kitchen scale
- Fine-mist spray bottle (for witch hazel)
- Meat baller, silicone molds, or cookie scoop
- Optional: gloves, airtight jars for storage
DIY Shower Steamer Recipe
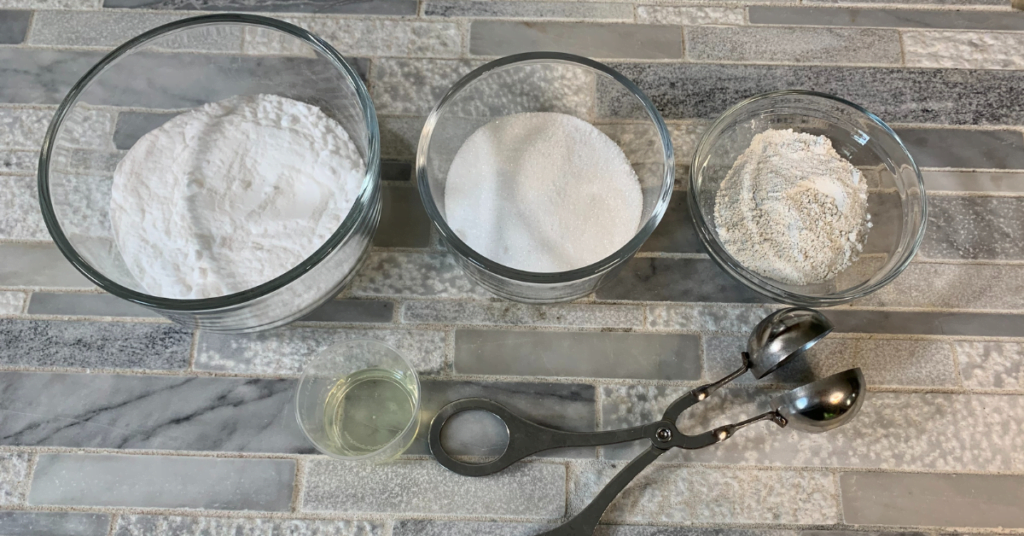
Ingredients
- 140 g Baking soda
- 70 g Citric acid
- 11 g Kaolin clay
- 4.5 g Fragrance Oil
- Witch hazel — spritz as needed (start with just a few sprays)
Instructions
In a dry bowl, mix baking soda and citric acid. Be sure to break up any clumps.
Add kaolin clay and mix thoroughly.
Add fragrance oil; stir well for even distribution.
Lightly mist with witch hazel while stirring. Stop when it holds together like damp sand (test: drop from 6 inches — no crumble). Avoid over-wetting to prevent fizz. We are going for the consistency of wet sand.

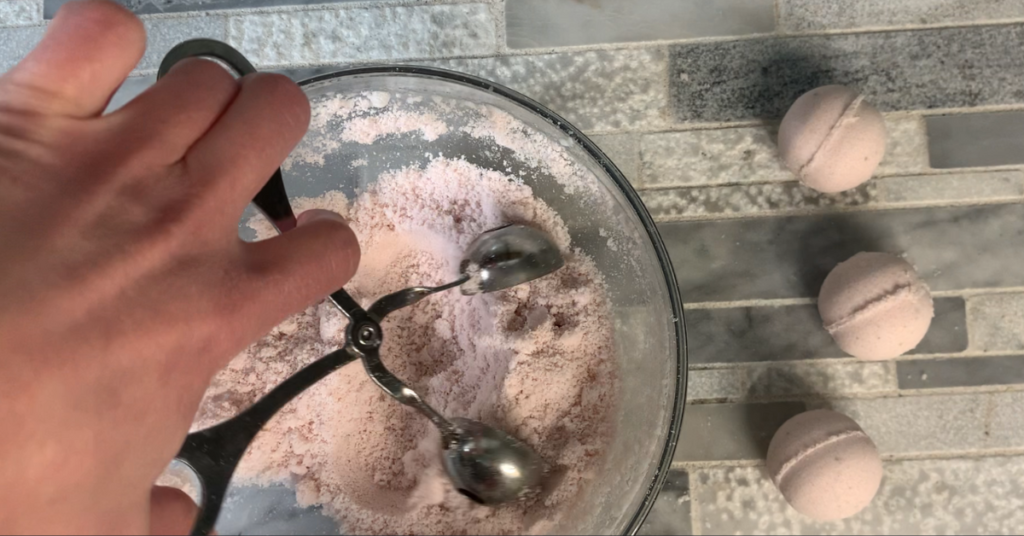
Scoop into meat baller or mold; press firmly to compact.
Dry in cool, ventilated spot 24–48 hours until hard.
Unmold and store airtight.
Ingredient Substitution Chart
| Original Ingredient | Substitute Options | What Changes | Max Recommended % or Notes |
|---|---|---|---|
| Baking Soda | None (core fizz base) | N/A | Essential |
| Citric Acid | Epsom salt or extra baking soda | Weaker/no fizz, slower release | Up to full replacement; less effervescent |
| Kaolin Clay | Cornstarch or arrowroot | Faster fizz, shorter duration | 5–10%; good for quicker scent |
| Eucalyptus Essential Oil | Peppermint EO | Mintier clearing effect | Same 1–2% total EO |
| Lavender Essential Oil | Chamomile or bergamot EO | Softer floral or citrus calm | Same 1–2% total EO |
| Witch Hazel | 91% rubbing alcohol | Alcohol increases fizz risk a little when making | Sparingly |
| Fragrance Oils | Skin-safe fragrance oils | Stronger but less therapeutic | Check manufactures recommendation for use rate |
| Meat baller | Silicone molds, ice cube trays | Different shapes | Any compact mold |
Customization Ideas
- Scent variations: Energizing (lemon + peppermint), winter (pine + fir), calming (chamomile + lavender).
- Color options: Mica powder, green clay, or turmeric for natural hues.
- Skin/mood adjustments: Double eucalyptus for heavy congestion; more lavender for sensitive/relaxation focus.
- Gift twists: Add dried herbs on top; wrap in cellophane for holidays.
How to Use DIY Shower Steamer
Place one in the shower corner (away from direct stream but splash-reachable). Use once per shower. Steam activates fizz and releases vapors. Best in enclosed, steamy shower for 10–15 minutes.
Storage & Shelf Life
Airtight container/jar in cool, dry spot. Lasts 6–12 months. Toss if scent fades, discolors, or crumbles early.
Troubleshooting
- Too crumbly → Press harder or add tiny more binder.
- Fizzes too quick → Increase kaolin clay %.
- No fizz → Binder too low; mist more next time.
- Uneven scent → Stir oils longer.
FAQ
How do I make a diy shower steamer without citric acid? Use extra baking soda or Epsom salt — less fizz but still releases scent slowly. This wont be as good, but can be made.
How long does one diy shower steamer last? Usually one full 10–15 minute shower.
Can I use this diy shower steamer for congestion relief? Yes — eucalyptus/peppermint blends clear sinuses effectively.
Do diy shower steamers need preservatives? No — dry formula; airtight storage keeps them potent.
What if my diy shower steamer doesn’t hold together? Add more witch hazel spritzes gradually or increase clay.

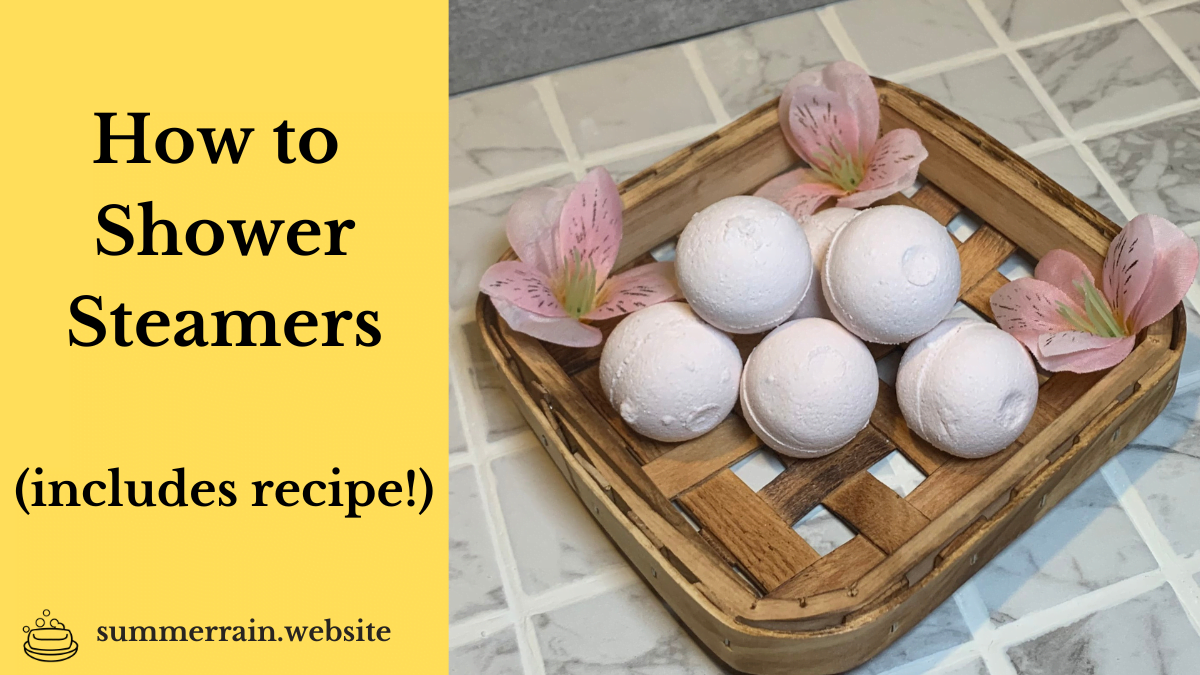
5-Minute Shower Steamer DIY: Elevate Your Shower Experience!
Equipment
- Meat Baller
Ingredients
- 4.96 ounce | 62% Baking Soda
- 2.48 ounce | 31% Citric Acid
- 0.40 ounce | 5% Kaolin Clay
- 0.16 ounce | 2% Champagne Fragrance Oil,
Instructions
Preparation
- Ensure your workspace and all equipment is clean. Begin by weighing out all your ingredients. Should your baking soda appear clumpy, either sift it through a sieve or manually break apart the clumps for a smoother mixture.
Mixing and Shaping Shower Steamer
- Combine Baking Soda and Citric Acid: Mix the premeasured baking soda and citric acid in a mixing bowl until thoroughly blended.
- Add Kaolin Clay and Mica (Optional for Coloring): Add the kaolin clay and mica into the mixture, especially if you wish to add color to your shower steamers. Blend these in thoroughly.
- Incorporate Fragrance: Pour your chosen fragrance over the mixture, ensuring it's evenly distributed. Stir the mixture until the fragrance is fully incorporated.
- Mist with Witch Hazel: Gradually mist the mixture with witch hazel while stirring continuously. Continue until you achieve the desired consistency. Aim for a texture where dropping the mixture from 6 inches above does not cause it to break apart, similar to the method used for crafting bath bombs.
- Shaping Process: Scoop heaping piles of the mixture into your mold, then press down firmly to compact it. This step ensures the shower steamers hold their shape and density.
Drying and Storage Tips
- Drying Phase: Allow the shaped shower steamer mixture to dry in the molds for a duration of 24 to 48 hours. This drying period, in a dry and well-ventilated area, guarantees solidity.
- Unmolding and Storage: After the drying period, store the shower steamers in an airtight container or sealed bag to maintain their freshness and efficacy. A cool, dry storage space helps preserve their fragrance and fizzy properties for an extended period.
This easy diy shower steamer recipe delivers natural congestion relief and relaxation right in your daily routine — no spa visit needed. Make a batch today and turn every shower into self-care time!
Which variation calls to you — sinus-clearing eucalyptus or soothing lavender? Comment below, pin/save this post, or share with someone who needs it. Happy DIY-ing!
Be sure to check out How To Make Aromatherapy Massage Oil and How to Make Lotion Dots (Mini Lotion Bars): Easy DIY Recipe with Natural Ingredients for Dry Skin.
. Whether you seek relaxation, an energy boost, or relief from congestion, there’s a combination just for you.
I’d love to hear about your experiences and unique variations! Share your stories, favorite scents, or any inventive twists you’ve added to your shower steamer recipes. Let’s inspire each other to create an array of delightful shower experiences. Embrace the art of customization and make every shower a rejuvenating and personalized escape.
Summer Rain Community
Don’t miss out on your journey to crafting exceptional skincare at home! Subscribe to my blog for a treasure trove of DIY skincare recipes, insightful tips, and expert guidance.
Subscribe to our newsletter!
Join the community of skincare enthusiasts! Follow us on social media to dive deeper into the world of homemade skincare. Discover exclusive content, behind-the-scenes insights, and connect with like-minded individuals passionate about nurturing their skin naturally.
Facebook: https://facebook.com/summerrain.website/
Pinterest: https://www.pinterest.com/summerrainblog/
Patreon: https://www.patreon.com/Summerraindiy
TikTok: https://www.tiktok.com/@summerraindiy
Let’s embark on this exciting skincare adventure together—subscribe, follow, and elevate your DIY skincare game!