Learn how to make swirled soy candle melts at home with this easy step-by-step tutorial. I’ll show you how to measure your wax, blend fragrance oil correctly, and create beautiful marble-like swirls using colorants. These wax melts look gorgeous, smell amazing, and make perfect handmade gifts. Whether you’re new to candle making or just looking for a creative twist, this guide walks you through every detail—from wax temperature to scent throw tips.
There’s something so soothing about melting wax and blending colors together—it’s creative, hands-on, and gives your home that cozy, comforting scent that just makes everything feel calm. Today I’m showing you how to make swirled candle melts (also called wax melts) that look as beautiful as they smell.
These are perfect if you want to add a handmade touch to your space or create thoughtful little gifts. They’re also a fun way to experiment with color and fragrance without having to pour an entire candle.
Prefer to watch this project instead of reading it?
Some links on this website are affiliate links, meaning I may earn a small commission if you click and make a purchase. This comes at no additional cost to you.
🕯️ What You’ll Need
Here’s everything I used for this project:
- Soy wax (you can use a wax blend too)
- Fragrance oil (make sure it’s candle-safe)
- Liquid colorant (for that swirl effect)
- Pouring pot or double boiler
- Digital scale
- Thermometer
- Clamshell molds or silicone wax melt molds
- Toothpick (for swirling)
- Paper towels (for easy cleanup)
🌼 Step 1: Measure Your Wax
The first step is to figure out how much wax you’ll need. A simple trick is to fill your wax melt container twice with unmelted wax, then pour that into your container on the scale that is tared out. This means that the scale will read 0 while the pouring pot is on it. That gives you a good estimate of what you will need once it’s melted down. Once you have made the wax melts once, you can weigh it to get the exact amount of wax you will need moving forward.
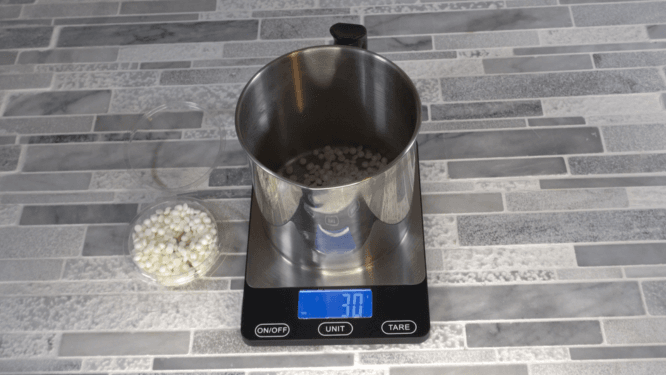
For my clamshells, I needed 60 grams of soy wax. If you’re making a larger batch, just multiply everything by the number of molds you plan to fill.
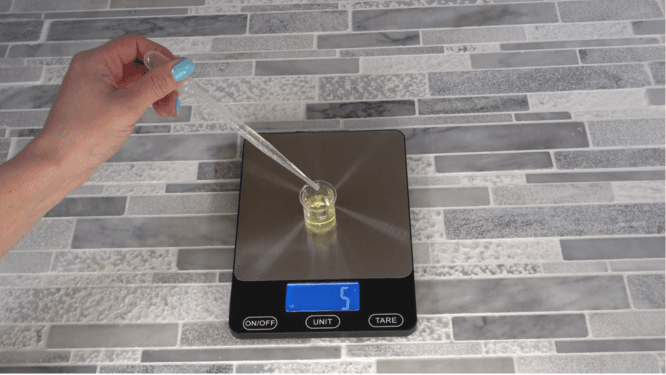
💐 Step 2: Calculate Your Fragrance Oil
Every wax has a maximum fragrance load, which tells you how much oil it can hold before it starts to separate or affect the texture. My soy wax allows for a 10% fragrance load, which means for 60 grams of wax, I can safely add 6 grams of fragrance oil.
If you’re not sure what your wax’s limit is, check the supplier’s instructions or product label—it’s always listed.
Tip: Don’t go over the recommended load. It might seem tempting for a stronger scent, but too much oil can cause sweating or even prevent the wax from setting properly.
🔥 Step 3: Melt the Wax
Now melt the wax slowly in your pouring pot or a double boiler setup. Heat it gently until it’s completely liquefied—usually around 185°F (85°C) for soy wax.
Keep an eye on the temperature. If you overheat the wax, it can discolor or lose some of its scent-holding power later on.
🎨 Step 4: Add Color to the Clamshells
While the wax is melting, you can start prepping the color. This is my favorite part—it’s where you get creative.
Take your clamshell molds and add a bit of colorant directly to the sides of each cavity. You can use liquid candle dye. Let the color drip or streak naturally down the sides.
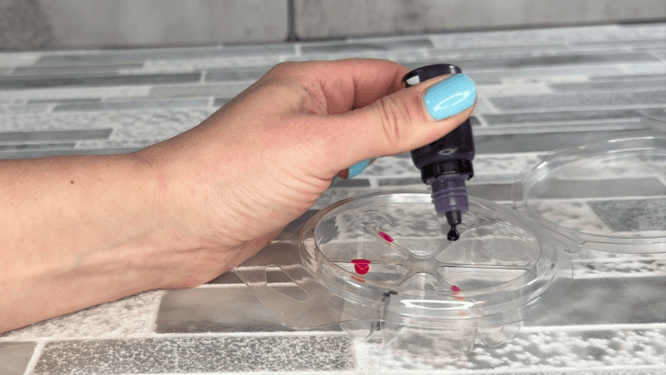
This creates those beautiful swirl patterns once the wax is poured in. I like mixing two complementary colors—something soft and dreamy, like rose and cream, pink and purple, or ocean blues and white.
🌺 Step 5: Add the Fragrance Oil
Once your wax is fully melted, remove it from the heat.
Add your measured fragrance oil and stir for at least two full minutes. This is an important step! Stirring helps the fragrance bind to the wax evenly and also cools it slightly, which thickens the wax.
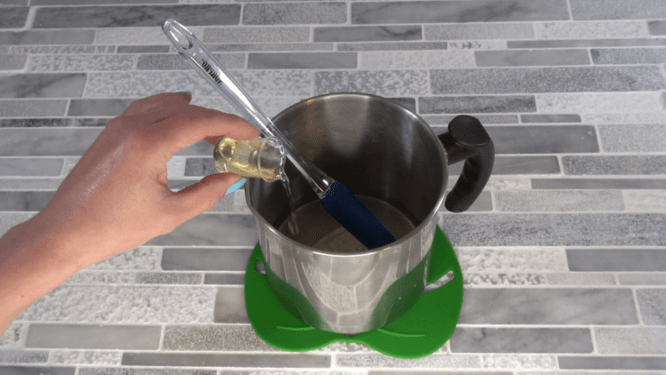
A thicker wax means you’ll get cleaner swirls when you pour—it won’t just fully incorporate the color.
🌈 Step 6: Pour and Swirl
Now comes the fun part—pouring and creating the swirl.
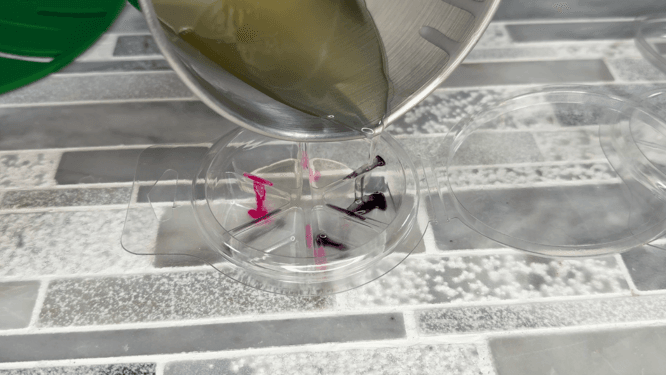
Slowly pour your scented wax into the clamshell molds over the colorant. You’ll start to see it blend and move naturally. If you want a stronger swirl effect, add a little more wax and gently drag a toothpick through the mixture in a figure-eight motion.
You can control how subtle or dramatic your swirls look—just don’t overmix, or the colors will muddy together.
🍃 Step 7: Cool and Set
Let your wax melts cool completely at room temperature before moving or closing the clamshells. This helps prevent uneven tops or cracks.
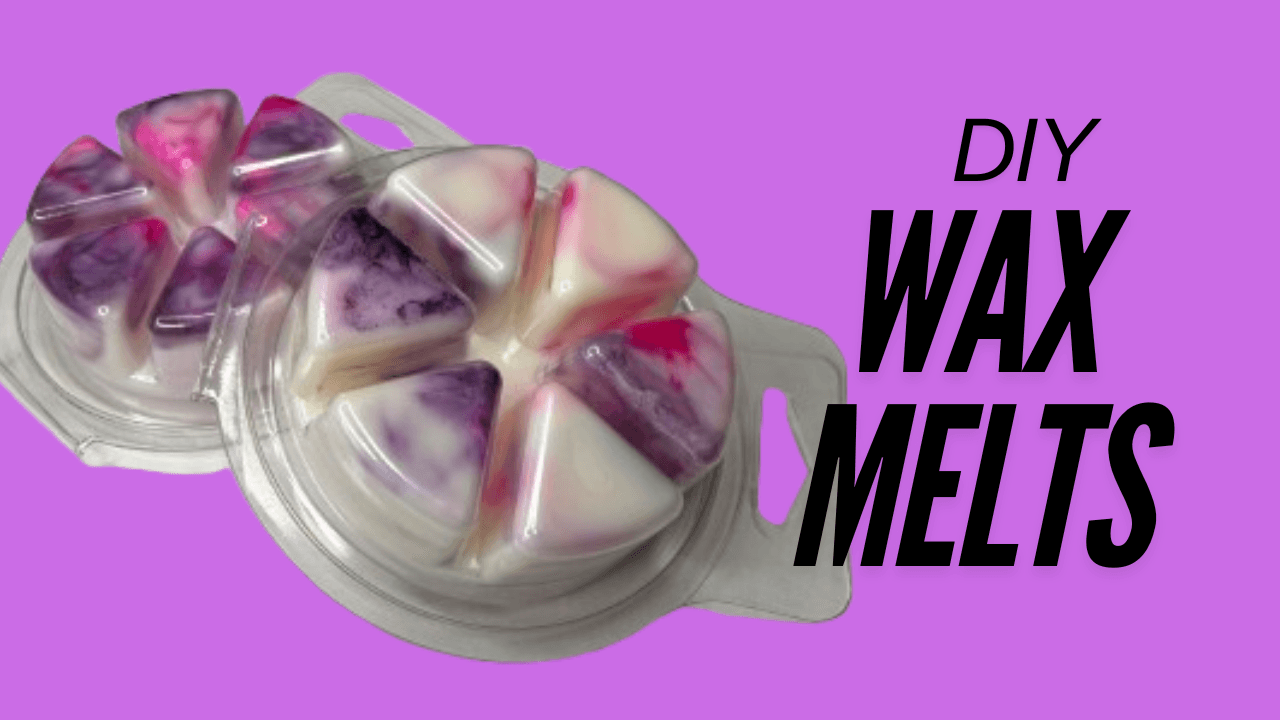
Once they’re solid, you’ll see the gorgeous marbled design you created. Pop them out, and they’re ready to use in your wax warmer or give as gifts.
🌸 Extra Tips for a Strong Scent Throw
If you’ve ever made melts or candles and noticed they didn’t smell as strong as you’d hoped, here are a few things that make a big difference:
- Use the recommended fragrance load. More isn’t always better—too much can weaken the wax structure.
- Add fragrance oil at the proper temperature. For soy, this is around 175°F–185°F so the oil binds fully.
- Let your melts cure. Give them 5–7 days before using for the best scent throw. This allows the fragrance and wax to fully settle.
- Choose quality fragrance oils. Candle-safe, high-quality oils make a noticeable difference.
✨ Why I Love Making Swirled Candle Melts
Swirled melts are one of those projects that look like they take hours, but they’re really simple once you know the steps. I love that every batch turns out a little different—some have softer ribbons of color, while others have dramatic, watercolor-like patterns.
They melt beautifully in a wax warmer, and that swirl adds a handmade, artisanal touch that makes them special.
So the next time you want to unwind and create something calming and beautiful, try making a batch of swirled wax melts. Light music, melted wax, and soft fragrance in the air—it’s the perfect slow-day project.