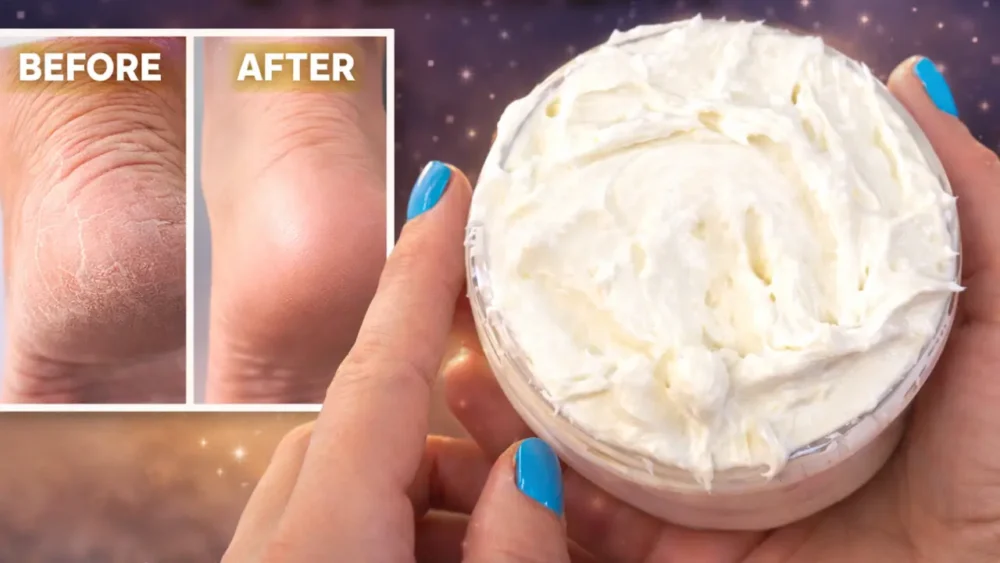
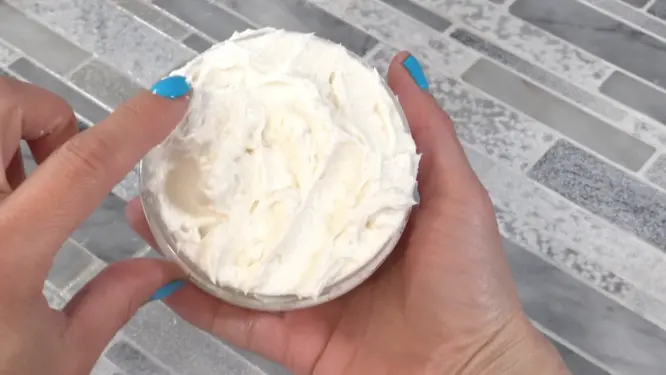
(Whipped Foot Butter for Soft, Smooth Feet)
If your feet tend to get dry—especially around the heels—this DIY overnight foot cream is a simple way to bring moisture back into your routine.
This recipe is rich enough to stay on the skin, yet still soft and spreadable once whipped. It is designed to be used at night, giving the ingredients time to soften and condition dry areas while you rest.
If you are new to making your own skincare, this is a great beginner-friendly recipe, similar in process to other projects like your DIY skincare for beginners guide.
Watch the Full How to Make Foot Cream Video Tutorial
Some links on this website are affiliate links, meaning I may earn a small commission if you click and make a purchase. This comes at no additional cost to you.
Why This Foot Cream Works
Dry, cracked heels need more than hydration. They need ingredients that can stay on the skin long enough to support repair.
This formula works because:
- It is anhydrous (no water), so it does not evaporate
- It creates a protective barrier on the skin
- It softens rough areas over time
- It is ideal for overnight use with socks
Ingredients (220 g Batch – 100%)
| Ingredient | % | Weight |
|---|---|---|
| Shea Butter | 40% | 88 g |
| Cocoa Butter | 20% | 44 g |
| Mango Butter | 14.5% | 31.9 g |
| Sweet Almond Oil | 15% | 33 g |
| Beeswax | 5% | 11 g |
| Arrowroot Powder | 3% | 6.6 g |
| Vitamin E Oil | 2% | 4.4 g |
| Essential Oils | 0.5% | 1.1 g |
Total: 100%
What Each Ingredient Does (and Why We Use It)
Understanding your ingredients makes it easier to customize the recipe later.
Shea Butter
A soft butter that deeply moisturizes and helps improve the feel of dry skin over time. It forms the base of the recipe.
Substitution: Kokum butter (firmer) or increase mango butter slightly.
Cocoa Butter
A hard butter that adds structure and helps the cream hold its shape. It also contributes to that protective barrier feeling.
Substitution: Kokum butter or increase beeswax slightly if needed.
Mango Butter
A lighter butter that helps balance the richness of shea butter and reduces the greasy feel.
Substitution: You can omit and increase shea butter slightly, though the texture will feel heavier.
Sweet Almond Oil
A lightweight oil that improves spreadability and helps the cream glide easily on the skin.
Substitution: Olive oil (richer), avocado oil, or sunflower oil.
Beeswax
Adds firmness and helps the product stay on the skin longer. This is especially important for overnight use.
Substitution: Candelilla wax (use less, about 50–70% of the amount).
Arrowroot Powder
Helps reduce the greasy feel and gives a smoother, more powdery finish on the skin.
Substitution: Cornstarch or tapioca starch.
Vitamin E Oil
Supports skin conditioning and helps extend shelf life by slowing oxidation.
Substitution: Optional, but recommended.
Essential Oils (0.5%)
Adds a light scent and can support the overall experience.
A simple blend for feet:
- Tea tree
- Peppermint
- Lavender
Keep usage low, especially with peppermint.
Supplies and Tools
- Double boiler
- Heat-safe container
- Digital kitchen scale
- Hand mixer
- Storage jar
Using a scale ensures accuracy, which is important when working with percentages. This is similar to what you recommend in your beginner candle making guide.
How to Make Foot Cream
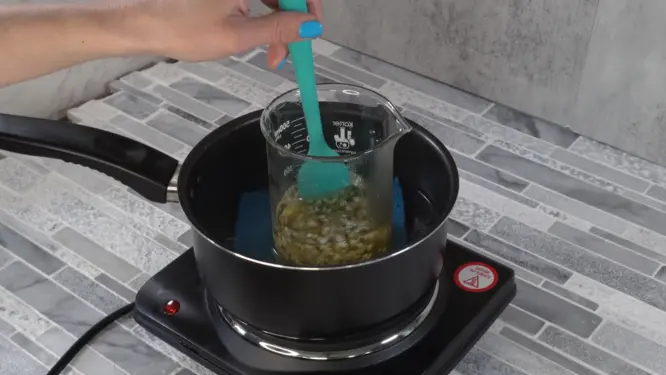
1. Melt the Butters and Wax
Add shea butter, cocoa butter, mango butter, and beeswax to a heat-safe container.
Place over a double boiler and melt gently, stirring occasionally until fully liquid.
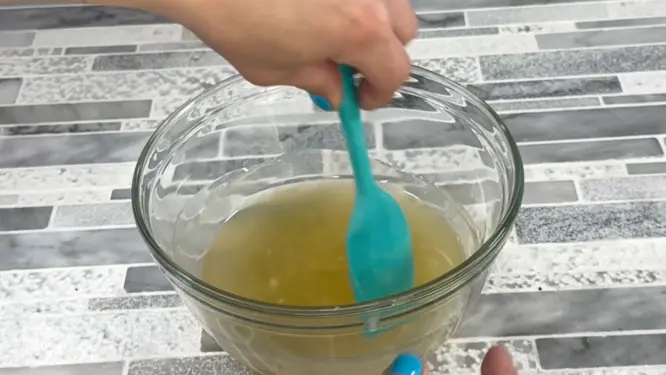
2. Add the Carrier Oil
Remove from heat and stir in the sweet almond oil until fully combined.
3. Let It Cool
Allow the mixture to cool until it becomes slightly cloudy and begins to thicken.
This step is key to achieving a light, whipped texture.
4. Add Arrowroot, Vitamin E and Essential Oils
Stir in arrowroot powder, essential oil and vitamin E oil until smooth.
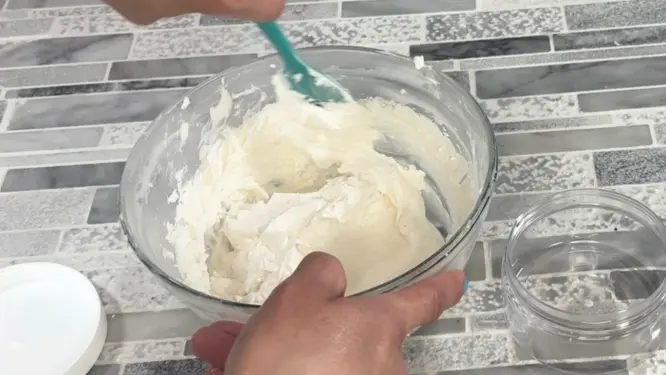
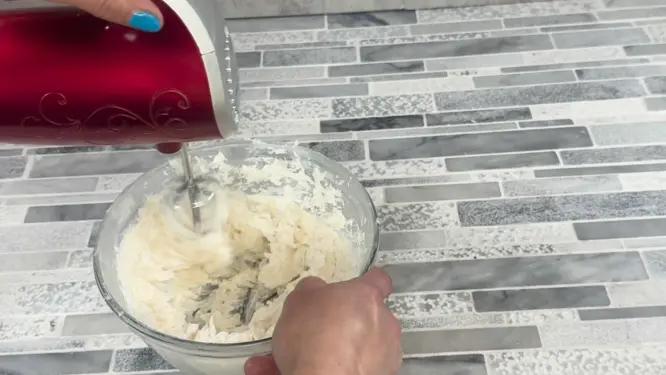
5. Whip Until Fluffy
Allow to cool completely. It will be hard and a balm-like consistency. Using a hand mixer, whip the mixture until it becomes light and airy.
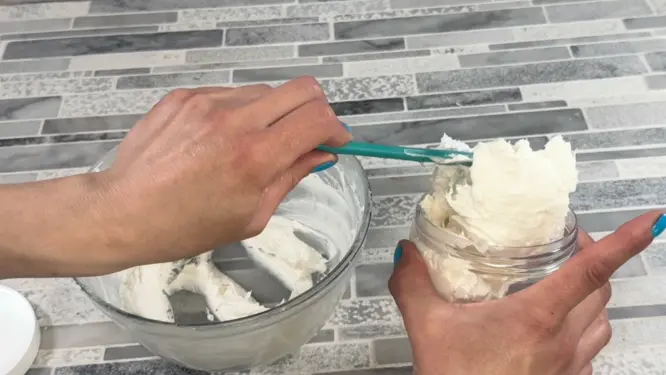
6. Transfer to a Jar
Spoon into a clean container and seal.
How to Use Overnight
Apply a small amount to clean, dry feet, focusing on the heels and rough areas.
Massage into the skin, then wear cotton socks overnight. This helps keep the product in place and allows it to work more effectively.

If you enjoy creating simple self-care routines, this pairs well with recipes like my after sun lotion.
Tips for Best Results
- Apply after a shower when skin is slightly softened
- Use consistently for best results
- Store in a cool, dry place
Printable Foot Cream Recipe

DIY Overnight Foot Cream for Cracked Heels
Ingredients
- 88 g Shea Butter
- 44 g Cocoa Butter
- 31.9 g Mango Butter
- 33 g Sweet Almond Oil
- 11 g Beeswax
- 6.6 g Arrowroot Powder
- 4.4 g Vitamin E Oil
- 1.1 g Essential Oils
Instructions
Melt the Butters and Wax
- Add shea butter, cocoa butter, mango butter, and beeswax to a heat-safe container.Place over a double boiler and melt gently, stirring occasionally until fully liquid.
Add the Carrier Oil
- Remove from heat and stir in the sweet almond oil until fully combined.
Let It Cool
- Allow the mixture to cool until it becomes slightly cloudy and begins to thicken.This step is key to achieving a light, whipped texture.
Add Arrowroot, Vitamin E and Essential Oils
- Stir in arrowroot powder, essential oil, and vitamin E oil until smooth.
Whip Until Fluffy
- Allow to cool completely. It will be hard and a balm-like consistency. Using a hand mixer, whip the mixture until it becomes light and airy.
Transfer to a Jar
- Spoon into a clean container and seal. It will harden back up a bit when cooled, but will retain the light whipped consistency.