
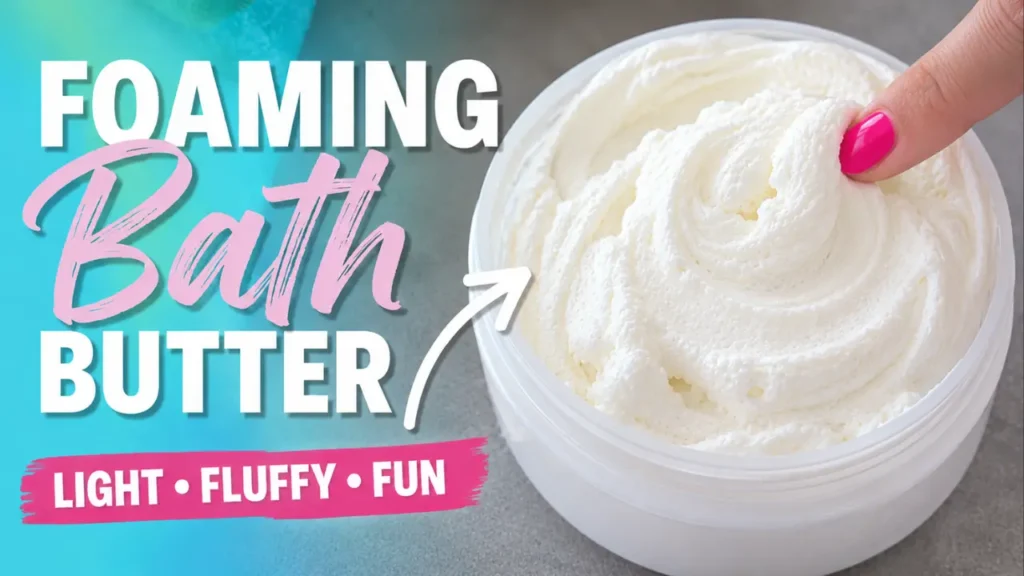
There is a particular kind of pleasure in a lather made well — one that rises up soft and cloud-like in your palm, smells exactly the way you’d hoped, and turns an ordinary shower into something closer to a spa. This is that lather. A whipped blend of gentle cleansers and skin-loving butters comes together into something light enough to float, finished with whatever scent (and shimmer, should you like it) feels most like you. No harsh sulfates. No stripped, tight-feeling skin afterward. Just a rich, foamy cloud of a cleanser, and the quiet satisfaction of having made it yourself.
In this post, I’ll take you through every ingredient — what it does, why it earns its place in the formula, and what you might use instead if you’d like to make it your own. Then, we’ll walk through the process together, step by step, so that even if you’ve never made a foaming bath butter before, you’ll finish with something lovely.
Prep time: 15 minutes | Total time: About 40 minutes (plus cooling) | Yield: 500 g | Difficulty: Beginner-Intermediate
Prefer to Watch How to Make Foaming Bath Butter Video?
Some links on this website are affiliate links, meaning I may earn a small commission if you click and make a purchase. This comes at no additional cost to you.
A quick note before you begin: This base is built in three phases — water, oil, and a cool-down phase — and a bit of precision goes a long way. Weigh your ingredients in grams (or ounces, if you prefer) on a kitchen scale rather than measuring by cup or spoon; it truly does make all the difference in the final result. If you’d like to understand why that balance matters so much, my Emulsions – What Are They and How Do They Work post goes into it further.
On fragrance and shimmer: This base recipe is written unscented and uncolored, so you can dress it up exactly to your liking. More on that below.
New to DIY skincare altogether? My Formulation hub rounds up all my surfactant, emulsion, and ingredient-basics posts in one place — a good starting point before diving into this one.
Foaming Bath Butter Ingredients
This recipe makes a lovely 500 g batch.
| Ingredient | Percentage | Weight (g) |
|---|---|---|
| Distilled Water | 45.4% | 227 g |
| Vegetable Glycerin | 9% | 45 g |
| Propylene Glycol | 9% | 45 g |
| Tetrasodium EDTA | 0.1% | 0.5 g |
| SCI | 23% | 115 g |
| Stearic Acid | 3% | 15 g |
| Fractionated Coconut Oil | 5% | 25 g |
| Shea Butter | 5% | 25 g |
| Liquid Germall Plus | 0.5% | 2.5 g |
| Total | 100% | 500 g |
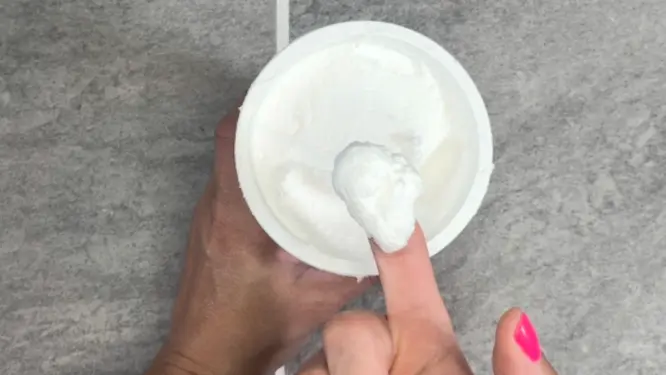
Why Make Your Own Foaming Bath Butter?
There’s nothing wrong with a bottle from the store — but making your own means knowing precisely what touches your skin, choosing a scent that feels like yours, and avoiding the harsher sulfates and drying detergents found in so many drugstore body washes. It also means you can decide exactly how it behaves: whipped soft for everyday washing, thickened enough to pipe like frosting, or folded through with a bit of sugar for gentle exfoliation. It is a small thing, made well, and that is always worth doing.
New to formulating your own skincare? My Surfactants Explained post is a lovely place to start.
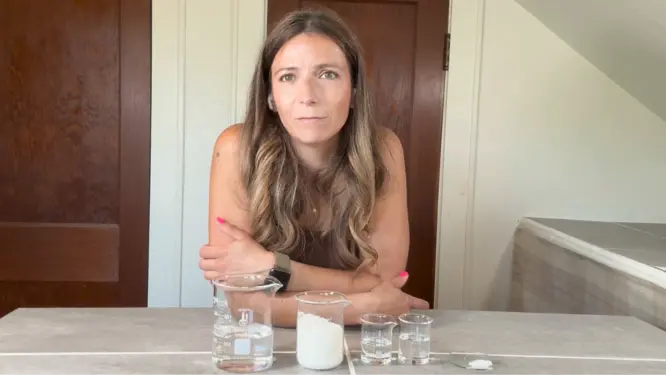
Why it’s used: Water is the foundation of the water phase, and distilled water is worth insisting upon. Tap water carries minerals and microorganisms that can undo a good preservative system and shorten the life of your base — a small detail, but an important one.
Substitutes: There isn’t a good substitute here — stick with distilled.
Why it’s used: Glycerin is a humectant — it draws moisture from the air straight into the skin. It also softens the base and keeps it moldable, so it whips up light rather than dense.
Substitutes: Propanediol or sodium lactate both make fine 1:1 replacements.
Why it’s used: This is the emulsifier that convinces the water phase and oil phase to become friends and stay that way. Without it, the two would separate right back out.
Substitutes: I wouldn’t recommend swapping this one out without reworking the formula’s balance.
Why it’s used: A quiet workhorse that supports your preservative and helps it perform more effectively over the life of the product.
Substitutes: Best left as-is; it’s used in such a small amount that a substitute isn’t really necessary.
Sodium Cocoyl Isethionate (SCI)
Why it’s used: Our surfactant, and the reason this all foams up so beautifully. SCI is derived from coconut oil and is quite mild — a gentle cleanser rather than a harsh detergent. If you’re measuring it in powder form, a mask is worth wearing, as the fine dust isn’t kind to your lungs.
Substitutes: This is the heart of the formula; substituting it would mean reformulating the whole recipe.
Why it’s used: Adds a silky quality and firms the base up just enough that it can hold its whipped structure. It also acts as a co-emulsifier, reinforcing the bond between the two phases.
Substitutes: Cetyl alcohol can work in a pinch, though the texture will be a touch softer.
Why it’s used: Despite the clinical name, this is simply coconut oil with certain fats separated out, leaving behind a light oil that never feels greasy. It also helps the finished lather feel silky rather than heavy.
Substitutes: Sunflower oil, sweet almond oil, or grapeseed oil are all lovely alternatives with a similar light feel.
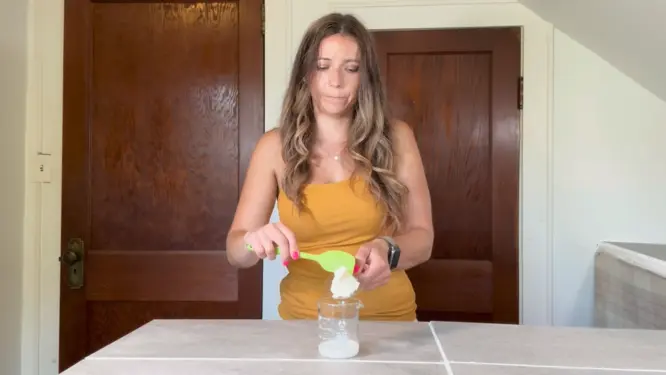
Why it’s used: Solid at room temperature but never brittle — press it between your fingers and it gives easily. It melts near skin temperature, softening the moment it meets you, and lends the finished base all the skin-loving qualities shea is known for.
Substitutes: Mango butter or cocoa butter both work nicely, though cocoa butter brings its own natural chocolate scent along with it and is a bit harder.
Liquid Germall Plus (Preservative)
Why it’s used: Any product containing water simply must have a broad-spectrum preservative, or it will, in time, grow bacteria and mold — often without a single visible sign of it. Liquid Germall Plus is a reliable broad-spectrum choice, but any broad-spectrum preservative will do, provided you confirm the use rate.
Substitutes: Optiphen or Geogard Ultra may be used instead, though each comes with its own use rate — check the manufacturer’s data sheet before swapping.
Fragrance Oil – Optional
Why it’s used: Simply for the pleasure of scent — a lovely finishing touch that has no bearing on how the base performs.
Substitutes: Skin-safe essential oils may be used instead, though usage rates and safety data vary from oil to oil. Or leave it out entirely for a fragrance-free version.
Important: Always check the IFRA (International Fragrance Association) usage rate for your specific fragrance oil before adding it.
Cosmetic Mica Powder — Optional Add-In
Why it’s used: A pinch swirled in gives soft, marbled color; more gives a fully tinted batch. It’s what turns a plain foaming base into something a little more special.
Substitutes: Any cosmetic-grade mica — never craft-grade — will serve you well. Begin around 1% of your total batch weight for something barely-there, up to 3% for a more visible tint, subtracted from the water percentage to keep your total at 100%.
Supplies You’ll Need
- A digital kitchen scale
- Two heat-safe bowls or beakers
- A double boiler
- A hand mixer
- An infrared thermometer
- A spatula
- A tall mixing container (there will be bubbling)
- A jar or container for your finished base (sanitized, of course)
Step-by-Step Instructions
Step 1: Prepare your workspace. Weigh out every ingredient into its proper phase — water phase, oil phase, cool-down phase — before you begin heating anything at all.
Step 2: Combine the water phase. Combine the distilled water, vegetable glycerin, propylene glycol, tetrasodium EDTA, and SCI in a heat-safe container.
Step 3: Heat the water phase. Heat gently over a double boiler until fully melted, then remove from the heat. You will want to mix periodically when heating.
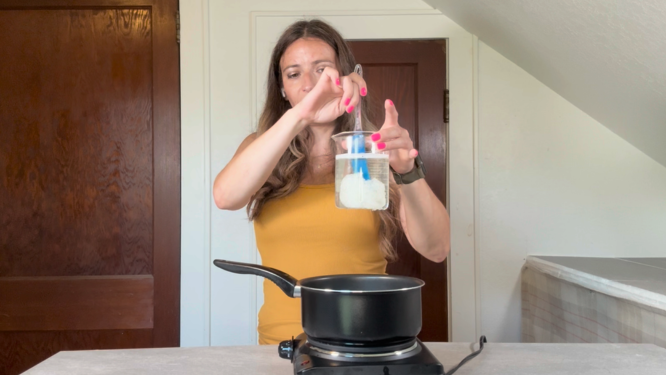
Step 4: Begin whipping. Pour the heated water phase into a tall mixing container and give it a light pass with your hand mixer. Some bubbling here is completely normal.
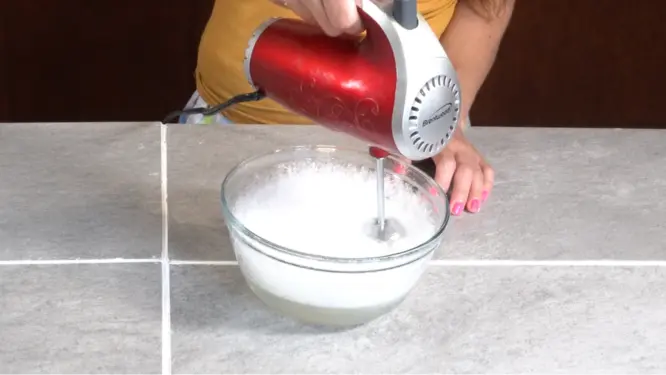
Step 5: Heat the oil phase. In a separate heat-safe container, combine the stearic acid, fractionated coconut oil, and shea butter. Heat over the double boiler until fully melted, then remove from heat.
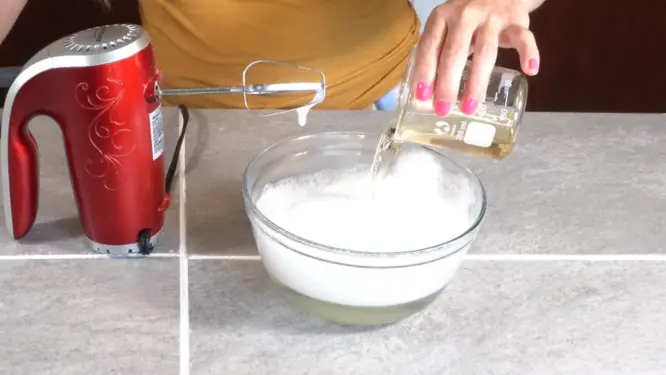
Step 6: Combine. Pour the oil phase into the water phase and mix well. The bubbles will get a little wild, but they shouldn’t escape the container. At this stage, the mixture is still quite runny.
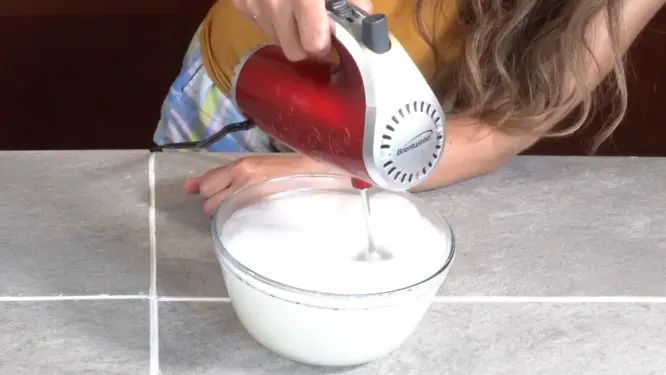
Step 7: Add the cool-down phase. Once the mixture has dropped below 110°F (43°C), mix in the Liquid Germall Plus (and fragrance oil, if using) until fully incorporated.
Step 8: Let it cool. Allow the base to cool, stirring occasionally. You’ll notice it beginning to thicken as it does.
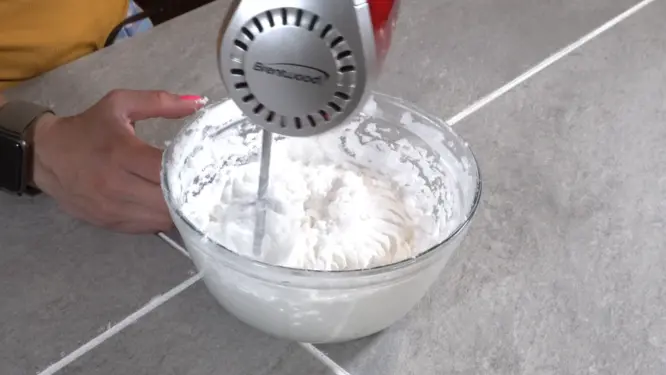
Step 9: Whip it. Once fully cooled, give it a good whip with your hand mixer until it reaches a light, fluffy, cloud-like texture.
Step 10: Add your shimmer, if using. Fold in mica once the base has thickened — this is what keeps it beautifully suspended rather than settling.
Step 11: Jar it up and let it set. Transfer to your sanitized container. Label with the date made.
Storage & Shelf Life
Keep your foaming bath butter somewhere cool and dry, away from direct sunlight and out of standing water in the shower. Made with a properly used broad-spectrum preservative, it should keep beautifully for 6–12 months. Should you notice separation, an off scent, or any change in color or texture, it’s best to part with that batch and begin again. If it settles or firms up in storage, a quick re-whip brings it right back to its fluffy texture.
Tips for Best Results
- Always do a patch test before using any new bath product more broadly.
- Adding your own shimmer? Begin with 1% cosmetic-grade mica and work up to 3% for a stronger glow.
- Want it to hold its shape and pipe beautifully into a jar? See How to Make Whipped Soap That Holds Its Shape (Pipes Like Frosting).
- Craving a bit of texture along with the lather? Fold in sugar the way I show in How to Make Whipped Sugar Scrub.
- Love bold, swirled color? How to Make Rainbow Whipped Soap and DIY Whipped Rainbow Sugar Scrub both walk through layering multiple mica shades.
Frequently Asked Questions
Is foaming bath butter actually soap? Not technically — true soap is made with oils and lye. This is a cleansing agent made with mild surfactants, but it washes your skin every bit as well as a bar of soap would.
Why weigh ingredients rather than measure by cup? This is a precise craft — even a small shift in surfactant or water can cause a batch to separate or fail to whip properly. Weighing keeps each batch consistent, reliable, and altogether lovely, time after time.
Can I use this as a scrub? Yes — simply fold in sugar once the base is whipped, following the ratios in my Whipped Sugar Scrub post. If you’d rather try an oil-based version instead, my Emulsified Sugar Scrub uses a similar phase structure with a lotion-like rinse-off feel.
Can I scale this recipe up or down? Yes — just take the total amount you want to make and multiply by each ingredient’s percentage. So for a 1000 g batch, SCI (23%) would be 1000 × 0.23 = 230 g, and so on down the list.
What’s the difference between this and body wash or bubble bath? They’re all surfactant-based, but built differently. My Body Wash From Scratch uses liquid surfactants for a pourable wash, and my Homemade Bubble Bath is formulated for long-lasting bubbles in the tub. This bath butter is whipped for a thicker, richer, more indulgent lather.
I don’t have SCI or want to try a different cleanser base — what else can I make? If you’d like to explore other syndet (surfactant-based) formulas, my Shampoo Bar uses a similar family of ingredients in bar form.
Have you tried this recipe? I’d love to see how your foaming bath butter turned out — do tag your photos, and leave a rating and comment below.
Looking for more? Browse all of my Whipped Soap Base From Scratch recipes for more ideas like this one.
Printable Foaming Bath Whip (Whipped Soap) Recipe
Foaming Bath Butter (Whipped Soap Base) Recipe
Equipment
- Scale
Ingredients
Water Phase
- 227 grams Distilled Water
- 45 grams Vegetable Glycerin
- 45 grams Propylene Glycol
- 0.5 grams Tetrasodium EDTA
- 115 grams SCI
Oil Phase
- 15 grams Stearic Acid
- 25 grams Fractionated Coconut Oil
- 25 grams Shea Butter
Cool Down
- 2.5 grams Liquid Germall Plus
Instructions
- Prepare your workspace. Weigh out every ingredient into its proper phase — water phase, oil phase, cool-down phase — before you begin heating anything at all.
- Combine the water phase. Combine the distilled water, vegetable glycerin, propylene glycol, tetrasodium EDTA, and SCI in a heat-safe container.
- Combine the water phase. Combine the distilled water, vegetable glycerin, propylene glycol, tetrasodium EDTA, and SCI in a heat-safe container.
- Begin whipping. Pour the heated water phase into a tall mixing container and give it a light pass with your hand mixer. Some bubbling here is completely normal.
- Begin whipping. Pour the heated water phase into a tall mixing container and give it a light pass with your hand mixer. Some bubbling here is completely normal.
- Combine. Pour the oil phase into the water phase and mix well. The bubbles will get a little wild, but they shouldn't escape the container. At this stage, the mixture is still quite runny.
- Add the cool-down phase. Once the mixture has dropped below 110°F (43°C), mix in the Liquid Germall Plus (and fragrance oil, if using) until fully incorporated.
- Let it cool. Allow the base to cool, stirring occasionally. You'll notice it beginning to thicken as it does.
- Whip it. Once fully cooled, give it a good whip with your hand mixer until it reaches a light, fluffy, cloud-like texture.
- Jar it up and let it set. Transfer to your sanitized container. Label with the date made.
Pingback: Whipped Foaming Sugar Scrub Recipe (Using Foaming Bath Butter Base) - Summer Rain
Pingback: How to Make DIY Shaving Cream at Home (Whipped, Creamy & Foaming DIY Recipe) - Summer Rain