
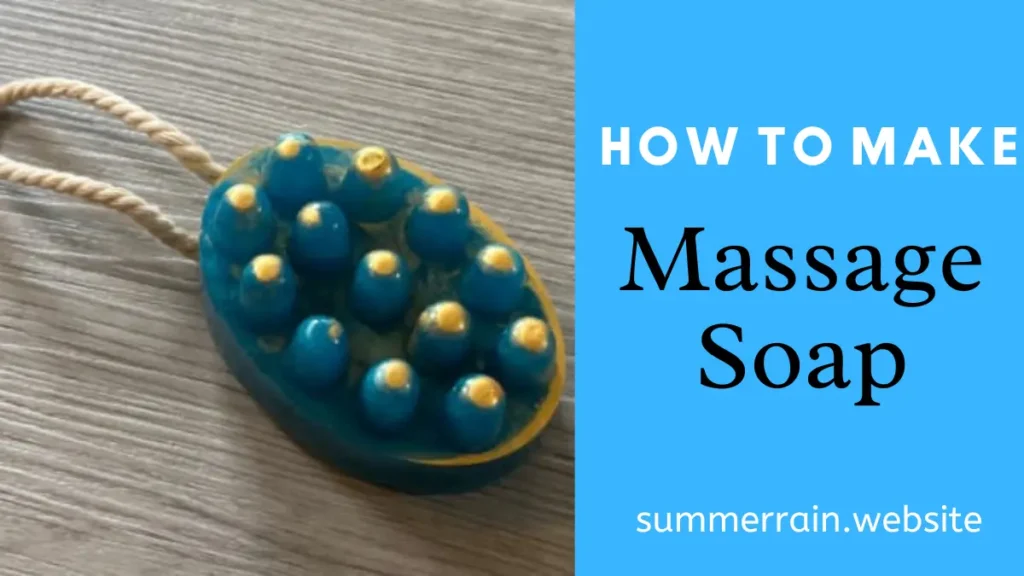
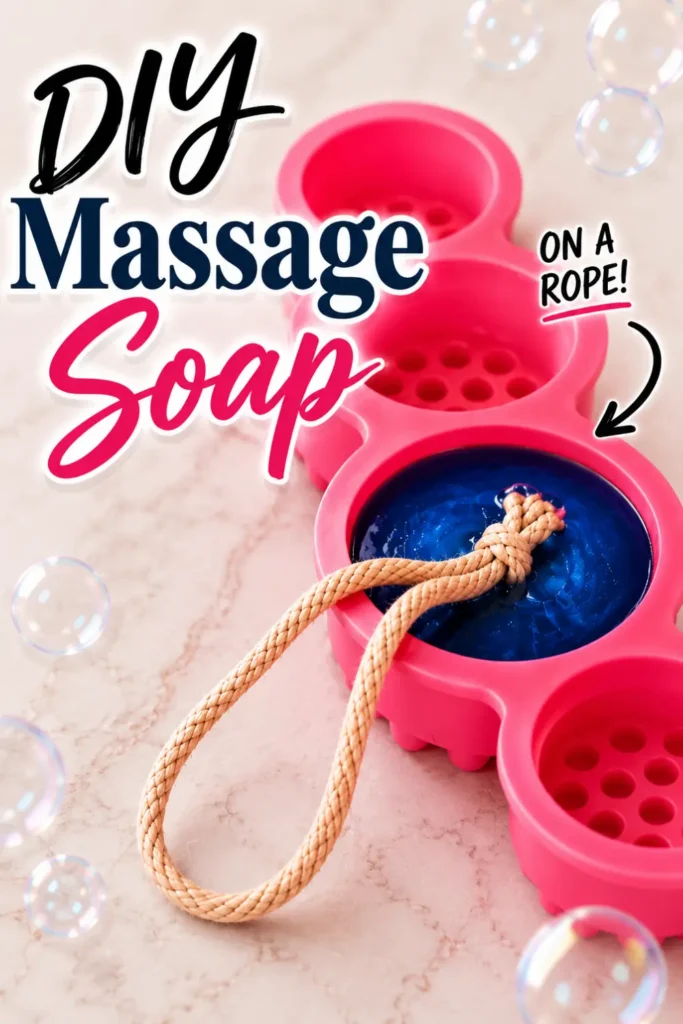
There is something quietly luxurious about a bar of soap that does more than simply clean. This massage soap on a rope is shaped in a silicone massage mold, so the bar itself becomes a small tool for easing tension while you wash. The rope lets it hang and dry fully between uses, which keeps it looking and feeling its best for far longer than a soap left sitting in a dish.
It is a small, considered project, made entirely from melt and pour soap base, so there is no lye to handle and no cure time to wait out. A touch of gold mica gives the finished bar a soft shimmer, but the real character of this soap comes from its shape and its purpose.
If you are new to melt and pour soap making, I recommend reading Learn the Basics of Melt and Pour Soap first.
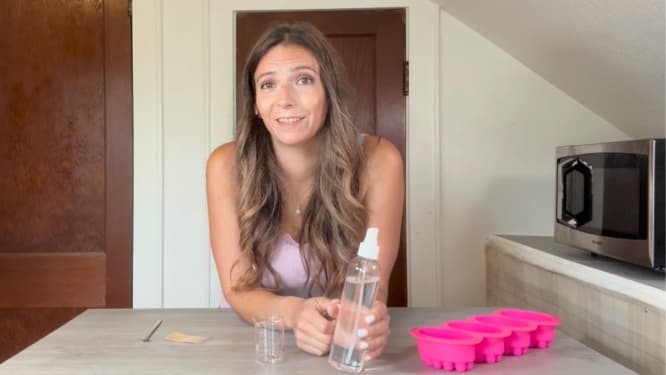
Prefer to Watch Instead of Read?
Some links on this website are affiliate links, meaning I may earn a small commission if you click and make a purchase. This comes at no additional cost to you.
Why Make Massage Soap on a Rope
A few things make this one worth setting aside an afternoon for:
- A silicone massage mold gives the finished bar texture and shape, so it can double as a gentle massage tool while you wash
- A rope handle lets the soap hang and air dry between uses, which helps it last longer and keeps it looking its best
- Melt and pour soap base makes this an approachable project for any skill level, with no lye handling and no waiting on a cure time
- A touch of gold mica adds a soft shimmer, a nice finishing detail rather than the point of the project
- It is a small batch, so it is a lovely way to use up bits of soap base and fragrance without committing to a large pour
If you enjoy soap on a rope projects, you may also like this Luffa Soap on a Rope tutorial.

Massage Soap Formula
| Ingredient | Amount | Percentage |
|---|---|---|
| Clear Melt and Pour Soap Base | 120 grams | 98.4% |
| Butt Naked Fragrance Oil | 2 grams | 1.6% |
| Gold Mica Powder / Blue Mica | small amount | as needed |
| Rubbing Alcohol (91%) | as needed | — |
| Cotton String or Twine | 1 piece | — |
Notes
Here is a post that explains How to Choose the Correct Melt and Pour Base.
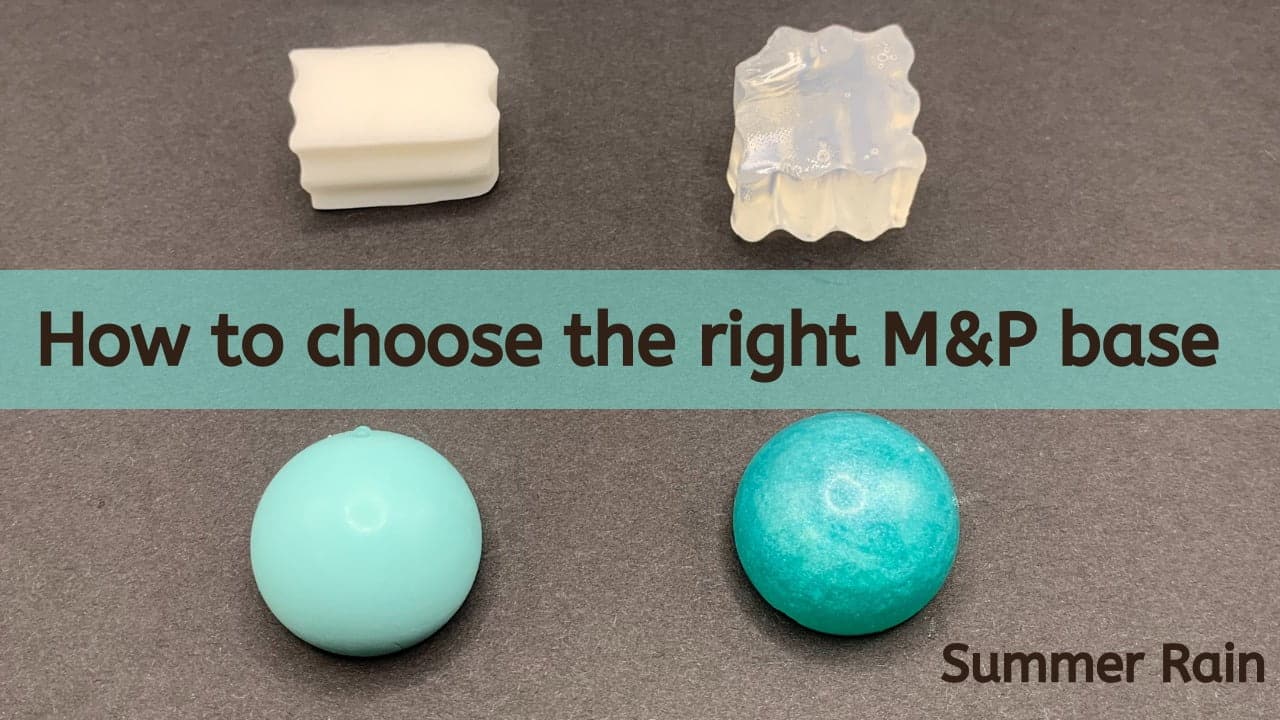
- I used a clear melt and pour soap base, which gives the finished bar a glassy, almost translucent quality that lets the gold mica shine through.
- Butt Naked is a lovely fragrance choice for a body or massage soap, but any fragrance oil you enjoy will work beautifully here.
- My fragrance oil came in at 1.6%, on the lighter end of the usual range. Most melt and pour fragrance oils are used at 2–3%, so if you switch fragrances, check the manufacturer’s recommended use rate and adjust your amount to match. The Beginners Guide to Making Melt and Pour Soap walks through the exact math for calculating this.
How much soap does my mold hold?
If you are unsure how much soap your own mold will hold, set the empty mold on your scale, fill it with water, and use that weight as your guide. It will not be exact, but it will be close.
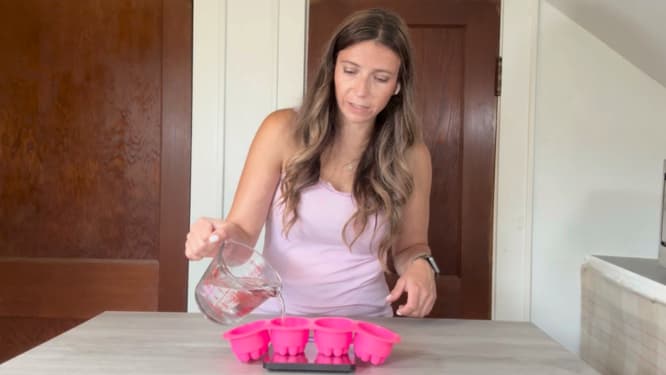
Equipment
| Equipment |
|---|
| Scale |
| Microwave Safe Container |
| Silicone Massage Mold |
| Spatula |
| Spray Bottle with Rubbing Alcohol |
| Cotton String |
Disinfect Your Equipment
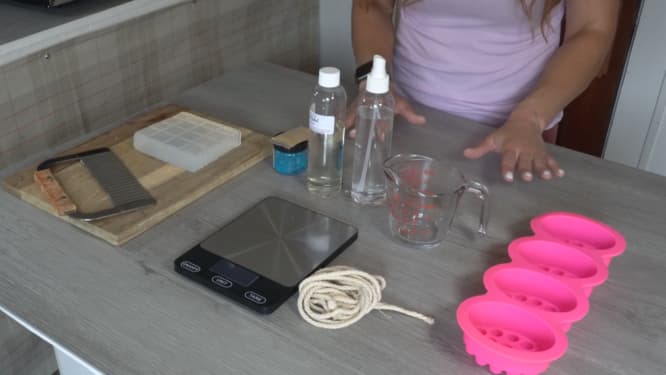
Begin by disinfecting everything you will use, including the mold itself. A light wipe with rubbing alcohol clears away dust and residue, so the finished soap stays clean and clear.
Prep the Mold with Mica
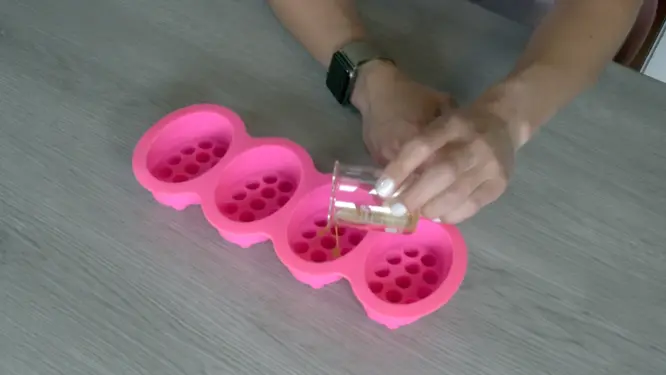
Stir a small amount of gold mica into a little rubbing alcohol until loosely combined. Drizzle this mixture into the cavities of your silicone mold and set it aside. This small step is what gives the finished bar its soft, shimmering highlight once unmolded.
Cut and Weigh the Soap
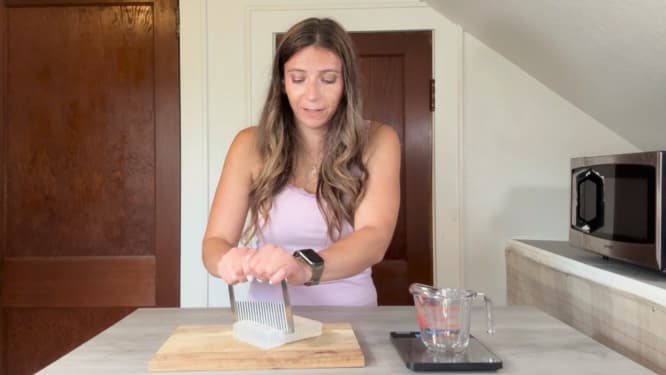
Cut the melt and pour base into small, even cubes and weigh out 120 grams. Keeping the pieces roughly the same size helps the soap melt evenly, rather than some pieces melting while others remain solid.
Drizzle Mica
Mix mica powder with a small amount of rubbing alcohol. Drizzle into silicone mold.
Melt the Soap
Place the cubes in a microwave safe container and melt in 15 second intervals, stirring between each one. The first burst will look as though nothing has happened. By the second, you will find it is nearly melted through.
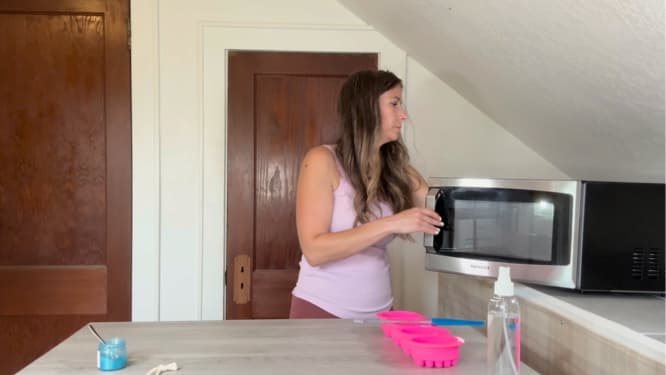
Working in short intervals protects the soap from overheating. Soap that gets too hot can turn rubbery and stiff, and will not lather the way it should.
For a closer look at this process, see the Beginner’s Guide to Making Melt and Pour Soap.
Add Fragrance and Mica
Once the soap is fully melted, stir in the fragrance oil and blue mica, mixing thoroughly until the color and scent are evenly distributed.
If the mica resists blending, a light mist of rubbing alcohol across the surface will help it incorporate. Should the soap begin to set before you are ready, a few seconds back in the microwave will loosen it again, though this is best done sparingly.
First Pour and the Rope
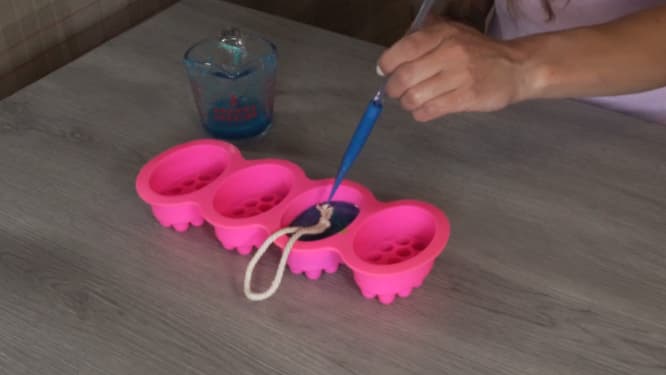
Pour about three-quarters of the melted soap into the mold. Tie a knot in your cotton string to form a loop, then use a spatula to gently settle it into the soap so it sits embedded within the bar.
Final Pour
Pour the remaining soap over the top, covering the string completely so it is held securely in place. Finish with a light spray of rubbing alcohol across the surface to release any air bubbles.
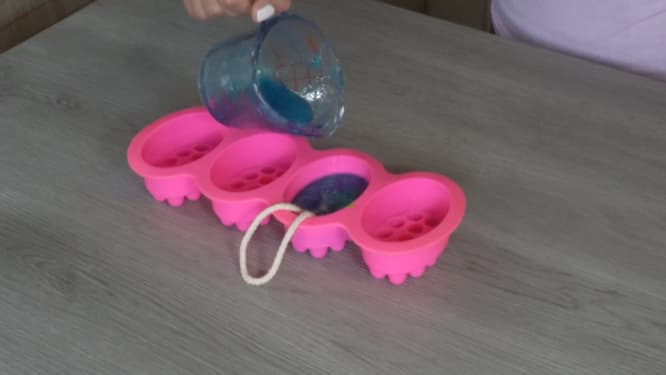
Add Some Mica
Completely optional but pour remaining gold mica mixture on the bottom of the soap.
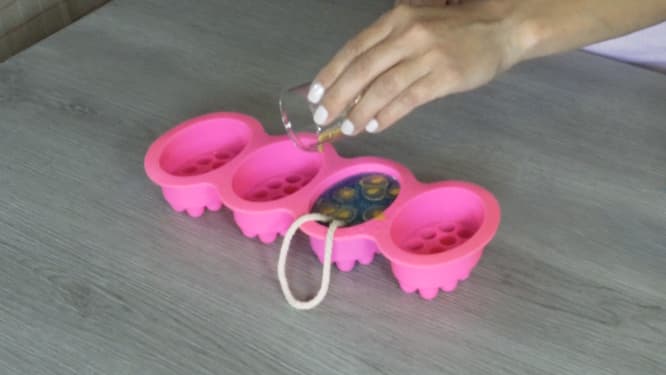
Allow the Soap to Cool
Let the soap cool and set completely before unmolding. Because a massage mold carries more detail than a simple flat bar, a little patience here goes a long way toward a clean release.
Occasionally, melt and pour soap develops small droplets on its surface known as glycerin dew. You can read more about that here: Soap Sweating or Glycerin Dew.
Once unmolded, wrap the soap in plastic wrap until you are ready to use or gift it, to preserve both the shimmer and the scent.
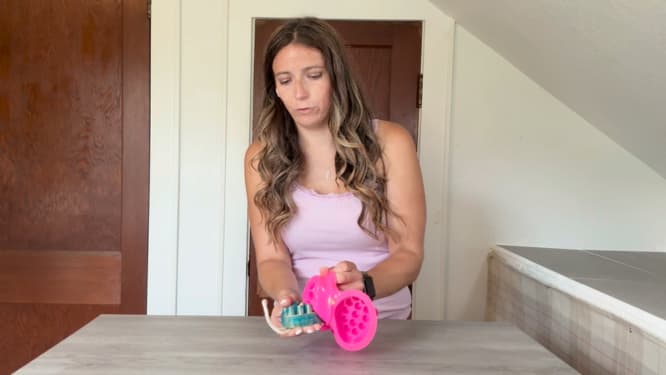
Customizing This Recipe
The rope, the massage shape, and the melt and pour method are the heart of this project, but once you have the basic version down, there is plenty of room to make it your own:
- Color – Swap gold mica for any shade you like, or use two colors for a marbled effect. This Marbled Dreams: Swirled Melt and Pour Soap tutorial covers swirling techniques that would work beautifully in a massage mold.
- Layers – For a more dramatic look, you can pour this in distinct layers rather than one solid pour. The Layering Melt and Pour Soap guide covers timing and technique.
- Fragrance – Butt Naked is warm and inviting, but this recipe is a nice base for experimenting with other fragrance oils, especially ones marketed for body or massage use.
- Base color – I used clear base for this one, but a white base will give you a fully opaque bar if you would rather the mica be the only visual interest.
Storing and Gifting
Because this soap uses a clear base, it is especially nice for gifting, as the color and any embedded details show through beautifully. Once fully cooled and wrapped, it will keep well for several months stored somewhere cool and dry, out of direct sunlight.
If you are making a batch to gift or sell, How to Shrink Wrap DIY Skincare is a simple way to give it a clean, finished look.
Frequently Asked Questions
Can I use white soap base instead of clear? Yes. White base will give you a fully opaque bar, so the gold mica will read more as an even shimmer across the surface rather than something suspended within the soap. Both look lovely, it simply comes down to preference.
Do I need a silicone massage mold specifically? The massage mold is what gives this soap its texture and gentle exfoliating shape, but the same method works in any silicone mold. If you use a different shape, just weigh your mold with water first to know how much soap base you will need.
How long does massage soap on a rope last? Wrapped in plastic wrap and stored somewhere cool and dry, it should keep well for several months. Unwrapped and left exposed to air, it may develop glycerin dew sooner.
Can I use a different fragrance oil? Absolutely. Just check the manufacturer’s recommended use rate, since fragrance oils vary, and adjust the amount based on your total soap weight.
The Finished Soap
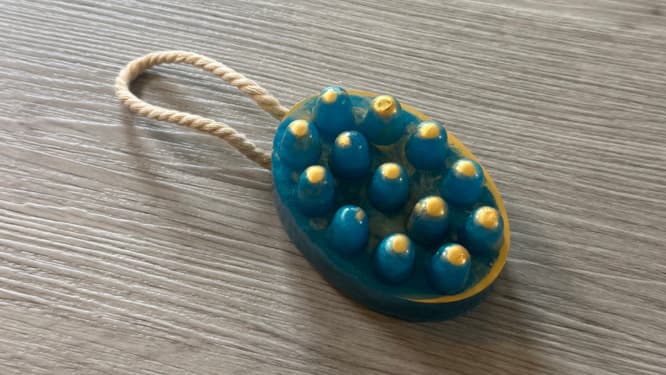
What you are left with is a soap built for the way you actually use it: a bar with texture and shape to ease tension, a rope so it can hang and dry properly between showers, and a fragrance that lingers. The shimmer is simply a nice detail on top.
It makes a lovely addition to:
- A handmade gift or spa basket
- A craft fair table
- Your own bath shelf, for the days that call for a little more care
If you enjoyed this project, you may also like How to Shrink Wrap DIY Skincare for gift-ready packaging, Marbled Dreams: Swirled Melt and Pour Soap for a colorful variation, or How to Make Silicone Molds at Home if you would like to design your own custom shapes.
Printable Massage Soap on a Rope Recipe
Massage Soap on a Rope (Easy Melt and Pour Recipe)
Ingredients
Instructions
Cut and Weigh the Soap
Cut the melt and pour base into small, even cubes and weigh out 120 grams. Keeping the pieces roughly the same size helps the soap melt evenly, rather than some pieces melting while others remain solid.Drizzle Mica
Mix mica powder with a small amount of rubbing alcohol. Drizzle into silicone mold.Melt the Soap
Place the cubes in a microwave safe container and melt in 15 second intervals, stirring between each one. The first burst will look as though nothing has happened. By the second, you will find it is nearly melted through.Working in short intervals protects the soap from overheating. Soap that gets too hot can turn rubbery and stiff, and will not lather the way it should.Add Fragrance and Mica
Once the soap is fully melted, stir in the fragrance oil and blue mica, mixing thoroughly until the color and scent are evenly distributed.If the mica resists blending, a light mist of rubbing alcohol across the surface will help it incorporate. Should the soap begin to set before you are ready, a few seconds back in the microwave will loosen it again, though this is best done sparingly.First Pour and the Rope
Pour about three-quarters of the melted soap into the mold. Tie a knot in your cotton string to form a loop, then use a spatula to gently settle it into the soap so it sits embedded within the bar.Final Pour
Pour the remaining soap over the top, covering the string completely so it is held securely in place. Finish with a light spray of rubbing alcohol across the surface to release any air bubbles.Add Some Mica
Completely optional but pour remaining gold mica mixture on the bottom of the soap.Allow the Soap to Cool
Let the soap cool and set completely before unmolding. Because a massage mold carries more detail than a simple flat bar, a little patience here goes a long way toward a clean release.Occasionally, melt and pour soap develops small droplets on its surface known as glycerin dew. You can read more about that here: Soap Sweating or Glycerin Dew.Once unmolded, wrap the soap in plastic wrap until you are ready to use or gift it, to preserve both the shimmer and the scent.