
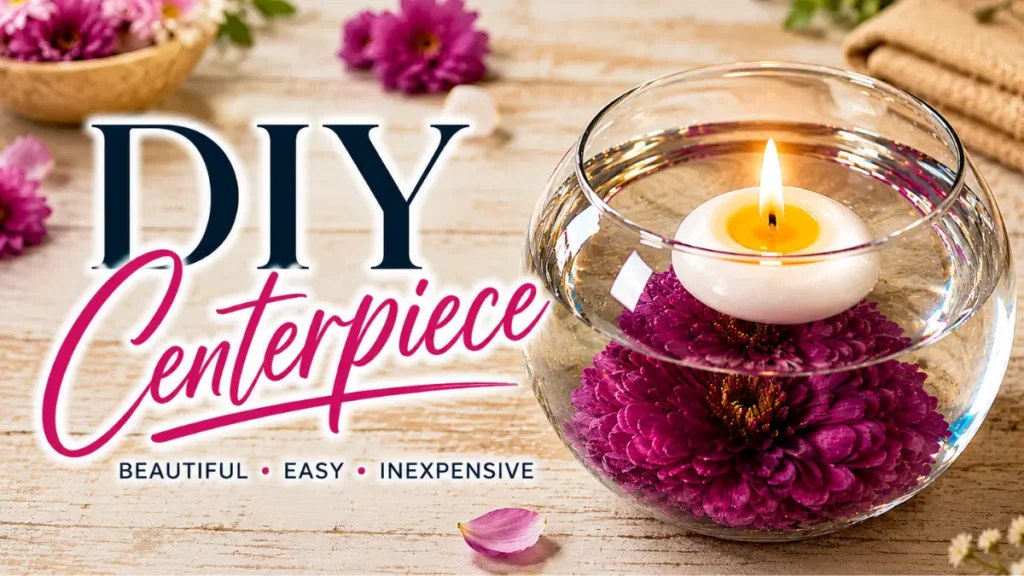
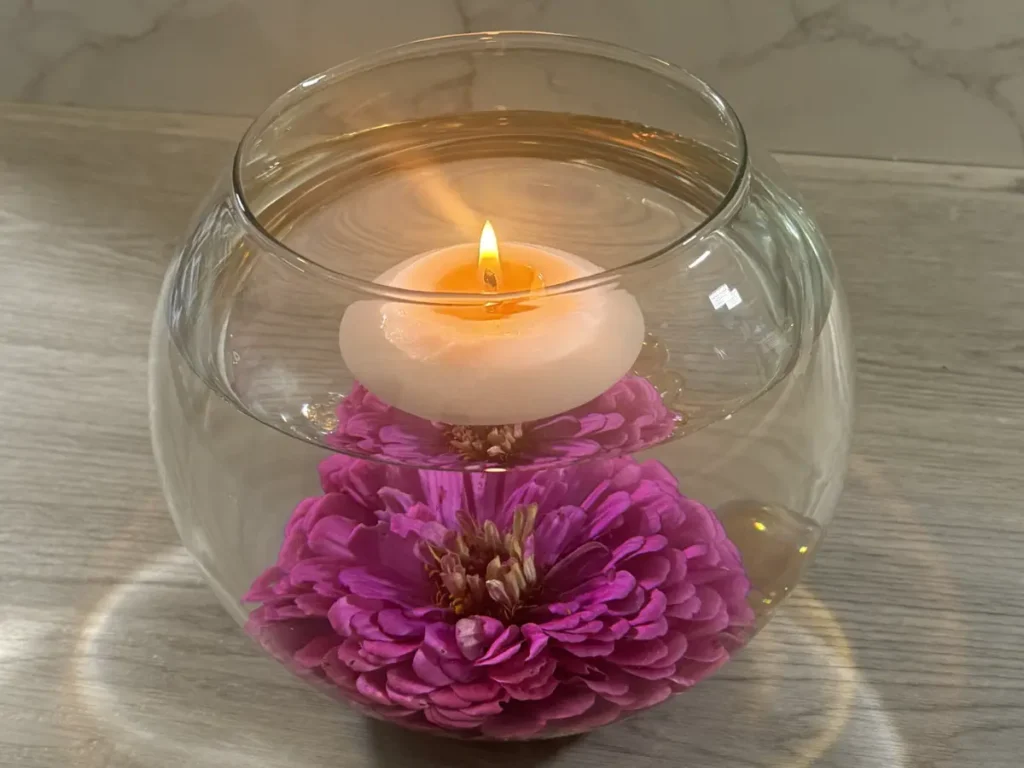
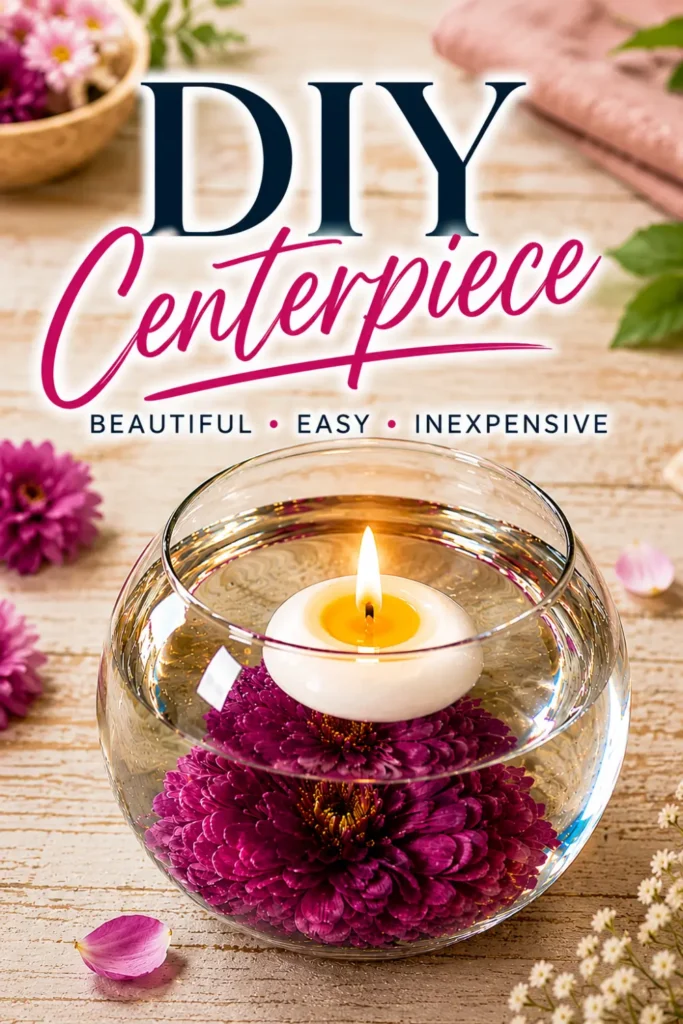
This floating candle centerpiece is one of those DIY projects that looks much more complicated than it actually is. A large glass fish bowl, fresh flowers, water, glass pebbles, and handmade soy floating candles come together to create a beautiful centerpiece for your table.
I wanted something that felt elegant but was still practical enough to make at home, so I experimented with several ways to make the floating candles and keep the flower exactly where I wanted it in the vase.
The candles themselves were actually pretty simple to make. The biggest difference came down to choosing the right wax and giving the candles enough time to cool before unmolding.
And then I discovered one inexpensive little hardware item that solved my biggest problem with the flower: a 1/4-inch wire rope U-bolt clip.
Once I figured that out, the whole DIY floating candle centerpiece came together beautifully.
Why You’ll Love This Floating Candle Centerpiece
This homemade floating candle centerpiece is perfect when you want something simple but impressive.
You can use it for:
- Dinner parties
- Summer entertaining
- Weddings
- Bridal showers
- Baby showers
- Birthday parties
- Holiday tables
- Romantic dinners
- Garden parties
- Outdoor entertaining
- Everyday table decor
The best part is that you can change the flower and candle color to match almost any occasion.
Watch How to Make A DIY Centerpiece Video Tutorial
Affiliate Disclosure: This post may contain affiliate links. If you click through and make a purchase, I may earn a small commission at no extra cost to you. Thank you for supporting Summer Rain!
What You’ll Need
For the Soy Floating Candles
- Freedom Soy Pillar Wax
- Candle fragrance oil
- Floating candle mold
- Candle wick
- Digital scale
- Double boiler
- Heat-safe pouring container
- Thermometer
- Wick trimmer or scissors
For the Floating Candle Centerpiece
- Large glass fish bowl vase
- Fresh zinnia or another sturdy-stemmed flower
- 1/4-inch wire rope U-bolt clips
- Glass pebbles
- Water
- Finished floating candles
Floating Candle Recipe at a Glance
If you are ready to make the candles, here’s the quick overview.
Wax: Freedom Soy Pillar Wax
Fragrance: Candle-safe fragrance oil
Mold: Floating candle mold
Cooling: Allow the candle to cool completely before unmolding
Second pour: Recommended if shrinkage creates a depression
Wick trim: 1/4 inch
Want the measurements and instructions in an easy-to-print format? The printable floating candle recipe is included below.
How to Make Floating Candles with Soy Wax
For this project, I recommend using a harder pillar soy wax rather than a soft container soy wax.
The pillar wax gives the finished candle more structure, which is especially helpful when you’re making floating candles in a mold and need to remove them without damaging their shape. And you need them to retain their shape.
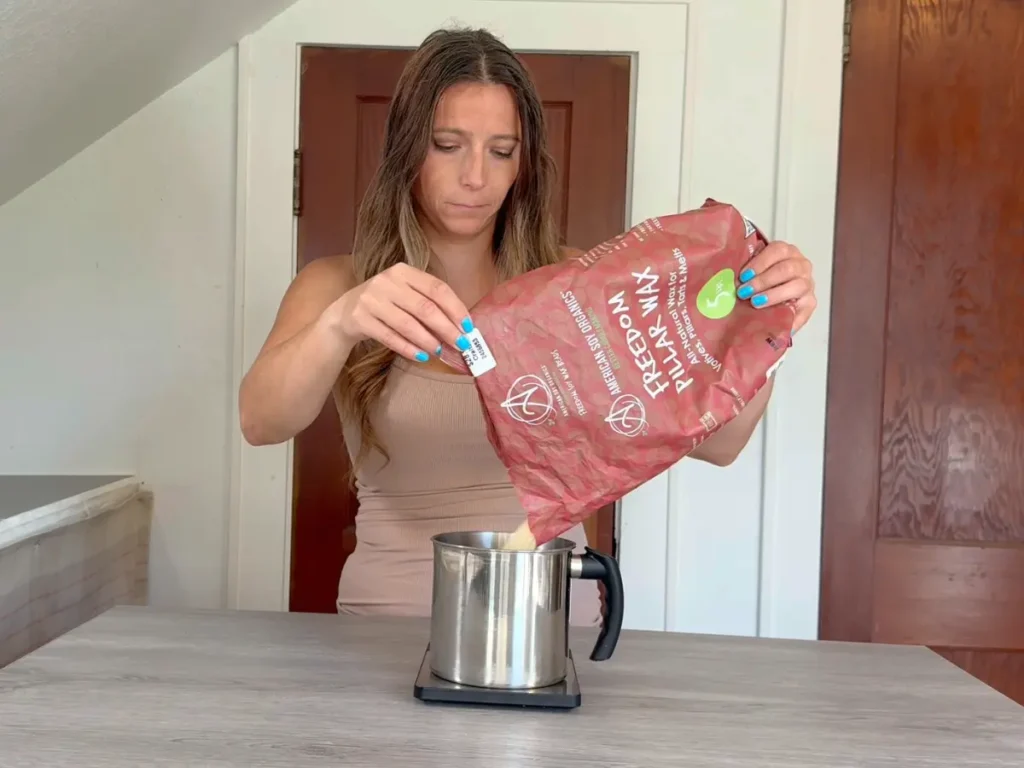
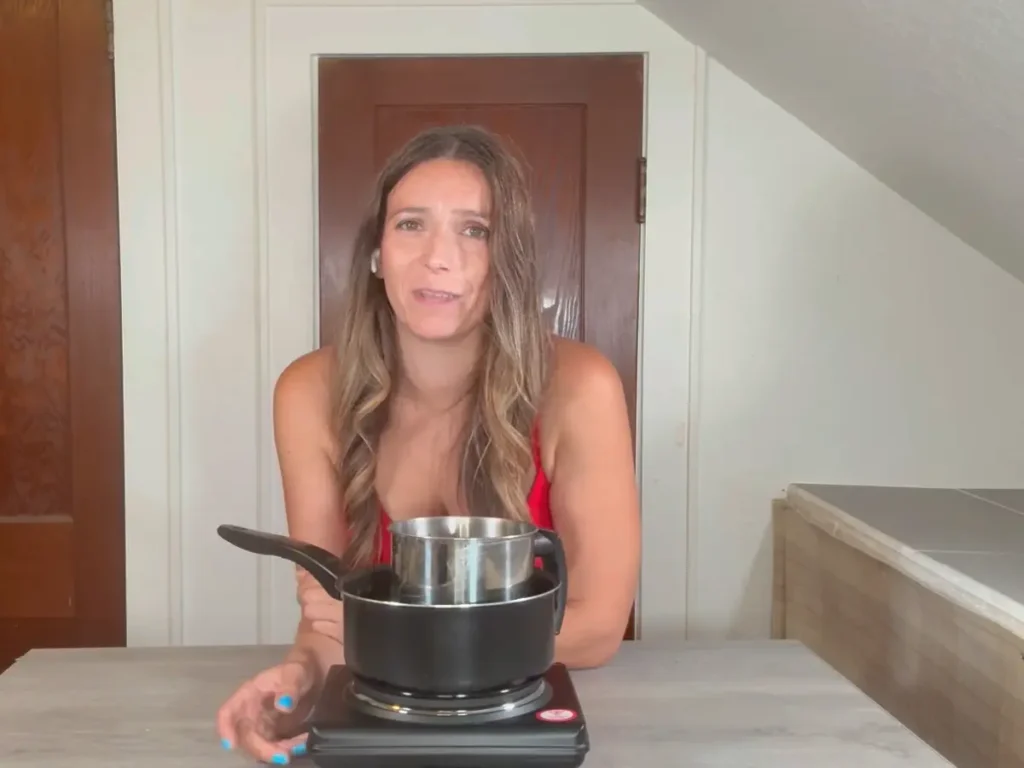
Melt the Soy Pillar Wax
Place your Freedom Soy Pillar Wax into a heat-safe pouring container and melt it using a double boiler.
Follow the heating recommendations provided by your wax manufacturer.
Add Your Fragrance Oil
Once the wax is completely melted, add your candle-safe fragrance oil.
I mixed the fragrance oil into the wax thoroughly for at least 2 minutes before pouring.
I prefer to be very thorough when mixing fragrance into soy wax because I want the fragrance evenly distributed throughout the candle.
Important: Fragrance oils have different recommended usage rates and flash points. Always follow the recommendations for the specific fragrance oil and wax you’re using.
If you enjoy making candles and want to learn more about working with fragrance oil and soy wax, you can also check out my other soy candle-making tutorials.
Pour the Wax Into Your Floating Candle Mold
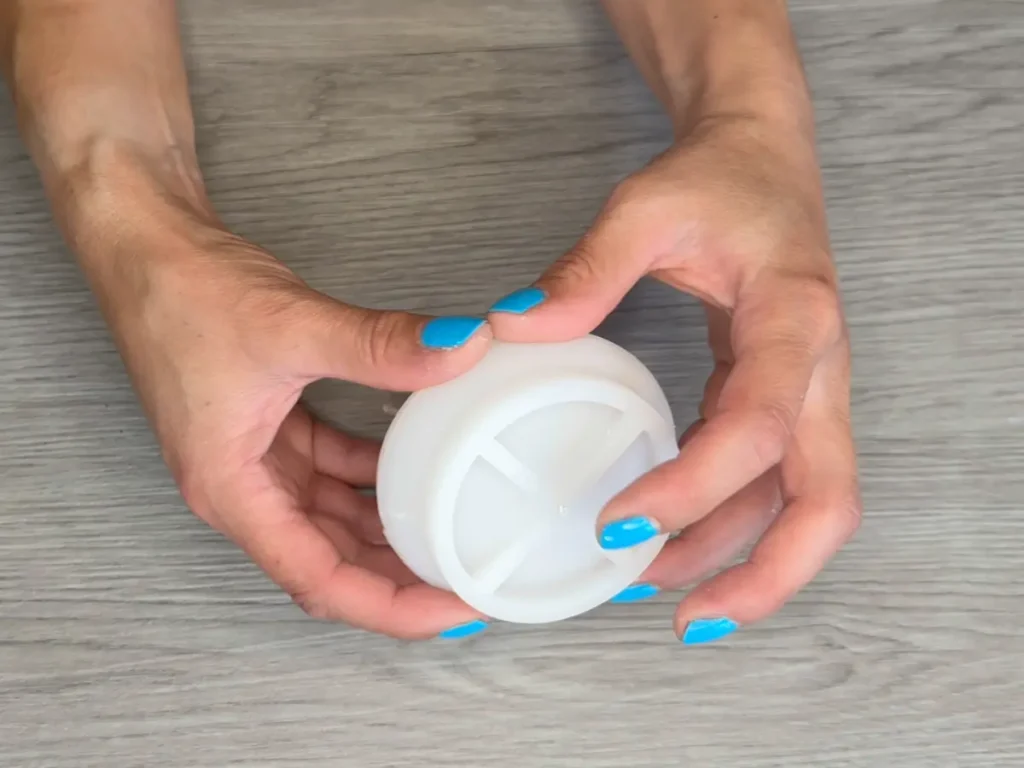
Place the candle wick into the small hole on the bottom of your mold. It will be very tough the first few times you use the mold but then it gets easier.
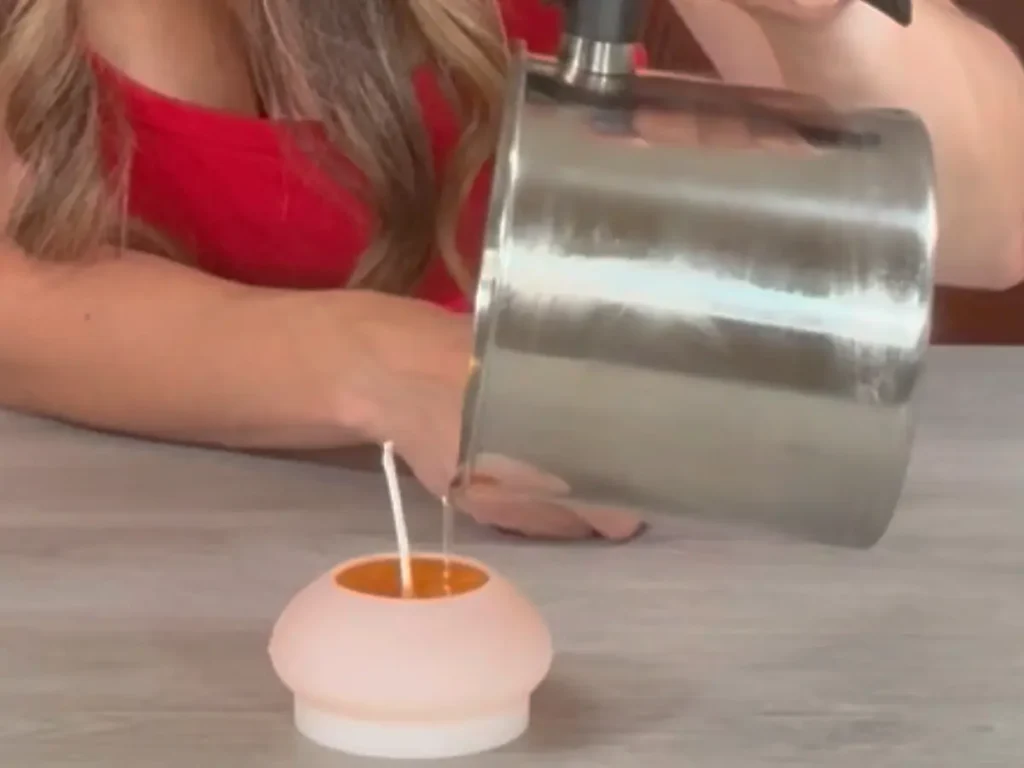
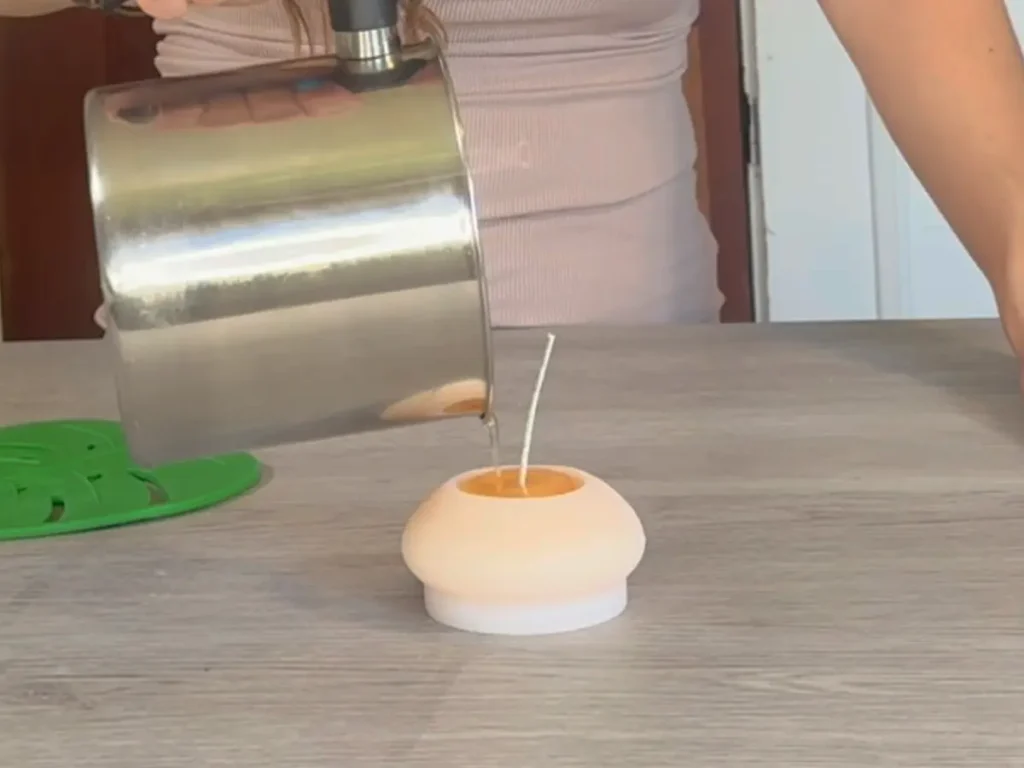
Carefully pour the scented wax into your floating candle mold.
Try to keep your pouring steady and avoid introducing unnecessary air bubbles.
Let the Candles Cool Completely
This is important.
Don’t rush the unmolding process.
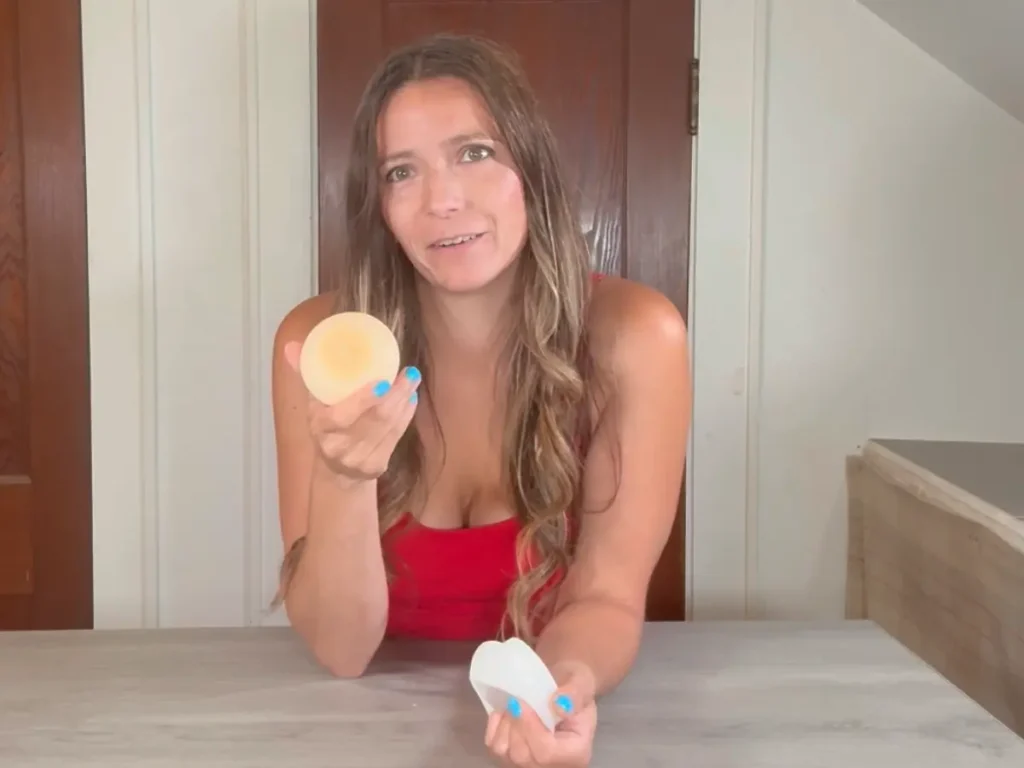
The silicone mold I used worked, but the softer soy wax required a little more care when I was removing the candles.
My first attempt was probably removed a little too early while the candle was still slightly warm. And the wax stuck to the mold.
Let the candle become completely firm before attempting to remove it from the mold.
I also tried using the freezer to speed up the process, but one of my candles cracked into three pieces.
So my recommendation is simple: let the candle cool naturally and completely.
Add a Second Pour if Needed
Soy wax can shrink slightly as it cools.
I noticed this with the Freedom Soy Pillar Wax, so after the candle cools you can add a little more melted wax to the top to fill the depression.
Allow the second pour to cool completely before unmolding.
Carefully Remove the Candle From the Mold
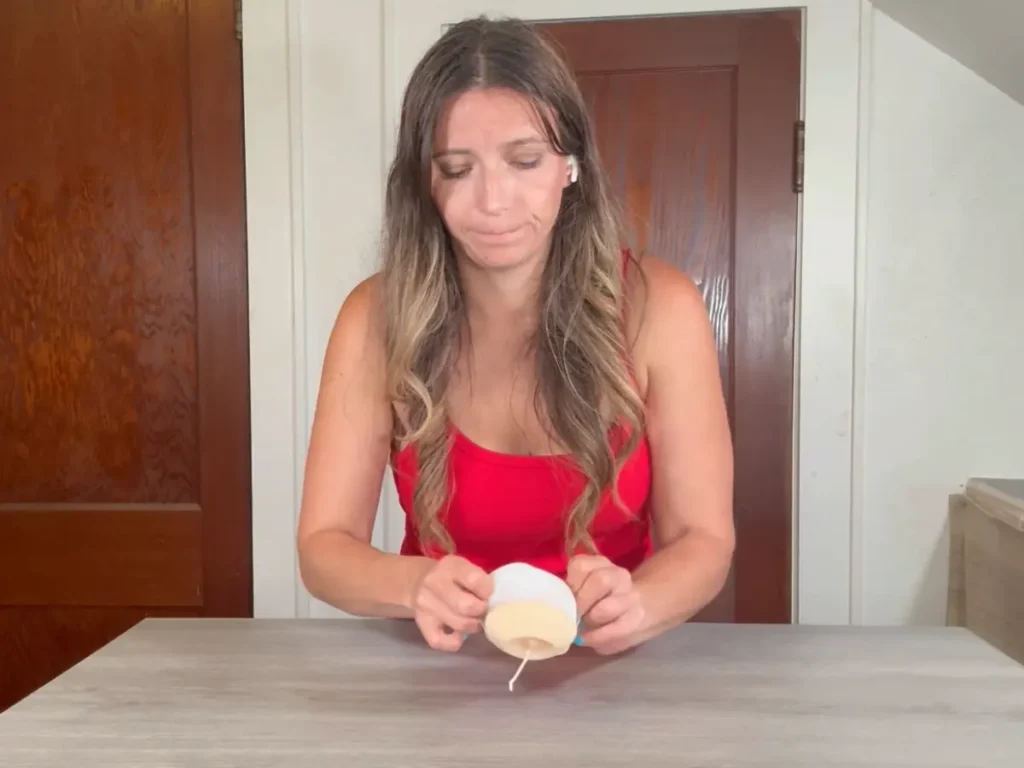
Once the candle is completely firm, carefully remove it from the mold.
The silicone mold wasn’t a failure—it just wasn’t the easiest option for a beginner working with softer soy wax.
The biggest lesson I learned was that wax hardness and cooling time make a big difference when making homemade floating candles.
If you’re making a large number of candles, having several molds will save you time because you won’t have to wait for one mold to cool before starting the next candle.
How to Make the Floating Flower Centerpiece
Now that your soy floating candles are finished, it’s time to put together the centerpiece.
I used a large glass fish bowl vase because I wanted plenty of room for the flower and floating candle.
Secure the Flower Stem
This was the part of the centerpiece that took the most experimenting.
I wanted to use something that was inexpensive, easy to find, and practical. Most importantly, I needed something that would keep my zinnia at the bottom of the fish bowl.
The solution ended up being incredibly simple.
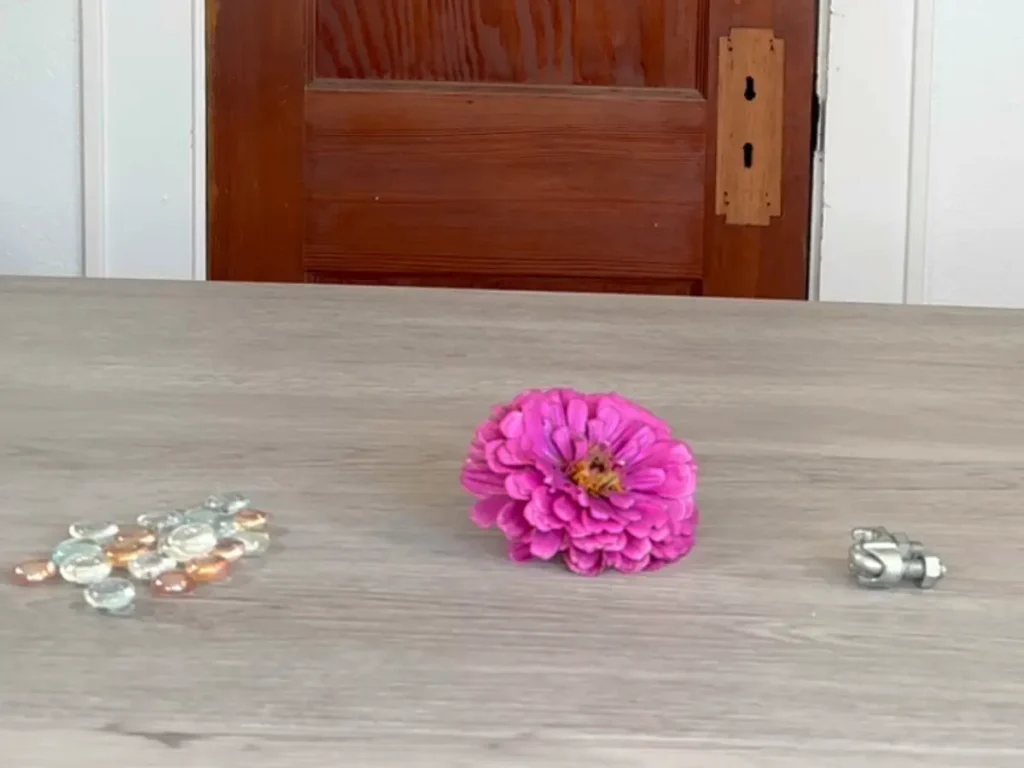
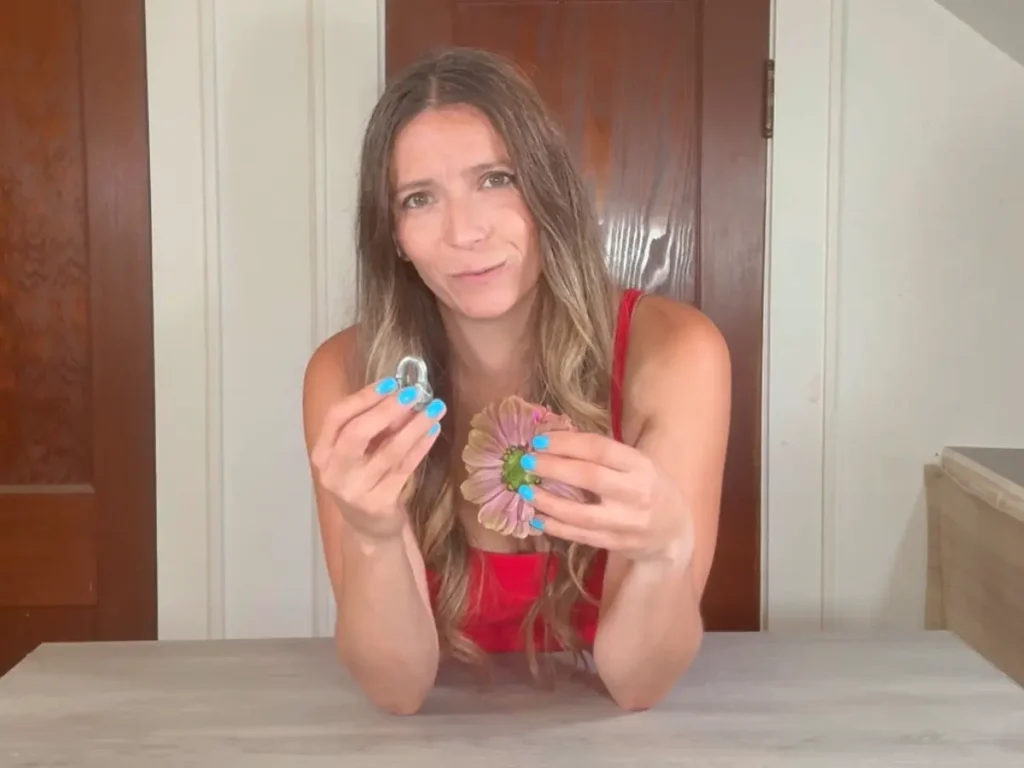
I used a 1/4-inch wire rope U-bolt clip.
Place the clip around the stem of the flower and tighten it securely.
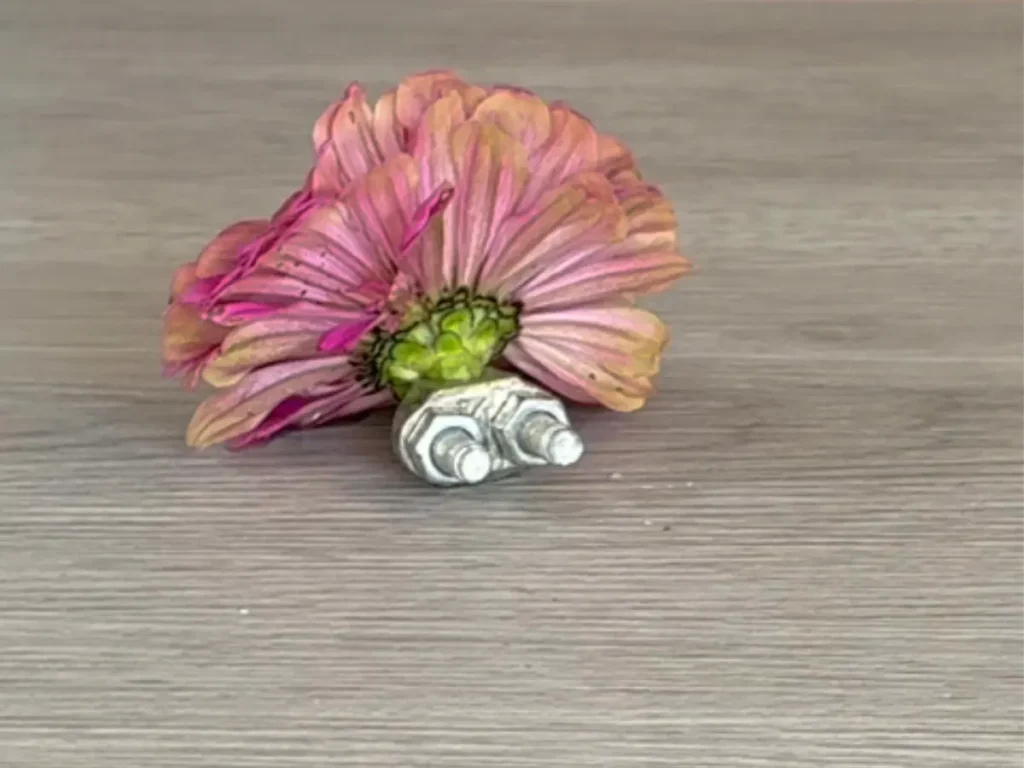
This little piece of hardware made all the difference.
You can buy these in larger packages, which is especially helpful if you’re making multiple floating candle centerpieces.
Place the Flower in the Fish Bowl
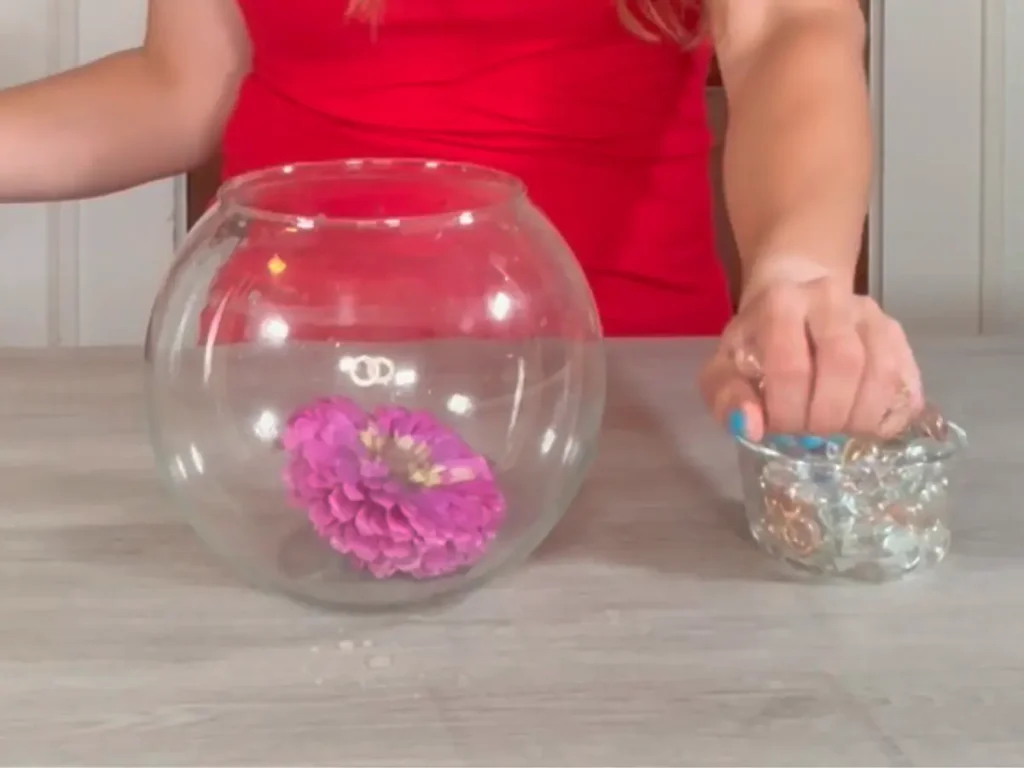
Position the flower inside the large glass vase with the U-bolt clip resting on the bottom.
Hide the U-Bolt With Glass Pebbles
Now add your glass pebbles around the flower stem.
The pebbles help hold everything in position while also hiding the U-bolt clip.
Once the glass pebbles are in place, you won’t even notice the hardware.
They are also helpful in making the flower sit flat!
This was my favorite solution because it was inexpensive, simple, and actually worked.
Add Water
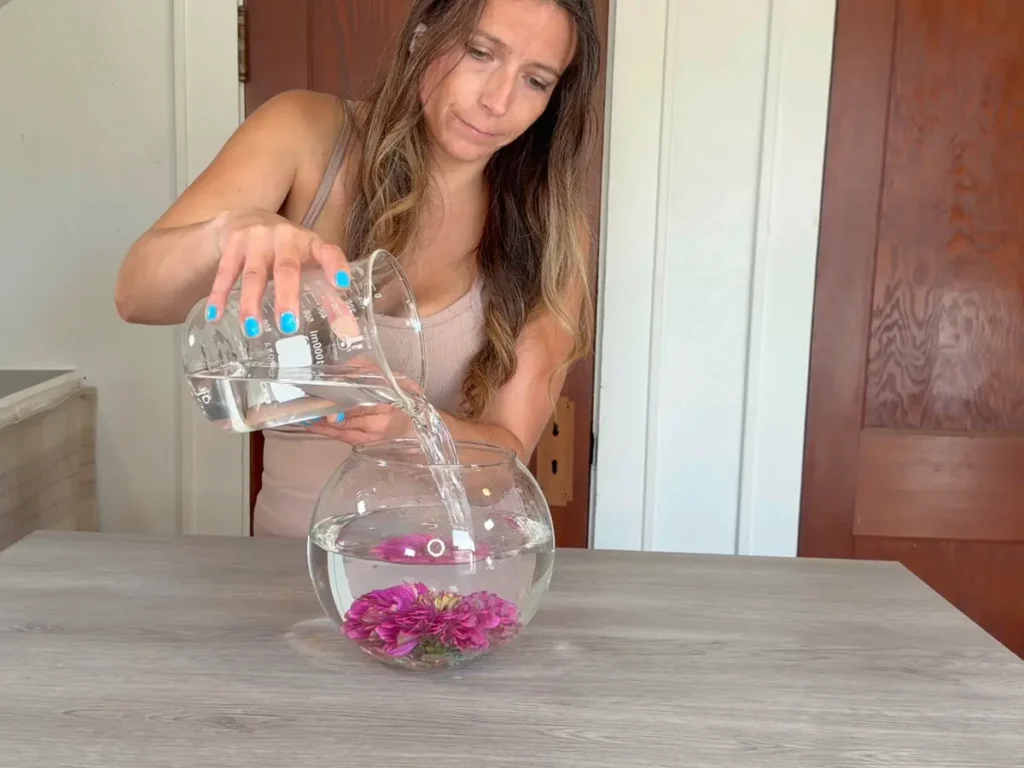
Slowly add water to the vase.
Try not to disturb the flower or move the glass pebbles.
Leave enough space at the top for your floating candle.
Trim the Candle Wick
Before placing the candle on the water, trim the wick to approximately 1/4 inch.
I have more information about wick preparation and candle making in my candle wick tutorial.
Add the Floating Candle
Gently place the finished candle on the surface of the water.
Position the candle so the flame will remain safely away from the flower, leaves, and sides of the vase.
And that’s it!
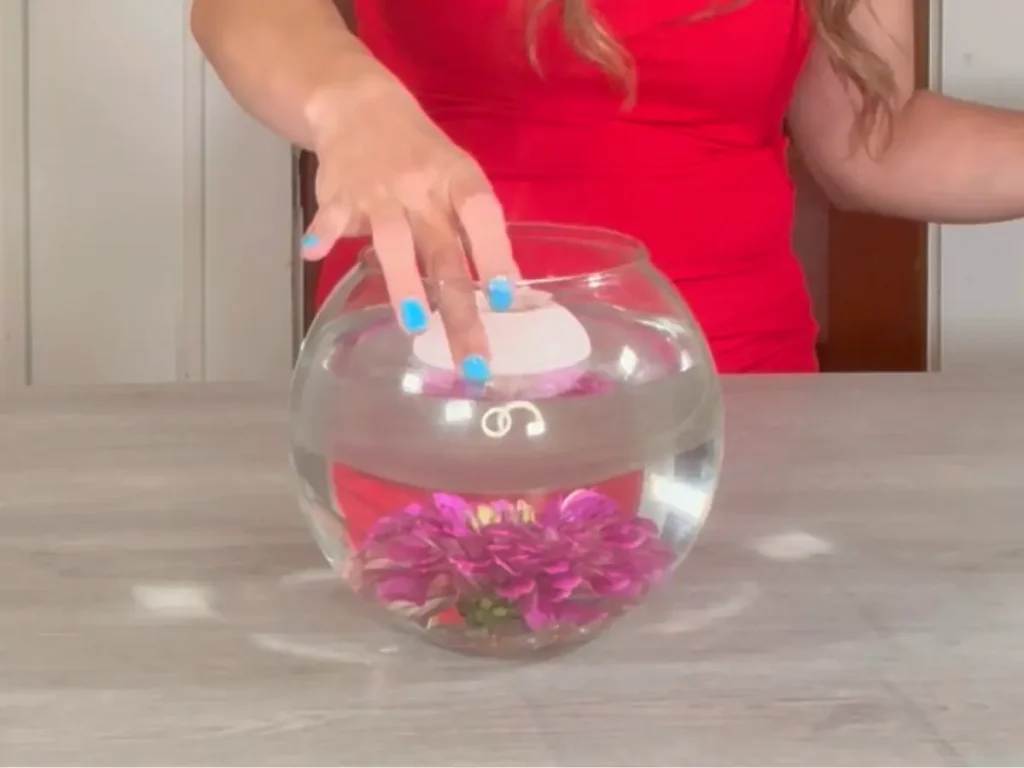
Your DIY floating candle centerpiece is ready to enjoy.
My Favorite Trick for This Floating Flower Centerpiece
If there’s one thing from this project that I would definitely recommend, it’s the little U-bolt clip.
I tried several different ways to keep my zinnia at the bottom of the fish bowl because I wanted a solution that was:
- Inexpensive
- Easy to use
- Easy to find
- Secure
- Hidden once the centerpiece was assembled
The 1/4-inch wire rope U-bolt clip checked every box.
Once I covered it with glass pebbles, it completely disappeared into the bottom of the vase.
This is one of those simple DIY tricks that makes the finished project look much more polished.
What I Learned Testing Different Soy Waxes
Before settling on the Freedom Soy Pillar Wax, I tested another soy wax combination.
I used Golden Wax with 5% stearic acid and 8% fragrance oil in a 100-gram batch.
| Ingredient | Percentage | Amount |
|---|---|---|
| Golden Wax | 87% | 87 g |
| Stearic Acid | 5% | 5 g |
| Fragrance Oil | 8% | 8 g |
| Total | 100% | 100 g |
I added the fragrance oil below 185°F and poured between 90–100°F.
The pouring process itself worked beautifully.
The difference was mostly in handling the finished candle. The softer wax required more care when unmolding, and because I was experimenting with cooling times, I had one candle stick slightly and another crack when I tried the freezer.
I eventually got a beautiful floating candle from this wax, but when I tested the harder Freedom Soy Pillar Wax, I found it much easier to work with.
For this reason, Freedom Soy Pillar Wax is the wax I recommend for this project.
Troubleshooting Floating Candles
My floating candle sticks to the mold.
Make sure the candle is completely cool and firm before attempting to remove it. Softer soy wax can be more delicate during unmolding.
My floating candle cracked when I removed it.
Avoid forcing the candle out of the mold or rapidly changing its temperature. I tried putting one of mine in the freezer, and it cracked.
Let the candle cool naturally and completely before unmolding.
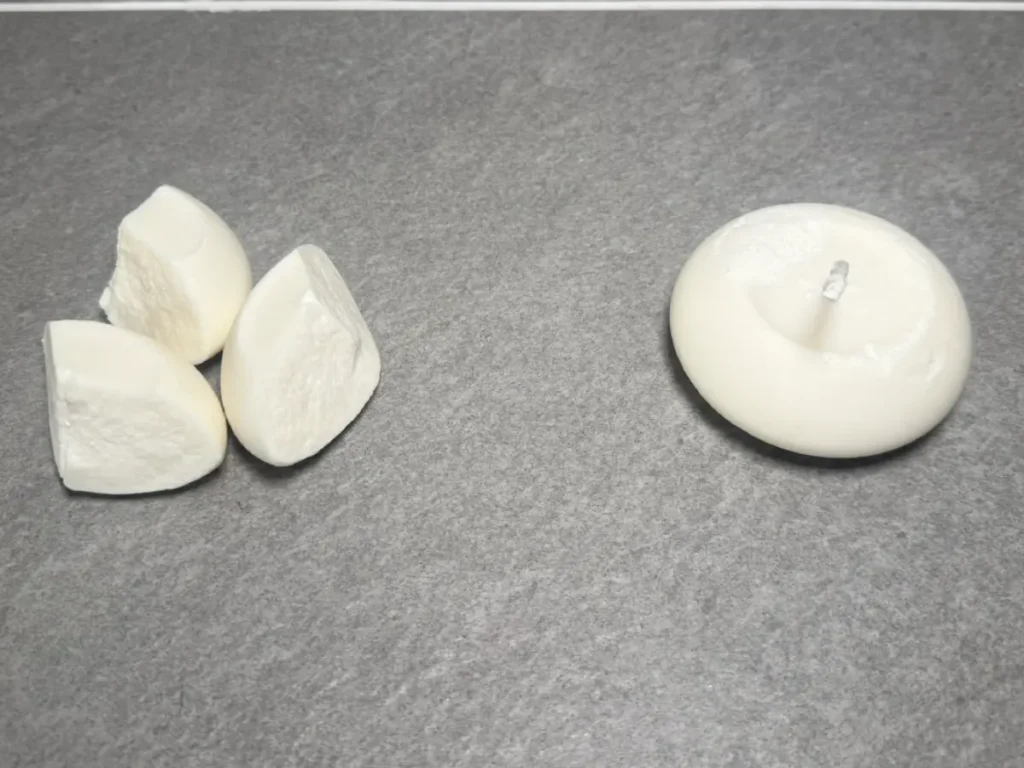
My soy floating candle has a dip in the top.
This is likely caused by shrinkage as the wax cools.
Allow the candle to cool completely, then add a small amount of melted wax to the depression. This second pour should give you a smoother top.
My flower won’t stay at the bottom of the vase.
Try using a 1/4-inch wire rope U-bolt clip around the flower stem. Cover the clip with glass pebbles so it stays hidden.
My floating candle keeps moving around.
A floating candle will naturally move on the surface of the water. If it is getting too close to the flower or side of the vase, reposition the flower, use a larger vase, or reduce the number of floating candles.
My candle is yellow instead of white.
The Freedom Soy Pillar Wax I used has a slightly yellow or creamy appearance.
If you want a brighter white floating candle, use a candle colorant designed for wax and follow the manufacturer’s recommended usage rate.
How to Make White Floating Candles
If you’re making a white floating candle centerpiece, keep in mind that the natural color of your wax will affect the finished candle.
The Freedom Soy Pillar Wax I used has a slightly creamy/yellow appearance.
If you want a bright white candle, you can add candle colorant.
You can also experiment with soft pastel colors to coordinate your floating flower centerpiece with your event or home decor.
Floating Candle Safety
Because this project combines an open flame, water, glass, and fresh flowers, candle safety is especially important.
- Never leave a burning candle unattended.
- Keep the centerpiece away from children and pets.
- Keep the flame away from flowers, leaves, and other flammable materials.
- Make sure the candle floats freely.
- Do not allow the flame to come into contact with the sides of the vase.
- Trim the wick to approximately 1/4 inch before burning.
- Extinguish the candle if it becomes unstable or the flame gets too close to the flowers.
Always watch a new candle setup closely during its first burn.
Can You Use Different Flowers?
Absolutely.
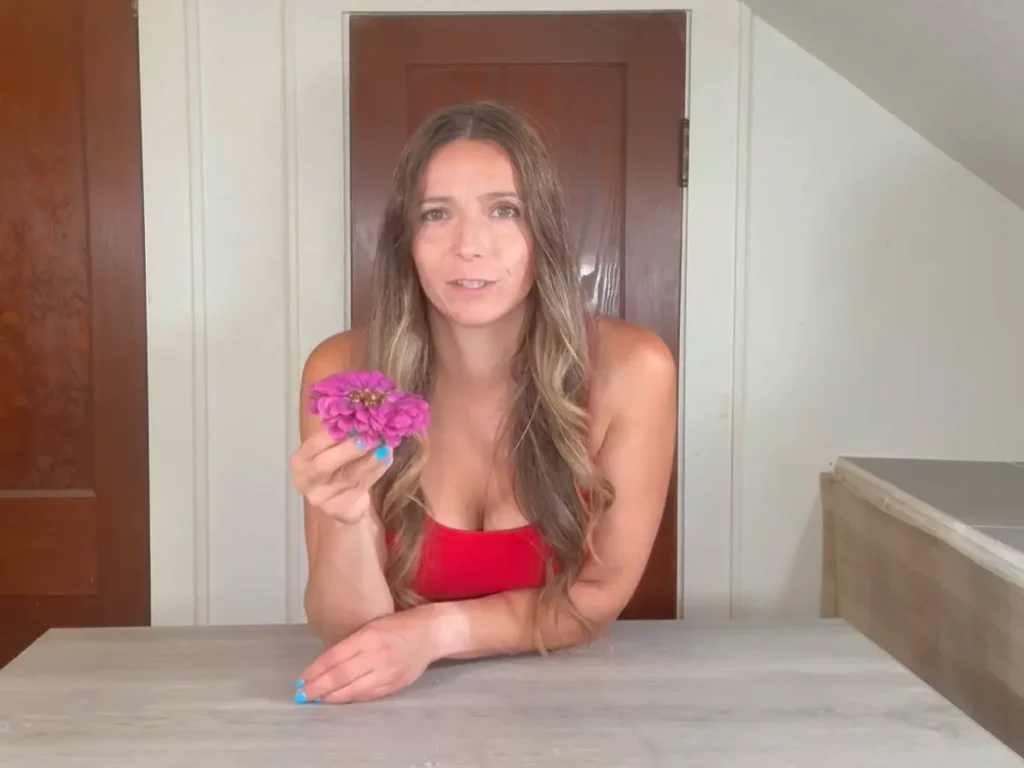
I used a zinnia because I loved how it looked in the large glass fish bowl, but you can change the flower to match the season or occasion.
Try different colors and flower varieties to create your own floating candle centerpiece ideas.
Just make sure the flower can be positioned safely away from the candle flame.
Can You Make Floating Candles in Different Colors?
Yes!
This is one of my favorite things about making your own candles.
Use candle colorants to create floating candles that coordinate with your flowers, wedding colors, holiday decorations, or table setting.
For a wedding, for example, you could make white floating candles with white or blush flowers.
For a summer centerpiece, try pastel candles with colorful flowers.
Frequently Asked Questions
What is the best wax for floating candles?
For this project, I recommend a hard pillar soy wax. I tested both Golden Wax with stearic acid and Freedom Soy Pillar Wax, and I found the harder pillar wax easier to handle and unmold.
Can you make floating candles with soy wax?
Yes. Soy wax can be used to make floating candles, but a harder pillar soy wax is a particularly good choice because the finished candle needs enough structure to hold its shape. It is still soy wax, just for pillar candles.
How do you make homemade floating candles?
Melt your candle wax, add candle-safe fragrance oil, mix thoroughly, pour the wax into a floating candle mold, allow it to cool completely, and then carefully remove the candle from the mold. A pillar soy wax is recommended for this project.
Why does my floating candle have a hole or dip in the top?
Soy wax can shrink as it cools. A small second pour can be used to fill the depression and create a smoother surface.
How do you keep flowers at the bottom of a fish bowl?
For this centerpiece, I used a 1/4-inch wire rope U-bolt clip to secure the flower stem. Glass pebbles cover the clip and help keep it hidden.
Can you put a floating candle in a vase?
Yes. A large glass vase, fish bowl, or similar water-filled container can be used for floating candles. Make sure there is enough room for the candle to float freely and that the flame remains safely away from the vase and flowers.
How many floating candles should I put in a vase?
That depends on the size of your vase and candles. For my large fish bowl, I used one floating candle. If you use several, make sure they have plenty of room and that the flames cannot come too close to each other or the flowers.
Can floating candles be scented?
Yes. Candle-safe fragrance oil can be added to floating candles. Always follow the fragrance manufacturer’s recommended fragrance load and flash point information.
Can I make white floating candles with soy wax?
Yes. If your soy wax has a naturally creamy or yellow appearance, you can add a candle colorant specifically designed for wax to create a whiter candle.
Final Thoughts
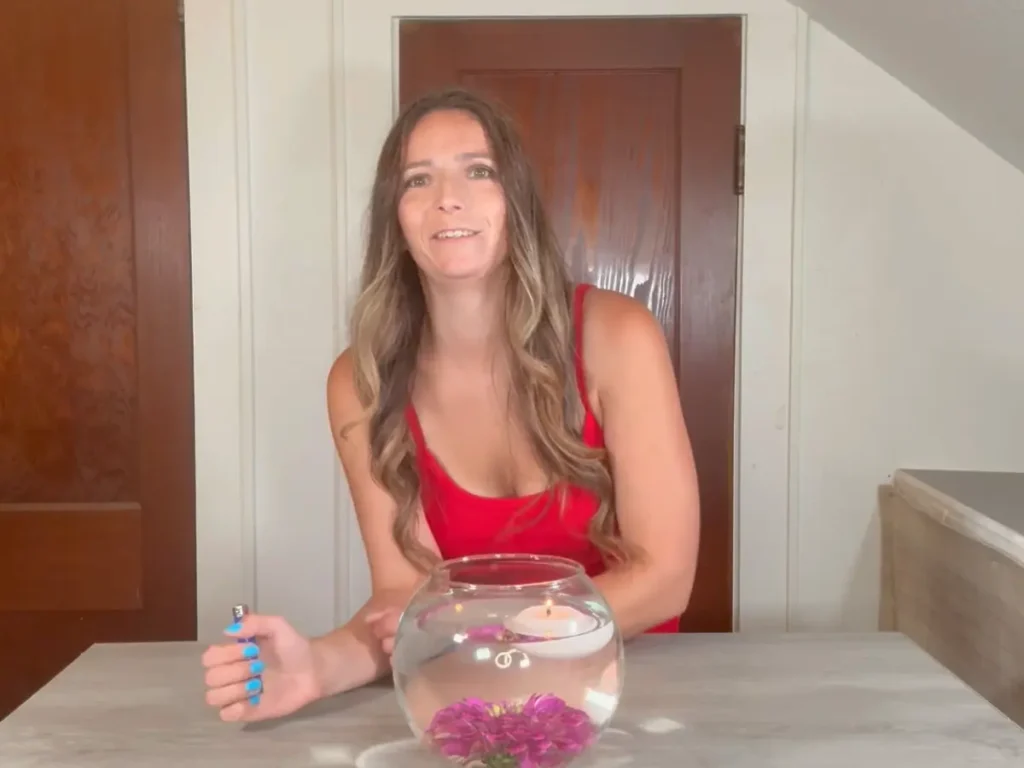
I love how this DIY floating candle centerpiece turned out.
The combination of the large glass fish bowl, fresh zinnia, glass pebbles, water, and handmade soy floating candle creates a centerpiece that feels elegant without requiring complicated supplies or techniques.
The candle-making itself was actually quite simple. My biggest lesson was that the type of wax and the timing of unmolding can make a big difference.
If I were making these again, I would use Freedom Soy Pillar Wax, allow plenty of time for the candles to cool completely, and use multiple molds if I needed to make a large batch.
And I would absolutely use the little U-bolt clips again.
That inexpensive little piece of hardware solved the biggest problem I had with the flower and made the finished centerpiece look clean and polished.
Sometimes the simplest solution is the one that works best!
DIY Floating Candle
Ingredients
- 92 grams Freedom Soy Pillar Wax
- 8 grams Fragrance oil
- Candle wick
- Floating candle mold
Instructions
- Melt the Soy Pillar WaxPlace your Freedom Soy Pillar Wax into a heat-safe pouring container and melt it using a double boiler.
- Add Your Fragrance OilOnce the wax is completely melted, add your candle-safe fragrance oil.I mixed the fragrance oil into the wax thoroughly for at least 2 minutes before pouring.
- Pour the Wax Into Your Floating Candle MoldPlace the candle wick into the small hole on the bottom of your mold. Carefully pour the scented wax into your floating candle mold.Try to keep your pouring steady and avoid introducing unnecessary air bubbles.
- Carefully Remove the Candle From the MoldOnce the candle is completely firm, carefully remove it from the mold.