

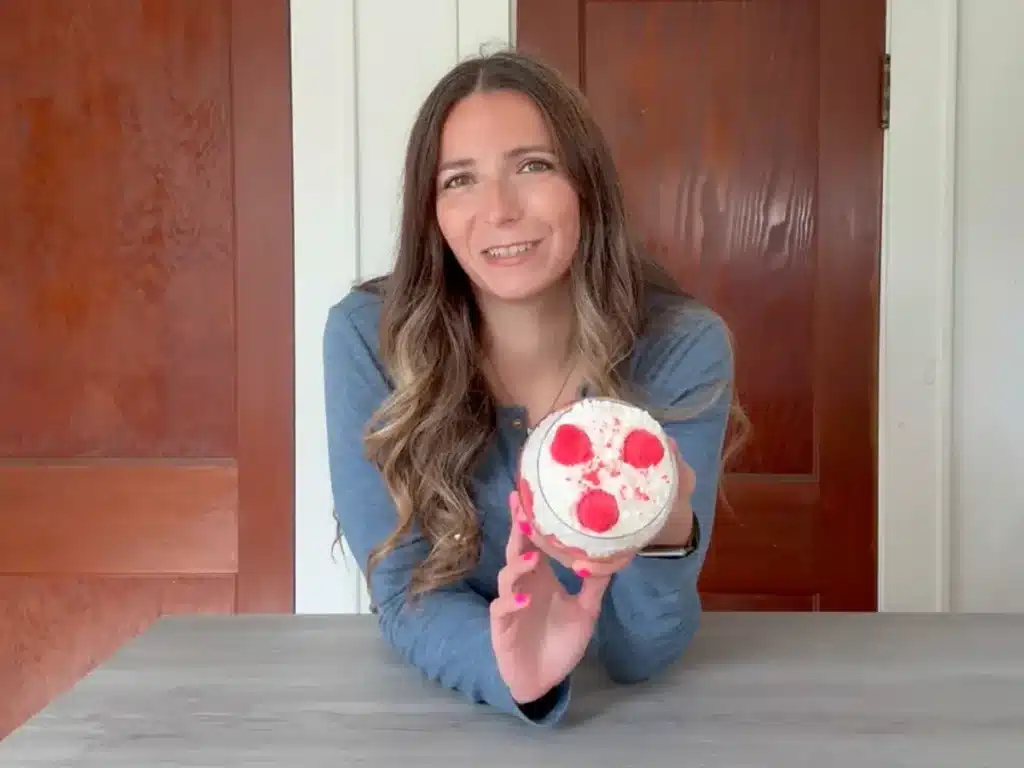
This strawberry candle looks complicated, but once you break it down, it’s really a combination of a few simple candle-making techniques.
I started with a red soy wax base in a large wine-glass-style container. Then I added a layer of red and golden-brown wax crumbles, piped whipped soy wax over the top, and finished the candle with three strawberry wax embeds and a sprinkle of red wax crumbles.
The finished candle has that fun, realistic dessert-candle look without requiring every single detail to be perfect.
And honestly, that’s one of my favorite things about this project.
The strawberries I made didn’t come out perfectly (the tops were a bit wonky). But once they were tucked into the whipped wax, you couldn’t tell.
I’ll walk you through exactly how I made this DIY strawberry candle, including how I calculated the amount of wax I needed for an unusual container, how I made the strawberry embeds, and how I got the soy wax into a consistency I could pipe like frosting.
Strawberry Candle at a Glance
| Project | Details |
|---|---|
| Candle style | Dessert-inspired strawberry candle |
| Candle wax | Golden Wax 415 soy wax |
| Container | Large wine-glass-style glass |
| Candle base + strawberry embeds | 133 g Golden Wax 415 |
| Strawberry embeds | 3 |
| Whipped wax | 200 g Golden Wax 415 |
| Whipped wax fragrance load | 8% |
| Whipped wax fragrance oil | 16 g |
| Wax crumbles | Red and golden-brown |
| Finishing detail | Red wax crumbles |
Prefer to Watch How to Make A Dessert Candle?
Affiliate Disclosure: This post may contain affiliate links. If you purchase something through one of my links, I may earn a small commission at no additional cost to you.
How to Calculate Candle Wax Using the Water-Fill Method
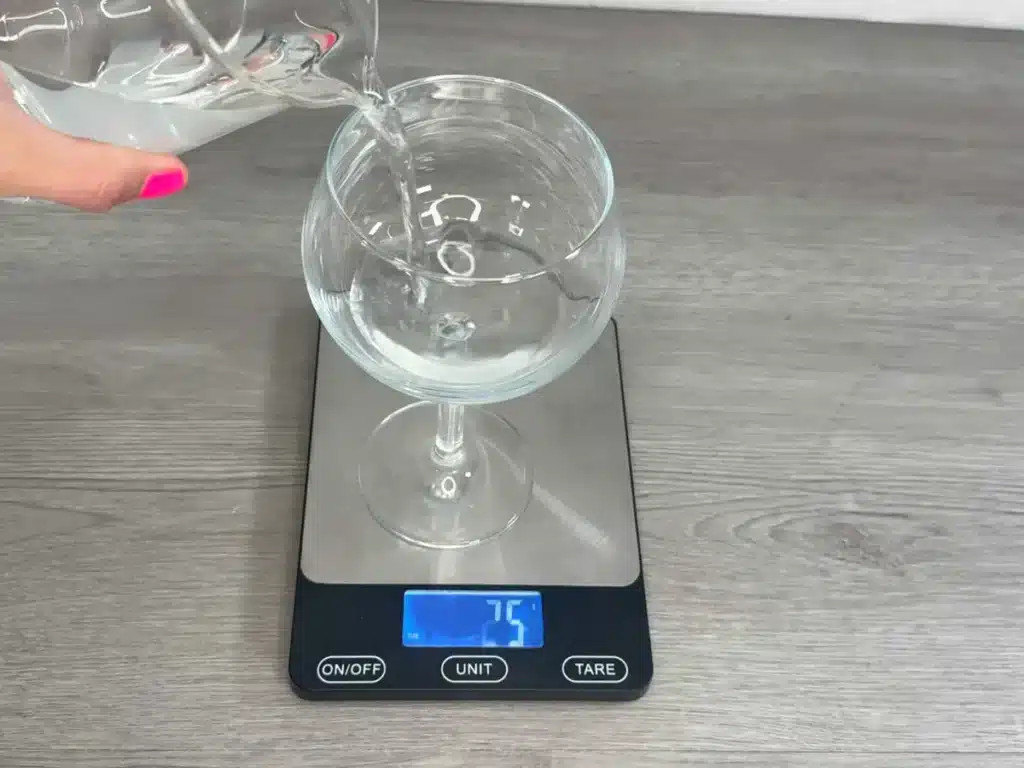
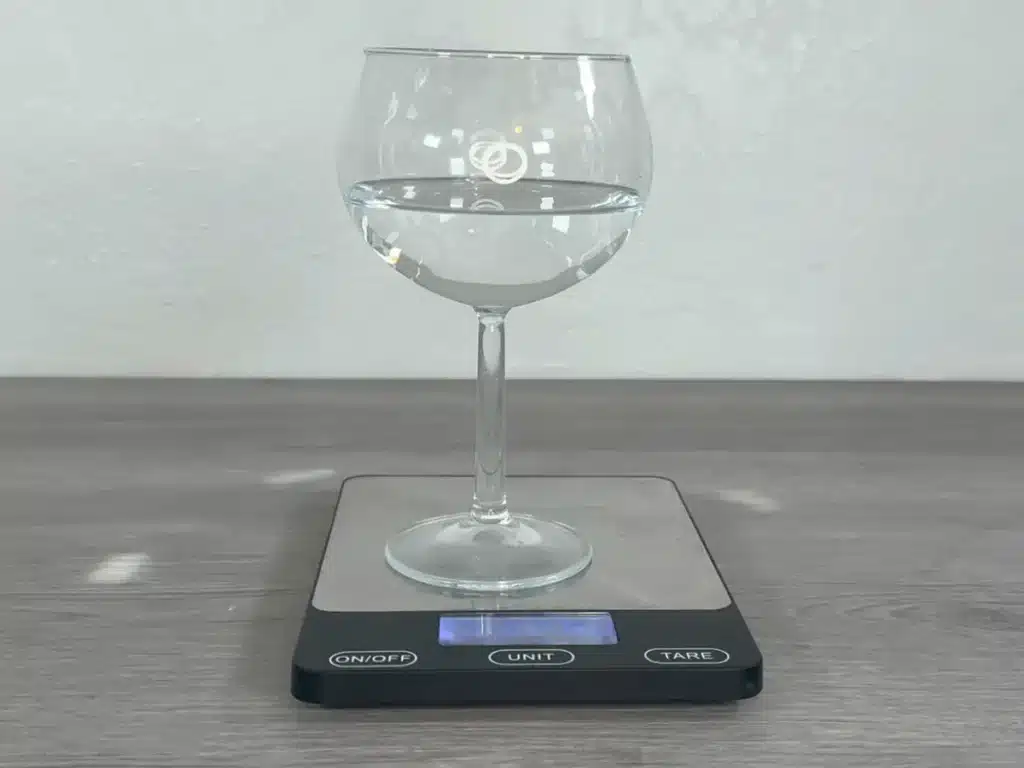
Start by filling your container with water to the level where you want the candle wax to reach.
For this candle, I filled the glass to the level where I wanted the red wax base to end.
That gave me:
133 g water
Next, I needed to account for the three strawberry embeds.
I filled the strawberry mold with water to determine how much space the three strawberries would take up.
That measurement was:
21 g water
So my total water measurement was:
133 g + 21 g = 154 g water
For this project, I multiplied the total water weight by 0.86 to estimate the amount of soy wax I needed:
154 g × 0.86 = 132.4 g
I rounded that to:
133 g soy wax
The Formula I Used
Water weight × 0.86 = approximate soy wax weight
This is the calculation I used for this particular project. It is a starting point rather than a universal conversion for every type of candle wax.
This is the closest way to figure out how much soy wax you need. I have tried them all!
Why I Included the Strawberry Mold in the Calculation
This is an easy part of the calculation to overlook.
If I had only measured the glass, I would have calculated the amount of wax needed to fill the container without accounting for the space occupied by the strawberries.
Since I wanted to make three strawberry embeds from the same prepared red wax, I included their volume in the calculation.
That helped me prepare enough wax for both the candle base and the embeds without significantly overestimating the amount I needed.
What You’ll Need
Candle Base and Strawberry Embeds
- Golden Wax 415 soy wax
- Red candle dye
- Sugared Strawberry fragrance oil
- Candle wick appropriate for your container
- Large wine-glass-style candle-safe glass
- Strawberry silicone mold
- Hot glue gun
- Digital scale
- Double boiler
- Pouring Pot
- Silicone spatula
Whipped Wax
For the Decoration
- Red wax crumbles
- Golden-brown wax crumbles
- Three strawberry wax embeds
If you want to make your own wax crumbles, see my tutorial How to Make Wax Crumbles for Candles.
I used Golden Wax 415 and Sugared Strawberry fragrance oil for the red and golden-brown crumbles in that project.
Candle Base Formula
| Ingredient | Amount | Percentage |
|---|---|---|
| Golden Wax 415 soy wax | 133 g | 100% |
| Sugared Strawberry fragrance oil | 11 g | 8% |
Whipped Wax Formula
| Ingredient | Amount | Percentage |
|---|---|---|
| Golden Wax 415 soy wax | 200 g | 100% |
| Sugared Strawberry fragrance oil | 16 g | 8% |
Making Dessert Candle
Step 1: Weigh the Soy Wax
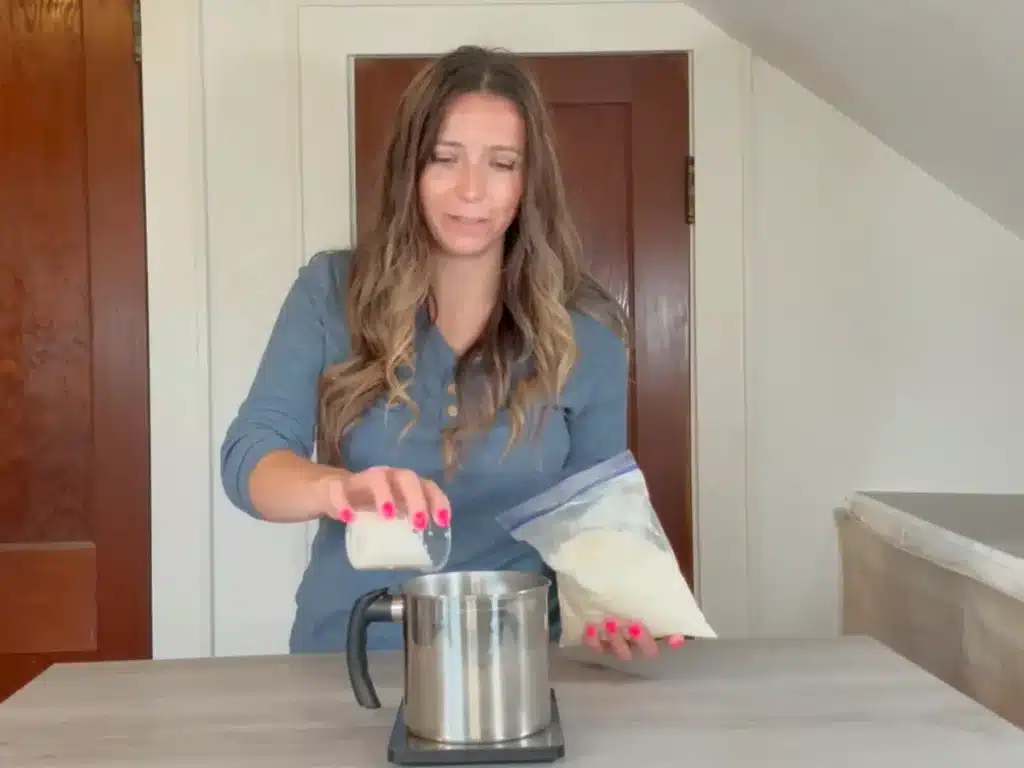
Start by weighing the 133 g soy wax for the candle base and strawberry embeds.
Because I was making the strawberries from the same red wax, this amount was calculated to include both the candle base and the three strawberry embeds.
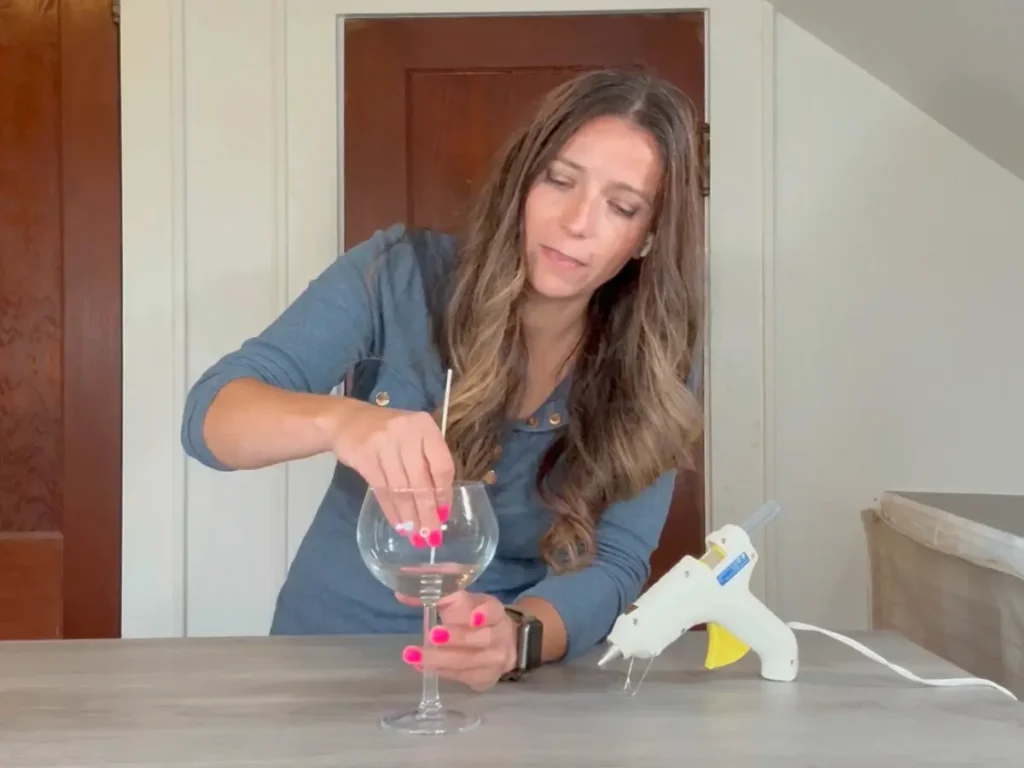
Step 2: Secure the Wick
Secure your wick to the bottom of the glass.
I used a hot glue gun to adhere the wick.
Make sure the wick is securely attached and centered.
Use a wick appropriate for your specific container, wax, fragrance, and finished candle design.
Step 3: Melt the Golden Wax 415
Place the soy wax into a heat-safe pouring container and melt it using a double boiler.
Heat the wax until it is fully melted.
Once the wax is completely melted, remove it from the heat.
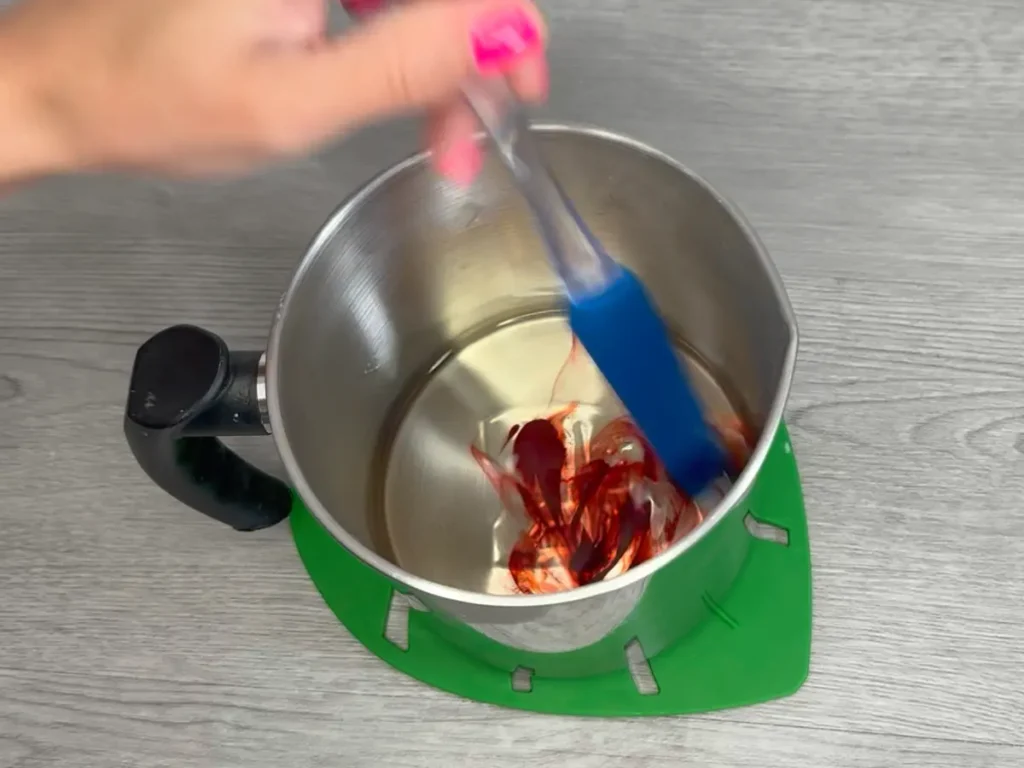
Step 4: Add the Red Candle Dye
I wanted a strong strawberry-red color for the candle, so I added red candle dye to the melted wax.
The amount of dye you’ll need depends on the particular candle colorant you’re using and how intense you want the finished color to be.
If you’re working with a new colorant, I recommend testing a small amount first.
One of my favorite ways to check candle color is to put a small amount of colored wax onto a white paper towel and let it cool.
The cooled wax gives you a much better idea of what the finished color will actually look like.
Step 5: Add the Fragrance Oil
Add 11 grams Sugared Strawberry fragrance oil.
Always calculate fragrance based on the weight of the wax rather than measuring by teaspoons or drops.
Stir the fragrance thoroughly into the melted wax.
Step 6: Make the Strawberry Wax Embeds
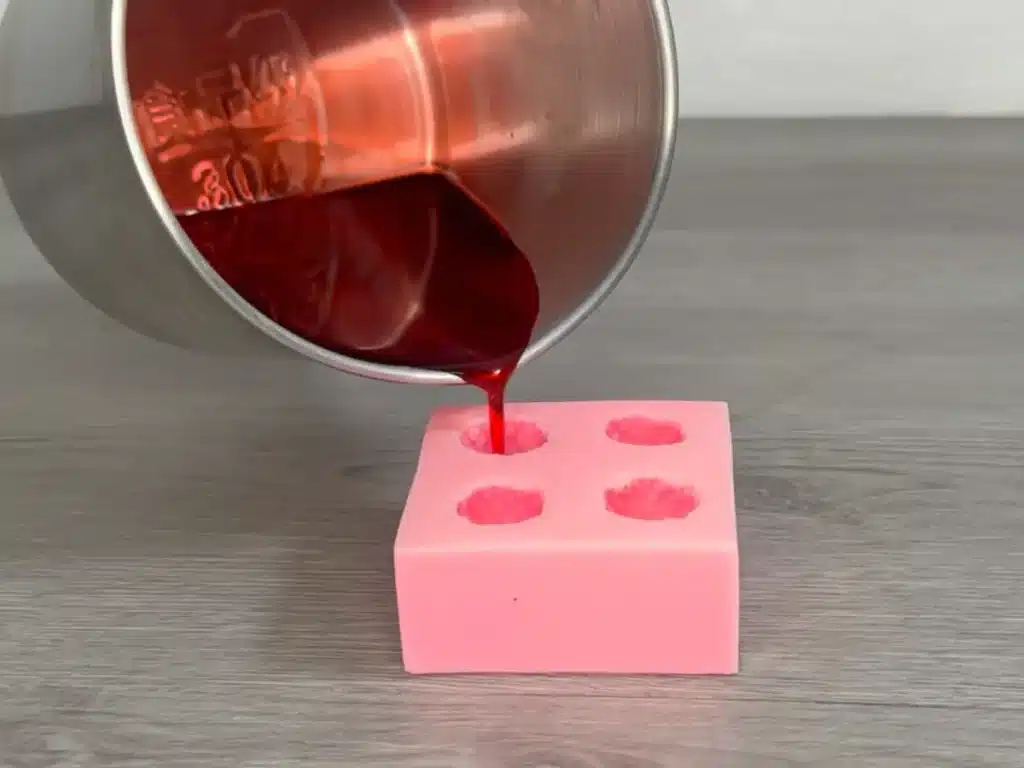
Before pouring the candle, use some of the red wax to make the three strawberry embeds.
Pour the wax into your strawberry silicone mold.
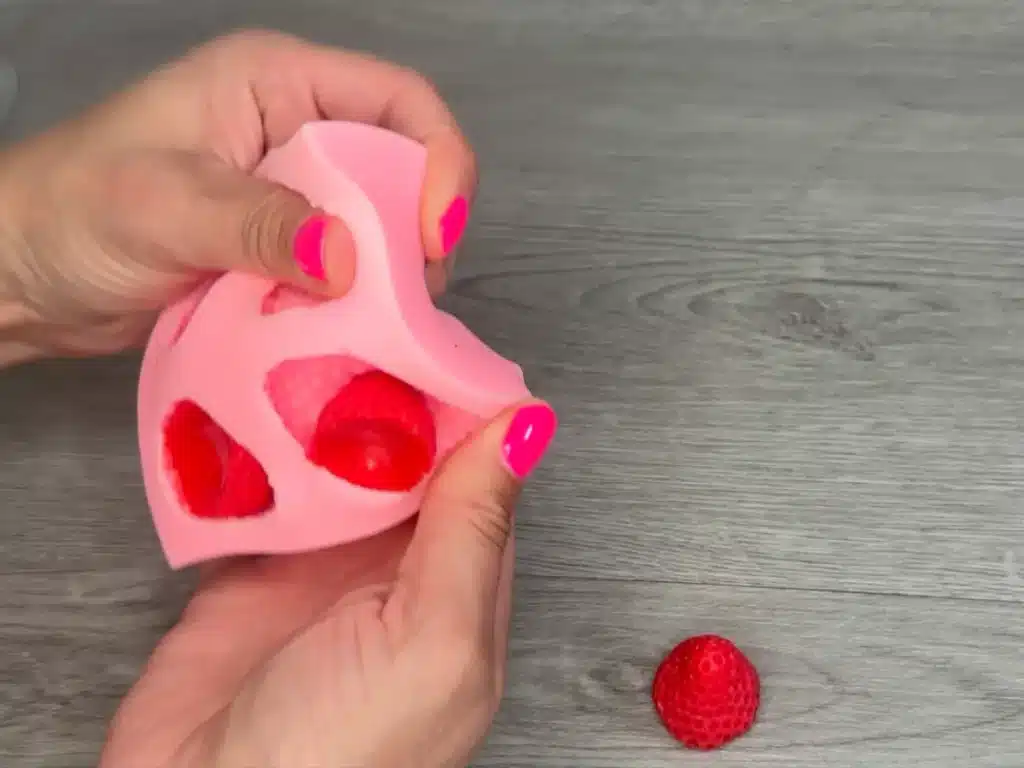
Allow the strawberries to cool and harden before removing them from the mold.
Why I Make the Strawberries First
I recommend making the strawberry embeds before pouring the candle base.
The strawberries are part of the total amount of wax I calculated for this project, so making them first allows me to use the same prepared red wax for both the candle base and the embeds.
It also means the strawberries and the candle base have the same color.
Don’t Worry If Your Strawberries Aren’t Perfect
This is one of the easiest parts of this candle to overthink.
When you remove the strawberries from the silicone mold, the tops may not be perfectly smooth.
That’s okay.
The strawberries will be placed into the whipped wax, which surrounds the lower portion of the embeds and hides small imperfections.
So if your strawberries aren’t flawless when they come out of the mold, don’t immediately think you need to re-pour them.
Step 7: Pour the Red Candle Base
Pour the remaining wax into the glass.
Then allow the candle base to cool completely before adding the decorative layers.
What to do if the candle has frosting?
Soy wax can sometimes develop cosmetic imperfections as it cools.
Depending on your wax, container, pouring process, and cooling conditions, you may see an uneven surface or other imperfections.
A heat gun can sometimes be used carefully to smooth the surface.
Step 8: Make and Add the Wax Crumbles
Once the red candle base has cooled, add your wax crumbles.
For this strawberry candle, I used a combination of red and golden-brown wax crumbles.
I wanted them to create a textured layer between the red candle base and the whipped wax topping.
If you haven’t made wax crumbles before, I have a complete tutorial here:
How to Make Wax Crumbles for Candles
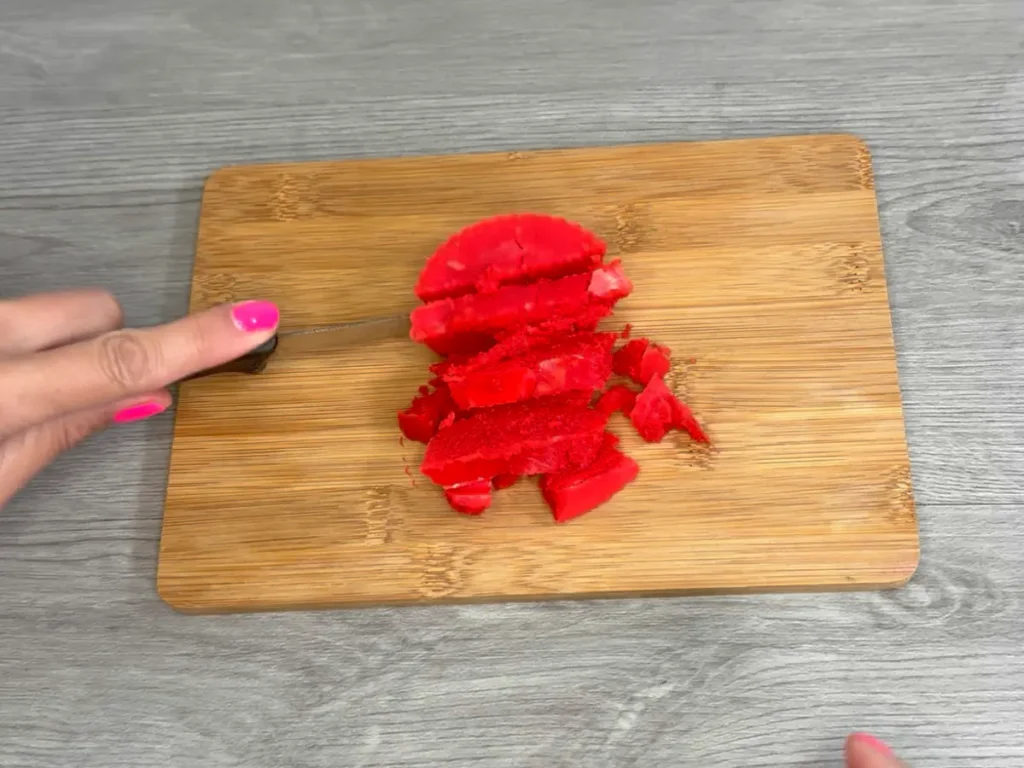
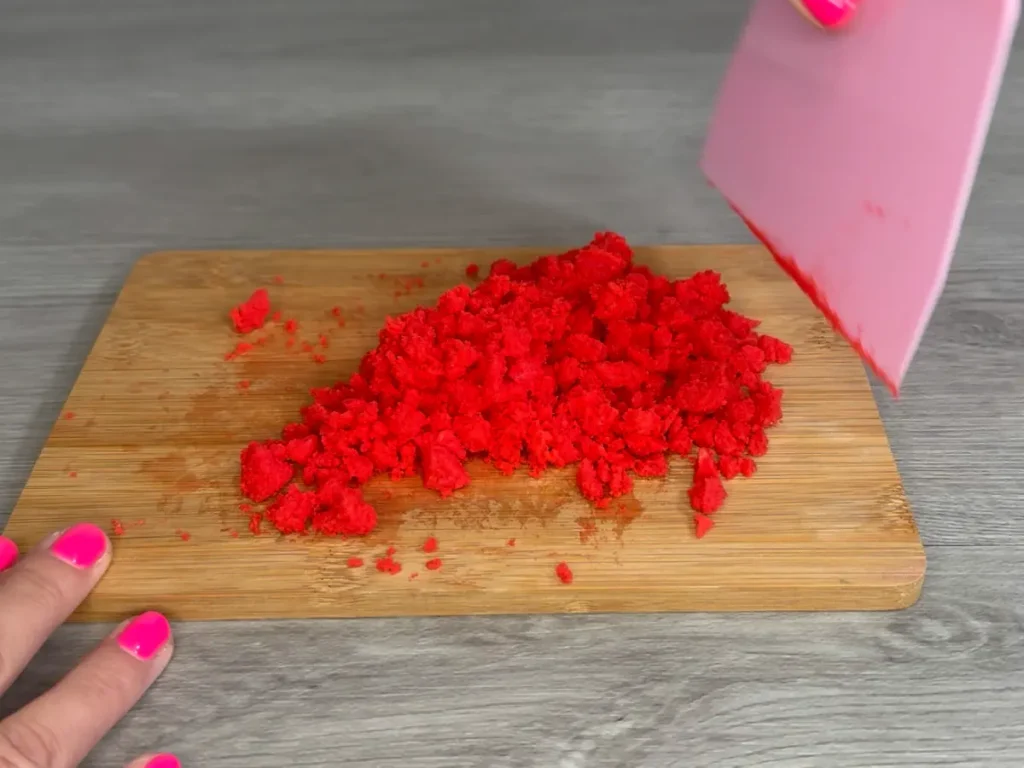
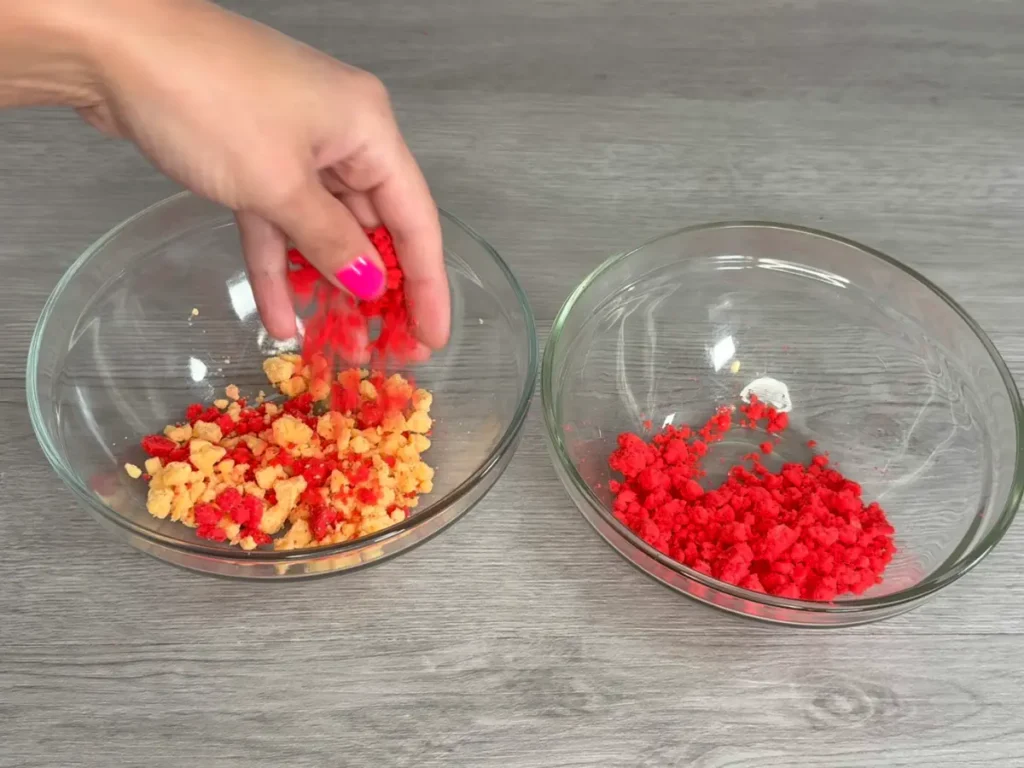
One of the things I like about wax crumbles is that you don’t need every piece to be the same size.
In fact, I think the opposite looks better.
A mixture of larger pieces, smaller chunks, and crumb-like pieces creates more texture and dimension.
Scatter the crumbles over the top of the candle base.
You don’t need to create a perfectly even layer. The whipped wax will cover much of it, so you’re really just creating texture underneath the topping.
Step 9: Make the Whipped Candle Wax
Now it’s time to make the frosting-like topping.
For the whipped wax, I used: 200 g soy wax
Melt the wax using a double boiler.
Once melted, add fragrance oil.
Stir the fragrance thoroughly into the melted wax.
Then pour into a mixing container.
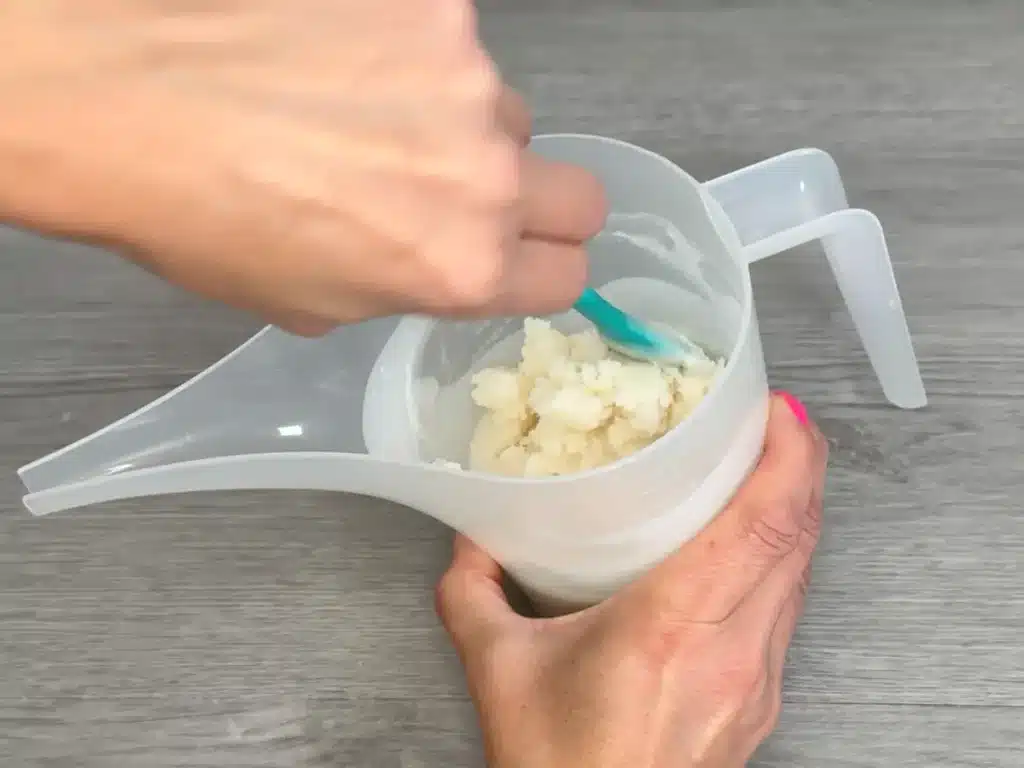
Watch the Wax, Not the Clock
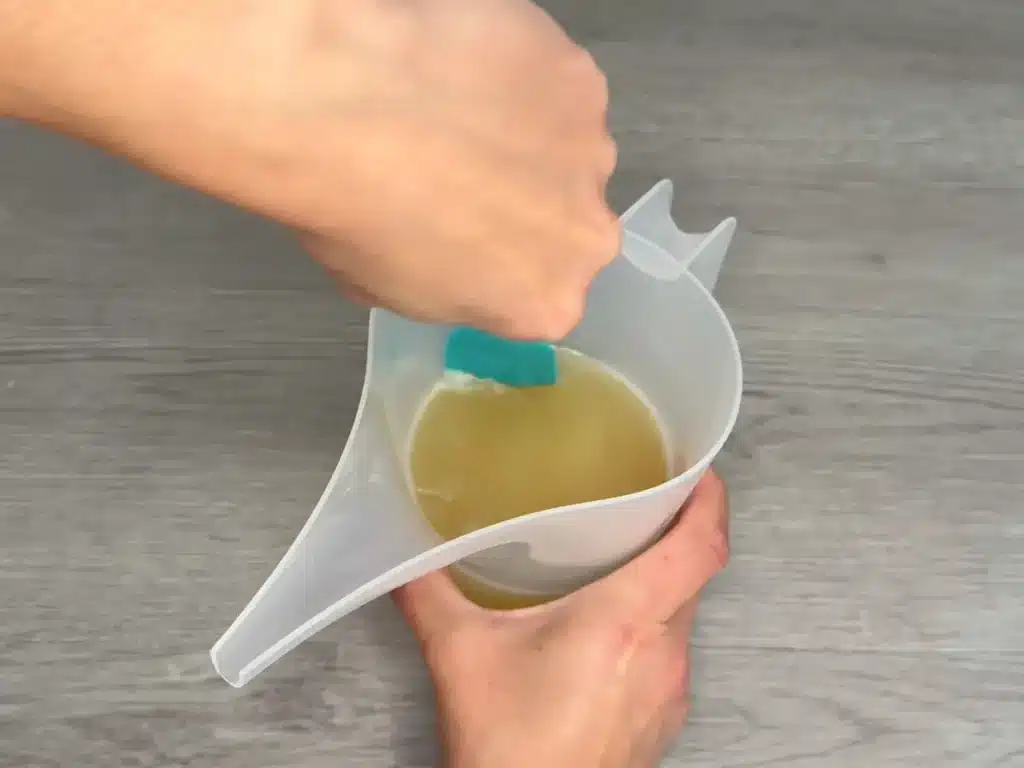
You want to be coming through periodically and scaping the side and bottom of mixing container.
You want the wax to cool until it is almost solid but still workable enough to whip.
The exact timing can vary depending on your wax, container, room temperature, and how much wax you’re working with.
So rather than telling you to wait an exact number of minutes, watch the consistency.
You’re looking for wax that has thickened considerably but can still be worked with a hand mixer.
If you want more detail about the actual whipped-wax technique, see my How to Whip Candle Wax – Whipped Candle Frosting tutorial.
Step 10: Whip the Wax
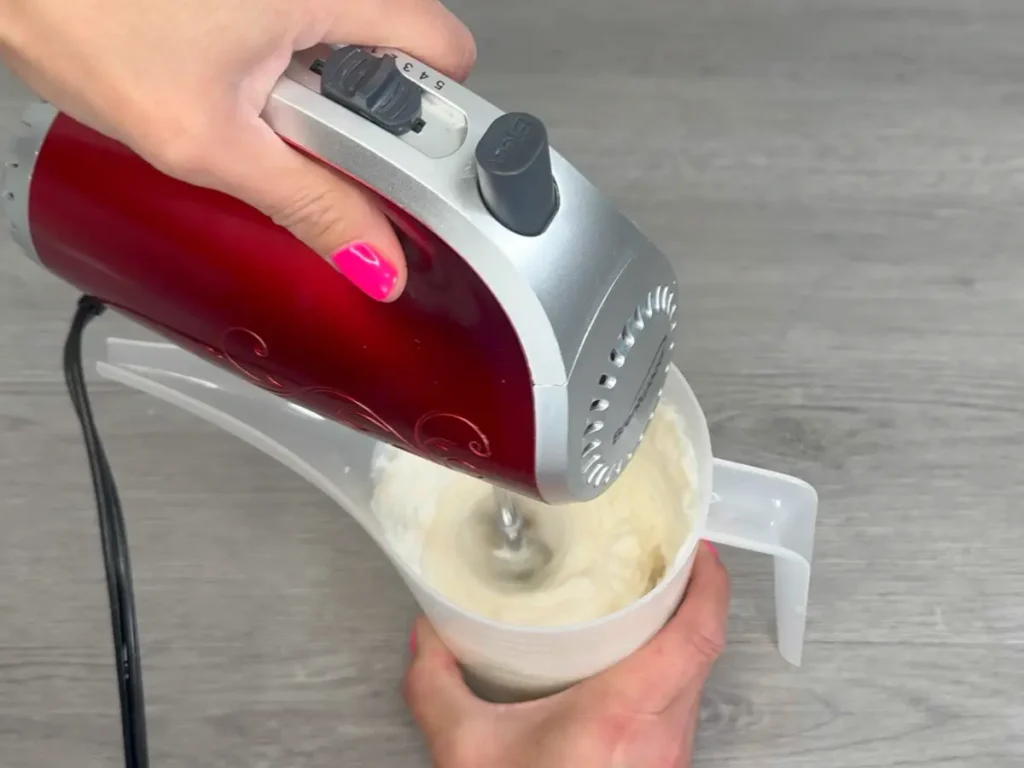
Use a hand mixer to whip the cooled soy wax.
As you mix, the wax should become lighter and develop a frosting-like consistency.
You want it to become thick enough to pipe and hold its shape.
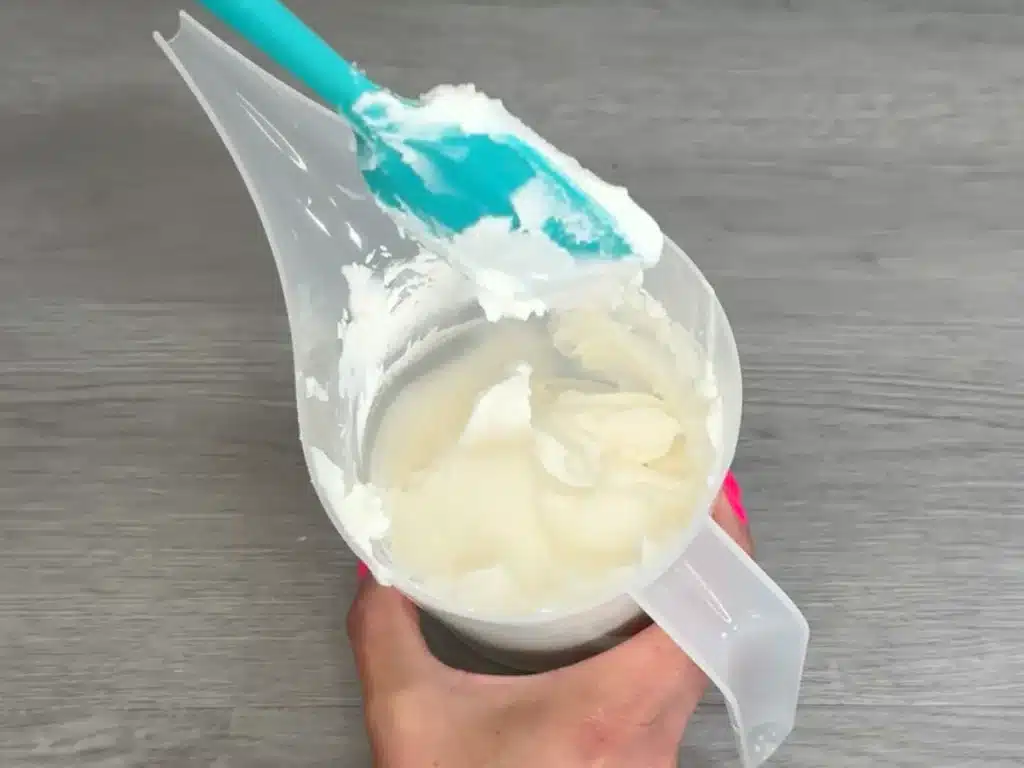
What Should Whipped Candle Wax Look Like?
Look for these signs:
- The wax is no longer liquid.
- The mixer leaves visible trails in the wax.
- The consistency resembles frosting.
- The wax can hold its shape.
- The wax is soft enough to transfer into a piping bag.
If the wax is too warm, it may be too soft to pipe and your decorations can lose their shape.
If it has become extremely hard, it may be difficult to whip.
This is why I prefer watching the wax rather than following an exact cooling time.
For another complete whipped soy candle project, see my How to Make Whipped Soy Wax Candles tutorial.
Step 11: Transfer the Whipped Wax to a Piping Bag
Once the wax reaches the right consistency, transfer it into a piping bag fitted with your piping tip.
It is easier to fill the bag if you place it inside a glass.
Step 12: Pipe the Whipped Wax
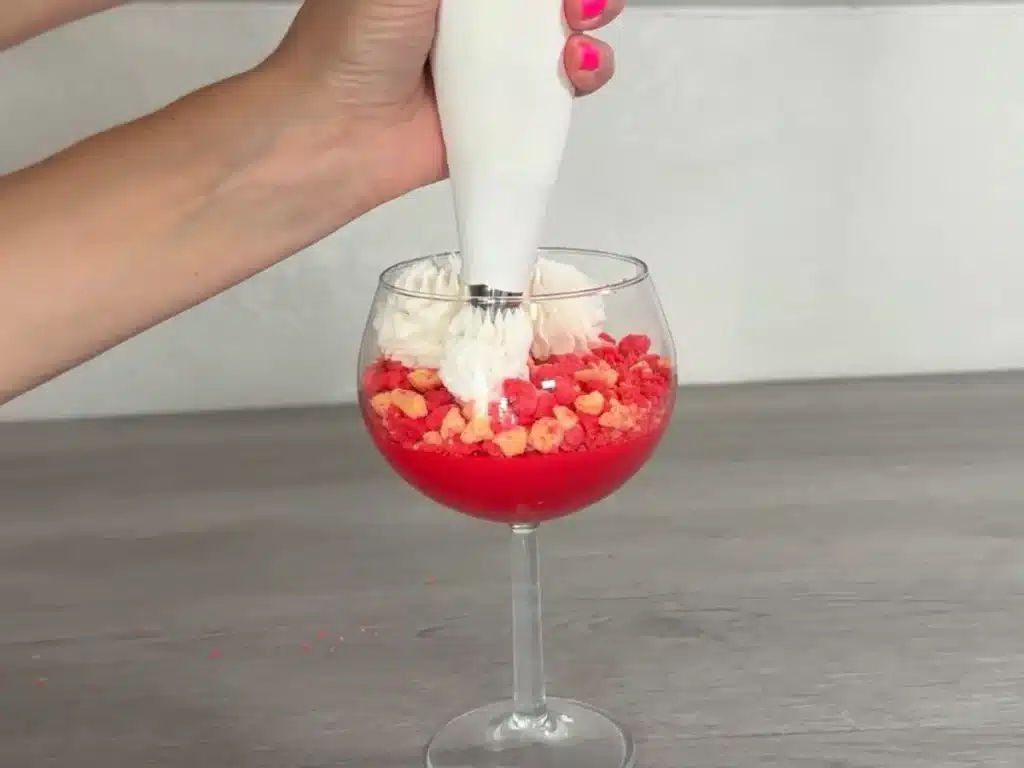
Pipe the whipped wax directly over the wax crumbles.
This is where the candle really starts to look like a dessert.
I came through and filled in all the gaps so it looked full, but not piping over the edges.
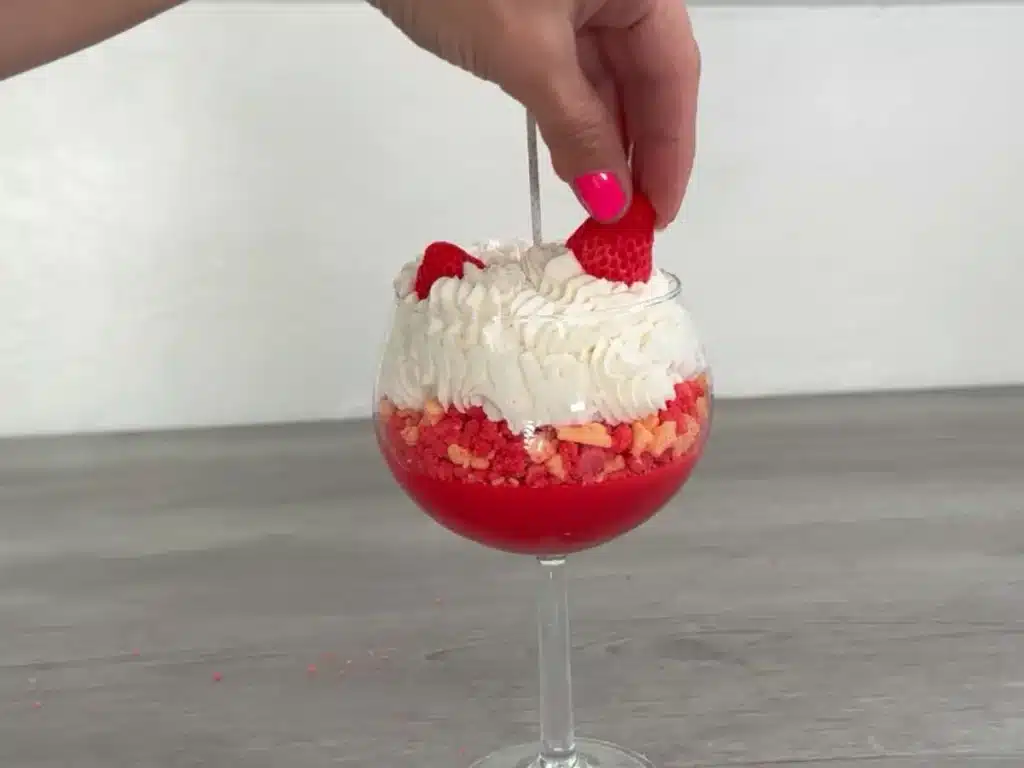
Step 13: Add the Strawberry Wax Embeds
Place all three strawberry embeds into the whipped wax.
Gently press them into the topping so they look like they’re sitting in the whipped frosting.
This is also where those imperfect strawberry tops become a non-issue.
The whipped wax surrounds the strawberries, so you don’t need perfectly smooth embeds for the finished candle to look good.
Step 14: Add the Final Red Wax Crumbles
For the final detail, sprinkle some of the red wax crumbles over the whipped wax.
I kept this final layer red so it would tie the strawberry color throughout the candle together.
Don’t completely cover the whipped wax.
A small amount is enough to add another layer of texture and make the finished design feel more complete.
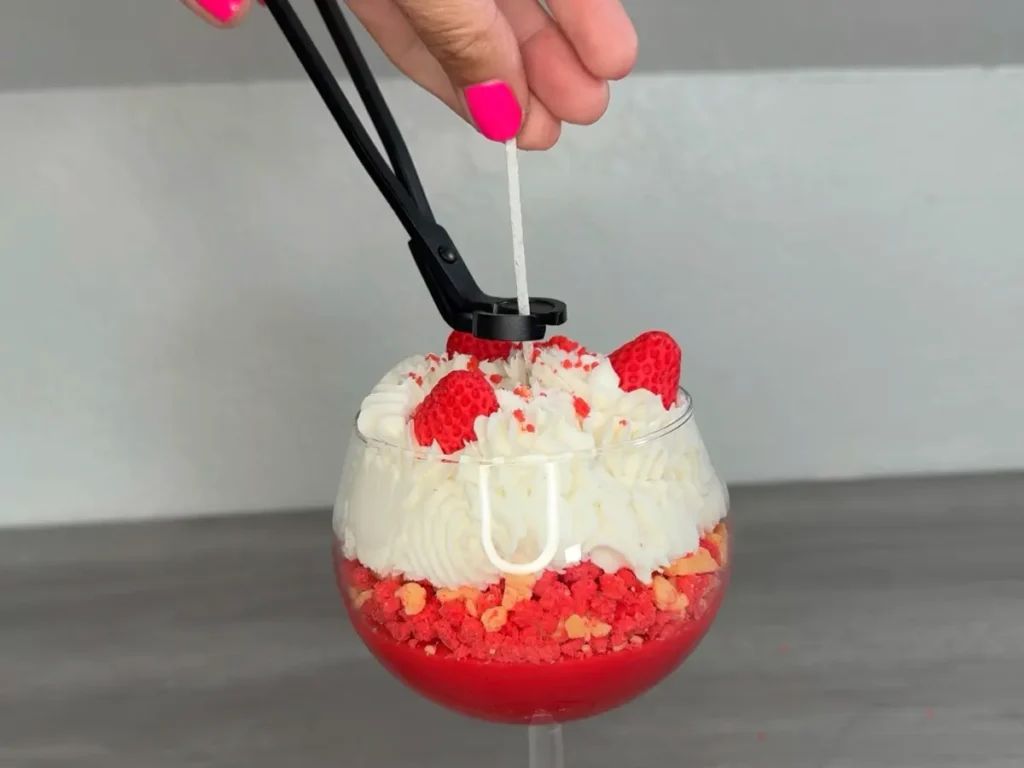
Step 15: Trim Candle Wick
Trim candle wick to 1/4 inch.
Why the Layers Work Together
One reason I like this strawberry candle is that each layer has a different job.
The Red Candle Base
The red base immediately establishes the strawberry theme and gives the candle a strong foundation.
The Wax Crumbles
The crumbles add texture between the smooth candle base and the whipped wax.
The combination of red and golden-brown gives the layer a crumb-like appearance.
The Whipped Wax
The whipped wax adds height and creates the look of frosting or whipped cream.
It also gives you somewhere to nestle the strawberry embeds.
The Strawberry Embeds
The strawberries are the finishing detail that makes the theme obvious.
You don’t need a large number of embeds. Three strawberries are enough to make the candle instantly recognizable.
Troubleshooting Whipped Candle Wax
What If My Whipped Wax Gets Too Hard?
If your wax has cooled too much and becomes difficult to whip or pipe, don’t immediately assume you’ve ruined the batch.
Depending on the condition of the wax, you can gently warm it and continue working with it. I find a heat gun is the easiest but you can melt on the double boiler again.
The goal is to get back to a soft, workable consistency that can be whipped and piped while still holding its shape.
What If My Whipped Wax Is Too Soft?
If your whipped wax is too soft to hold its shape, it likely needs more cooling time.
Allow it to cool further then mix and check the consistency again.
You want to reach the point where the wax is thick enough to hold the shape created by your piping tip.
Why Didn’t My Whipped Wax Hold Its Shape?
The most common issue with piped candle frosting is consistency.
If the wax is too warm, it can be too soft to hold the shape of the piping tip.
If it is too cold and hard, it may not whip properly.
Watch the texture of the wax rather than relying on a specific cooling time.
Do the Strawberry Embeds Have to Be Perfect?
No! This is actually one of the easiest decorative candle projects to make look good even if your embeds aren’t perfect.
Because the strawberries are placed into the whipped wax, the surrounding wax hides some of the edges and imperfections.
If the strawberry shape is recognizable and the color looks good, you’re in good shape.
Can I Use Different Colors?
Absolutely.
The same basic design could be adapted to different fruits, desserts, or color combinations.
The technique is what matters.
You could change the color of the base, the crumbles, the whipped wax, or the embeds to create a completely different finished candle.
Just make sure any candle dye and fragrance you use are appropriate for candle making.
Can I Use a Different Candle Container?
Yes, but repeat the water-fill calculation for your new container.
The shape and capacity of the container will change the amount of wax you’ll need.
And if you’re using decorative embeds, remember to account for the space those embeds will occupy.
Can I Use a Different Soy Wax?
You can experiment with other soy waxes, but don’t assume they will behave exactly like Golden Wax 415.
Different waxes can have different melting, cooling, whipping, fragrance, and appearance characteristics.
If you change waxes, I recommend making a small test batch first.
This is especially important for whipped candle wax because the consistency you need for piping can vary between waxes.
How Long Does It Take to Make a Strawberry Candle?
I want to say it took me about an hour or longer. The hands-on steps aren’t particularly complicated, but you will need to allow time for different parts of the project to cool and solidify.
The exact amount of time will depend on:
- The amount of wax you’re using
- The wax
- Your container
- Room temperature
- The size of your strawberry mold
- How quickly your wax cools
Can You Burn a Strawberry Dessert Candle?
Yes, but the finished candle needs to be properly tested before you assume it will burn correctly.
This candle contains multiple decorative wax components, including wax crumbles, whipped wax, and strawberry embeds.
Those elements change the overall candle design and can affect how the candle burns.
Keep the wick area clear of decorative material and monitor the candle during testing.
Don’t Skip Candle Testing
This is probably the most important section of the entire tutorial.
A decorative candle needs to be tested as a complete finished candle.
Adding wax crumbles, whipped wax, and embeds changes the candle from a simple wax-and-wick combination into a more complicated finished product.
The wick, container, wax, fragrance, fragrance load, colorant, decorative wax, and placement of those elements can all affect how the candle performs.
If you plan to sell this candle or give it as a gift, test the finished candle rather than assuming that because each individual component is made from candle wax, the finished candle will automatically burn properly.
More DIY Candle-Making Projects
If you enjoyed making this strawberry candle, there are several other candle-making techniques you can explore.
Want to Make Your Own Wax Crumbles?
Start with How to Make Wax Crumbles for Candles.
You can make the crumbles in different colors and save leftovers for future candle projects.
Want to Learn How to Whip Candle Wax?
My How to Whip Candle Wax – Whipped Candle Frosting tutorial focuses specifically on making and working with whipped candle wax.
Want to Make a Complete Whipped Soy Candle?
Try How to Make Whipped Soy Wax Candles for another decorative candle project using whipped wax and embeds.
Love Realistic Dessert Candles?
Check out my DIY Coffee Latte Candle, which uses whipped wax and decorative details to create a coffee-inspired candle.
Want More Candle-Making Ideas?
Browse my Candle Making collection for more DIY candle recipes, techniques, and projects.
I love projects like this because they look much more complicated than they actually are.
Printable Dessert Candle Recipe

DIY Dessert Candle Recipe
Equipment
- Scale
Ingredients
Candle Base & Embeds
- 133 grams Golden Wax 415 soy wax
- 11 grams Sugared Strawberry fragrance oil
Whipped Wax
- 200 grams Golden Wax 415 soy wax
- 16 grams Sugared Strawberry fragrance oil
Crumble
- 74 grams Mixed Wax Crumbles
- 1 grams Red Wax Crumbles
Instructions
- Start by weighing the 133 g soy wax for the candle base and strawberry embeds.
- Secure your wick to the bottom of the glass.
- Place the soy wax into a heat-safe pouring container and melt it using a double boiler.Heat the wax until it is fully melted. Once the wax is completely melted, remove it from the heat.
- Add fragrance oil and color to the wax and mix well.
- Pour the wax into your strawberry silicone mold to make 3 strawberries.
- Pour the remaining wax into your candle jar.
- Once the red candle base has cooled, add your wax crumbles.
- Melt the soy wax for the whipped top.
- Add fragrance oil and mix well.
- Use a hand mixer to whip the cooled soy wax.
- Once the wax reaches the right consistency, transfer it into a piping bag fitted with your piping tip.
- Pipe the whipped wax directly over the wax crumbles.
- Place all three strawberry embeds into the whipped wax.
- For the final detail, sprinkle some of the red wax crumbles over the whipped wax.
- Trim the wick to 1/4 inch.