
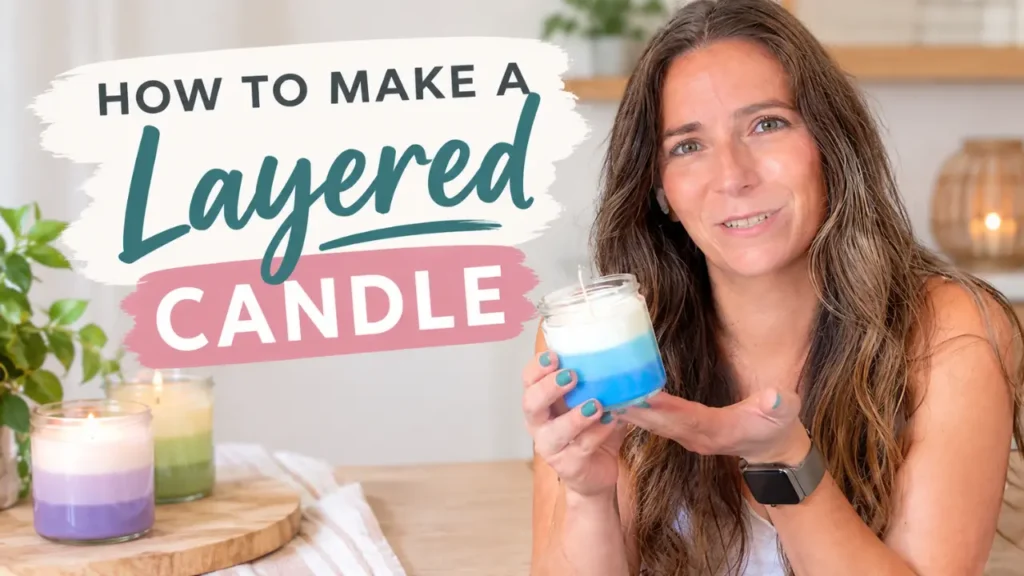
An ombre candle is a fun way to add color and dimension to a homemade layered candle. Instead of using one solid color, you layer different shades of the same color, gradually going from dark to light. In this tutorial, I’ll show you how to make an ombre layered candle with soy wax, including how to calculate the wax, fragrance, and colorant for each layer and how to pour the wax so your colors stay clean and distinct.
For this candle, I’m using Soy Wax 415 and indigo blue candle colorant. The bottom layer is the darkest blue, the middle is a lighter shade, and the top is the lightest.
Layered candles do take a little more patience than a traditional single-pour candle, but once you understand the process, it’s a technique you can use to make ombre candles in just about any color combination.
Let’s make it.
Prefer to Watch How to Make a Layered Candle?
What You’ll Learn
In this DIY layered candle tutorial, I’ll show you how to:
- Calculate how much wax your container will hold
- Choose a wick based on your container diameter
- Divide your wax into three layers
- Calculate the fragrance oil
- Create three shades of the same color
- Pour each layer without blending the colors together
- Know when a layer is ready for the next pour
- Cure and test your finished candle
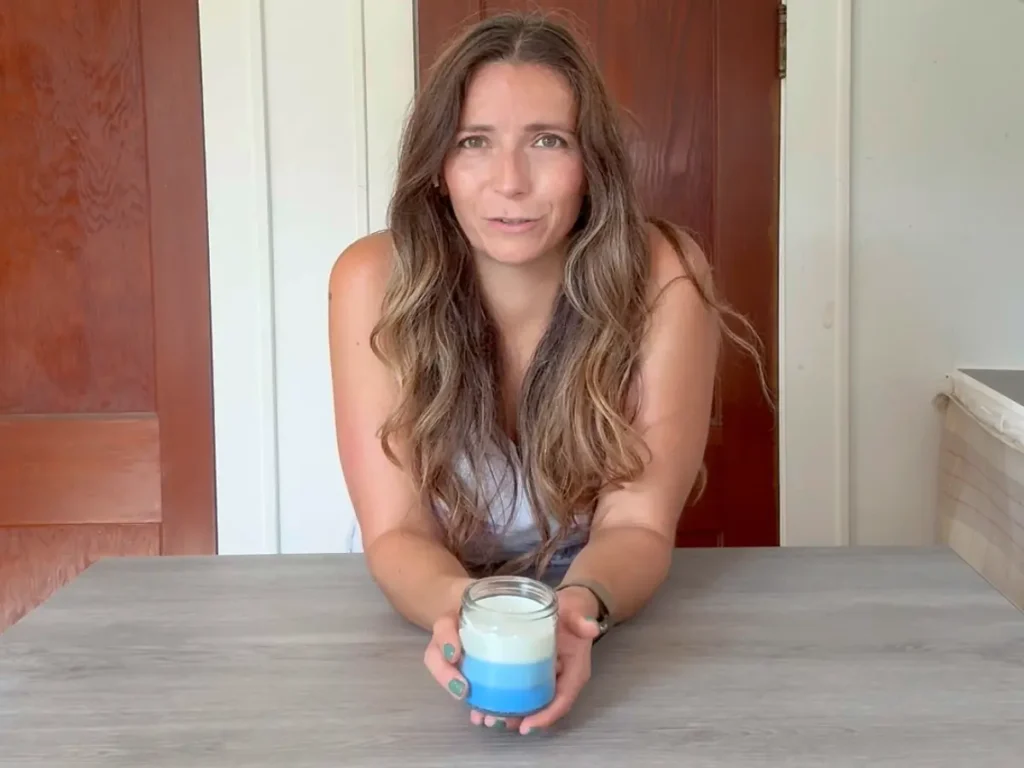
Ombre Candle at a Glance
| Detail | This Candle |
|---|---|
| Wax | Soy Wax 415 |
| Water weight | 172 g |
| Total wax | 147 g |
| Number of layers | 3 |
| Wax per layer | 49 g |
| Fragrance load | 8% |
| Fragrance per layer | 4 g |
| Wick | CD 10 |
| Color | Indigo Blue |
| Colorant | 6 → 2 → 0 drops |
| Cure time | 2 weeks |
What You’ll Need
- Soy Wax 415
- Candle container
- CD 10 wick
- Indigo blue candle colorant
- Candle-safe fragrance oil
- Digital scale
- Heat-safe pouring pitcher
- Thermometer
- Glue gun
- Double boiler or wax melter
- Stirring utensil
Candle-Making Supplies
If you’re building your candle-making supplies, I’ve put together the supplies I use and recommend here:
Fragrance Oil
You’ll also need a fragrance oil that is specifically intended for candle making.
Affiliate disclosure: This post may contain affiliate links. If you purchase something through one of these links, I may earn a small commission at no additional cost to you. These commissions help support Summer Rain and allow me to continue creating free tutorials and recipes.
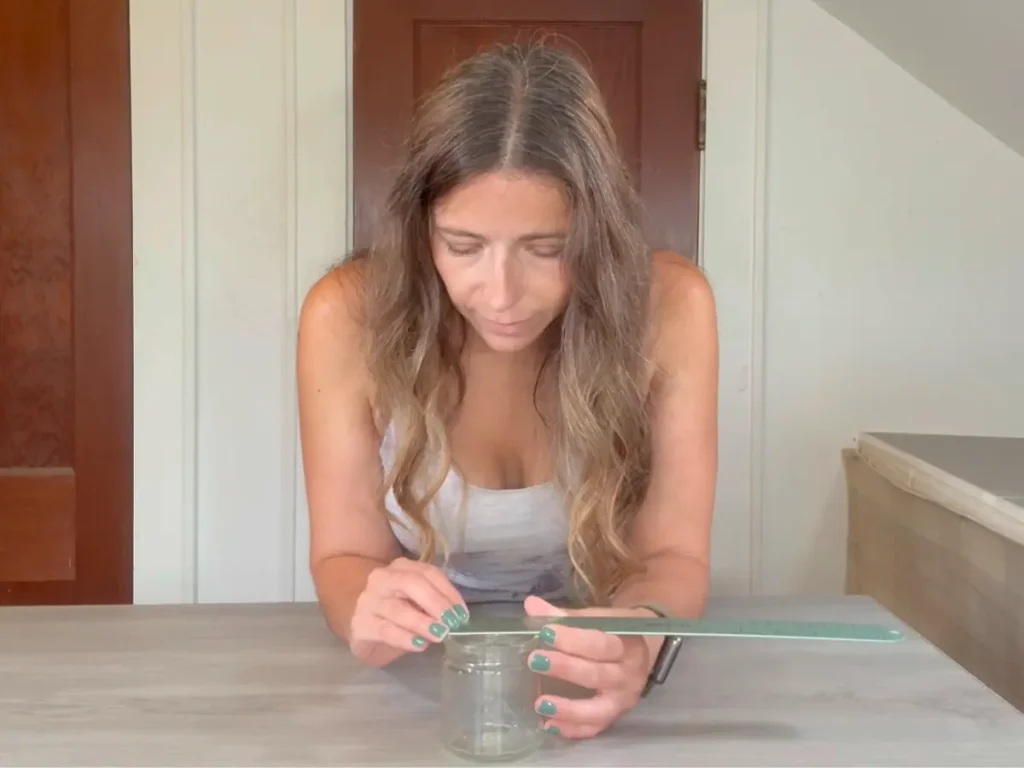
Figure Out How Much Wax You Need
Before you start melting anything, you need to know how much wax your candle container will hold.
This is especially important for a layered candle because we’re going to divide the total amount of wax into three equal portions.
Start by measuring the diameter of your container. The diameter is also important when you’re choosing a wick to test.
For this candle, my container is 2 1/4 inches in diameter, and I’m using a CD 10 wick.
Keep in mind that wick selection is something you need to test. A particular wick isn’t automatically going to work just because it worked in another candle.
Your wax, fragrance oil, colorant, container, and even the combination of those ingredients can affect how a candle burns.
If you’re brand new to candle making, I recommend starting with my How to Make Your First Candle: Beginner Guide. It walks through the basics before you start experimenting with techniques like layering.
Calculate the Wax
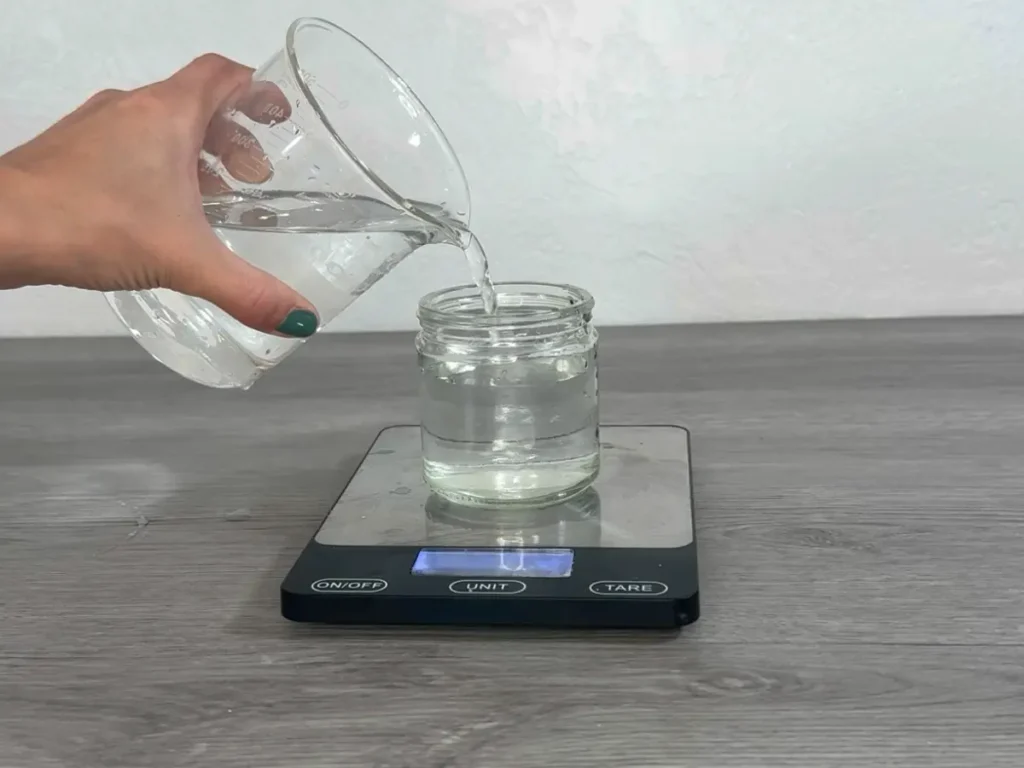
To estimate how much wax you’ll need, fill your container with water to approximately the level where you want your finished candle to reach.
Weigh the water. You fill the candle to the spot where you want the wax to go to.
My container held 172 grams of water.
For this candle, I’m using the following calculation:
172 g water × 0.86 = approximately 148 g soy wax
I’m using approximately 147 grams of Soy Wax 415 for this project.
Divide the Wax Into Three Layers
Now that we know how much wax we’re using, we can divide it into three equal portions.
147 g total wax ÷ 3 = 49 g per layer
So each layer will contain 49 grams of wax.
| Layer | Soy Wax | Colorant |
|---|---|---|
| Bottom | 49 g | 6 drops |
| Middle | 49 g | 2 drops |
| Top | 49 g | 0 drop |
This gives us three layers that are exactly the same height.
Calculate the Fragrance Oil
I’m using an 8% fragrance load for this candle.
The calculation for the total batch is:
147 g wax × 8% = approximately 12 g fragrance oil
Since we’re dividing the wax into three equal layers, we’ll divide the fragrance oil the same way.
That gives us approximately 4 grams of fragrance oil per layer.
Always check the manufacturer’s recommended fragrance load for the specific wax and fragrance oil you’re using. Different waxes and fragrance oils can have different usage recommendations.
If you’re looking for fragrance oils for your next candle, you can shop my recommended candle fragrance oils here.
Prepare the Wick
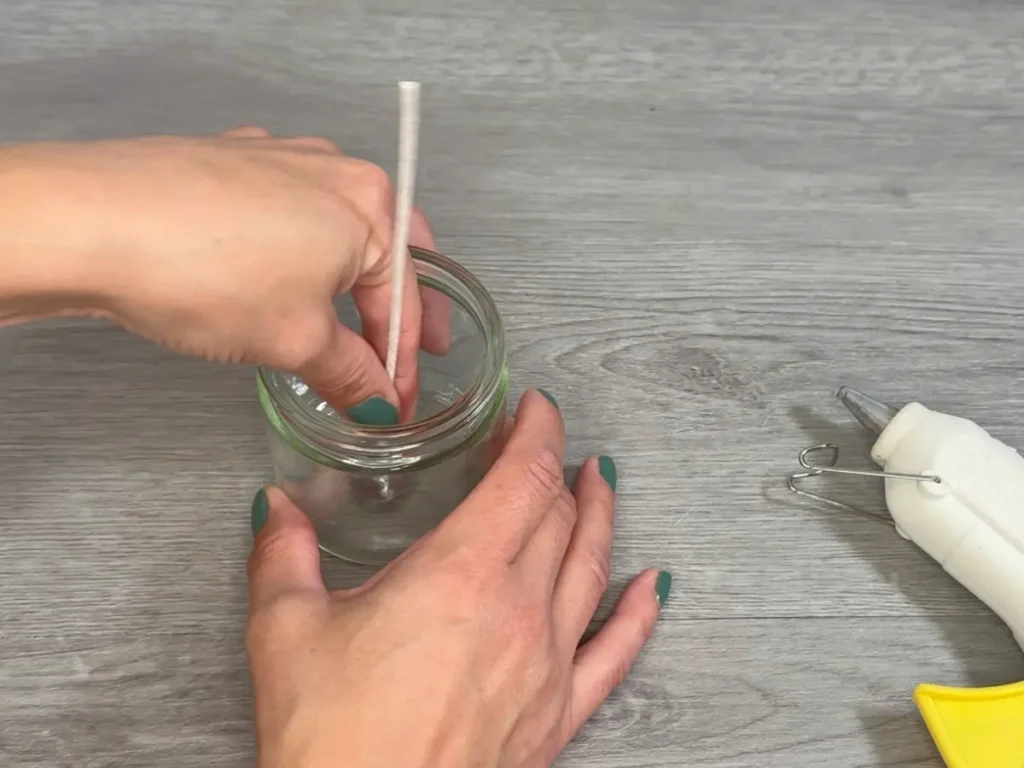
Before you start pouring, secure your wick to the bottom of the container.
For this candle, I’m using a CD 10 wick and a glue gun to attach the wick tab to the bottom of the container.
Take a little extra time to get the wick centered.
It can be tempting to eyeball it, but once the candle is poured, there’s not much you can do to fix a wick that’s sitting noticeably off-center.
A properly centered wick also helps give you a more predictable burn pattern.
Once the wick is attached, use a wick centering tool or another method to keep the wick upright while you’re pouring. I like to use a Sharpie to hold my wick in place.
If you’re having problems with tunneling, check out my guide on why candles tunnel and how to fix candle tunneling.
Melt the Soy Wax
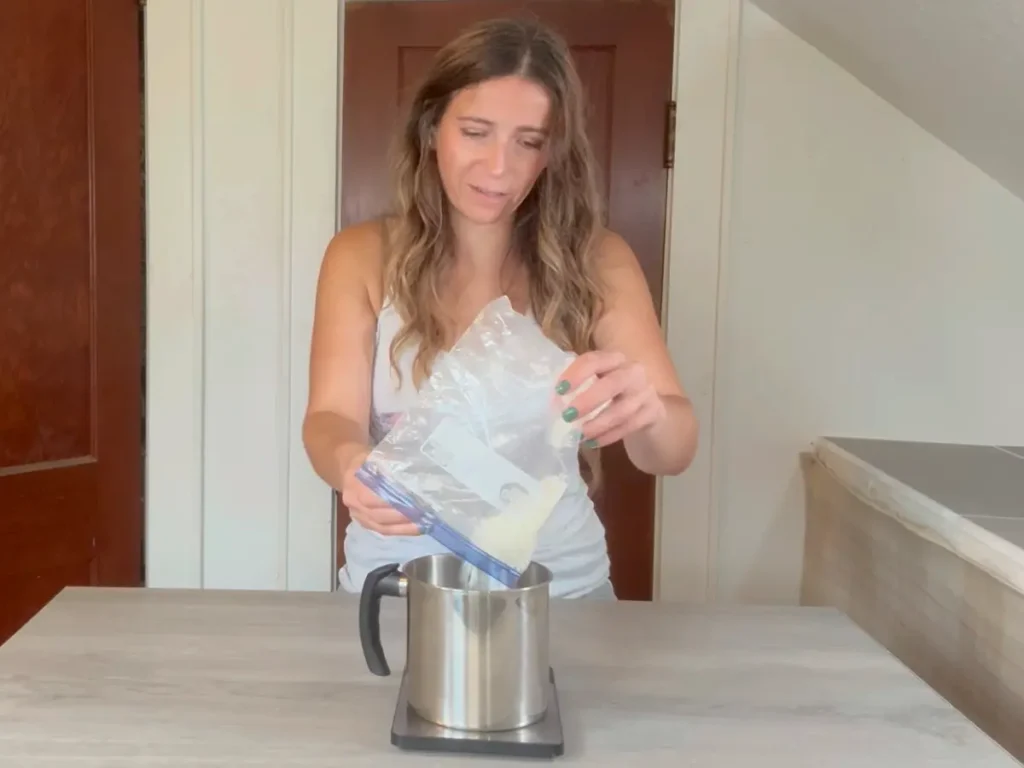
Now we can start melting the wax.
Place the Soy Wax 415 into your melting pitcher and heat it according to the manufacturer’s instructions.
For this wax, the instructions call for heating the wax to 185°F.
Personally, I heat it until the wax is completely melted.
Once all of the wax has melted, we’re ready to start working on the individual layers.
Create the Ombre Colors
This is where the fun part starts.
To create the ombre effect, we’re going to use progressively less colorant in each layer.
For this candle, the color progression is:
6 drops → 2 drops → 0 drop
The bottom layer gets the most colorant, making it the darkest shade.
The middle layer gets less.
The top layer gets just one drop, creating the lightest shade.
We’re not trying to create three completely unrelated colors. The goal is to create three different shades of the same color so they gradually transition from dark to light.
I highly recommend writing your colorant amounts down while you’re making the candle.
It is surprisingly easy to forget whether you used five drops or six drops in the previous layer. Keeping notes also means you can recreate the color combination later if you really like how it turned out.
One other thing to remember is that melted wax can look different from cooled wax. If you’re working with a new colorant, testing a small amount first can help you see what the finished color will actually look like.
Pour the Darkest Layer
The darkest blue will be the bottom layer of the candle.
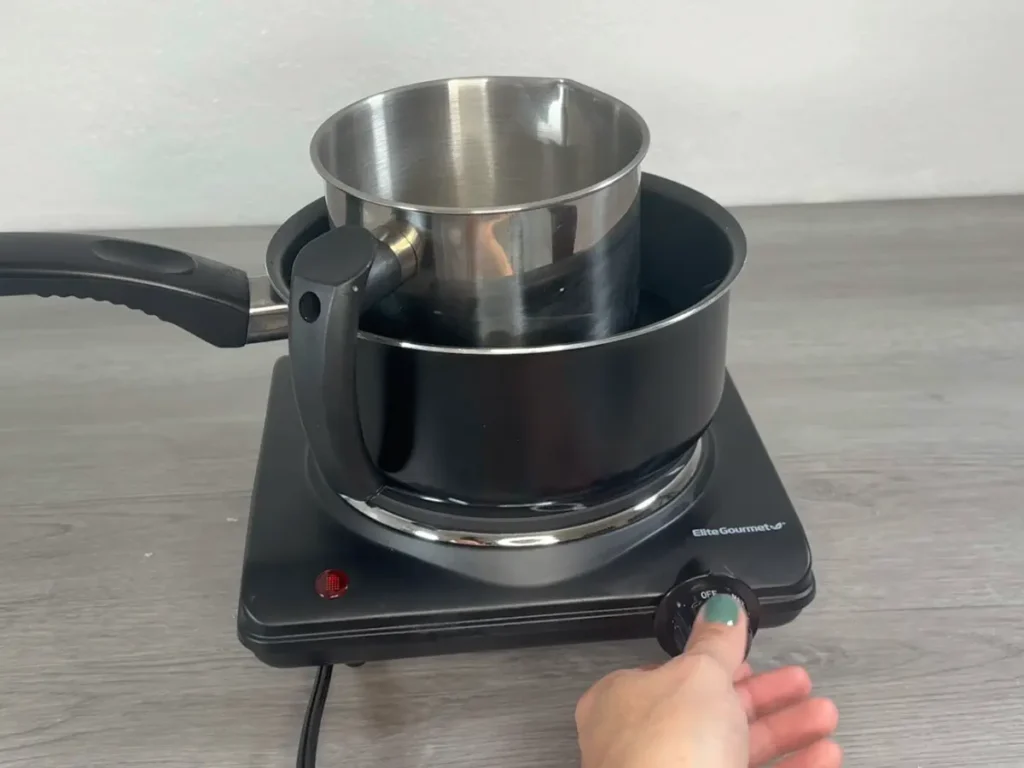
Measure out 49 grams of Soy Wax 415 and melt it using a double boiler.
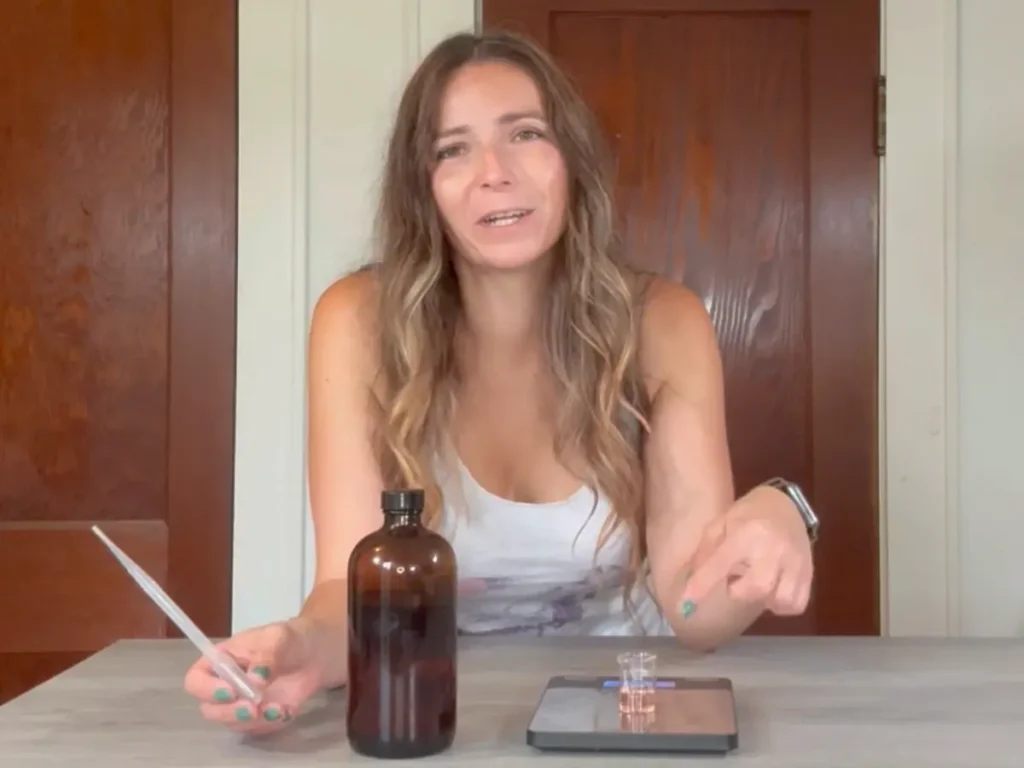
Once the wax is melted, add 6 drops of indigo blue candle colorant.
Stir thoroughly so the color is evenly distributed.
Then add 4 grams of fragrance oil and mix well.
The manufacturer’s recommended pouring temperature for this wax is approximately 95°F.
I found that 95°F was a little too cool for my setup because the wax was starting to solidify. Pouring between 98°F and 100°F worked better for me.
Once your wax reaches the temperature you’re using, slowly pour it into the container.
Pour gently because you do not want to get bubbles in the wax.
Center the wick, if needed. Then leave it alone.
This is where making a layered candle requires a little patience.
Let the First Layer Cool
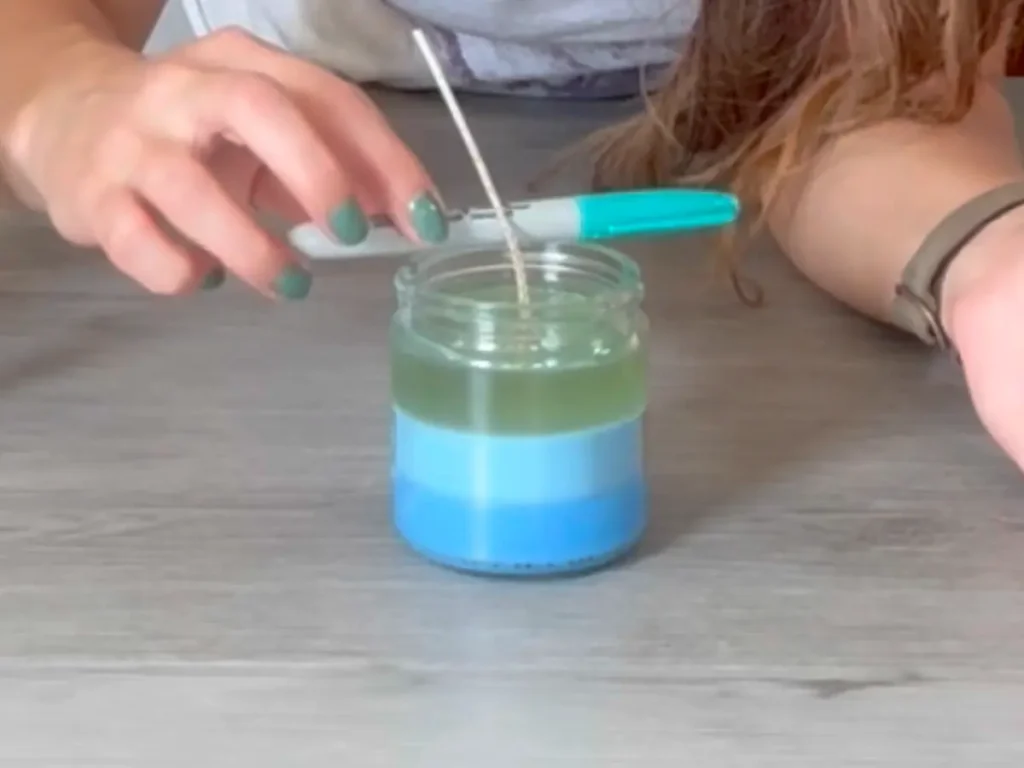
Before you pour the second layer, the first layer needs to be completely cooled.
This is one of the most important parts of making a layered candle.
If the first layer is still too warm, the second pour can partially melt the surface and cause the colors to blend together.
And we don’t want that.
We’re looking for clearly defined layers with a gradual color change.
The exact amount of time this takes will depend on your container, room temperature, and the amount of wax you’re using.
Instead of relying only on a timer, look at the wax.
The first layer should be completely cooled and firm before you continue.
If you need to smooth or correct the first layer, you can carefully use a heat gun before moving on.
Before Pouring the Next Layer
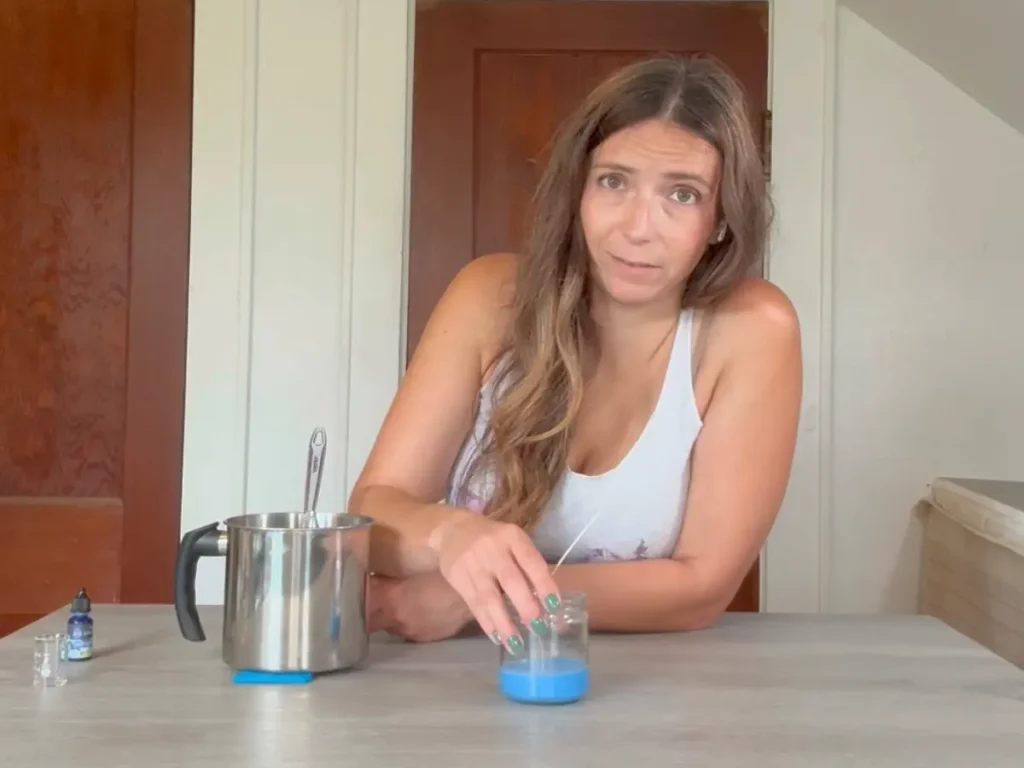
Before you start your next pour, make sure:
- The previous layer is completely cool and firm
- Your next 49 grams of wax is ready
- Your colorant is measured
- Your fragrance oil is measured
- Your wick is still centered
- Your wax is at the appropriate pouring temperature
Having everything ready before you pour makes the process much easier.
It also keeps you from rushing through the part that requires the most precision.
Pour the Middle Layer
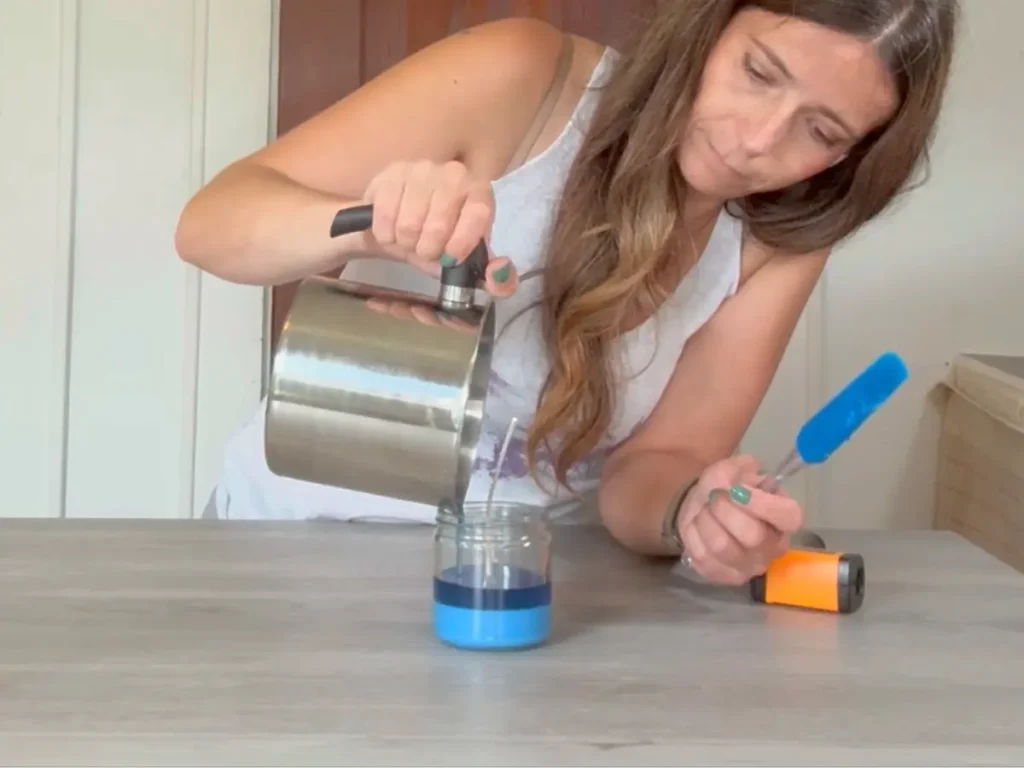
Once the first layer has completely cooled, we’re ready for the middle shade.
Measure out another 49 grams of Soy Wax 415.
Add 2 drops of indigo blue candle colorant and stir thoroughly.
Then add 4 grams of fragrance oil and mix well.
Allow the wax to reach approximately 98°F before pouring.
Before you pour, check the first layer one more time. It should be completely cool and firm.
Slowly pour the medium-blue wax over the first layer.
Pour gently so you don’t disturb the surface underneath.
Then leave the candle alone again and allow the second layer to cool completely.
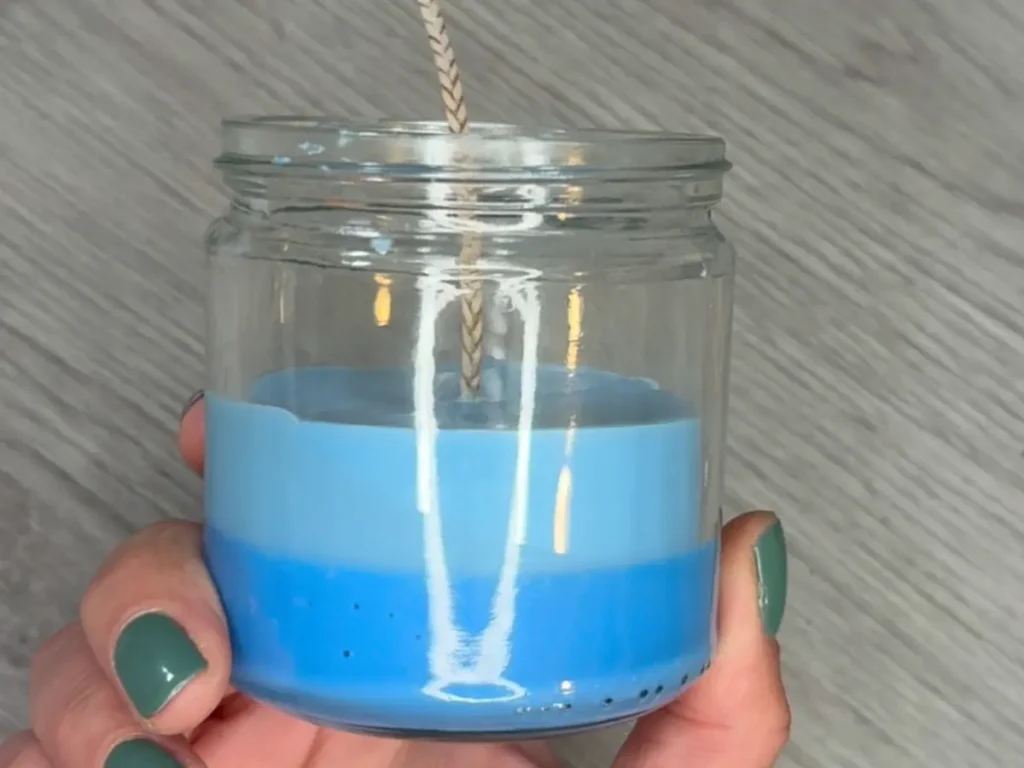
Pour the Lightest Layer
Now we’re ready for the final layer.
Measure out 49 grams of Soy Wax 415.
We are not going to add any color for this layer.
Then add 4 grams of fragrance oil and mix well.
Allow the wax to reach approximately 98°F before pouring.
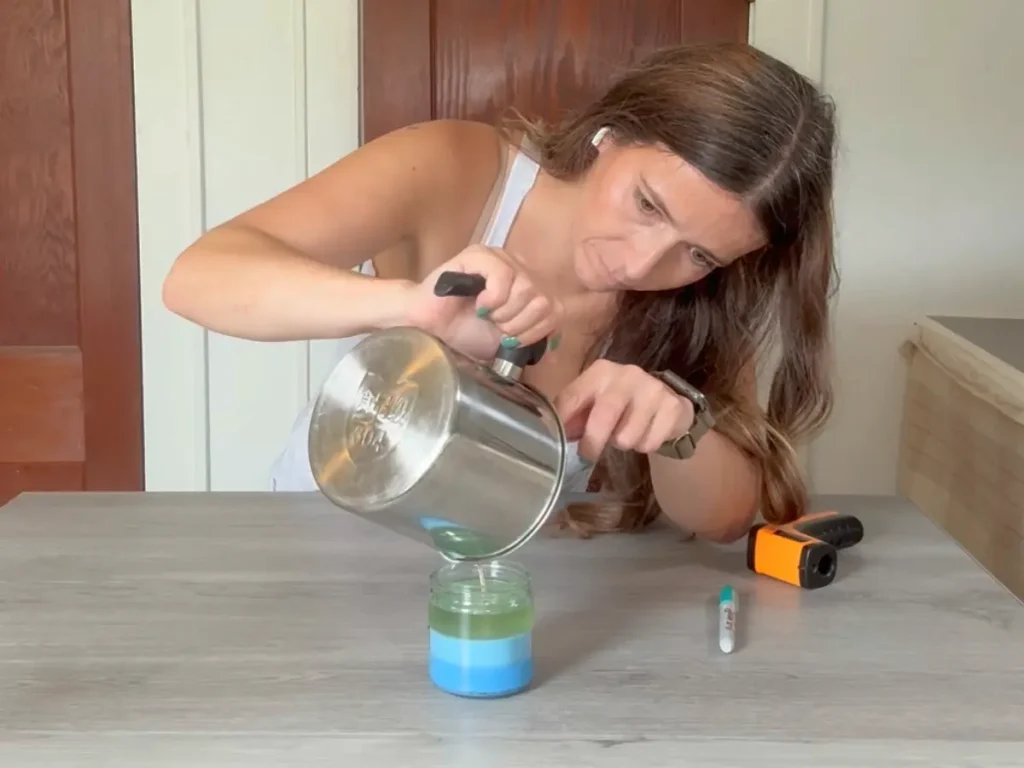
Once the second layer is completely cool and firm, slowly pour the final layer.
This lightest blue layer completes the ombre effect.
And now we wait.
Why Does Temperature Matter When Making a Layered Candle?
Temperature is one of the biggest factors in getting clean layers.
If you pour the next layer while the previous layer is still too warm, the new wax can melt into the surface underneath it.
Instead of seeing three distinct shades, you may end up with colors that blend together.
But pouring temperature isn’t the only thing that matters.
The previous layer also needs enough time to cool and become firm.
You’re looking for a balance:
The previous layer needs to be solid enough to hold its shape, while the new wax needs to be warm enough to pour properly.
If your layers are blending together, the first thing I would check is whether you allowed the previous layer to cool completely before pouring the next one.
Let the Candle Cool Completely
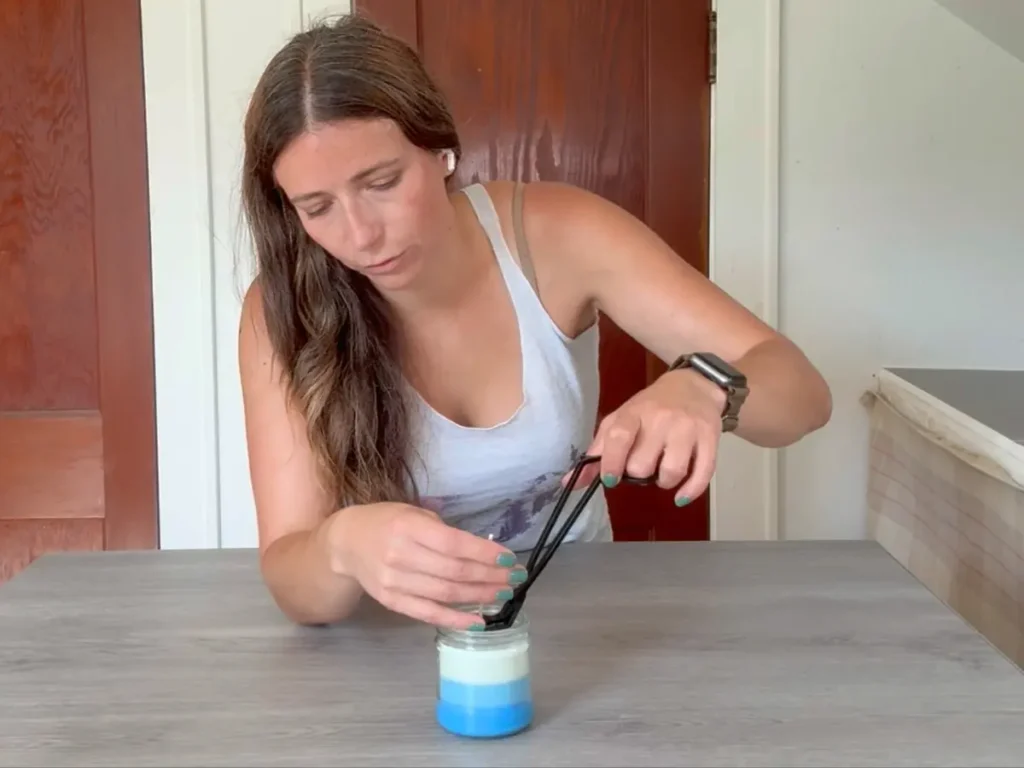
Once you’ve poured the final layer, leave your candle somewhere undisturbed while it cools.
Try not to move the container while the wax is cooling.
Once the candle has completely cooled, remove the wick centering tool and trim the wick to approximately 1/4 inch.
Don’t worry if you notice a few cosmetic imperfections while the candle is cooling.
Soy wax can have issues such as frosting, sinkholes, or uneven surfaces depending on the wax and your pouring conditions. These don’t automatically mean you’ve ruined your candle.
If you’d like to try a traditional single-pour soy candle next, check out my DIY Soy Wax Candle Tutorial.
Cure Your Candle
Your candle may be finished pouring, but it’s not quite ready to burn yet.
Soy Wax 415 recommends allowing the candle to cure for approximately two weeks for optimal scent throw.
Curing gives the fragrance time to develop properly in the wax.
I know waiting two weeks isn’t the most exciting part of candle making, but it’s important if you want to properly evaluate how your finished candle performs.
Test Burn Your Candle
After the candle has cured, it’s time to test it.
This step is especially important whenever you’re using a new combination of wax, fragrance oil, colorant, container, or wick.
Don’t assume that a CD 10 wick will automatically work perfectly just because it worked in another candle.
During your test burn, pay attention to:
- Flame height
- Melt pool
- Wick behavior
- Container temperature
- Tunneling
- Overall candle performance
A candle can look beautiful and still need adjustments to the wick or formula.
If you notice tunneling during your test burn, read my guide on why candles tunnel and how to fix candle tunneling.
And if you’re just getting started with candle making, my Candle Making Supplies for Beginners guide can help you put together the basic equipment you’ll need.
Troubleshooting Your Ombre Layered Candle
Why are my candle layers blending together?
The most likely reason is that the next layer was poured before the previous layer had cooled enough.
Make sure the previous layer is completely cool and firm before pouring the next layer.
Your pouring temperature also matters, so follow the recommended temperature for the wax you’re using and adjust based on your setup.
Why are my candle layers separating?
If your layers aren’t bonding properly, temperature and cooling conditions may be contributing to the problem.
Make sure the previous layer isn’t excessively cold and that you’re pouring the next layer according to the wax manufacturer’s recommendations.
Layered candles can take some experimenting to get exactly right.
Why aren’t my ombre colors different enough?
If your three shades look almost identical, you may need a larger difference between the amount of colorant used in each layer.
The nice thing about making your own candles is that you can experiment.
Try different colorant amounts and keep notes about what you change.
That way, you can repeat the combination you like best.
Why is my bottom layer darker than I expected?
Remember that melted wax and cooled wax can look very different.
If you’re trying a new colorant, test a small amount first on a piece of paper towel. This will show you how the color will look once the wax has cooled.
Tips for Making Better Layered Candles
Measure your wax by weight
A digital scale will give you much more consistent results than trying to measure wax by volume.
Write down your colorant amounts
This is especially important when you’re creating an ombre candle.
Recording the amount of colorant used in each layer makes it much easier to recreate a color combination you love.
Center your wick carefully
Take your time when attaching and centering the wick.
Once the candle has been poured, you don’t have an easy way to correct a wick that is significantly off-center.
Don’t rush the cooling process
One of the easiest ways to ruin the clean layered effect is to pour the next layer too soon.
Give each layer enough time to cool and become firm.
Don’t rely only on the clock
Every setup is different.
Your container, room temperature, and amount of wax can all affect cooling time.
Instead of assuming every layer will take the same amount of time, look at the wax itself.
Test every new candle combination
A beautiful candle still needs to burn properly.
Whenever you change your wax, fragrance, colorant, container, or wick, test the candle before considering the formula finished.
Ombre Layered Candle Recipe
This recipe makes one three-layer ombre candle using approximately 147 grams of Soy Wax 415.
| Ingredient | Percentage | Amount |
|---|---|---|
| Soy Wax 415 | 100% | 147 g |
| Fragrance Oil | 8% | 12 g |
| Indigo Blue Candle Colorant | — | 8 drops total |
| CD 10 Wick | — | 1 |
| Candle Container | — | 1 |
Colorant by Layer
| Layer | Soy Wax | Fragrance Oil | Indigo Blue Colorant |
|---|---|---|---|
| Dark blue | 49 g | 4 g | 6 drops |
| Medium blue | 49 g | 4 g | 2 drops |
| Light blue | 49 g | 4 g | 0 drop |
Final Thoughts
Making an ombre layered candle really comes down to controlling a few things: your wax amount, colorant, pouring temperature, and cooling time.
Once you understand those basics, you can use the same technique to create all kinds of layered candle designs.
And you definitely don’t have to stick with blue.
Try pink fading into white, purple fading into lavender, warm sunset colors, or shades that match a particular season or holiday.
The most important thing I can recommend is to keep notes while you’re making your candle.
Write down your wax weight, fragrance amount, colorant amounts, temperatures, wick, and how the candle performs during testing.
Those notes will make your next candle better.
If you’re ready to try another candle project, browse my candle-making tutorials for more recipes, techniques, and beginner-friendly candle-making guides.