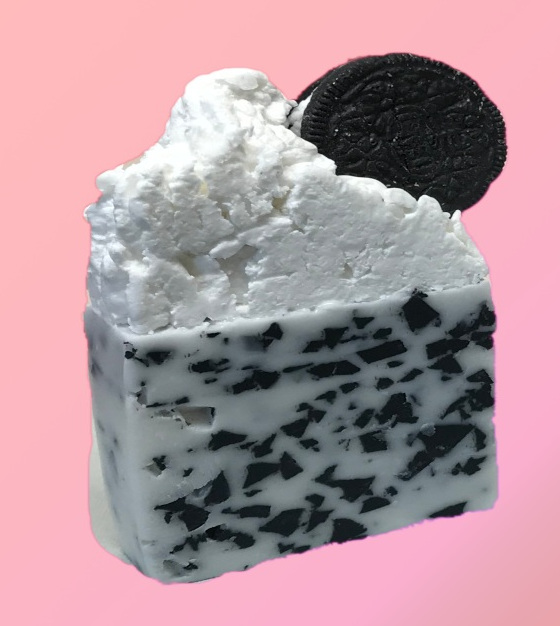
In this post you will learn how to make Oreo Cookie melt and pour soap from start to finish. it is a three part process. You have to make the Oreo Cookies, the loaf soap and the soap piping for the top. The options are endless for the designs can be made with melt and pour soap.
Supplies
Before starting, gather the following supplies.
**Soapmaking Supplies**
– Melt and pour soap base
– Activated charcoal
– Mica powder
– Fragrance oil (optional)
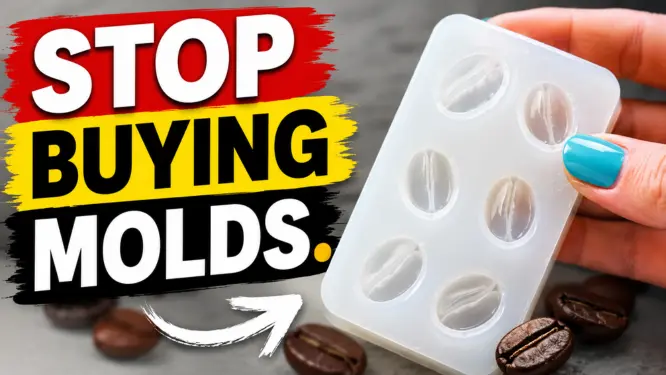
– Silicone mold for cookies
– Loaf mold
– Scale
– Heat-safe container
– Hand mixer
– Piping bags
Having everything ready before you begin will make the process much smoother.
Making the Oreo Cookie Embeds
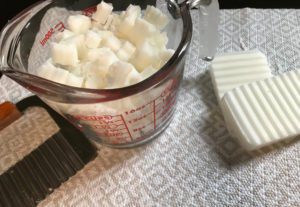
Cut your melt and pour soap base into small chunks and place it in a microwave-safe container.
Microwave for 30 seconds, then stir. If the soap is not fully melted, continue heating in 10-second intervals, stirring between each round until completely melted.
Add a small amount of mica powder to give the soap a subtle shimmer and slightly lighten the black color.
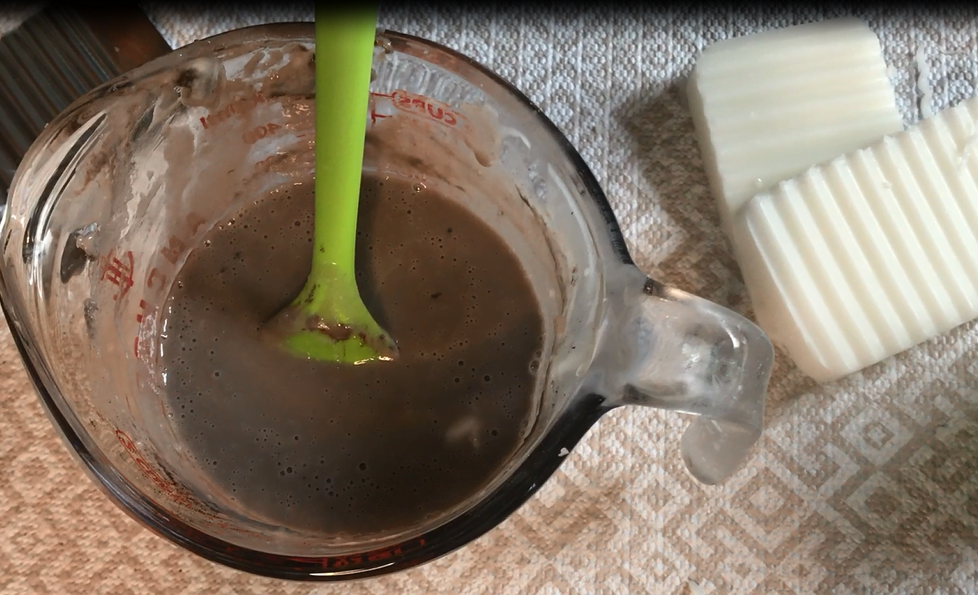
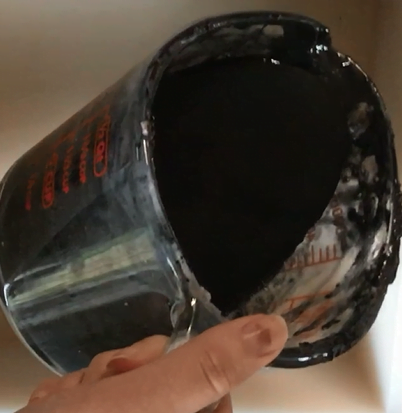
Next add activated charcoal until you reach a dark chocolate color. Activated charcoal can take a little time to fully disperse, so continue stirring until the color is even.
Finally add your fragrance oil if desired. I chose not to use a chocolate scent for this soap because I personally prefer something lighter for washing.
Pour the soap into the cookie molds and allow it to fully harden (about 20 minutes). Once hardened, remove the cookies from the molds and set them aside.
You will want to start by microwaving for 30 seconds then stir. If it is not completely melted. If it is not completely melted, stir it and place back in microwave in 10 second intervals until it is melted thoroughly.
Next you will add a small amount of mica powder. This is going to give a little bit of a shimmer to the soap and lighten the black a little.
Add the activated charcoal until the desired color, you are going for a dark chocolate color. When you add the activated charcoal, it will take a little bit to mix in. This is normal, just keep mixing.
Add fragrance. I decided for this soap to use a different scent than Oreo Cookies. I personally do not love to wash with chocolate scent, does that make me strange?!?
Now you will pour the soap into the molds. I made my mold from a silicone kit and Oreo Cookies. Let me know in the comments if this is something that you would like a tutorial on in the future.
Allow to fully dry, about 20 minutes. Then remove from the mold.
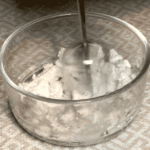
Making the Oreo Whipped Frosting
The frosting on top of this soap is made using a whipped melt and pour soap mixture. This creates a texture that looks very similar to real frosting and allows you to pipe decorative tops.
For this project I used a bubbly foam bath butter as the whipped soap base, which helps create a lighter and fluffier texture compared to straight melt and pour.
Whipped Soap Base (I used this recipe Bubbly Foam Bath Butter)
Add Shea butter to melt and pour soap together, then melt.
Add Vegetable Glycerin to whipped soap base and mix to fully incorporate.

Mix the two together. Note, if this hardens up you can place the entire batch in the microwave for 20 seconds to remelt.

Mix it for about 45 seconds. You want it to be the consistency of frosting.

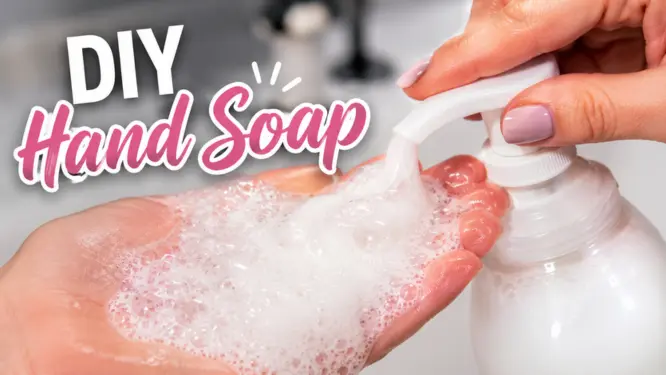
Put the whipped soap in piping bags and pipe.

When you are done, be sure to wrap in plastic to prevent glycerin dew!
Whipped Soap Base
Equipment
- Scale
- Hand Mixer
- Heat Safe Container
- Piping bag
Ingredients
- 43% Melt and Pour Soap
- 8% Shea Butter
- 43% Whipped Soap Base
- 6% Vegetable Glycerin
Instructions
- Add Shea butter to melt and pour soap together, then melt.
- Add Vegetable Glycerin to whipped soap base and mix to fully incorporate.
- Blend these two together until the consistency of frosting.
- Add to piping bag and pipe!
Making Oreo Cookie Melt and Pour Soap Video Tutorial
Tips for Success
Work in small batches
Melt and pour soap cools quickly, so only melt what you need at one time.
Avoid overheating the soap
Too much heat can cause bubbles or make the soap rubbery.
Remelt if needed
If your mixture thickens too much while working, microwave it for 10–20 seconds to soften it again.
Wrap finished soap
Melt and pour soap can develop glycerin dew when exposed to humidity. Wrap the finished soap in plastic wrap once fully cooled to keep it looking fresh.
Final Thoughts
Oreo cookie melt and pour soap is a fun project that combines simple techniques with creative design. Because melt and pour soap hardens quickly, you can complete the entire project in one afternoon.
Once you learn the basic process, you can experiment with different colors, scents, and soap toppings to create your own unique dessert-style soaps.
If you try this project, feel free to leave a comment and let me know how it turned out!
Comments are closed.