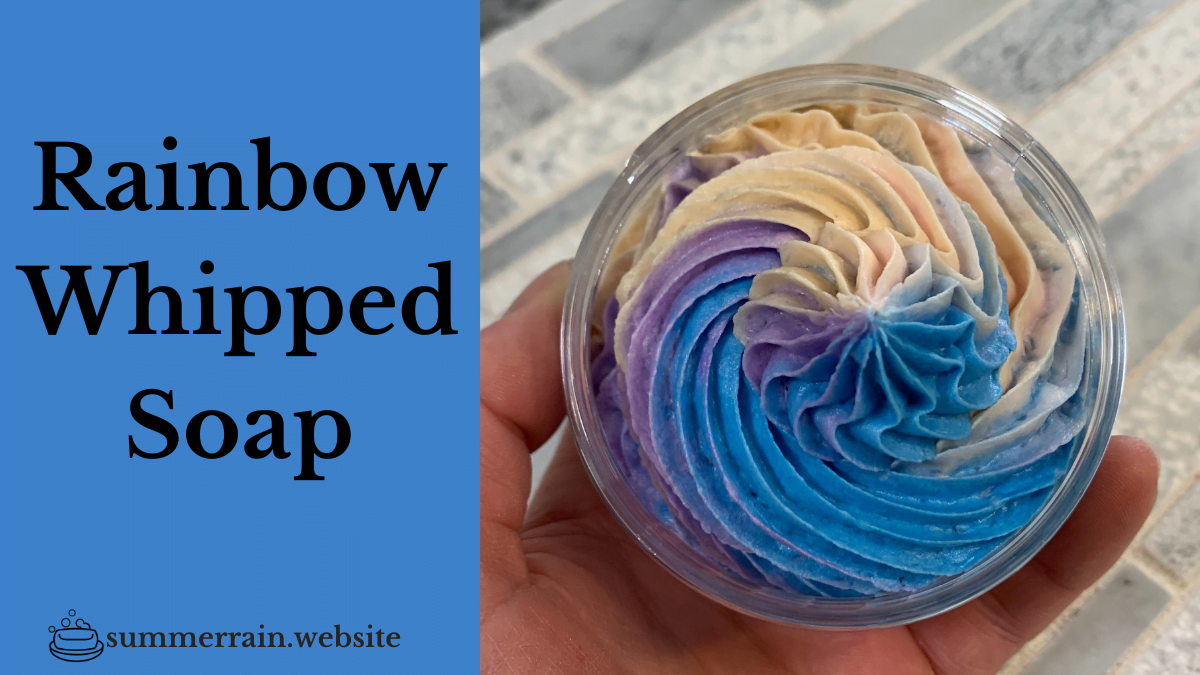
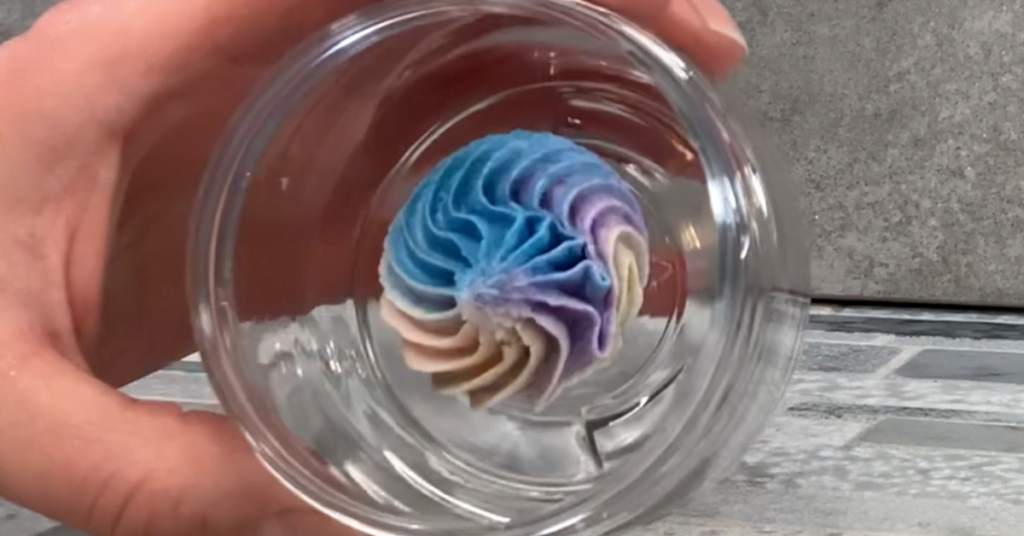
I absolutely love the look of this rainbow whipped soap. We are going to make this with a whipped soap base, oil, fragrance and mica powder. You are going to love how easy this soap is to whip up without the need for any fancy equipment. The key to the rainbow color design is the way that you layer the different colors of whipped soap before pipping them into your container.
I love using this soap because the soap it’s self feels as soft as a cloud.
Table of Contents
Prefer to watch this project instead of reading it?
Some of the links are affiliate links, because I am an associate and I earn a small commission on them. There is no additional cost to you, I earn a commission if you click through and make a purchase.
Rainbow Whipped Soap Ingredients
Whipped Soap Base
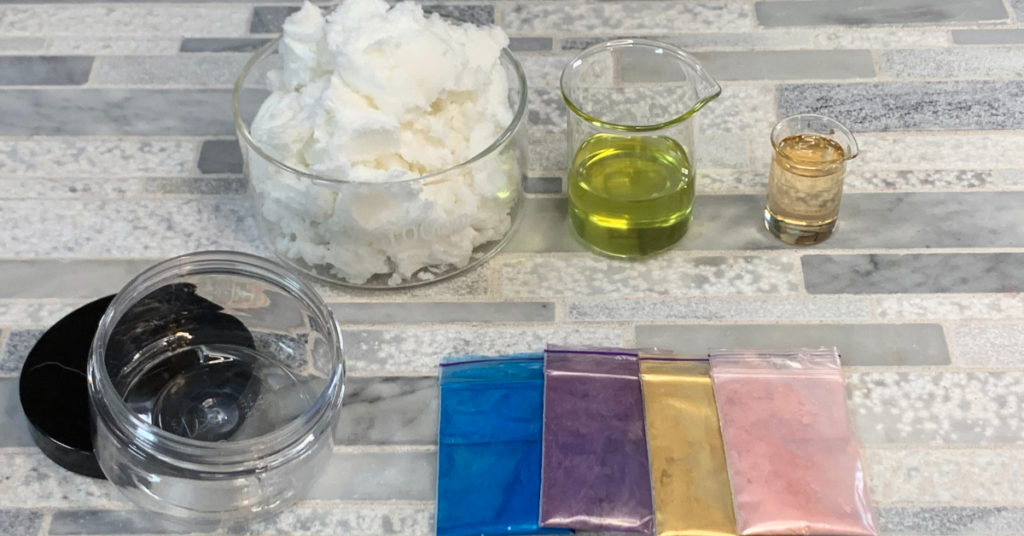
A whipped soap base (aka Bath Butter) is a surfactant based soap that is light and fluffy. It does not harden like a regular bar of soap does. The soap base is mild but creates a lot of bubbles! It is also hydrating because it is made with quite a bit of glycerin.
The cool thing about the whipped soap base is that the base can be used in a bunch of different recipes. Some of my favorite are:
Cupcake Bath Bomb with Bubble Frosting.
Personally, I like to use my own Whipped Soap Base for this rainbow soap. If you prefer to buy the soap, here is a link for Whipped Soap Base. Just be sure to follow the directions on preparing it before you color the batch.
Oil
You can use any carrier oil that you would like for the whipped soap base. I tend to use the less expensive ones because this is a rinse off product. In this whipped soap, I am using Grapeseed Oil.
Fragrance
You can use any fragrance oil that you would like. I am using Persephone’s Kiss Fragrance Oil which has top notes of mandarin orange, melon, blackberry, and violet leaf. The middle notes are lavender, jasmine, lily-of-the-valley, and nectarine. The bottom notes are fresh honey, oak, and musk. The use rate for a rinse off product is 6%. This is typical for most of Nurture Soap fragrances, but be sure to double check the manufacture’s use rate if you are using a different fragrance oil.
Colorant
In order to make a beautiful rainbow soap, you will need to have some colorant. I am using mica powder for the colorant. If you get the sample packs you will have a variety of colors to work with. I used the following colors:
Yellow Gold, Berry, Dark Purple and Blue Pearl Dry.
Container
You can use any container that has a lid. I went with a 4 ounce plastic pot jar with a black lid.
Tips on coloring your whipped soap
Make sure you choose your mica powders carefully. You want the colors to all have a flow to them and are in the same color wheel. Like if you are going pastel, use all pastel. And the same if you are going neon.
Add a small amount of coloring at a time, until you get the shade you are going for.
How to use the whipped soap
Using a wash cloth or luffa, scoop some of the soap on it. Apply water and rub together to suds it up. Apply to body and wash as usual.
Making Rainbow Whipped Soap
Making the whipped soap
1. Weigh out the total amount of whipped soap you will be using. This is going to be kind of hard and clumpy, which is normal. Mix it in a large bowl with a hand mixer on a low setting to get it more pliable.
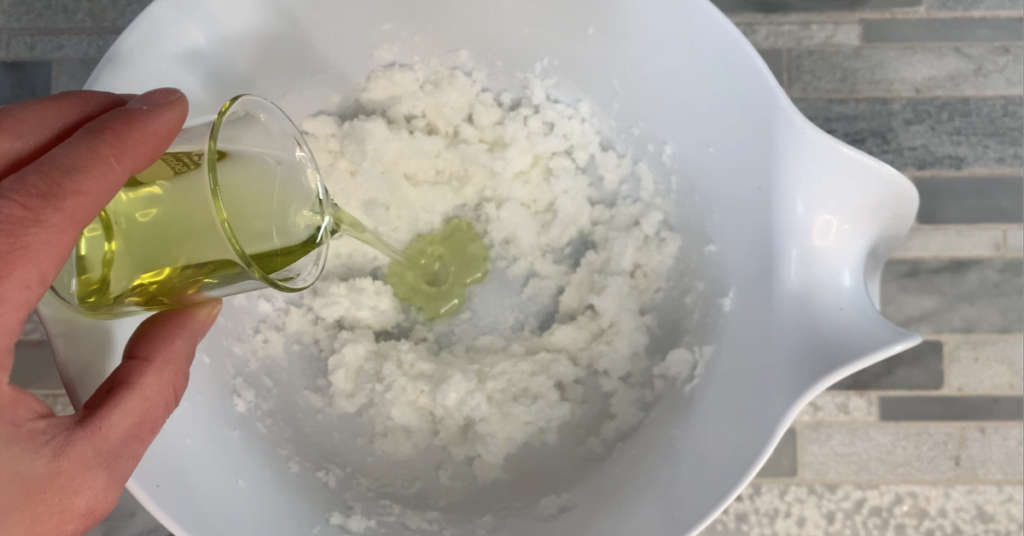
2. Add your grapeseed oil and fragrance oil to the whipped soap base and mix well. You will want to keep mixing the soap base until it is a light fluffy consistency.
3. Using a scale, separate your scented whipped soap into 4 equal parts. Or, if you prefer you can just wing it and not use a scale.
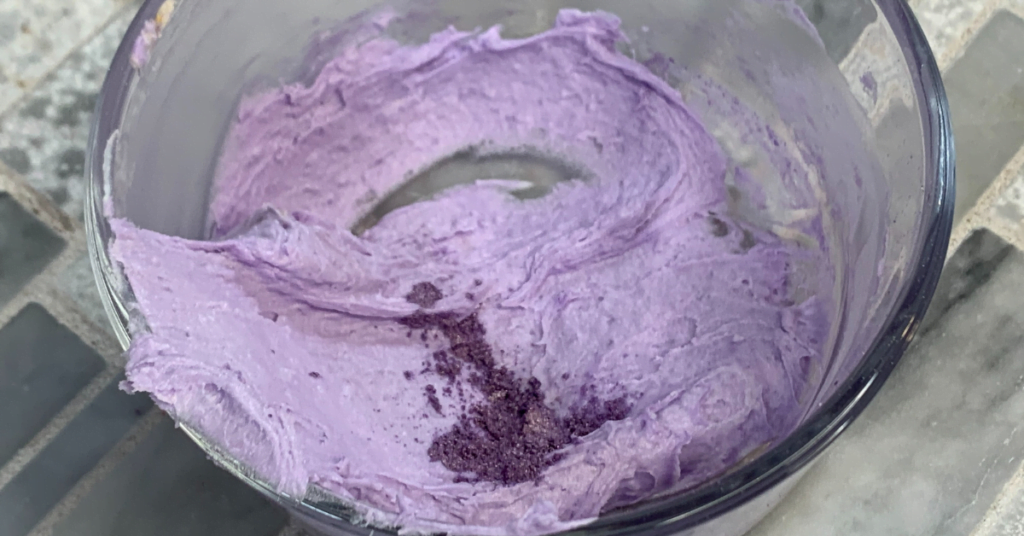
4. Add your pink mica powder to one part and mix well. I like to start with a small amount of mica powder and then add more as needed to get your desired color.
5. Continue coloring the remaining whipped soap bases with yellow, purple and blue mica powder.
Piping the whipped soap
6. Lay a piece of saran wrap on the counter. Take note of how long your piping bag is. We are going to create ‘lines’ of soap, you just want to make sure that you will not be making to lines longer than the pipping bag is. Aim to make them at least 1 inch shorter.
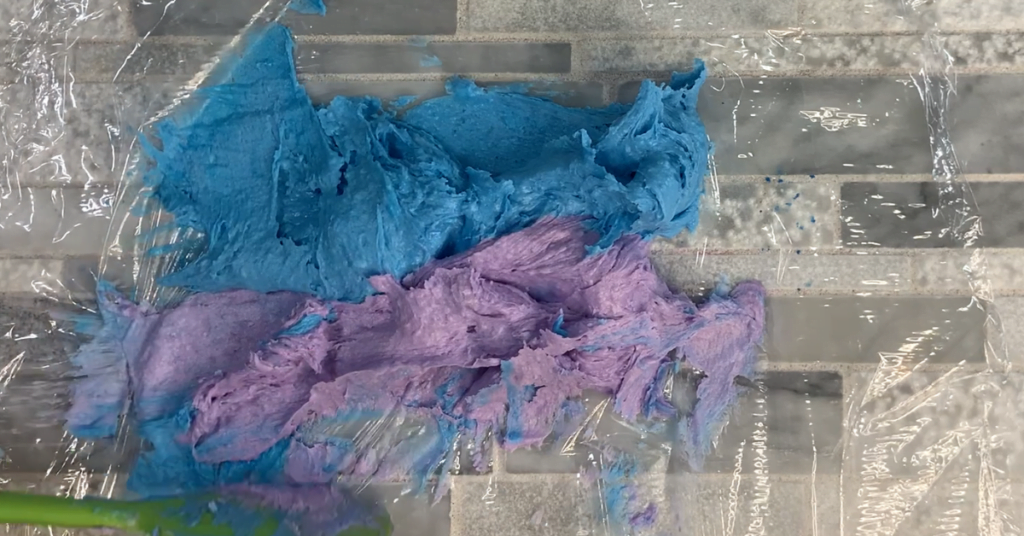
Now the lines do not have to be perfect, it does not matter. As you see in the image above, my lines were not even at all.
7. Starting with the blue whipped soap, create a line on the saran wrap. The goal is to keep the width of the line consistent.
8. Now directly next to the purple whipped soap, start on your yellow line.
9. Continue until you have made 1 line with all the colors.
10. Grab two corners of the saran wrap that are parallel with your lines and fold over, to make it into a log shape.
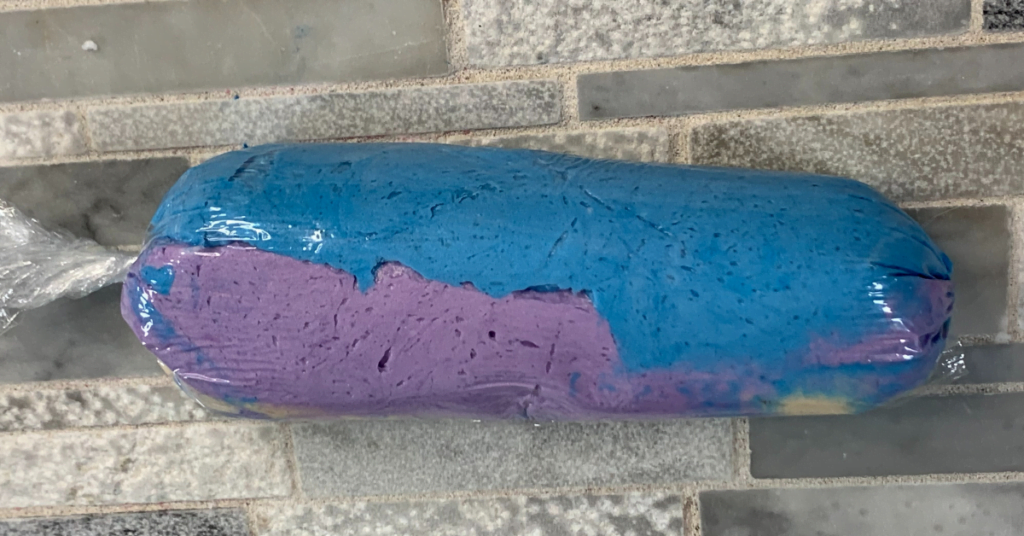
11. Twist the ends on both side together.
12. On one end, cut off the twisted saran wrap. I cut the end that was a little thinner, but you can cut either end.
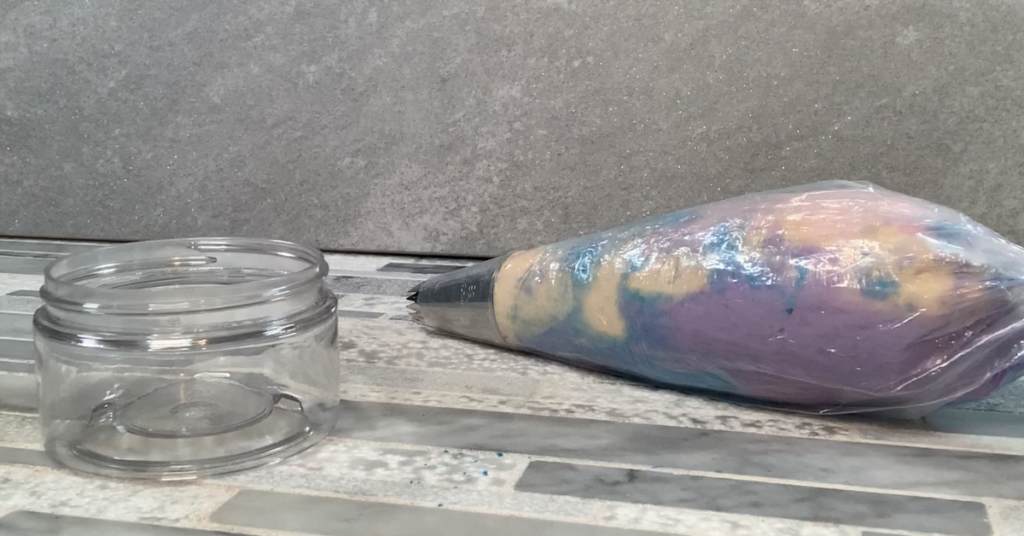
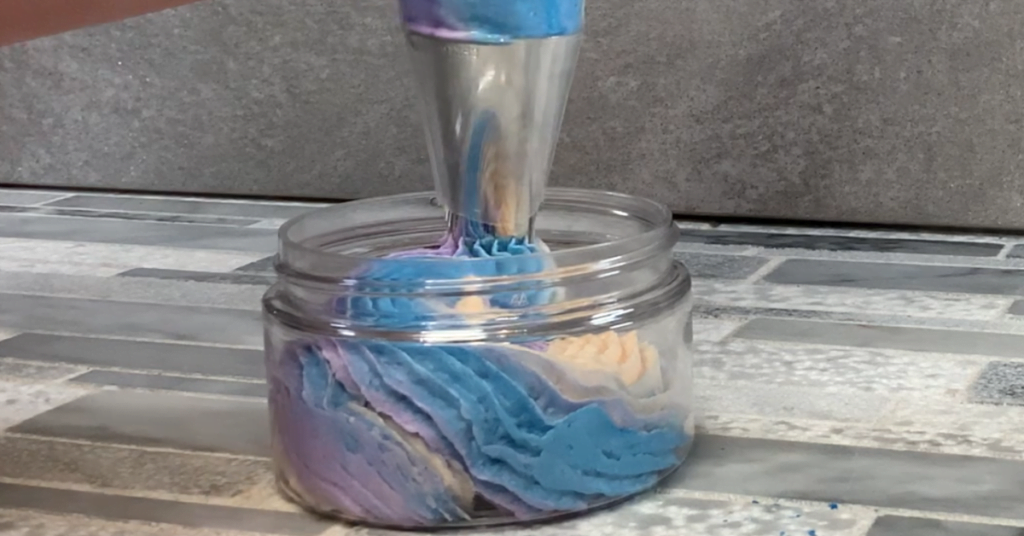
13. Place the whipped soap into your pipping bag, with the cut end toward the pipping tip. When you squeeze the pipping bag, the soap will come out of the saran wrap and go into the tip of the bag.
14. Pipe the soap into your jar. I find it is easiest to twist the end of the piping bag so you have a good grip on it.
Rainbow Whipped Soap Recipe
Equipment
- Scale
Ingredients
- 7.86 ounce | 83.6% Whipped Soap Base
- 1.01 ounce | 10.8% Grapeseed Oil
- 0.53 ounce 5.6 % Persephone's Kiss Fragrance Oil
- Mica Powder
Instructions
- Weigh out the total amount of whipped soap you will be using. This is going to be kind of hard and clumpy, which is normal. Mix it in a large bowl with a hand mixer on a low setting to get it more pliable.
- Add your grapeseed oil and fragrance oil to the whipped soap base and mix well. You will want to keep mixing the soap base until it is a light fluffy consistency.
- Using a scale, separate your scented whipped soap into 4 equal parts.
- Add your pink mica powder to one part and mix well. I like to start with a small amount of mica powder and then add more as needed to get your desired color.
- Continue coloring the remaining whipped soap bases with yellow, purple and blue mica powder.
- Lay a piece of saran wrap on the counter. Take note of how long your piping bag is. We are going to create ‘lines’ of soap, you just want to make sure that you will not be making to lines longer than the pipping bag is. Aim to make them at least 1 inch shorter.
- Starting with the blue whipped soap, create a line on the saran wrap. The goal is to keep the width of the line consistent.
- Now directly next to the purple whipped soap, start on your yellow line.
- Continue until you have made 1 line with all the colors.
- Grab two corners of the saran wrap that are parallel with your lines and fold over, to make it into a log shape.
- Twist the ends on both side together.
- On one end, cut off the twisted saran wrap.
- Place the whipped soap into your pipping bag, with the cut end toward the pipping tip. When you squeeze the pipping bag, the soap will come out of the saran wrap and go into the tip of the bag.
- Pipe the soap into your jar. I find it is easiest to twist the end of the piping bag so you have a good grip on it.
